A vacuum cooker can save you time, effort and money. I made an energy-efficient beef and beer stew which saves on gas and leaves your hands free.

Time: 4/5
Takes all afternoon but it isn’t so bad, this recipe is so hands-free you can even leave the house safely
Effort: 3/5
There’s work to do in the beginning, and work to do at the end.
Energy-efficient cooking
As the weather swings between being unseasonably hot and teeth-chattering lay cold, the spring of 2024 is becoming a season of both salads and stews. Having polished off the Pickle Juice Pasta Salad, I looked for a way to redeem myself for the mistake of not stewing my beef Goulash long enough to get a truly tender texture.
Even though the store still sells beef cheeks at a very good price, I held off on my redemption until we were gifted with a vacuum cooker. This is a really cool gadget that lets me simmer something for hours while only using a fraction of the gas, by keeping a pot boiling long after it’s taken off the heat.


I won’t get too far into the physics, but essentially this thing is a giant vacuum flask that retains heat really well. The lid stops heat loss from convection, and the layer of vacuum inside the walls of the pot stops heat loss from conduction.
Besides saving on gas, the vacuum cooker also allows me to simmer a stew low and slow while not having to worry about an open flame in the kitchen. I made full use of this by doing the laundry, going out for lunch and getting work done while the stew cooks in the background.
But enough about the tools, let’s talk about the food. The boss lady hates peas with a passion, even though they’re a great food that pulls double duty as a vegetable and a protein source. So I took the chance when she was out of town to make a big, hearty batch of beef cheek stew with a tall can of stout and all the peas that have been crowding the freezer.

And what a great idea this was, for a cozy stay-in Saturday! There’s some effort in setting up the stew, and a bit more to finish things off, but the middle is mostly cruising on autopilot. And just like the other stews I’ve done (like the Japanese and Malaysian curries), this one is very scalable and freezer friendly.
Few things are as satisfying as taking the time and effort to transform raw ingredients into a spread of delicious meals on the table, and I definitely felt proud when I surveyed the results.

Dramatis Personae
Served five.
Beef cheeks – 2lbs
Like I said in the Goulash post, beef cheeks are great for stewing because they’re so rich in connective tissue. The fact that they’re budget friendly certainly doesn’t hurt either.
Cube it up, salt and pepper, then sear in a pan before simmering. Coating with flour is optional – I like to use a corn starch slurry if I need to thicken a stew, because I get more control over the final texture.
Onions – 2 medium
Nothing fancy, peel and clank it up. It doesn’t matter how it’s cut, it’s going to be stewed for so long that it breaks down and becomes part of the sauce.
Garlic – few cloves
Crush, peel and leave whole. The stewing process is plenty long enough to extract all the flavour from the garlic.
Other seasonigs and flavourings – to taste
You might not taste the bay leaves, but you’ll taste their absence. A few teaspoons of tomato paste are great for umami, as is a few teaspoons of Better than Bouillon.
Beer – 1 tall can of stout
Here is where I confess that I have not been entirely truthful in the title. I didn’t buy actual Guinness for this recipe, but instead went for a cheaper beer which is also a stout. I doubted that it would make a big difference paying extra for the name brand product when I’m going to stew it for hours. Please yell at me in the comments if I made a big mistake.
Potatoes – 3 small
You might think that’s not a lot of potatoes, but I’m serving my stew with rice. They’re here to absorb the delicious flavours of the stew, and for a bit of thickening from the starch they release.
Carrots – 5 medium
One of the most meal prep friendly vegetables out there, and great for adding colour as well as vitamin A to a recipe. All it needs is peeling and a rough chop.
Frozen peas – 1kg
A great vegetable, also very meal prep friendly, easy to store, and a good way to bring down the price of a stew by using it to partially substitute other protein sources. Or, an eyesore and a waste of space in the freezer. Depends on who you ask. Either way, they’ll be put to good use.

Executive summary
- Cube, season and sear the beef in batches. Reserve the seared meat in the vacuum cooker’s pot. Prepare onions and garlic while waiting for beef to sear.
- Sauté onions, garlic and tomato paste in the same pan. Once fragrant, add to the vacuum pot. Rinse out the contents of the pan into the pot as well.
- Pour most of a can of stout into the pan, plus enough water to barely cover the beef. Add bay leaves and Better than Bouillon, stir to combine, and bring to a boil.
- Cover the pot and place in vacuum cooker. After 15 minutes, take the pot out and bring it back to a boil again, then place in cooker again.
- Re-boil the vacuum pot every hour or two, for the next 4-5 hours.
- An hour before serving, start the rice cooker. Wash and cut the potatoes and carrots.
- Bring the vacuum pot back out over the stove. Check to make sure beef is tender. If not, cook until it is.
- Once beef is confirmed tender, add potatoes and carrots, simmering uncovered until vegetables are done.
- Add frozen peas to stew. Simmer and stir until peas are thawed.
- Plate up and devour!
Play by Play

Starting off with the aromatic vegetables, which I will need when the beef is done. I like to keep a plastic bag handy to keep all the scraps, to avoid making a million trips to the trash can.


Cut, season and sear the beef in batches, moving each batch to the vacuum pot once it’s done.


The onions and garlic will deglaze any remaining fond. Make sure to give the tomato paste some time to sizzle, but not enough that it burns.

Transfer everything so far to the vacuum pot. Here’s where I added he bay leaves, Better than Bouillon and the stout. You want as little liquid as possible while still covering the beef – unlike a traditional stew you don’t lose much water from evaporation, and the vegetables will give out plenty of water later.

Remember to save some for the cook!


Put the lid on the pot, and get the pot into the vacuum cooker. A lot of heat from this first boil is going toward warming up the inside, after which much less heat loss occurs.

I took my pot out for a second boil after 15 minutes, but after it’s back in the vacuum cooker there isn’t much to do except rebook every our or two. I took the time to wipe down the counters, and start a load of laundry.

Here we are at the third boil, and my faith is starting to waver. The smell of the simmering beer can be described as being like wet bread, which doesn’t inspire confidence in how this stew will turn out.

The laundry is hanging, and the chores are done. I like meal prep, so I’m gonna meal prep while I meal prep. Here’s a week’s worth of overnight oats with powdered milk and chocolate whey.


Here we are four hours in, and the beef will readily admit a chopstick without much resistance. This is the signal that we’re ready to move onto the next steps.


Time to make rice, wash and cut the root vegetables, and get the veg in the pot. The stew was looking pretty soupy at this stage, so I let it simmer uncovered on the stovetop until the veggies were tender. I also smashed up some of the potato cubes so the released starch will thicken the stew further.

Peas go in last, all they need to do is thaw. While they’re doing that, they bring the big pot of stew down to eating temperature – a neat trick I first learned from Adam Ragusea (“put it in some water and BOIL IT“).


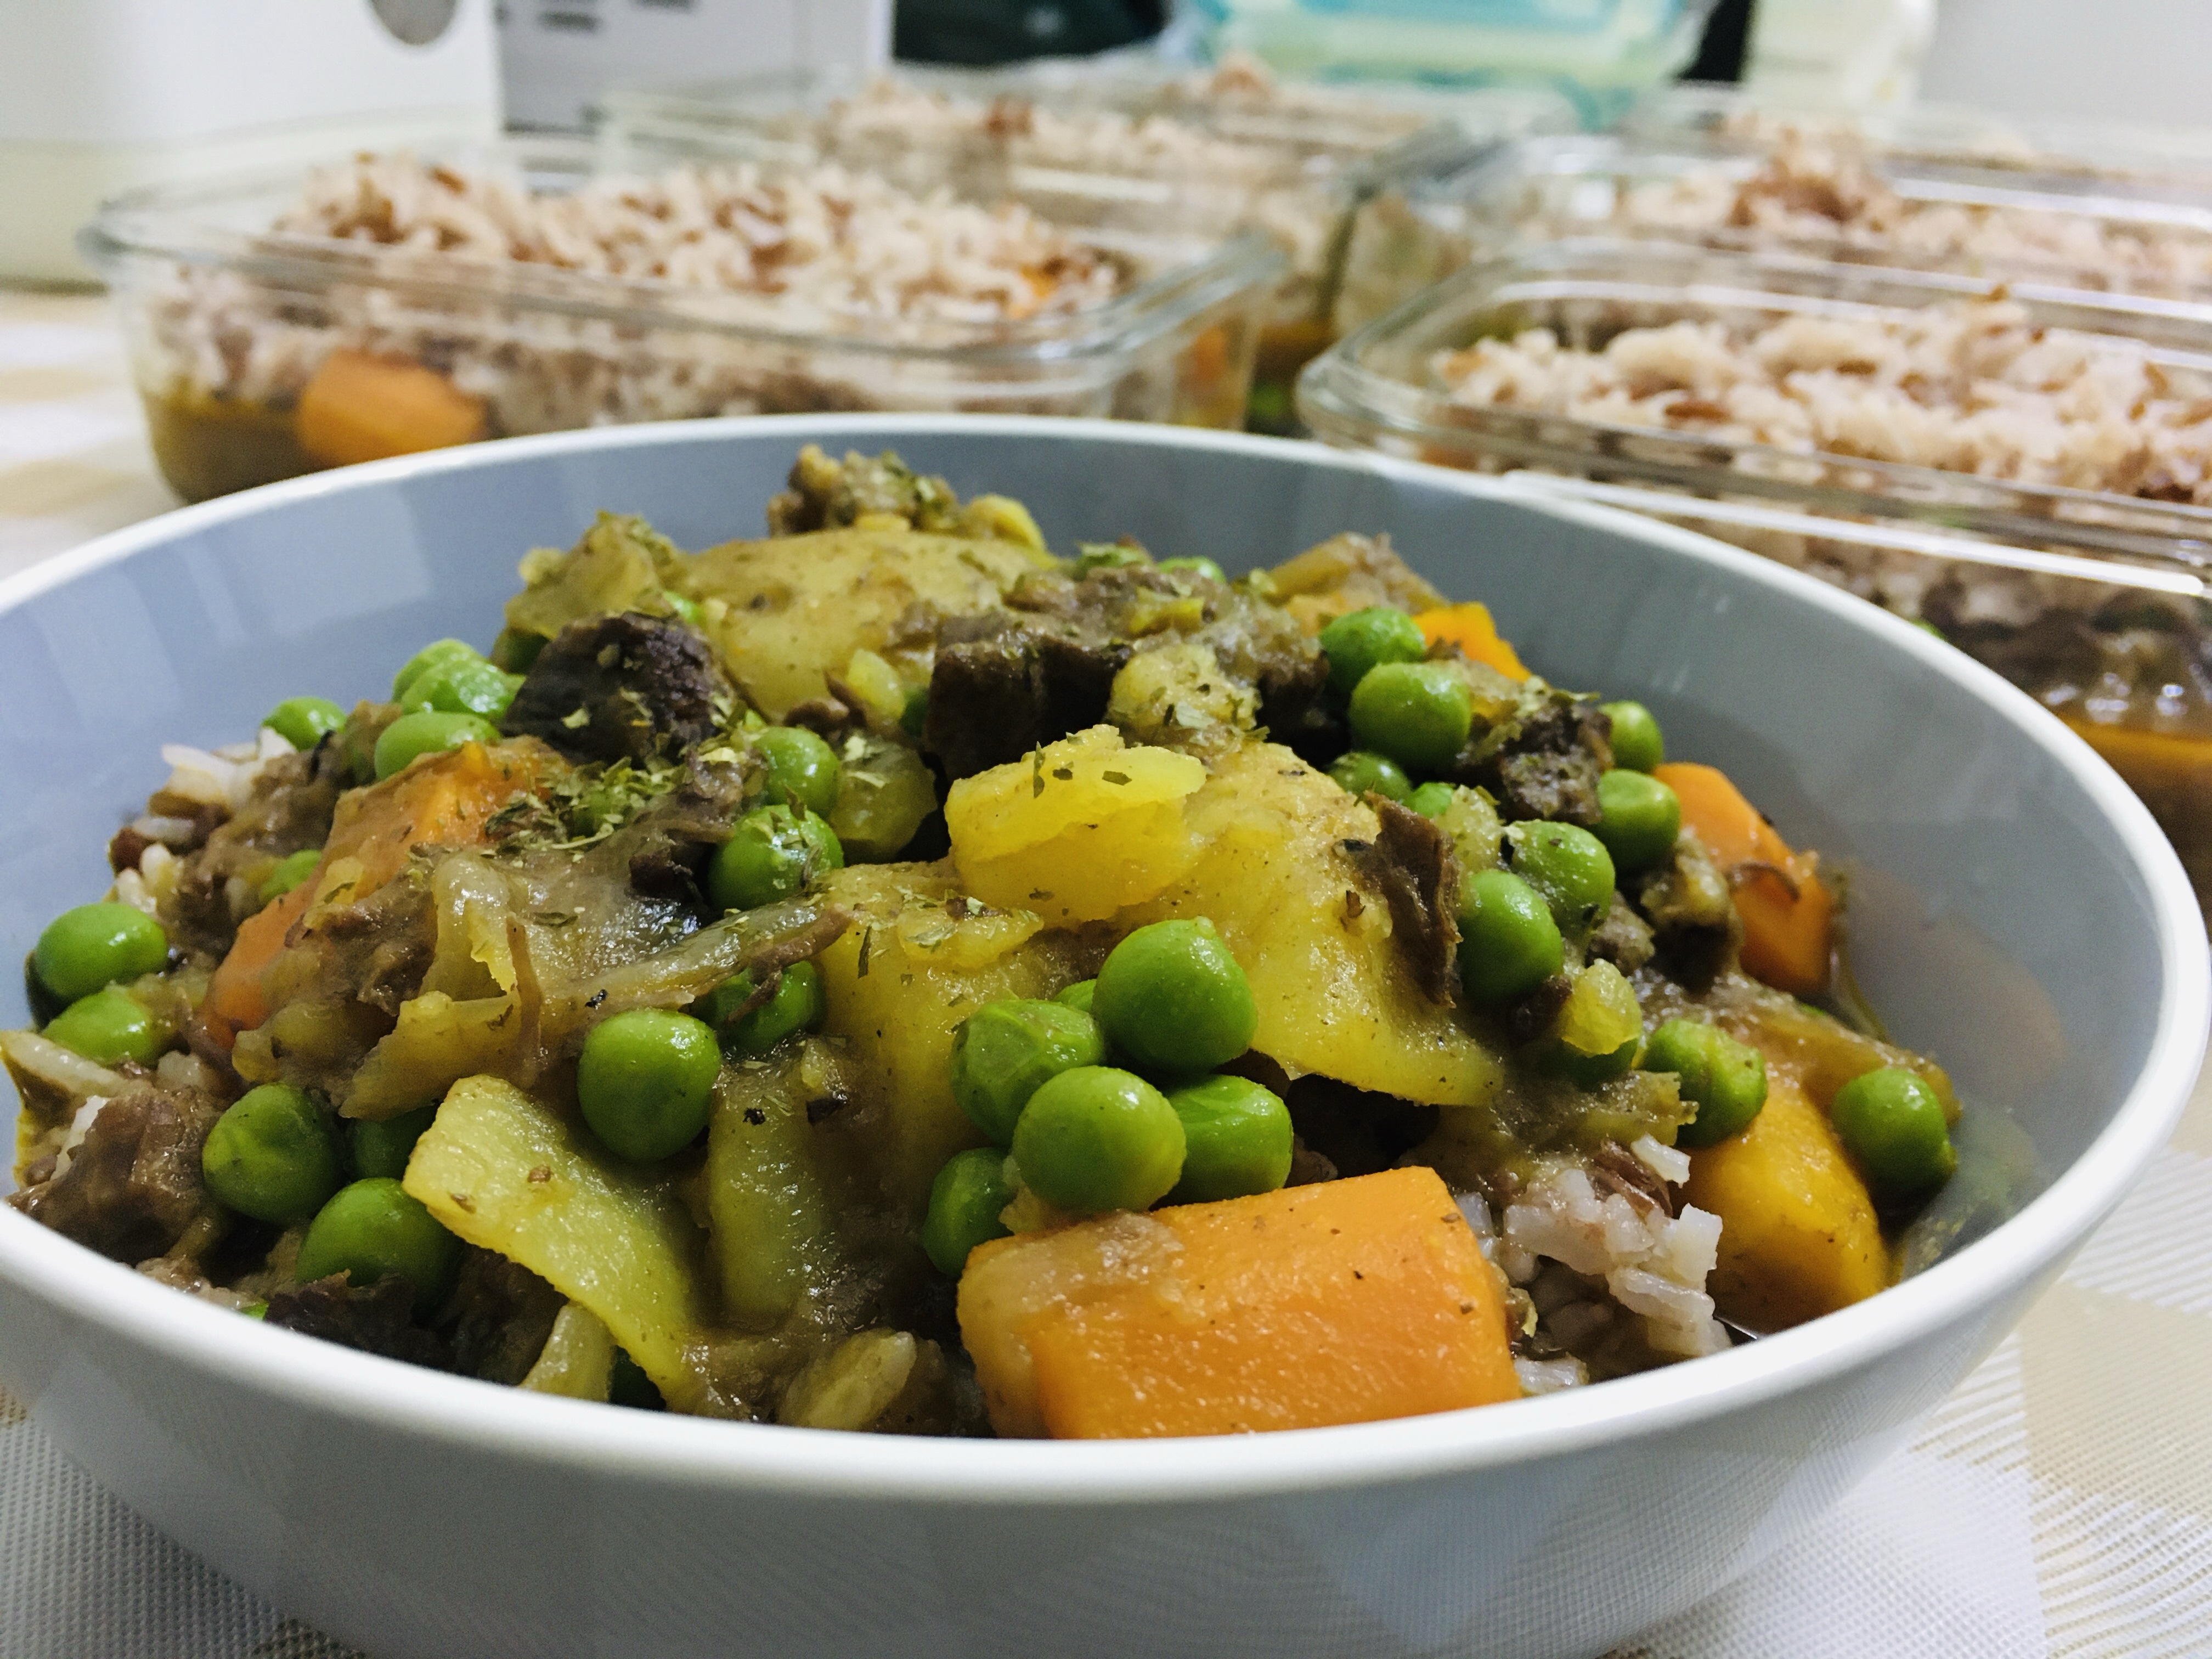
Time to plate up! Rice goes on top because reasons, so get the stew in first.

Potatoes on rice sounds redundant, but don’t knock it until you’ve tried it. As for the tenderness of the beef cheeks after their 5 hour simmer …

I consider myself well-redeemed.
Keep browsing by categories, or by tags:
Beef Blanching Broccoli Cabbage Carrots Cast iron Chicken Cucumber Curry Daikon Dashi Date Night Dried shrimp Eggplant Eggs Fish and seafood Garlic Ginger Glass noodles Gochujang Honey Miso Napa cabbage Onion Oven Pasta Pork Potatoes Rock sugar Salmon Sesame oil Shiitake mushrooms Shrimp Sous Vide Spicy Steaming Stewing Stir fry String beans Sweet potatoes Teriyaki Thai basil Tomatoes Yogurt Zucchini