Mini Cheesecakes
Easter is just around the corner. Whether you are planning to celebrate with your family, or you are entertaining a crowd, I am sure you would like to put on a spectacular and decadent spread. But lets be honest: Easter dessert is the real star of the holiday meal!
Cheesecake is one of the most beloved treats in my household. But as stunning as it may be, it can be a lot of hard work and patience. The Mini Cheesecakes are the perfect solution when you do not want to take the hassle of baking a whole cake.
They have the creamy texture, the sweet tart flavors and the decadence of a traditional cheesecake, but in individually sized portions! Most importantly, the baking time and cooling time is significantly less, which means dessert is ready in half the time.

How do you know that the Cheesecakes are done?
The edges of the cheesecakes should be completely set, but the centers will still be just a little bit jiggly. They will continue to set up as they cool and once they’re refrigerated.

- Carrot Cake Cupcakes with Cream Cheese Frosting
- Swedish Cinnamon Buns
- Blueberry Cream Cheese Muffins
- Dark Chocolate Ganache Truffles
- Blueberry Cream Cheese Danish
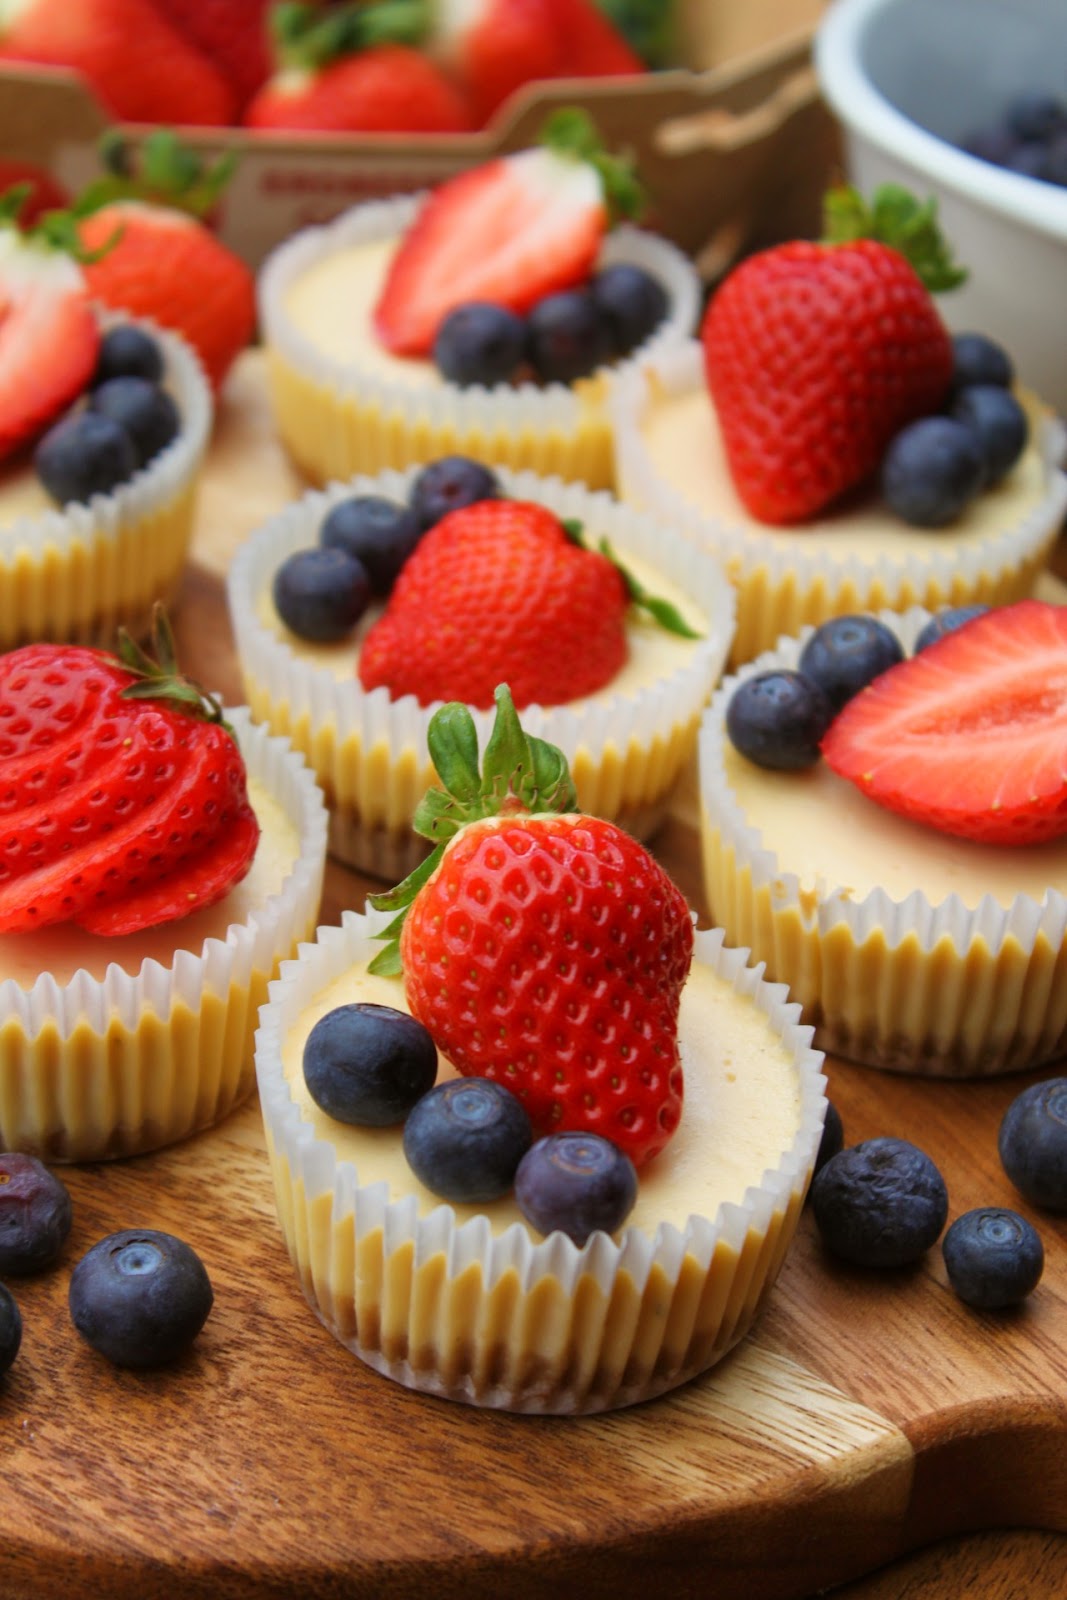
These mini cheesecakes look really cute as they are, but adding some toppings elevate them to new heights. I’ve kept things really simple here, and topped them with fresh strawberries and blueberries.
You can play around and use other toppings. Here are a few suggestions:
- Strawberry or Raspberry sauce
- Caramel Sauce
- Lemon Curd
- Chocolate Ganache
- Whipped Cream

- Use Room Temperature Ingredients: Make sure the cream cheese, sour cream and eggs are brought to room temperature prior to baking. It is very crucial and non-negotiable when it comes to this recipe. Room temperature ingredients are easier to incorporate that produces smooth, evenly textured batter.
- Press the base firmly: Press your cheesecake base very firmly into the liners with the back of a spoon to make sure that they don't crumble.
- Allow the cheesecakes to cool down completely: Allow the cheesecakes to cool down completely at room temperature and then refrigerate.This will really help them to stay level and it will prevent cracking as well.
- Don’t over-mix the batter: If you overmix the batter, extra air can be whipped into it causing the cheesecakes to sink after removing it from the oven.
Mini Cheesecakes
Author: Happily Cooking
Preparation Time:
Cooking Time:
Yields: 12 muffins
Calories per serving: 252kcal
Ingredients:
-
For the Crust
- 1 1/2 cups (150 grams) Digestive biscuits or Graham Crackers
- 2 Tablespoons granulated sugar
- 4 Tablespoons/ 60 g unsalted butter, melted
- Pinch of salt
- 350g full fat cream cheese, at room temperature
- 1/2 cup (110g) granulated sugar
- 2 large eggs, at room temperature
- 1 Tablespoon lemon juice
- 1 teaspoon vanilla extract
- 1 1/2 Tablespoons all purpose flour
- 3/4 cup ( 180 g) full fat sour cream, at room temperature
- Strawberries
- Blueberries
For the Cheesecake Filling
For decorating
Instructions:
- Preheat oven to 160°C. Line a 12-hole standard muffin tin with paper muffin liners.
- Using a food processor, blitz the digestive biscuits until they form fine crumbs and then transfer them to a bowl. Add the melted butter, the granulated sugar and the salt. Combine together. It should have the texture of wet sand.
- Divide the mixture evenly between the 12 muffin liners. Using a spoon, press the mixture down firmly. Set aside.
- For the cheesecake filling, beat the cream cheese on low speed until just creamy. While mixing, gradually add in the sugar. Then add in the eggs, one by one mixing just until well combined. Don't overmix.
- Using an ice cream scoop, divide the cheesecake filling evenly between the muffin holes. Gently shake the muffin pan to make the top surface flat.
- Bake in the preheated oven for 15-16 minutes until the edges of the muffins are set but the centres are bit soft.
- Remove from the oven and allow the muffins to cool down completely for 1 hr at room temperature.
- When cooled, cover loosely with cling wrap and refrigerate for at least 6 hours or preferably overnight allowing them to set.
- Take them out of the refrigerator, decorate them with strawberries and blueberries, or your favorite toppings!
- Enjoy!


Comments
Post a Comment