
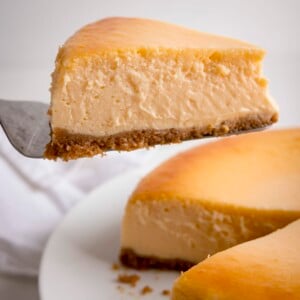
Ever since trying my first piece of proper New York Cheesecake at Junior’s, I’ve been refining this no-fail recipe. It’s creamy, decadent and a real treat.
Plus it freezes really well too. I’ve tested this recipe so many times I have lots of individually sliced pieces in my freezer, and I’m always amazed at how great it tastes after defrosting.
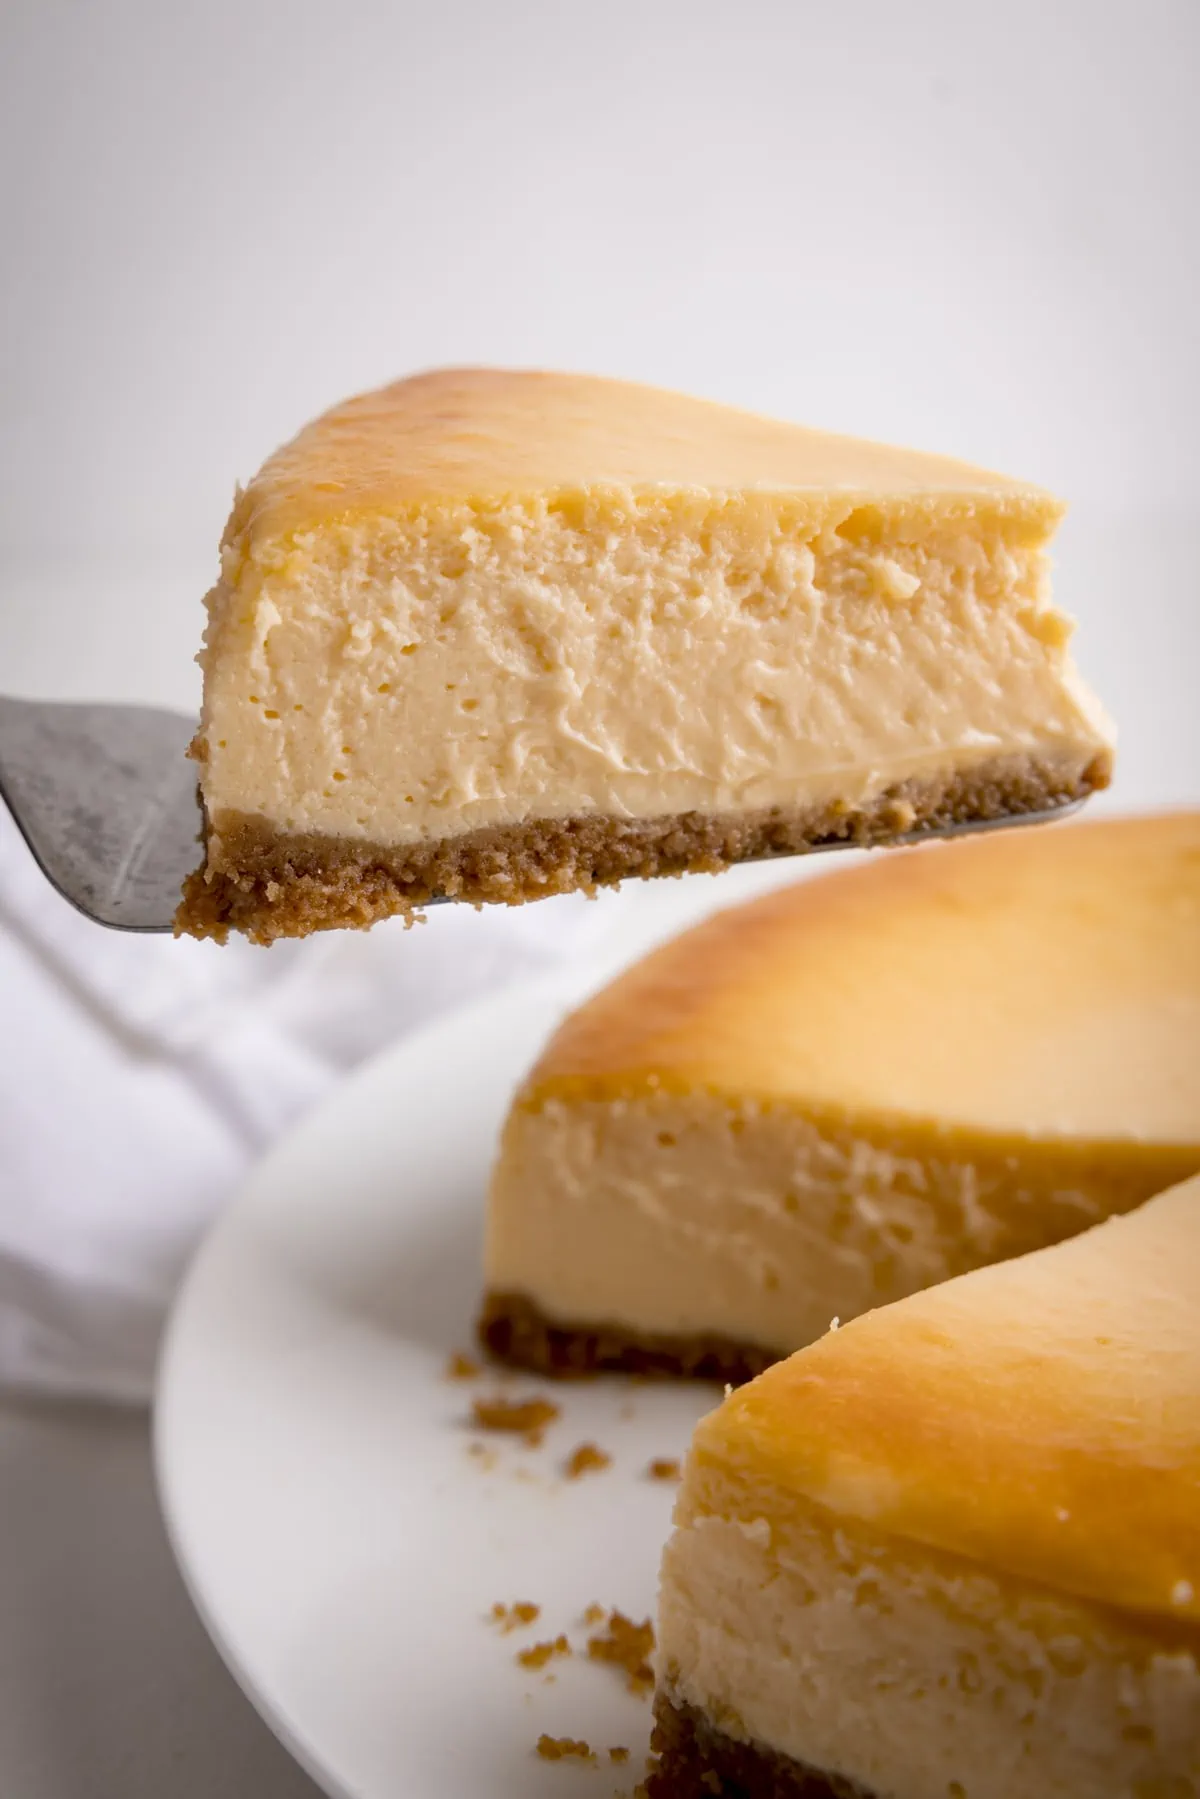
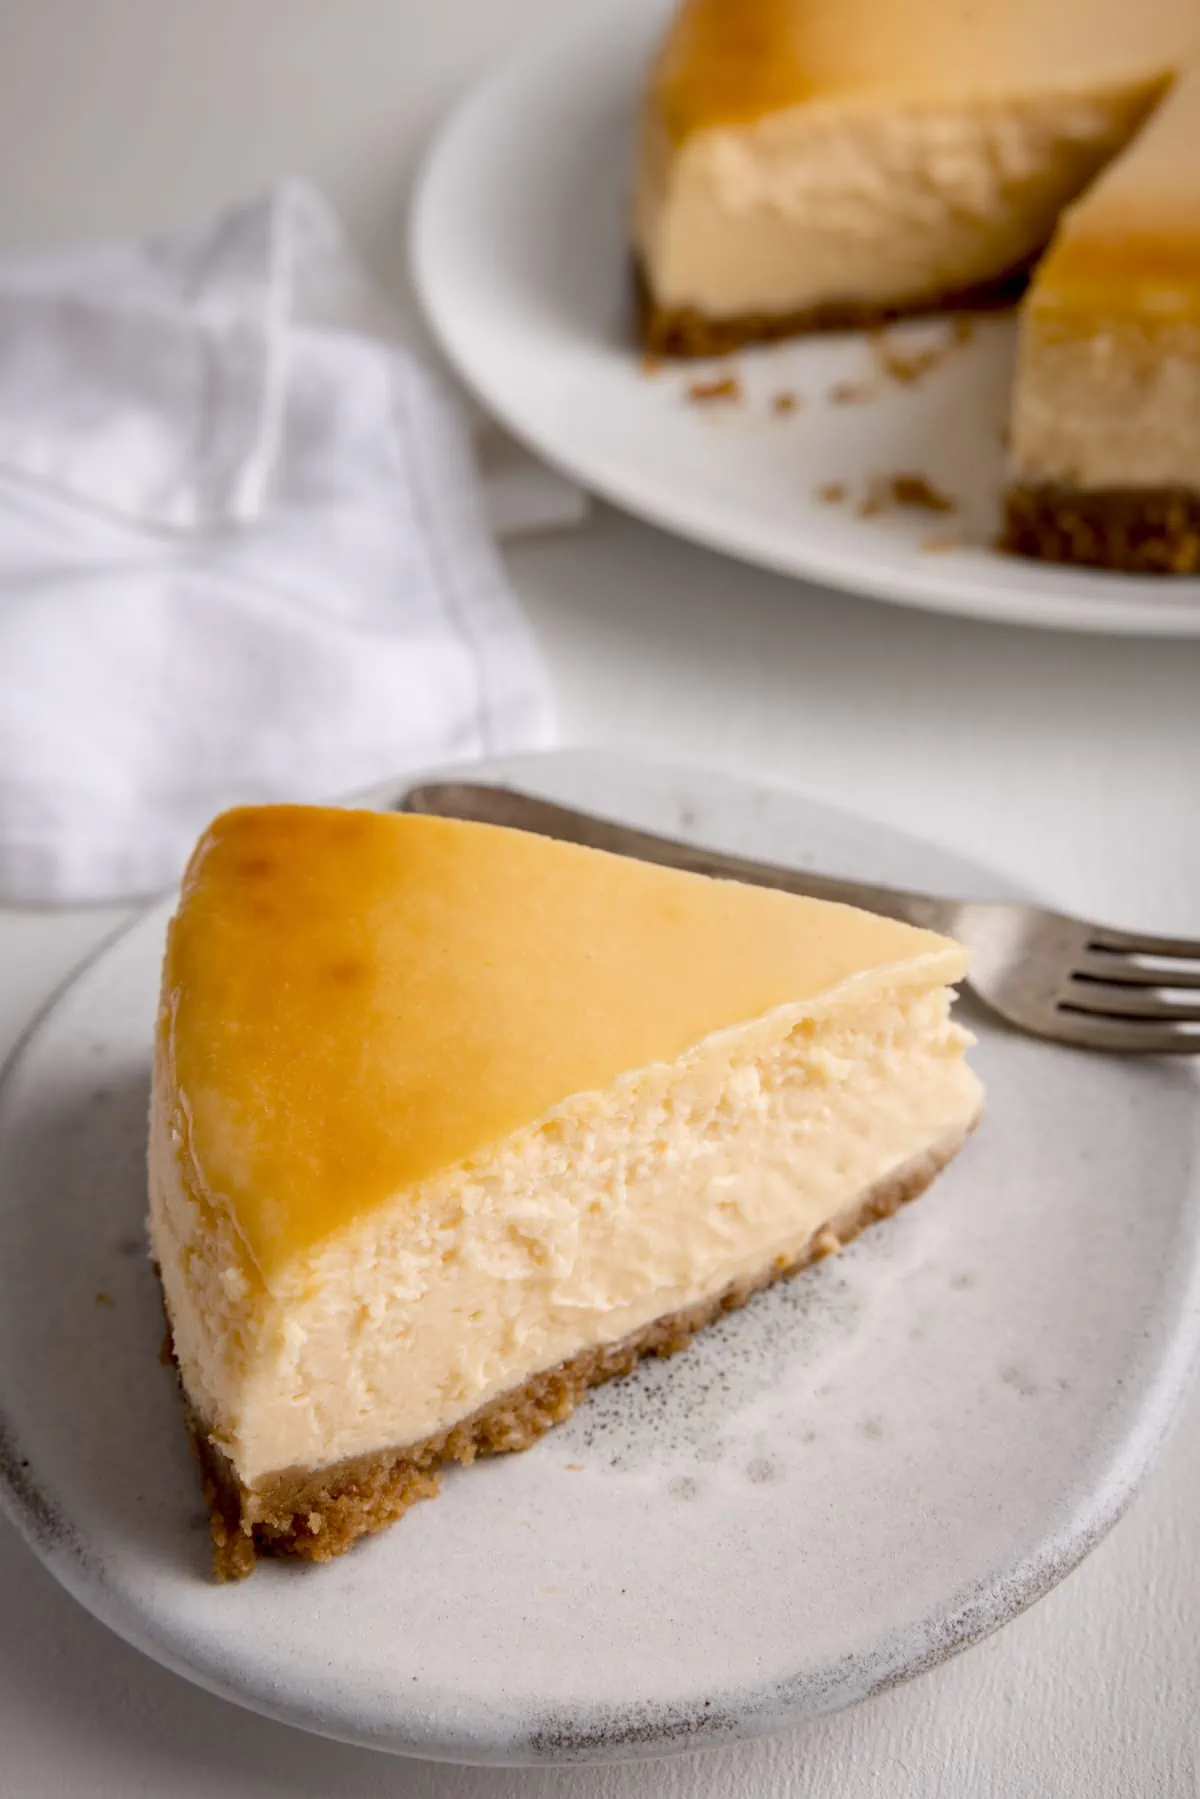
I always thought that cheesecakes HAVE to come with some kind of topping. But this plain vanilla cheesecake is so creamy and tasty, it’s fully deserving of a place in my ‘best desserts’ list, even without extra toppings.
I think it’s quite a grown-up dessert served this way. My kids prefer it with a drizzle of melted chocolate, a few berries, or some compote (check out my strawberry cheesecake for the version with strawberry compote on top).
📋 What do we need?
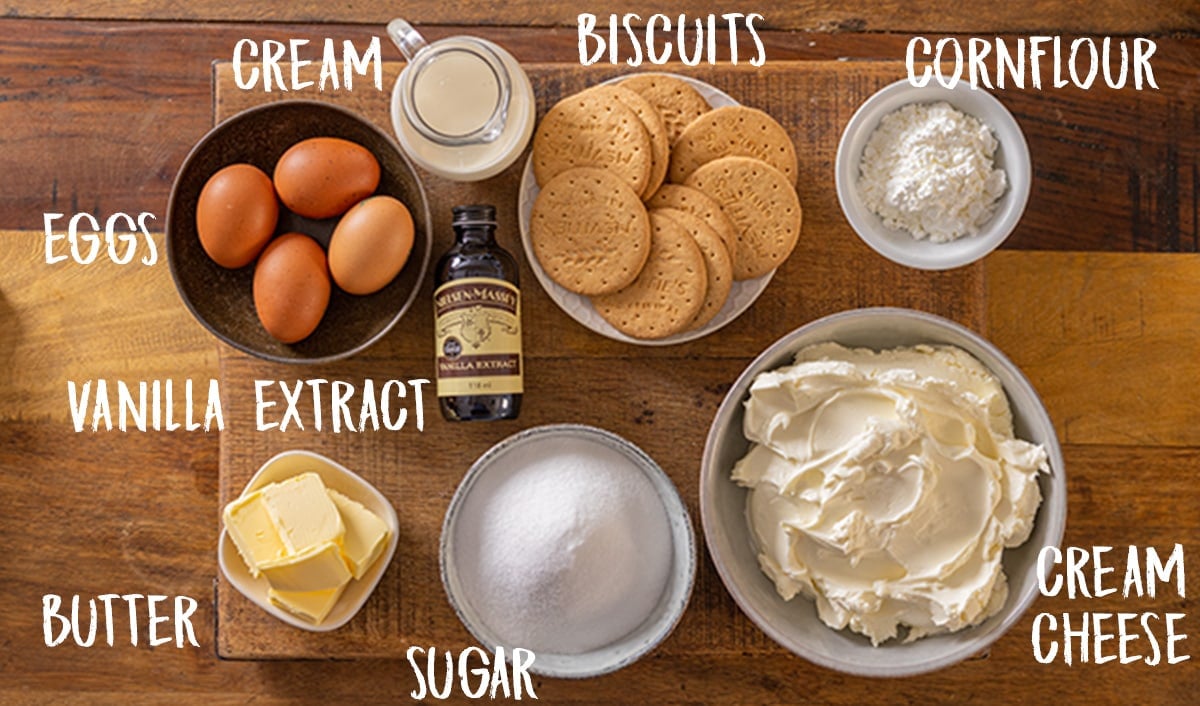
It’s quite a simple list of ingredients, but it’s important to note that the cream cheese, cream and eggs should all be at room temperature.
The butter will also need to be melted when you come to use it.
📺 Watch how to make it
Full recipe with detailed steps in the recipe card at the end of this post.
👩🍳PRO TIP Using a stand mixer is the best way to ensure everything is fully incorporated for a lump-free cheesecake. However, you can use a hand-whisk if you like, just make sure those dairy ingredients are room temperature to ensure a smooth mixture.

🍰 How to ensure your cheesecake doesn’t crack
I’ve refined this recipe to make it as fool-proof as possible. There may be a couple of ingredients you expected to see in this recipe that aren’t there (i’m looking at you sour cream and lemon) and one or two ingredients you didn’t expect (hello cornflour and double (heavy) cream).
- Make sure your cream cheese, eggs and cream are at room temperature. This also helps the mixture to blend together easier, with no lumps.
- I don’t use sour cream or lemon juice. The cream cheese still gives the cheesecake that lovely tang, without the risk of the mixture splitting or cracking (that acidic ingredients can cause)
- I use cornflour to help stabilise the mixture. You can’t taste it, but it really helps to prevent those cracks.
- I use double (heavy) cream for extra creaminess, plus that extra bit of fat helps to prevent the mixture splitting.
- I run a knife around the tin as soon as the cheesecake comes out of the oven. The cheesecake will shrink ever so slightly as it cools, and running a knife around the inside of the tin helps to prevent the cheesecake sticking to the sides, which could cause a crack.
One last tip – wipe your knife after each slice to keep the slices as clean and sharp as possible and to prevent biscuit crumbs getting into the creamy part or the cheesecake.
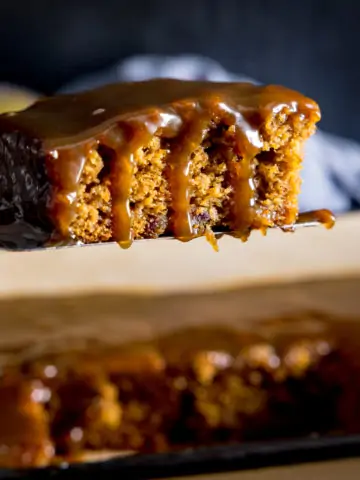
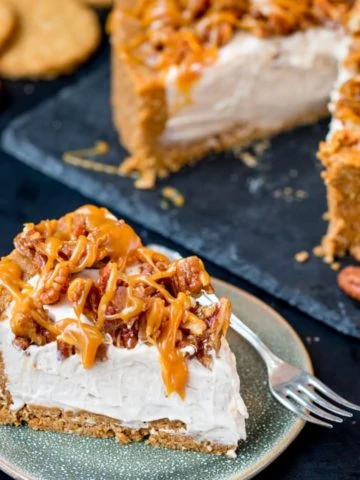
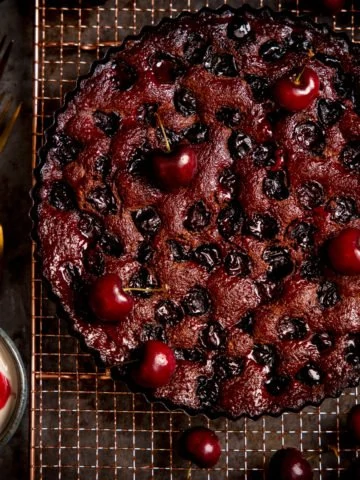
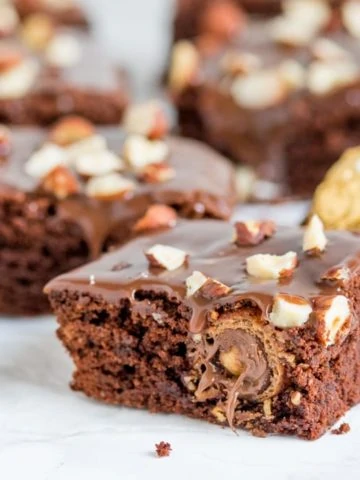
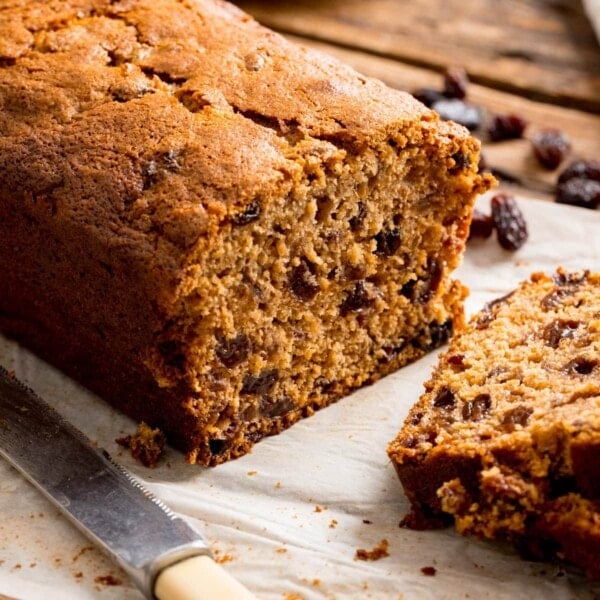
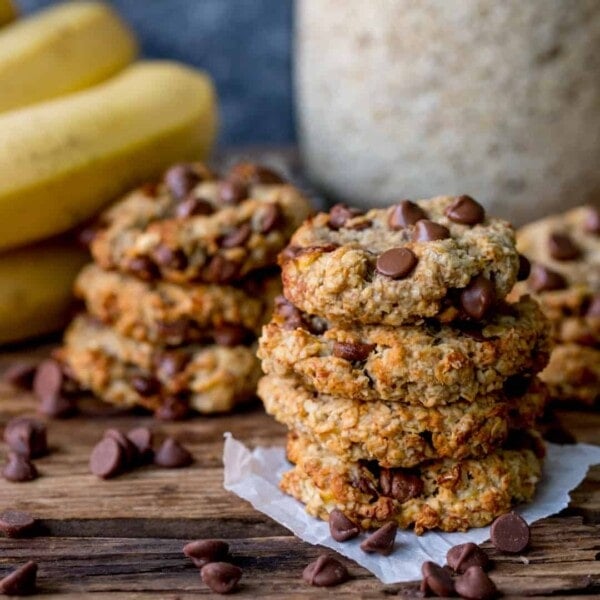
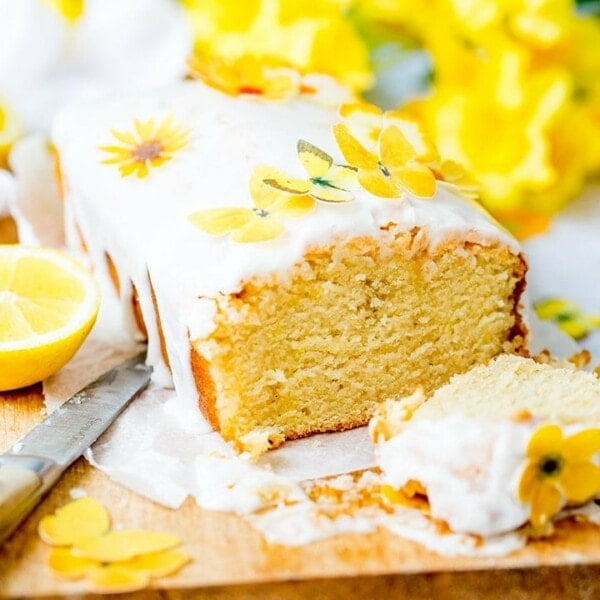
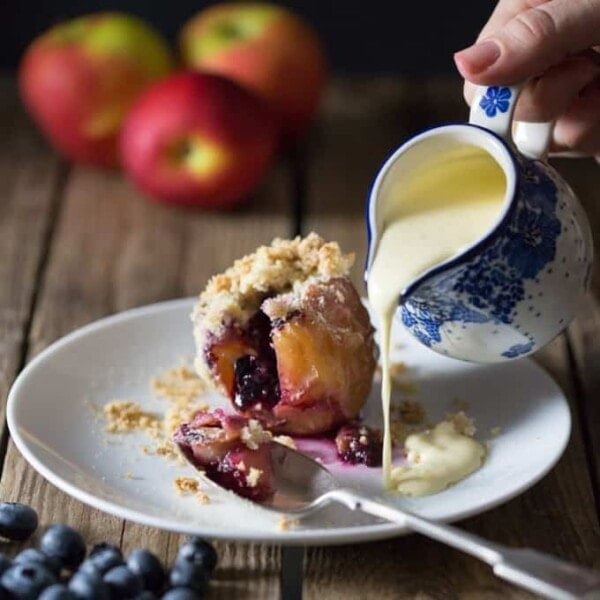
🍲 More fantastic Desserts
Stay updated with new recipes!
Subscribe to the newsletter to hear when I post a new recipe. I’m also on YouTube (new videos every week) and Instagram (behind-the-scenes stories & beautiful food photos).
New York Cheesecake
Equipment
- foil
- baking parchment
- 23cm springform tin
- roasting tin
- mixer or whisk
Ingredients
For the base:
- 145 g (5.1 oz) digestive biscuits about 10 digestives, crushed into fine crumbs
- 85 g (3 oz) unsalted butter melted
- 1 tbsp granulated or caster sugar
- ¼ tsp salt
Cheesecake filling:
- 750 g (26.5 oz) Philadelphia cream cheese (full-fat)
- 250 g (8.8 oz) caster sugar
- 3 tbsp cornflour (cornstarch for USA)
- 1 tbsp vanilla extract
- 3 large eggs
- 1 egg yolk
- 160 ml (2/3 cup) double (heavy) cream
You’ll also need:
- 1 tbsp melted butter
- boiling water
Instructions
- *Take the cream cheese, eggs and cream out of the fridge at least one hour before using* See Note 1
- Preheat the oven to 160C/320F (fan).
- Line the base of a 23cm (9 inch) springform cake tin with non-stick baking parchment.* See Note 2
- Place the crushed biscuits in a bowl. Add the melted butter, sugar and salt and stir together to combine.145 g (5.1 oz) digestive biscuits, 85 g (3 oz) unsalted butter, 1 tbsp granulated or caster sugar, 1/4 tsp salt
- Spoon the mixture into the prepared cake tin, pressing it down flat with the back of a spoon.
- Place in the oven to bake for 10 minutes.
- Remove from the oven and leave to cool while you start on the filling.
- Leave the oven at 160C/320F (fan).
- Place the cream cheese in the bowl of a stand-mixer and mix, using the paddle attachment for 1 minute on medium speed, until the cheese is loosened and creamy.750 g (26.5 oz) Philadelphia cream cheese
- With the mixer still running, slowly pour in the sugar, then sprinkle in the cornflour.250 g (8.8 oz) caster sugar, 3 tbsp cornflour
- Allow the mixture to combine, stopping the mixer and scraping down the sides of the bowl if needed.
- With the mixer running, add in the vanilla extract, and then the eggs and egg yolk, one at a time. Allow each egg to be incorporated before adding the next.1 tbsp vanilla extract, 3 large eggs, 1 egg yolk
- Now add in the cream and mix until combined (scraping down the sides again if needed). Turn off the mixer.160 ml (2/3 cup) double (heavy) cream
- Brush the sides of the cake tin with melted butter.1 tbsp melted butter
- Place the cake tin on top of two crossed-over layers of foil (we're going to use this to wrap the tin before it goes in the oven).
- Carefully pour in the cheesecake batter and level off with the back of a spoon.
- Wrap the cake tin in the foil tightly, so the foil comes up the sides of the tin.
- Place the cake tin in a roasting tray and place it in the oven on the rack (bottom or middle rack).
- Pour boiling water in the roasting tray, around the cake tin. You'll need about 1 inch of water. Ensure the water doesn't go above the foil, otherwise, water may seep into the cake tin.boiling water
- Place in the oven and bake for 55-65 minutes, until the edges are very light brown. The centre of the cheesecake should have a slight wobble if you gently shake the tin.
- Remove from the oven and place on a wire rack. Run a knife around the sides of the tin, then allow the cheesecake to cool for 2 hours.
- Transfer to the fridge, cover loosely with foil and chill for 6 hours (or overnight).
- Remove from the fridge, remove the sides of the tin and use two large spatulas to carefully move the cheesecake to a plate or cake stand.
- Serve as it is or topped with fruit compote or melted chocolate.
Video
Notes
This will help the mixture bind together better, creating a smoother batter and will help to prevent cracks in the cake. * Note 2 – Baking Parchment Use a piece of parchment that is slightly bigger than the base of the tin. Place it on the base of the tin, then click the sides of the cake tin on top of the paper, so the paper is secured in place. Storage The cheesecake should keep well, in the fridge, in an air-tight container for 3 days. Can I freeze this cheesecake? Yes, this cheesecake freezes well. Once chilled, slice into individual slices and wrap in clingfilm (plastic wrap). Freeze for up to a month. Defrost, still wrapped, at room temperature for 3-4 hours (or in the fridge, overnight if your kitchen is particularly warm). The base will be softer upon defrosting, but will still taste good. Nutritional information is approximate, per serving (based on this cheesecake serving 12 people).
Nutrition
Nutrition information is automatically calculated, so should only be used as an approximation.
Some of the links in this post may be affiliate links – which means if you buy the product I get a small commission (at no extra cost to you). If you do buy, then thank you! That’s what helps us to keep Kitchen Sanctuary running. The nutritional information provided is approximate and can vary depending on several factors. For more information please see our Terms & Conditions.


Really love your recipes, but could you advise, are the temperatures you mention fan oven?
Hi James, yes, they’re fan temperature. Hope you enjoy the recipe 🙂
Made this twice now, and it was so good I’ve been roped into making it on Christmas day 😀
Delicious