

Learn how to make the best gluten-free sweet potato pie with this southern-style recipe full of easy pro tips! An ultra creamy, perfectly sweetened filling makes the ideal compliment to a buttery, flaky GF pie crust. Dairy-free modifications included.
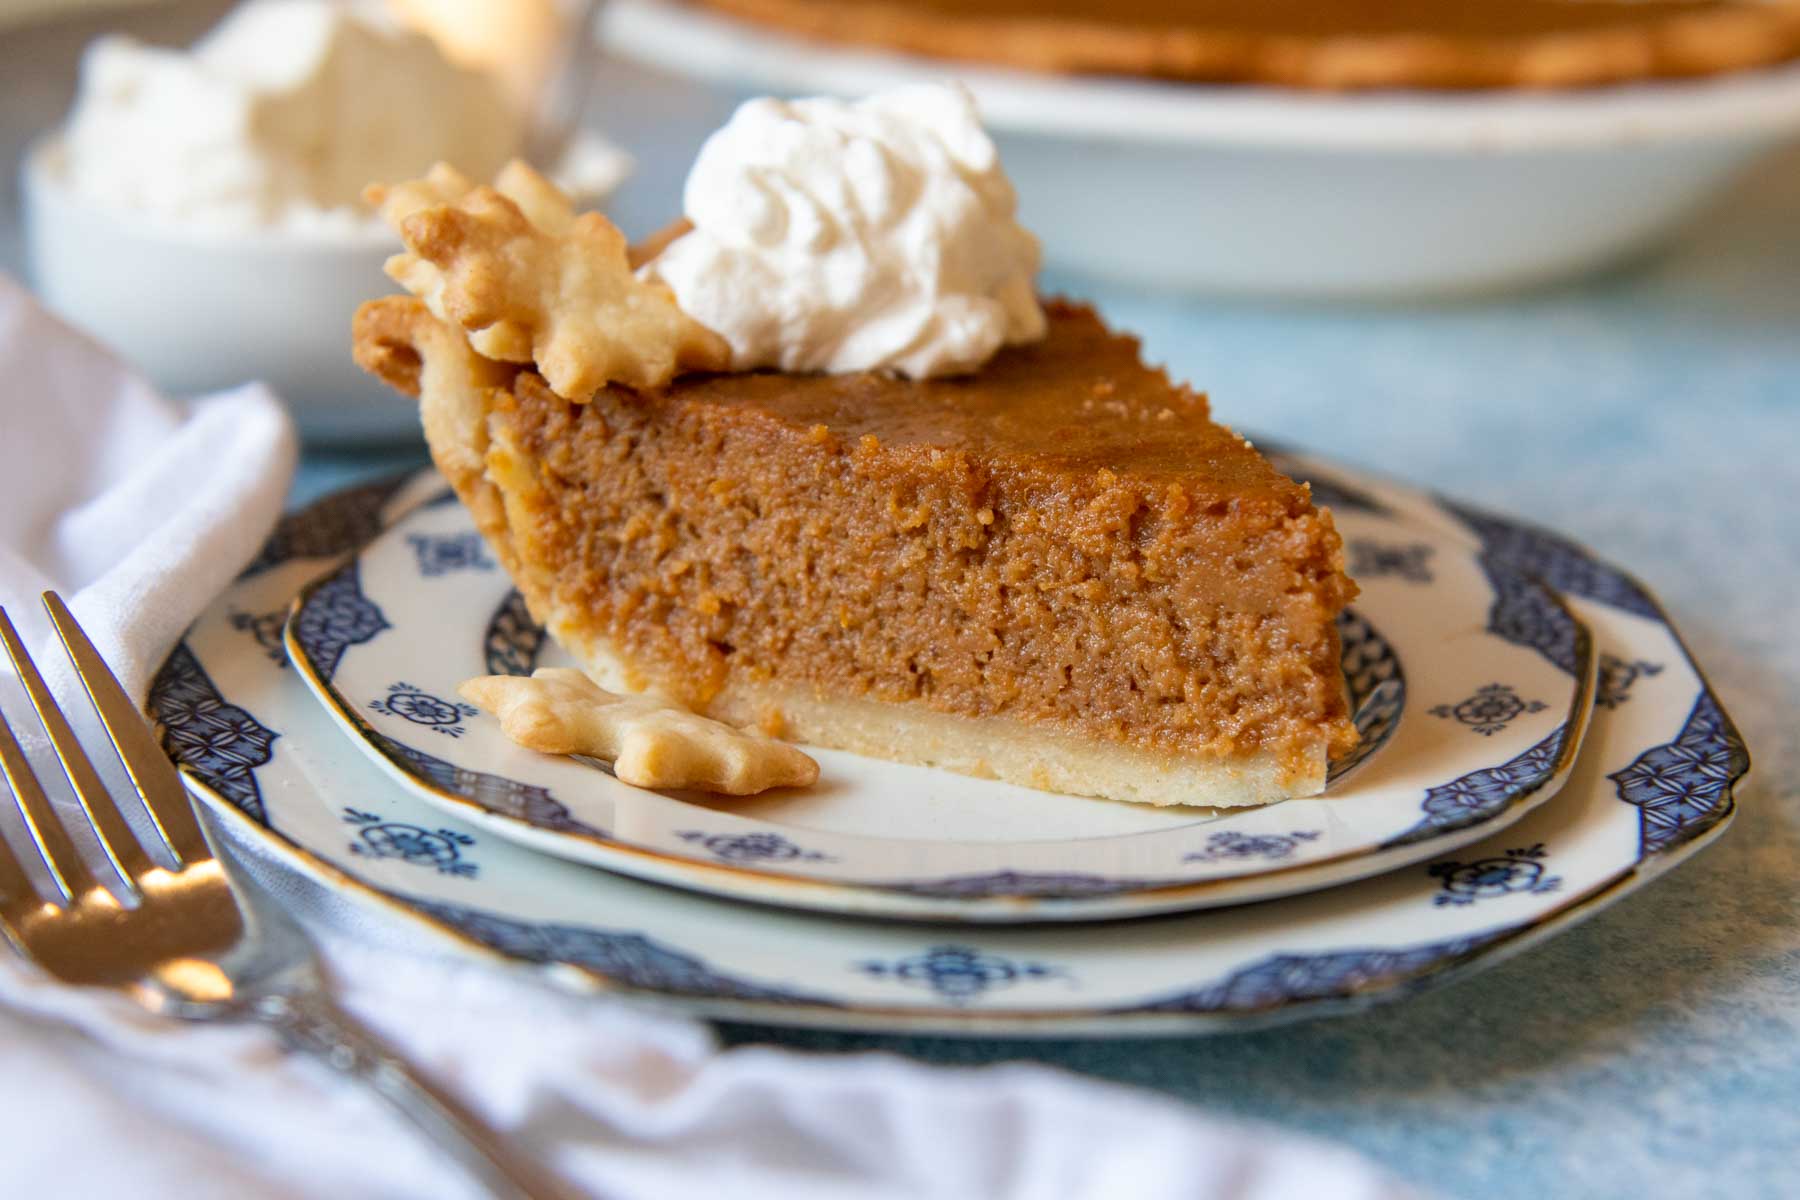
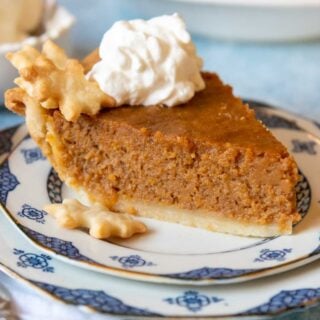
sweet potato pie made gluten-free!
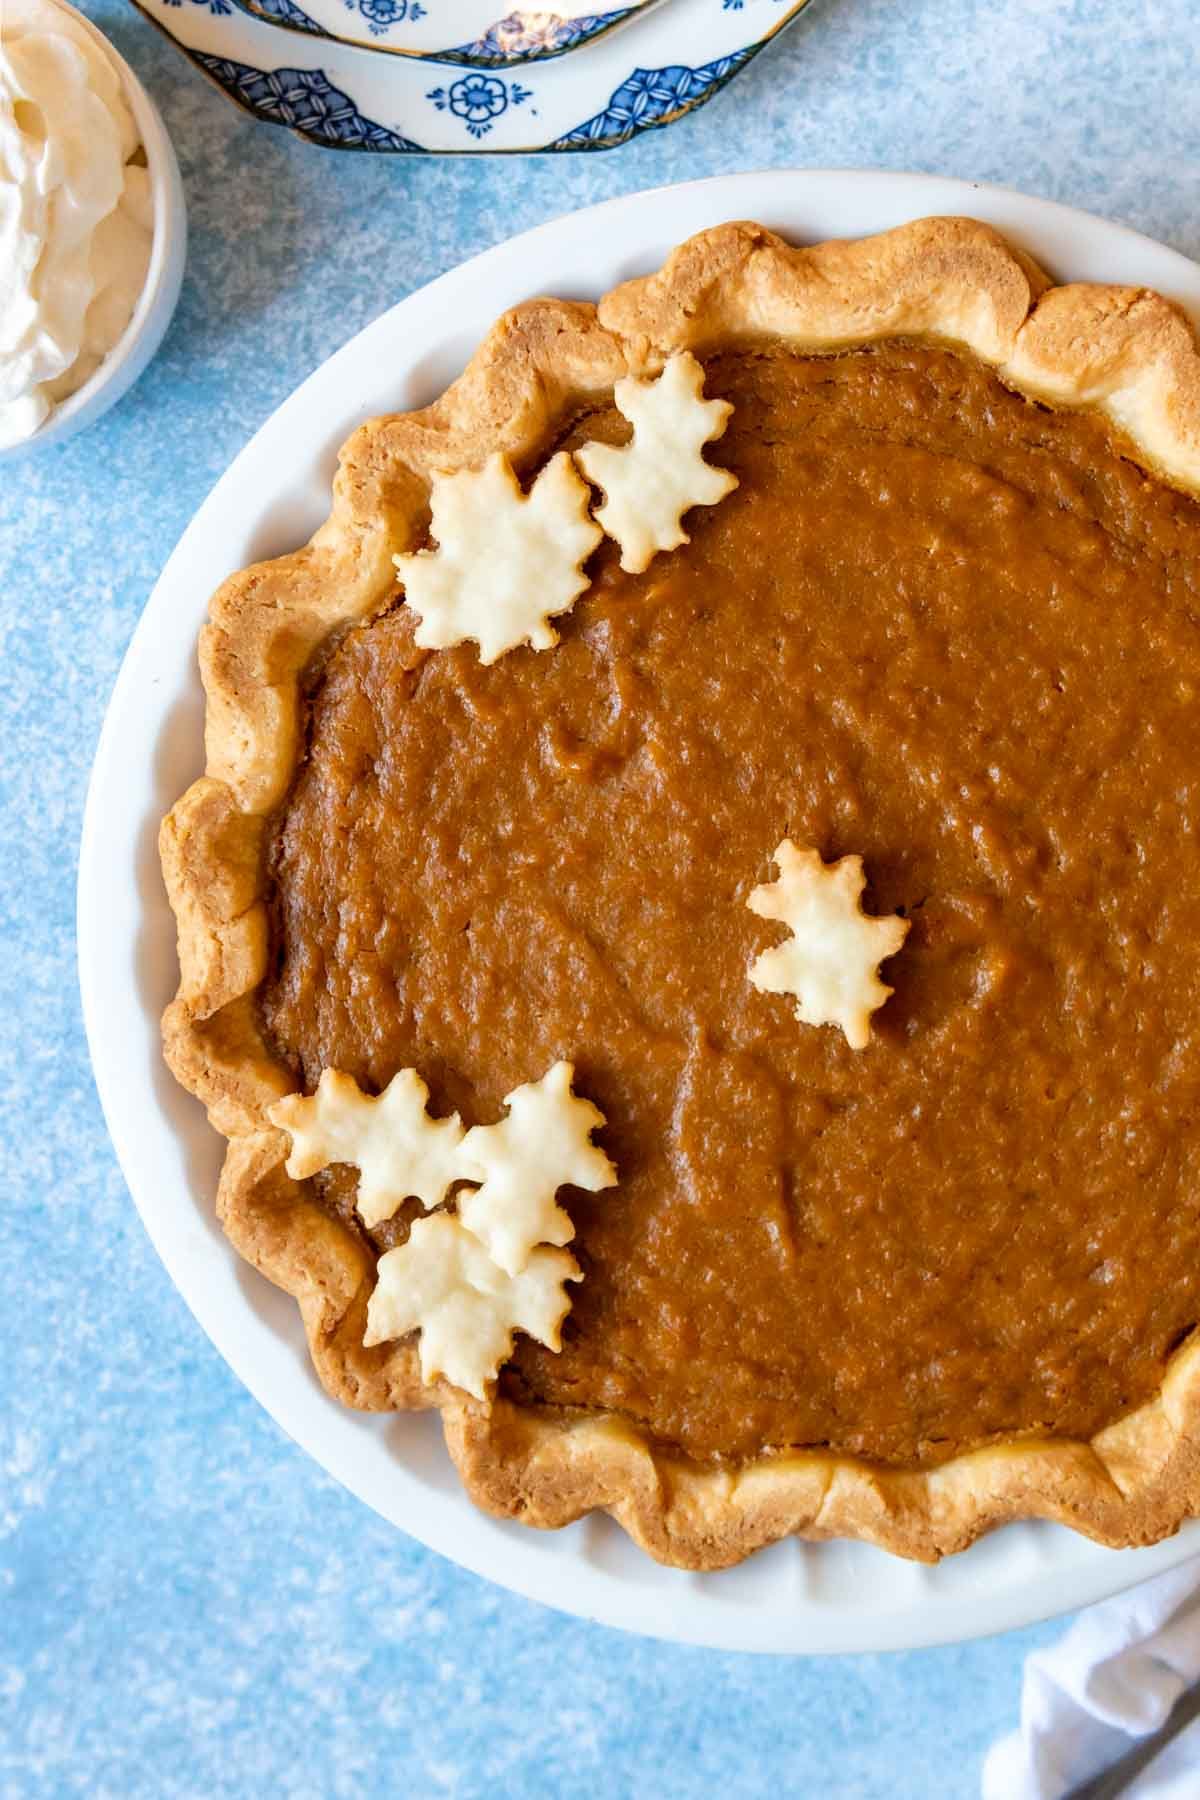
A family Thanksgiving would not be complete without a southern classic – gluten-free sweet potato pie! It makes a tasty alternative to pumpkin pie, with a warmly spiced custard pie filling in a tender, flaky gluten-free pastry crust.
When making the best gluten-free pie recipes a buttery, flaky pastry crust will fool even the toughest skeptics. Therefore, I use a fail-proof recipe for gluten-free pie dough to hold the creamy sweet potato filling, along with some easy to tips to guarantee a crispy bottom crust.
Roasting the sweet potatoes concentrates the flavor and removes some of the moisture so you are left with a silky smooth filling. Using evaporated milk over heavy cream adds a rich, caramel flavor and thickens the filling so it perfectly sets every time!
If you are looking for a gluten-free sweet potato dessert to beat out all pie recipes, you’ve come to the right place. You won’t be disappointed by the flavor and will love the easy, streamlined method, a cornerstone for gluten-free Thanksgiving recipes and those shared in my gluten-free cookbook!
Ingredient Notes / substitutions
For a gluten-free dairy-free sweet potato pie, refer to the suggested substitutions below, or those listed in gluten-free sweet potato casserole. I have not tested the pie without eggs for a vegan adaptation.
- Sweet Potatoes – For best flavor I recommend roasting the yams until tender. While some recipes suggest boiling, I prefer roasting because the flavor is more concentrated and no need to peel. I have not tested the recipe with canned sweet potatoes, but you would need 2 cups, mashed.
- Spices – Warm, fall spices of ground cinnamon, ground nutmeg, ginger, and cloves scream holiday dessert!
- Brown sugar – Adds a hint of caramel flavor and the right amount to not be overly sweet.
- Butter – For a dairy-free pie, replace with plant-based vegan butter or substitute coconut oil.
- Evaporated Milk – Used as natural thickener and gives a creamier texture. For dairy-free, use full-fat coconut milk (best flavor) or almond milk.
- Optional Bourbon – For bourbon sweet potato pie, omit the vanilla extract and add up to 1/4 cup bourbon. However much bourbon is added will have to be reduced from the milk. For instance, if using 2 tbsp bourbon, remove 2 tbsp milk.
- Gluten-free pie crust – The recipe that has won over countless GF bakers! For a dairy-free recipe, follow a specialized GF DF pie crust recipe.
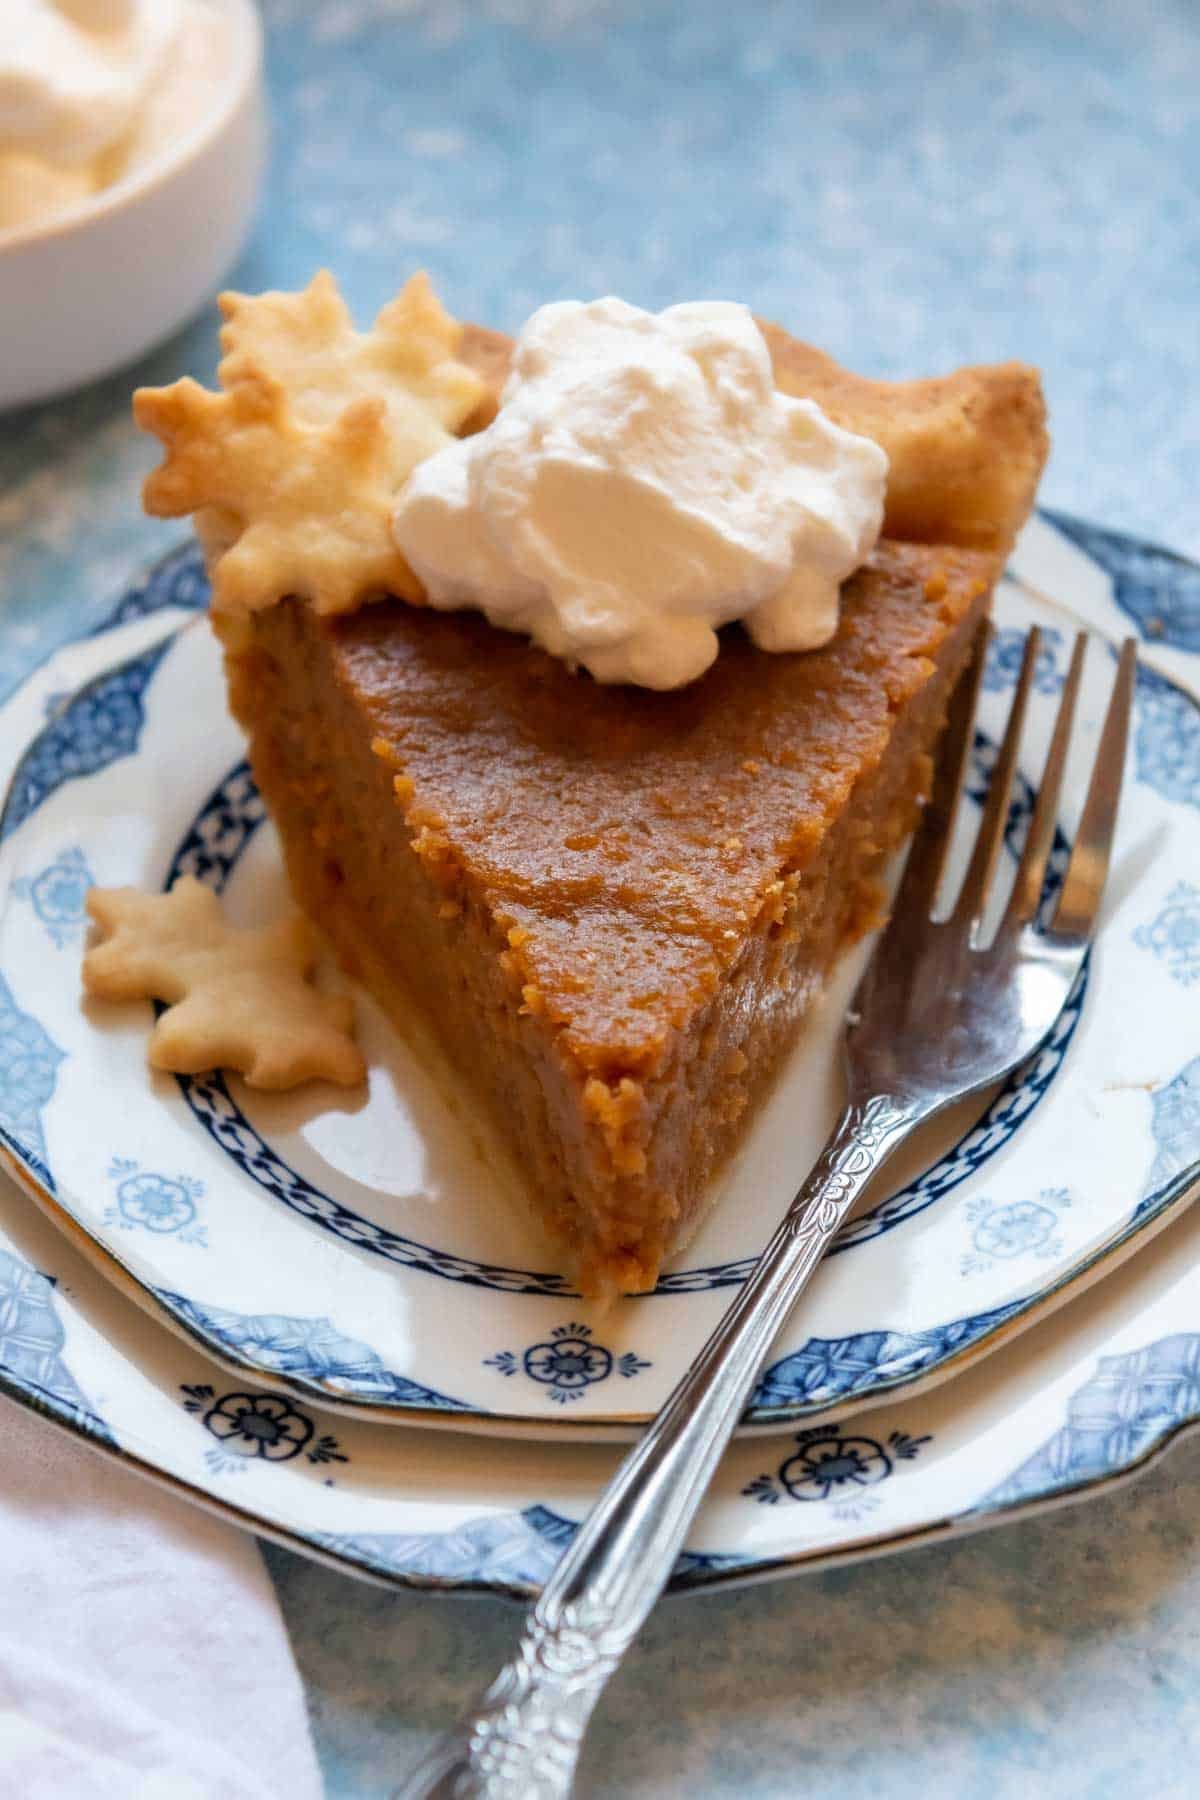
- Optional Toppings – Whipped cream, candied pecans, meringue, or whipped coconut cream
Pre-baking the crust
Why does this gluten-free sweet potato pie recipe beat out all others? Because the easy, yet magical, step of pre-baking the pie crust!
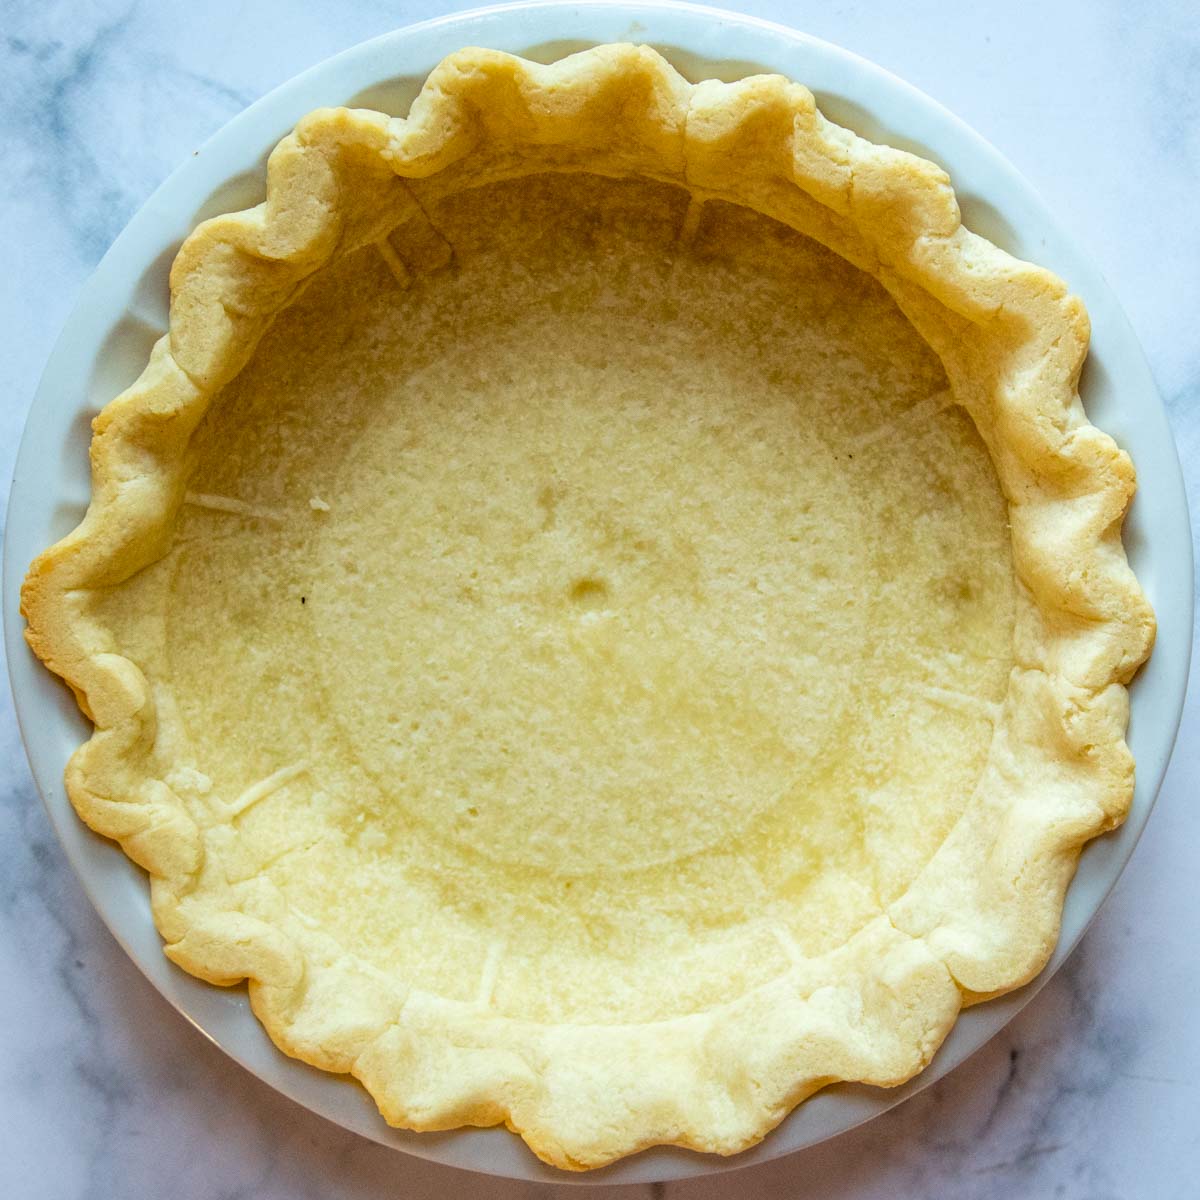
Fruit and custard pies have a tendency to have a soggy bottom crust due to excess liquid. Par baking, or blind-baking, the crust combats this common problem. When the pie is pulled from the oven both the edges and bottom layer will be perfectly flaky and crispy!
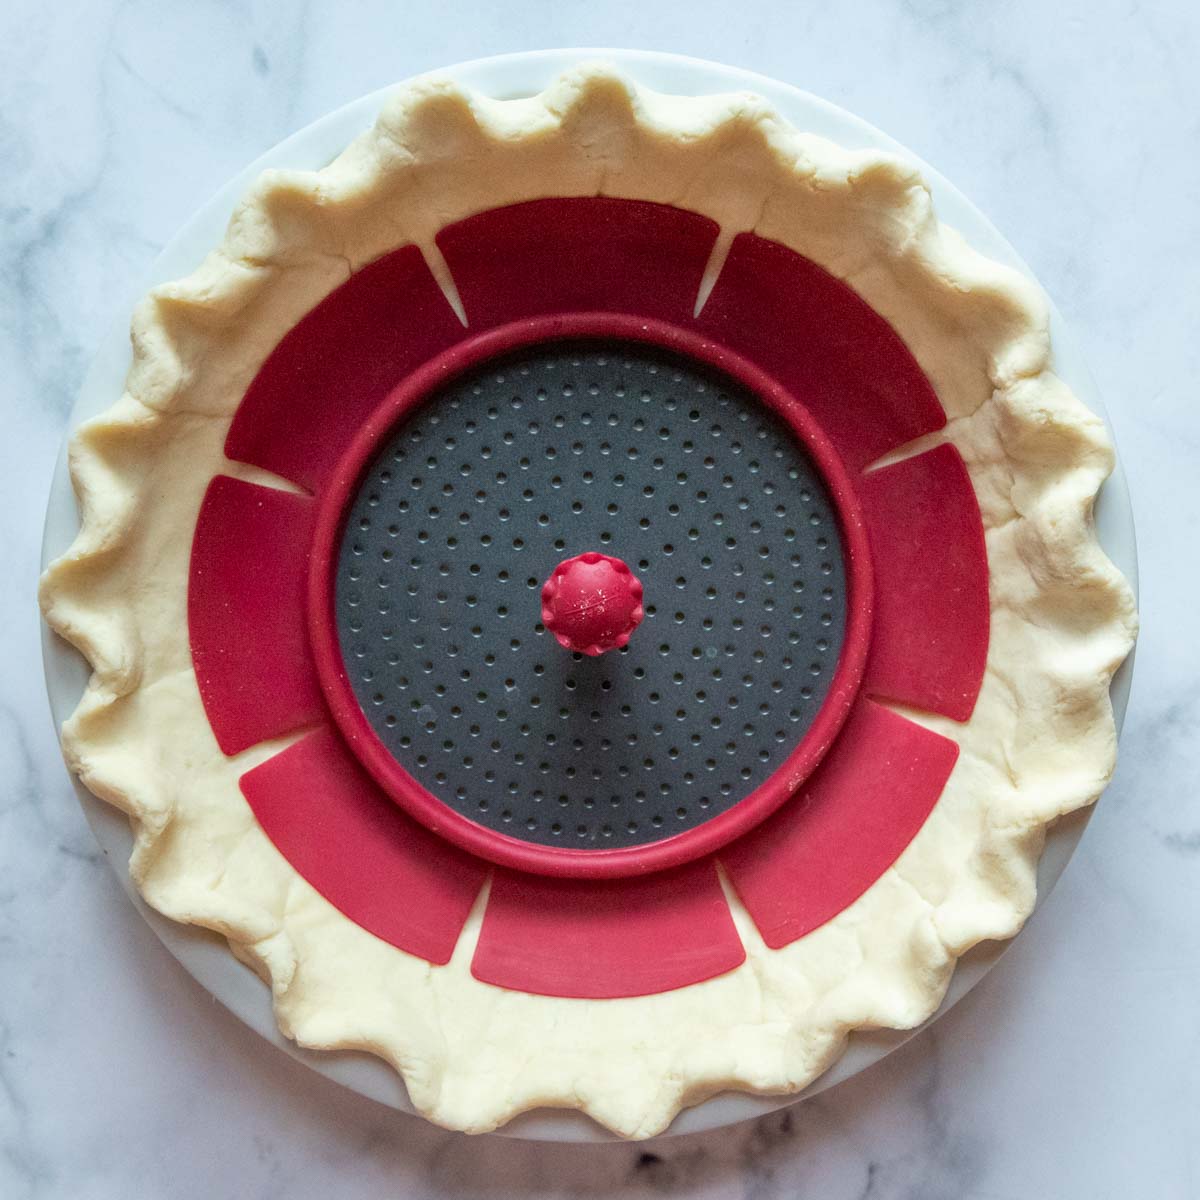
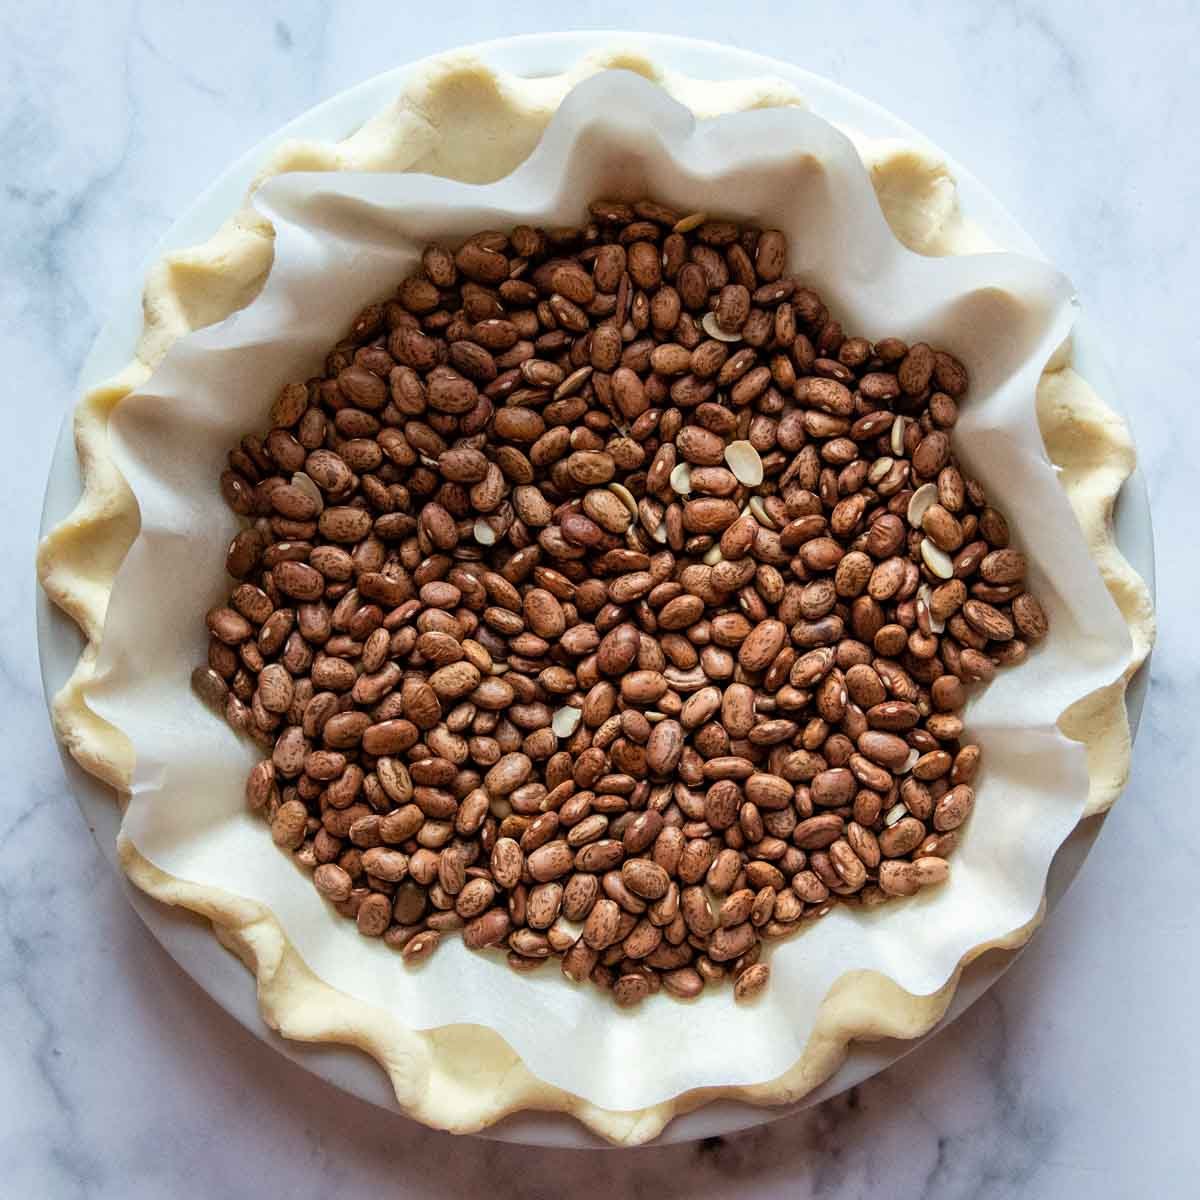
First roll out the pastry to fit in your pie pan. Freeze for at least 15 minutes to prevent shrinkage. Either line the pie shell with parchment paper and fill with dried beans or use this handy pie weight (also pictured).
Bake until the crust is set, but before it starts to turn golden brown, about 25-30 minutes. I also highly recommend using a pie crust shield, to prevent the exposed crust from becoming overly-browned. Aluminum foil may also be used.
If you prefer an extra flaky bottom crust, use a metal pie pan and pre-bake the crust with the pie dish directly on a baking sheet. The two metals together conducts more heat, ensuring a crisp bottom crust.
For more tips on preventing a soggy bottom crust, check out these easy tips included with this homemade apple pie with gluten-free crust or perfected gluten-free pumpkin pie.
how to make gluten-free sweet potato pie
(Below shows step-by-step photos and modified instructions. For the complete recipe, along with ingredient amounts, scroll down to the recipe card.)
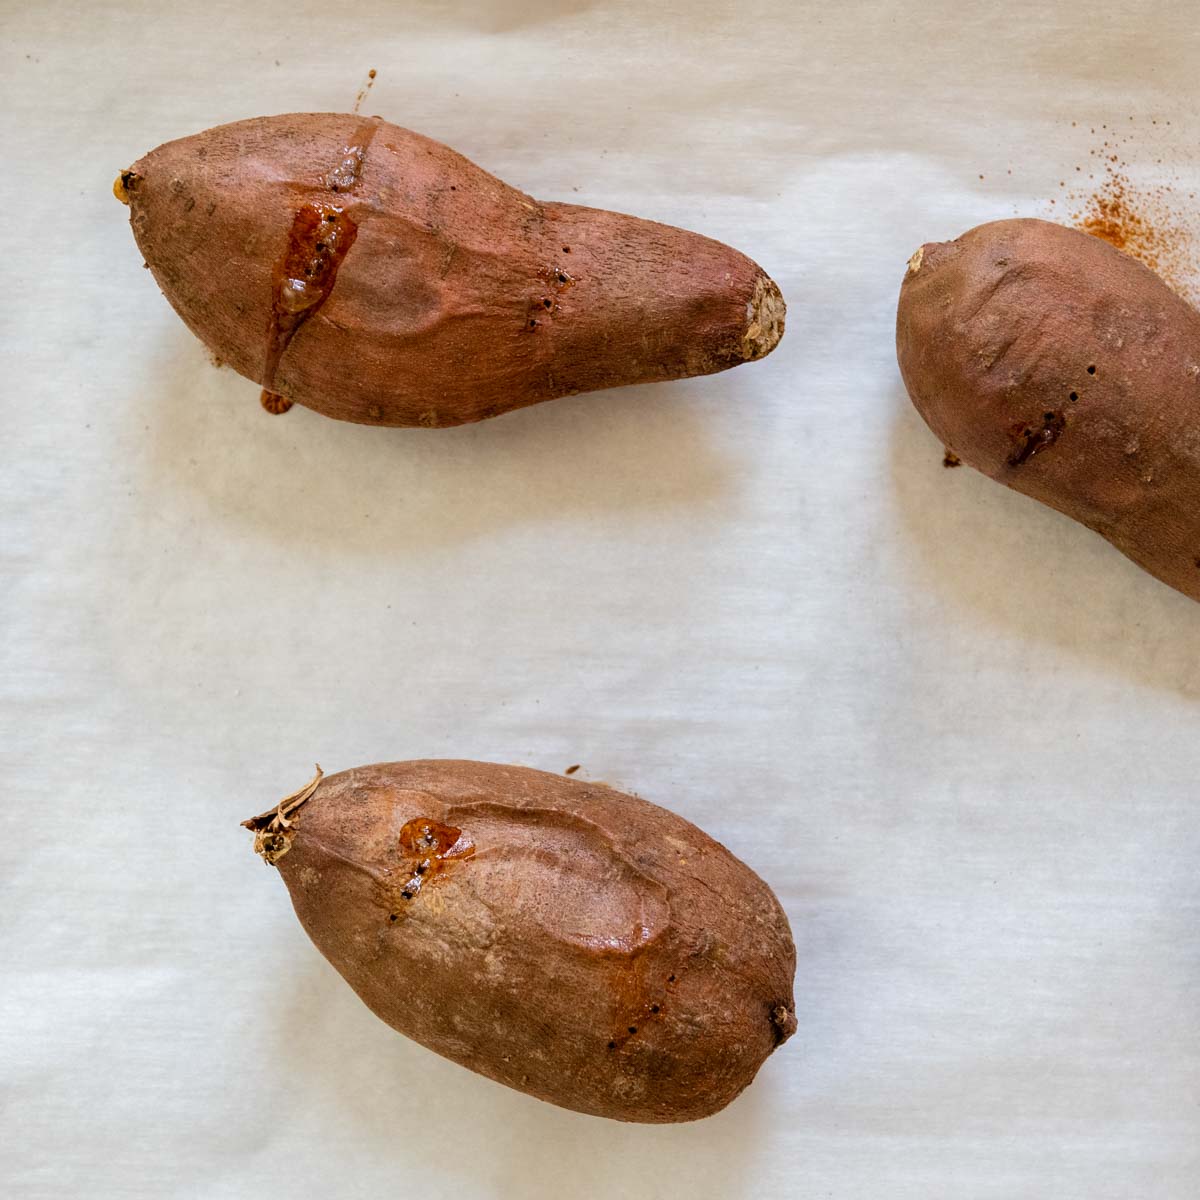
- Begin by roasted the sweet potatoes. Prick washed potatoes with a fork 5-6 times. Place on a baking sheet lined with foil or parchment and bake until soft and tender, about 50 minutes. The potatoes can also be roasted up to 2 days ahead, cooled, and stored in the refrigerator in an airtight container.
- While the potatoes are baking, roll out the GF crust and place in the freezer for at least 15 minutes. The crust may be par baked alongside with the sweet potatoes.
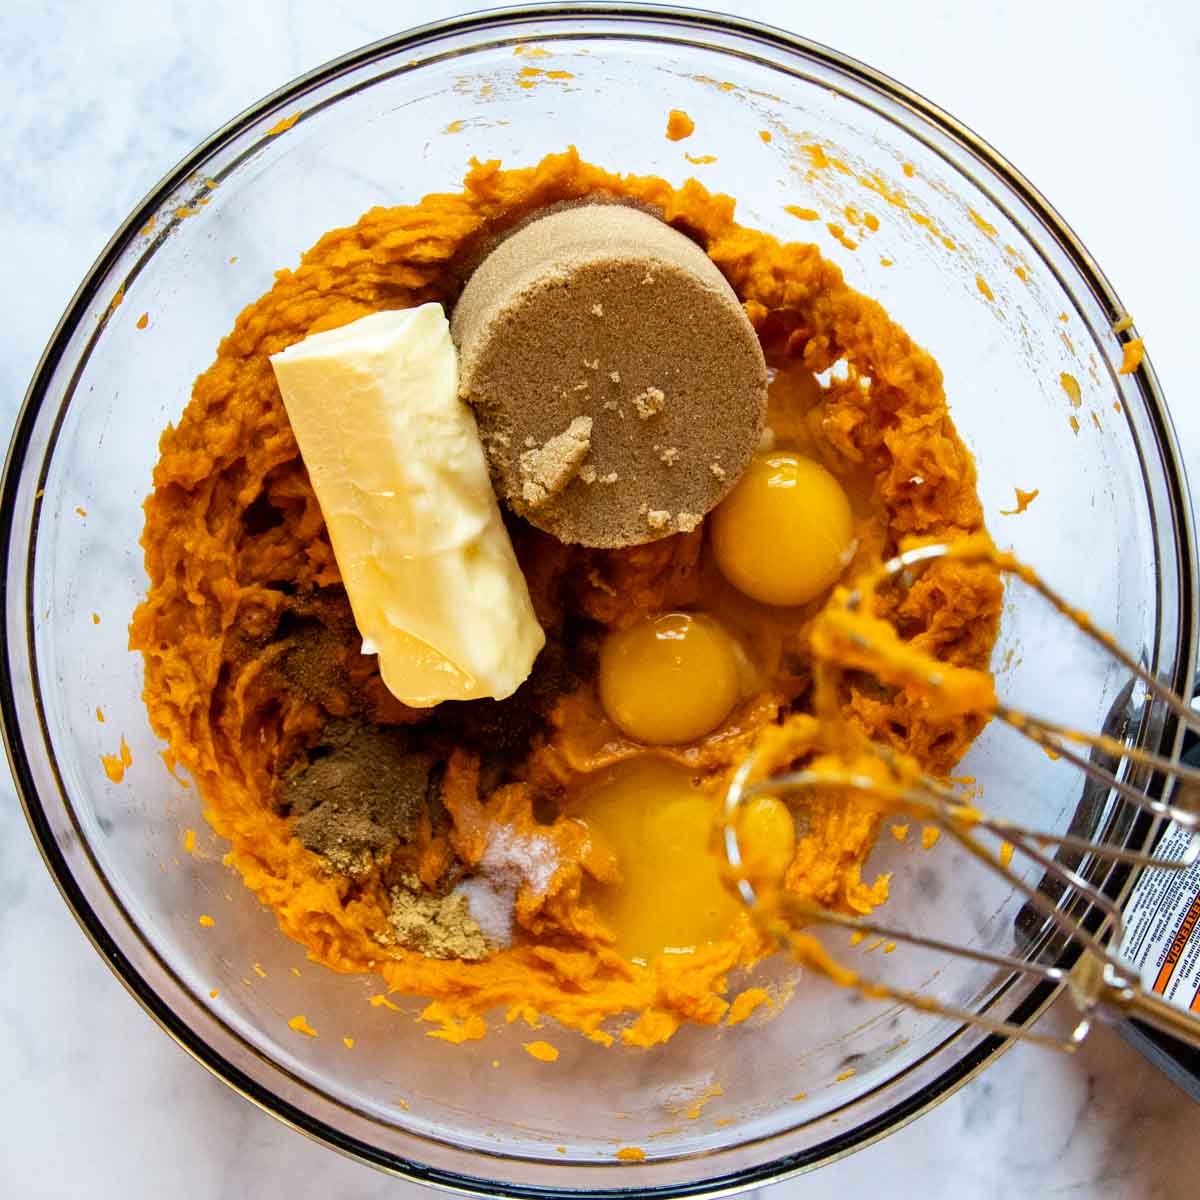
- Once the potatoes have cooled enough to handle, remove the flesh from the skins and place it in a large mixing bowl. Use an electric mixer to beat into a smooth sweet potato puree.
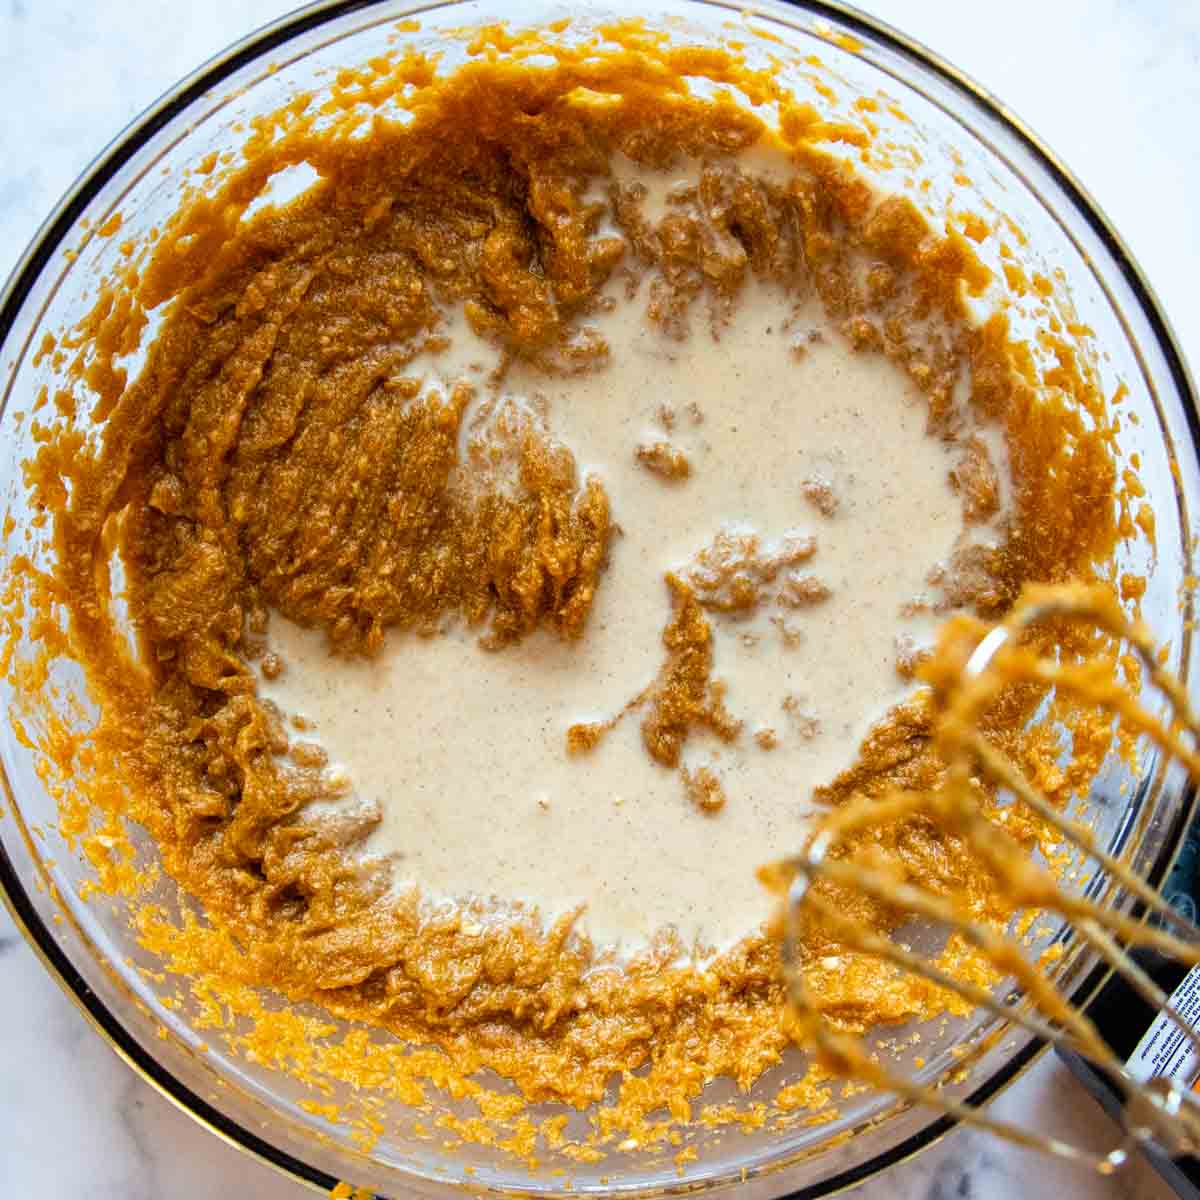
- Add the brown sugar, softened butter, eggs, vanilla, spices, and salt to the potatoes. Beat again and then mix in milk.
- Pour the mixture into the pre-baked crust. Cover the edges with a pie shield or with aluminum foil. Bake until the edges are firmly set and a toothpick inserted in the middle comes out without liquid, about 60-75 minutes.
how to know when pie is done
Wondering how to know when a pumpkin or sweet potato pie is done baking? There are a few clues to look for.
- The edges should be firmly set, just start to crack, and puff slightly.
- When a knife or toothpick is inserted in the middle it should not have liquid on it and come out mostly clean.
- Or use an instant read thermometer to check the custard’s temperature. It should ready 175ºF.
substituting other gluten-free crusts
A roll-out pastry crust is not the only option for gluten-free desserts. There are other GF options, such as a gluten-free crust using almond flour, oatmeal pie crust, and even a pecan crust. But will these work for sweet potato pie?
Yes and no. If you want a crisper, flaky crust, I would stick with pastry dough. However, if you want an easier press-in crust, use one of the recipes above, baking the crust almost completely before pouring in sweet potato mixture.
The taste will still be great, but the crust will have a softer consistency underneath. An almond flour crust would be the crispiest, while pecan nut crust softest.
I don’t recommend making.a gluten free sweet potato pie with a graham cracker crust because there will not be any variance in textures, with both the filling and shell being soft.
storing and make-ahead notes
Can you make a gluten-free recipe for sweet potato pie ahead of time? Yes. In fact, it tastes even better if you do!
I recommend baking the pie one day before serving to give the spices time to meld and enhance. Store at room temperature, uncovered, or loosely tent foil over the top.
The pie crust may be prepared up to two days ahead and refrigerated, or 2 weeks ahead and frozen. The filling can be mixed together up to one day ahead and refrigerated in an airtight container.
SAVE THIS recipe for gluten-free sweet potato pie TO YOUR PINTEREST BOARD!
Let’s be friends on Pinterest! I’m always sharing great recipes!
Southern Gluten-Free Sweet Potato Pie (Flakiest Crust)
Equipment Needed
Ingredients
Gluten-Free Pie Crust
- 8 tablespoon unsalted butter cut into small cubes and frozen for 10 minutes
- 2 ½ tablespoons ice water
- 1 ½ tablespoons sour cream
- 1 ½ teaspoon apple cider vinegar
- ¾ PLUS ⅔ cup (6 ½ ounces weight total) gluten free flour I highly recommend using Cup4Cup gluten-free flour
- 1 ½ teaspoon sugar
- ½ teaspoon salt
Sweet Potato Pie Filling
- 1 ½ pounds sweet potatoes
- ¾ cup light brown sugar
- 6 tablespoons butter very soft
- 1 large egg
- 2 egg yolks
- 1 teaspoon vanilla extract
- 1 teaspoon ground cinnamon
- ½ teaspoon ground ginger
- ¼ teaspoon ground nutmeg
- ⅛ teaspoon ground cloves
- ¼ teaspoon salt
- ¾ cup evaporated milk
- Optional: Whipped cream, for serving
Instructions
Gluten-Free Pie Crust
- Place the cubed butter in the freezer for 10 minutes. Mix together the cold water, sour cream, and vinegar in a small bowl. Place the liquids bowl in the refrigerator until you are ready to use.8 tablespoon unsalted butter,2 ½ tablespoons ice water,1 ½ tablespoons sour cream,1 ½ teaspoon apple cider vinegar
- FOOD PROCESSOR: Pulse flour, sugar, and salt together until mixed.BY HAND: Whisk dry ingredients in medium-sized bowl.¾ PLUS ⅔ cup (6 ½ ounces weight total) gluten free flour,1 ½ teaspoon sugar,½ teaspoon salt
- FOOD PROCESSOR: Process the butter into the flour mixture until well incorporated, evenly dispersed, and without large chunks.BY HAND: Use a pastry blender, fork, or fingers to cut and knead butter into the dough until it is well incorporated throughout.
- FOOD PROCESSOR: Add the liquids to the food processor and pulse until the flour becomes moistened and small dough clumps appear. If dough doesn't start to come together, add a touch more cold water. BY HAND: Add half the liquids and knead with fingers or a fork. Pour in the remaining liquids. Knead until the dough starts to come together and the liquids are well mixed with flour.TIP: To check if you have enough liquid, clump and flatten a small bit of dough. If it doesn’t stick together, is crumbly, or breaks apart easily, add a small dash of ice water. Pulse a few times and recheck. If the dough is too wet or sticky, add a dash of flour. Pulse a few times and recheck.
- Turn dough onto sheet of plastic wrap and flatten into a thick 1" disk. Wrap tightly and refrigerate for at least 1 hour or freeze for 30 minutes. Before rolling out, let sit on counter 5 minutes so it is easier to work with.
- Lay a large piece of parchment paper on your workspace. Place unwrapped dough disc in middle and place same sized sheet on top. Use a rolling pin to press and spread out down from the middle out. Roll out into a circle slightly larger than your pie dish.
- Remove top paper, and invert onto pie dish. Remove second paper. TIP: If the dough warmed while rolling, it may be trickier to take the paper off. If this happens, leave the paper on, and stick the whole thing in the fridge for 5-10 minutes. Once the crust is chilled again it's much easier to pull off the paper. If the dough is too cold and the crust breaks, let it sit on the counter for a minute first.
- If necessary, trim the edges so there is an even ½ inch overhang all around the edges. Tuck the edge under, all the way around, and then use your finger and thumb to make a decorative edge.
- Preheat the oven to 375ºF. Freeze the crust for at least 15 minutes, while you begin roasting the sweet potatoes.
- After the crust is solid, line the pie shell with parchment paper and fill with dried beans or use a pie weight . Cover the edges with a pie shield or protect with aluminum foil.
- Bake until the crust is set, but before it starts to turn golden brown, about 25-30 minutes. The pie may be baked alongside the roasted potatoes.
Sweet Potato Filling
- Line a baking sheet lined with foil or parchment paper. Prick washed potatoes with a fork 5-6 times and place on the sheet. Bake until very soft, about 50-60 minutes at 375ºF.1 ½ pounds sweet potatoes
- Reduce oven to 350ºF. Once the potatoes have cooled enough to handle, remove the flesh from the skins and place it in a large mixing bowl. Use an electric mixer to beat into a smooth puree.
- Add the softened butter, brown sugar, egg, egg yolks, vanilla, spices, and salt to the potatoes. Beat again until smooth and then mix in milk until throughly combined.¾ cup light brown sugar,6 tablespoons butter,1 large egg,2 egg yolks,1 teaspoon vanilla extract,1 teaspoon ground cinnamon,½ teaspoon ground ginger,¼ teaspoon ground nutmeg,⅛ teaspoon ground cloves,¼ teaspoon salt,¾ cup evaporated milk
- Pour the mixture into the pre-baked crust. Cover the edges with a pie shield or with aluminum foil. Bake in 350ºF until the edges are firmly set and a toothpick inserted in the middle comes out without liquid and mostly clean about 60-75 minutes.
- Cool the pie completely before slicing and serving, about 3-5 hours. For best results, make the pie one day ahead of serving and store at room temperature, uncovered or loosely tented with foil.
- DID YOU MAKE THIS RECIPE?? DON'T FORGET TO LEAVE FEEDBACK AND/OR CLICK A STAR RATING ON THE RECIPE CARD
Recipe Notes
Dairy-Free Modification
For a dairy-free recipe, follow a specialized gluten-free dairy-free pie crust recipe or use a pre-baked almond flour crust (the crust will be softer). Use full-fat coconut milk in place of the evaporated milk and vegan butter. Reduce salt to 1/8 teaspoon.Storing and Make-Ahead Notes
I recommend baking the pie one day before serving to give the spices time to meld and enhance. Store at room temperature, uncovered, or loosely tent foil over the top. The pie crust may be prepared up to two days ahead and refrigerated or 2 weeks ahead and frozen. The filling can be mixed together up to one day ahead and refrigerated in an airtight container. Store pie up to two days at room temperature, covered with foil. For longer storage, refrigerate, covered with foil, up to 3 days. Serve at room temp.Nutrition
This post contains affiliate links. My opinions are always my own. If you purchase a product through an affiliate link, I make a small commission – at no cost to you. Read full disclosure policy here.
Deb says
Thanks for publishing this. Your instructions seem very clear and your page is laid out nicely. I can’t wait to try it for our Thanksgiving.
Melissa Erdelac says
Me too! Please let me know how it goes, Deb!
Best,
Melissa