Mummy Cookies
Posts may contain affiliate links, meaning that I may earn a commission if you use a link provided.

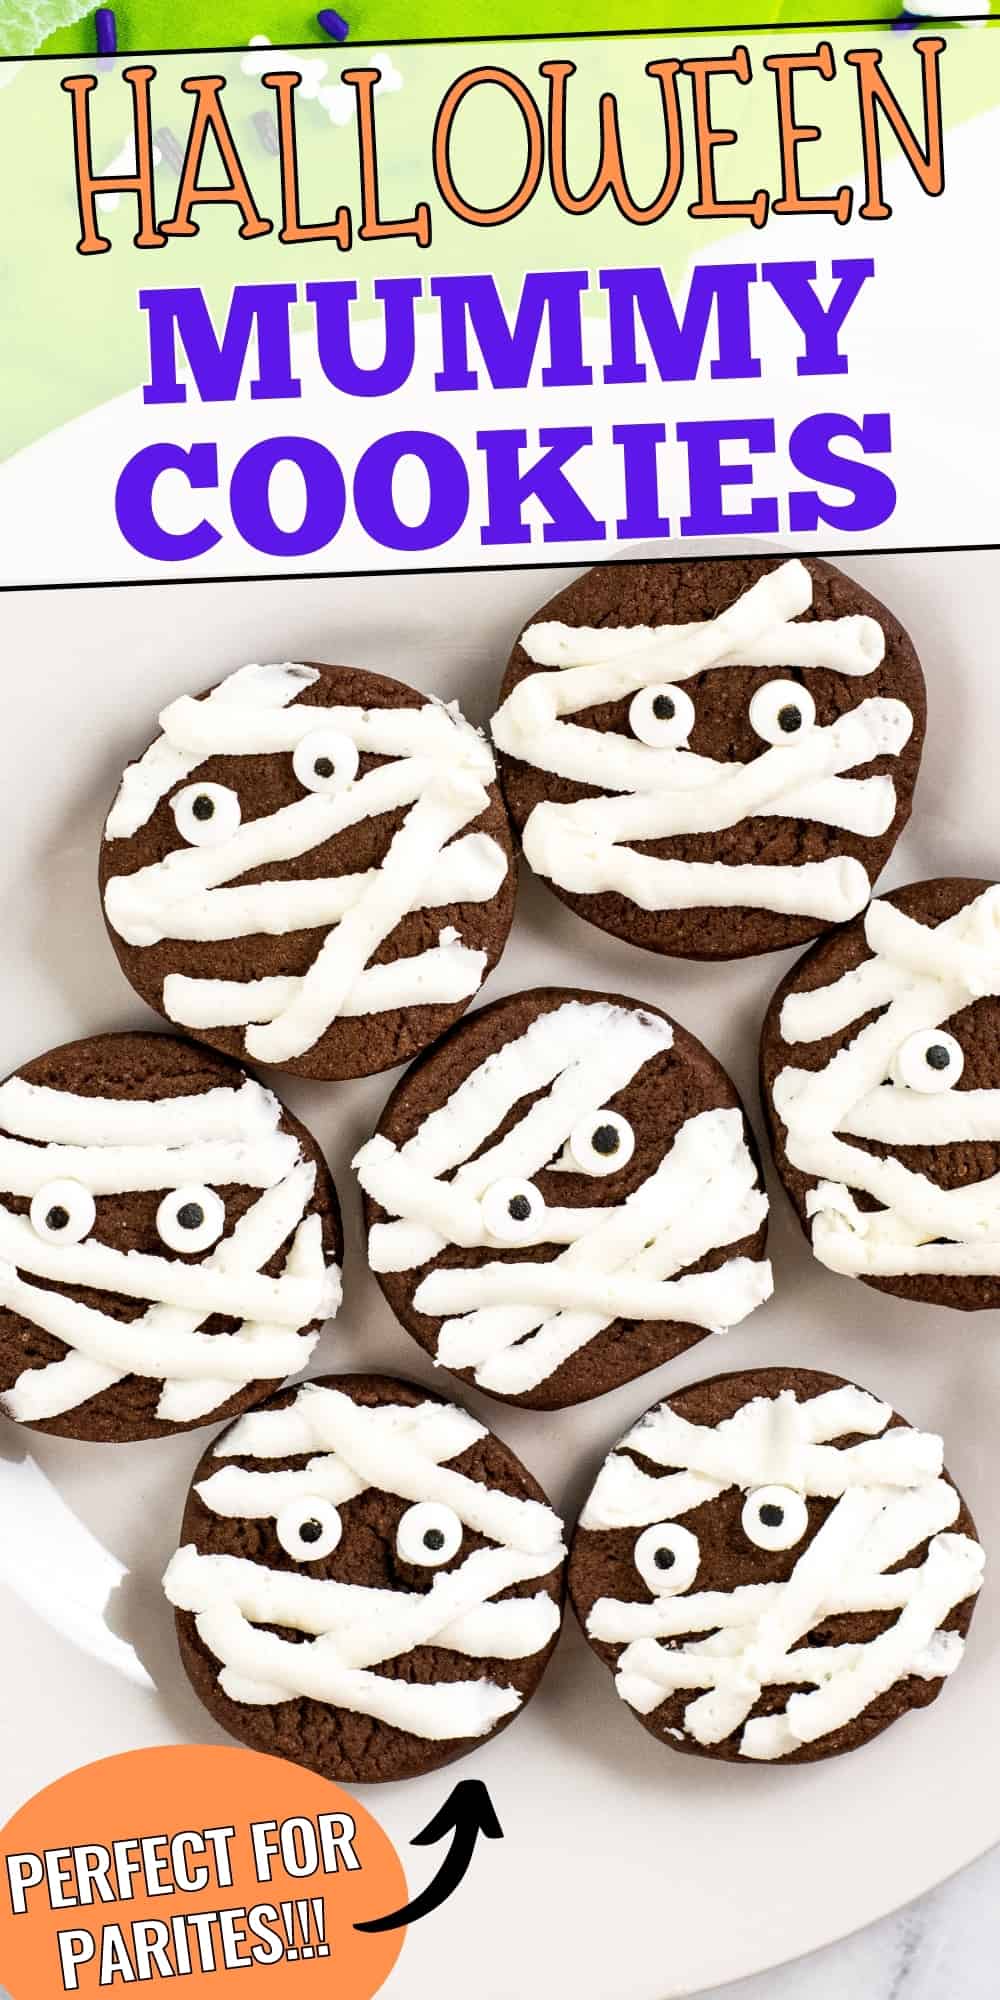
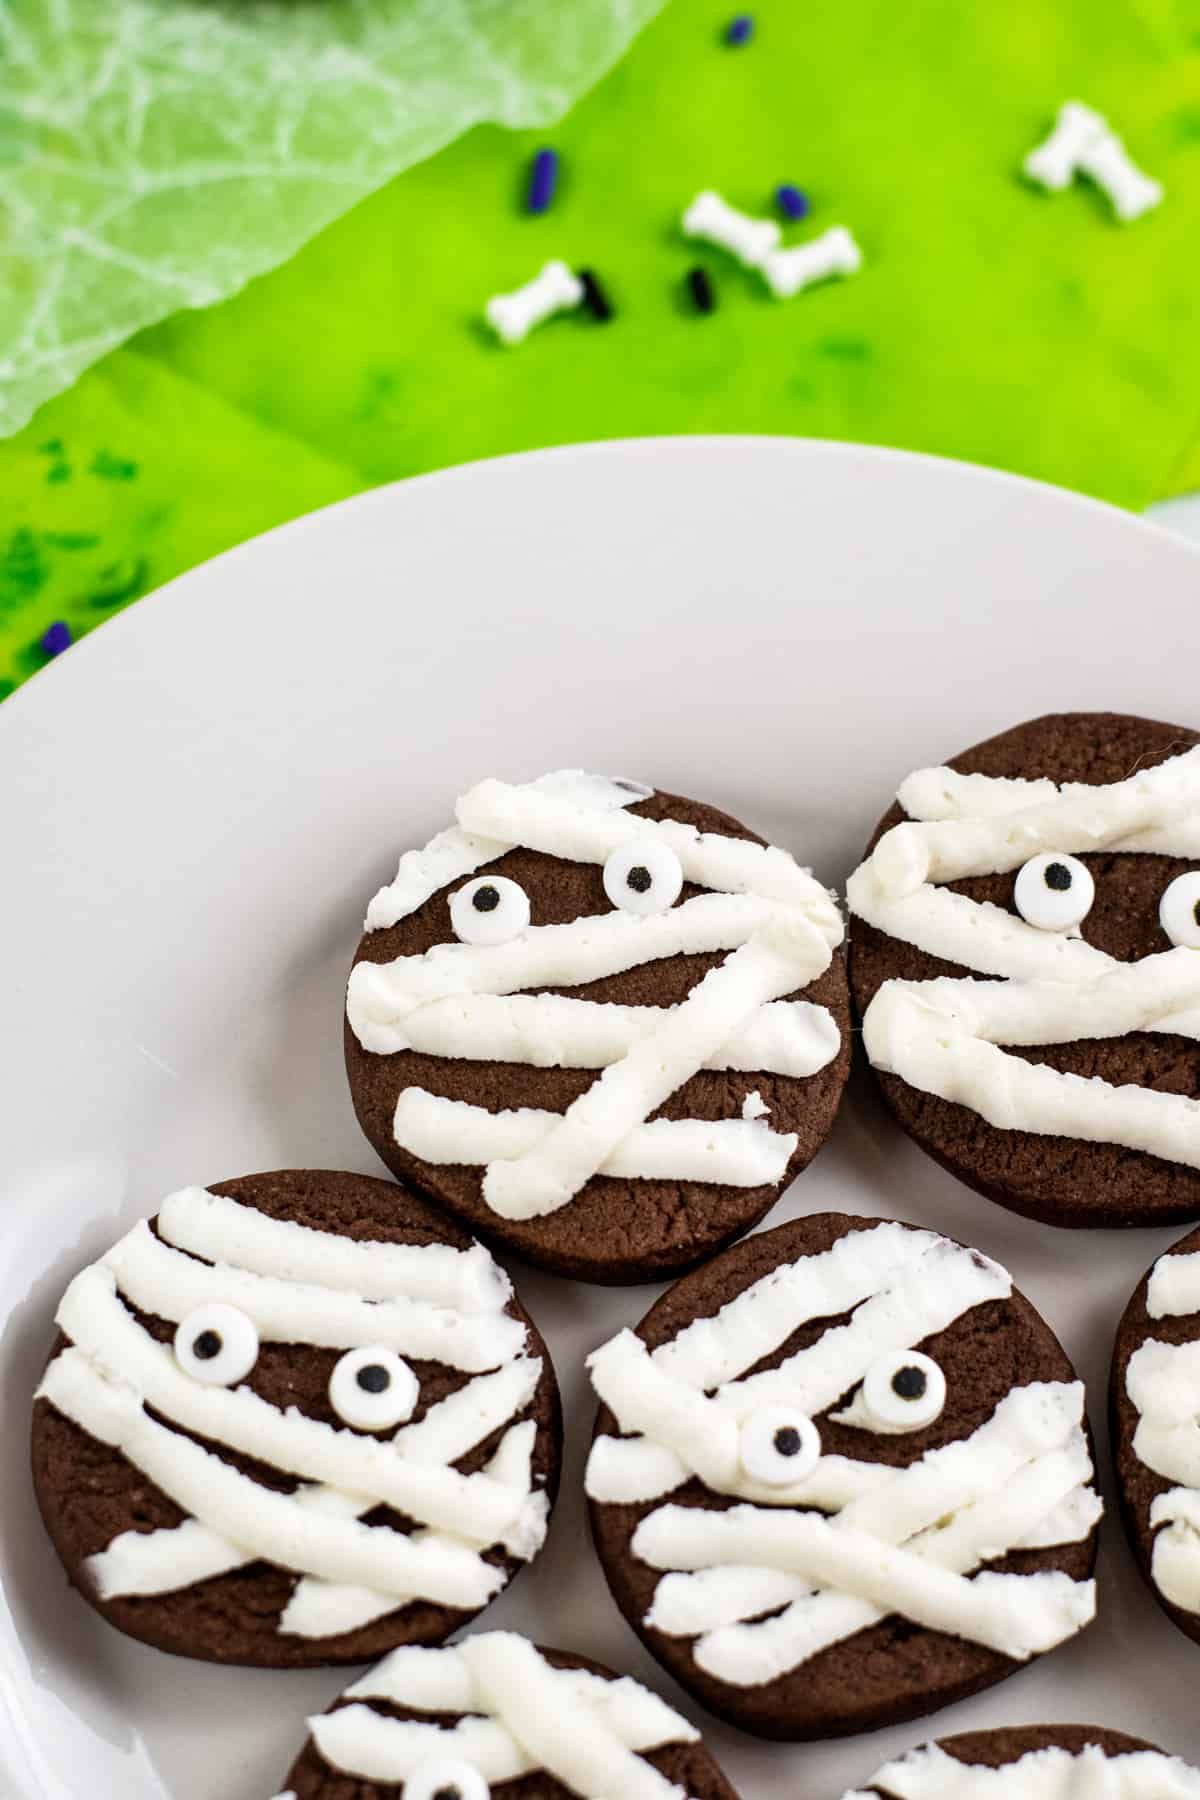
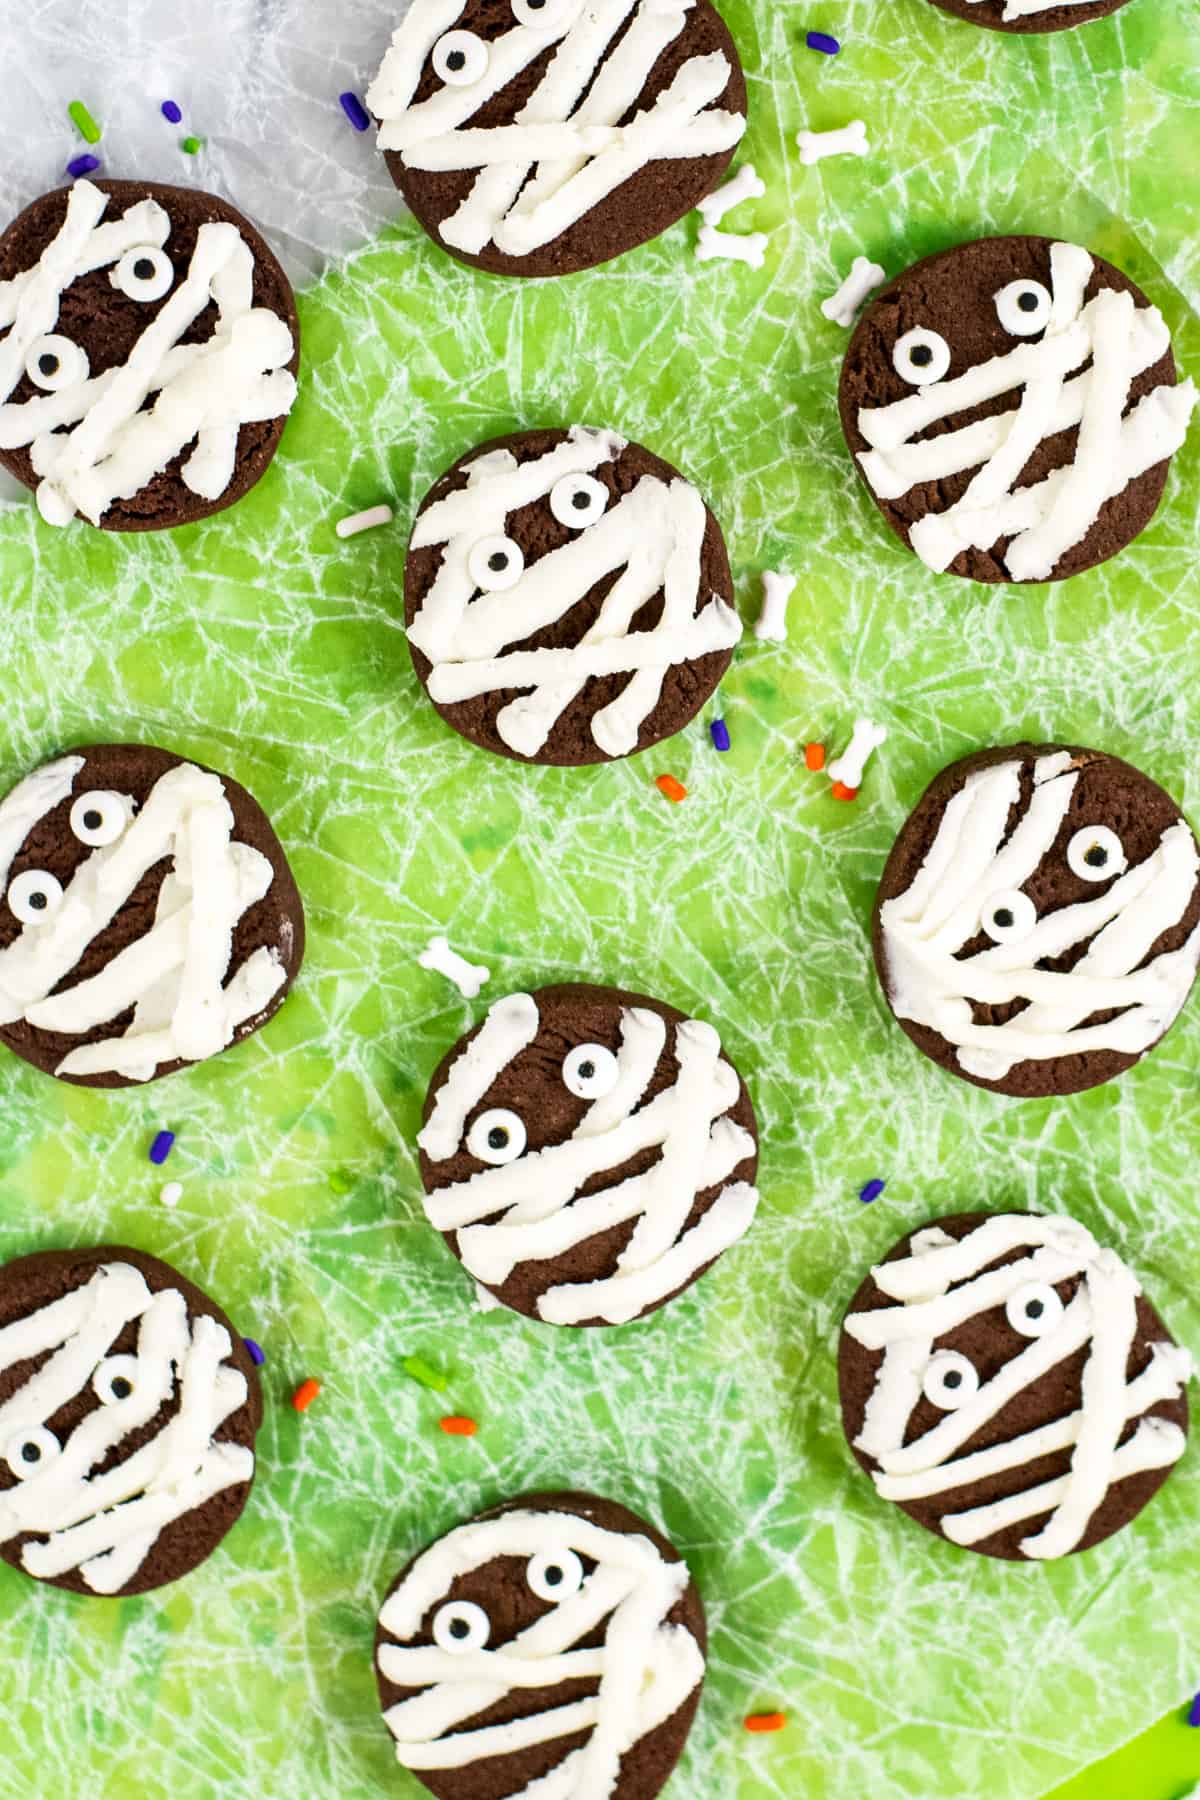
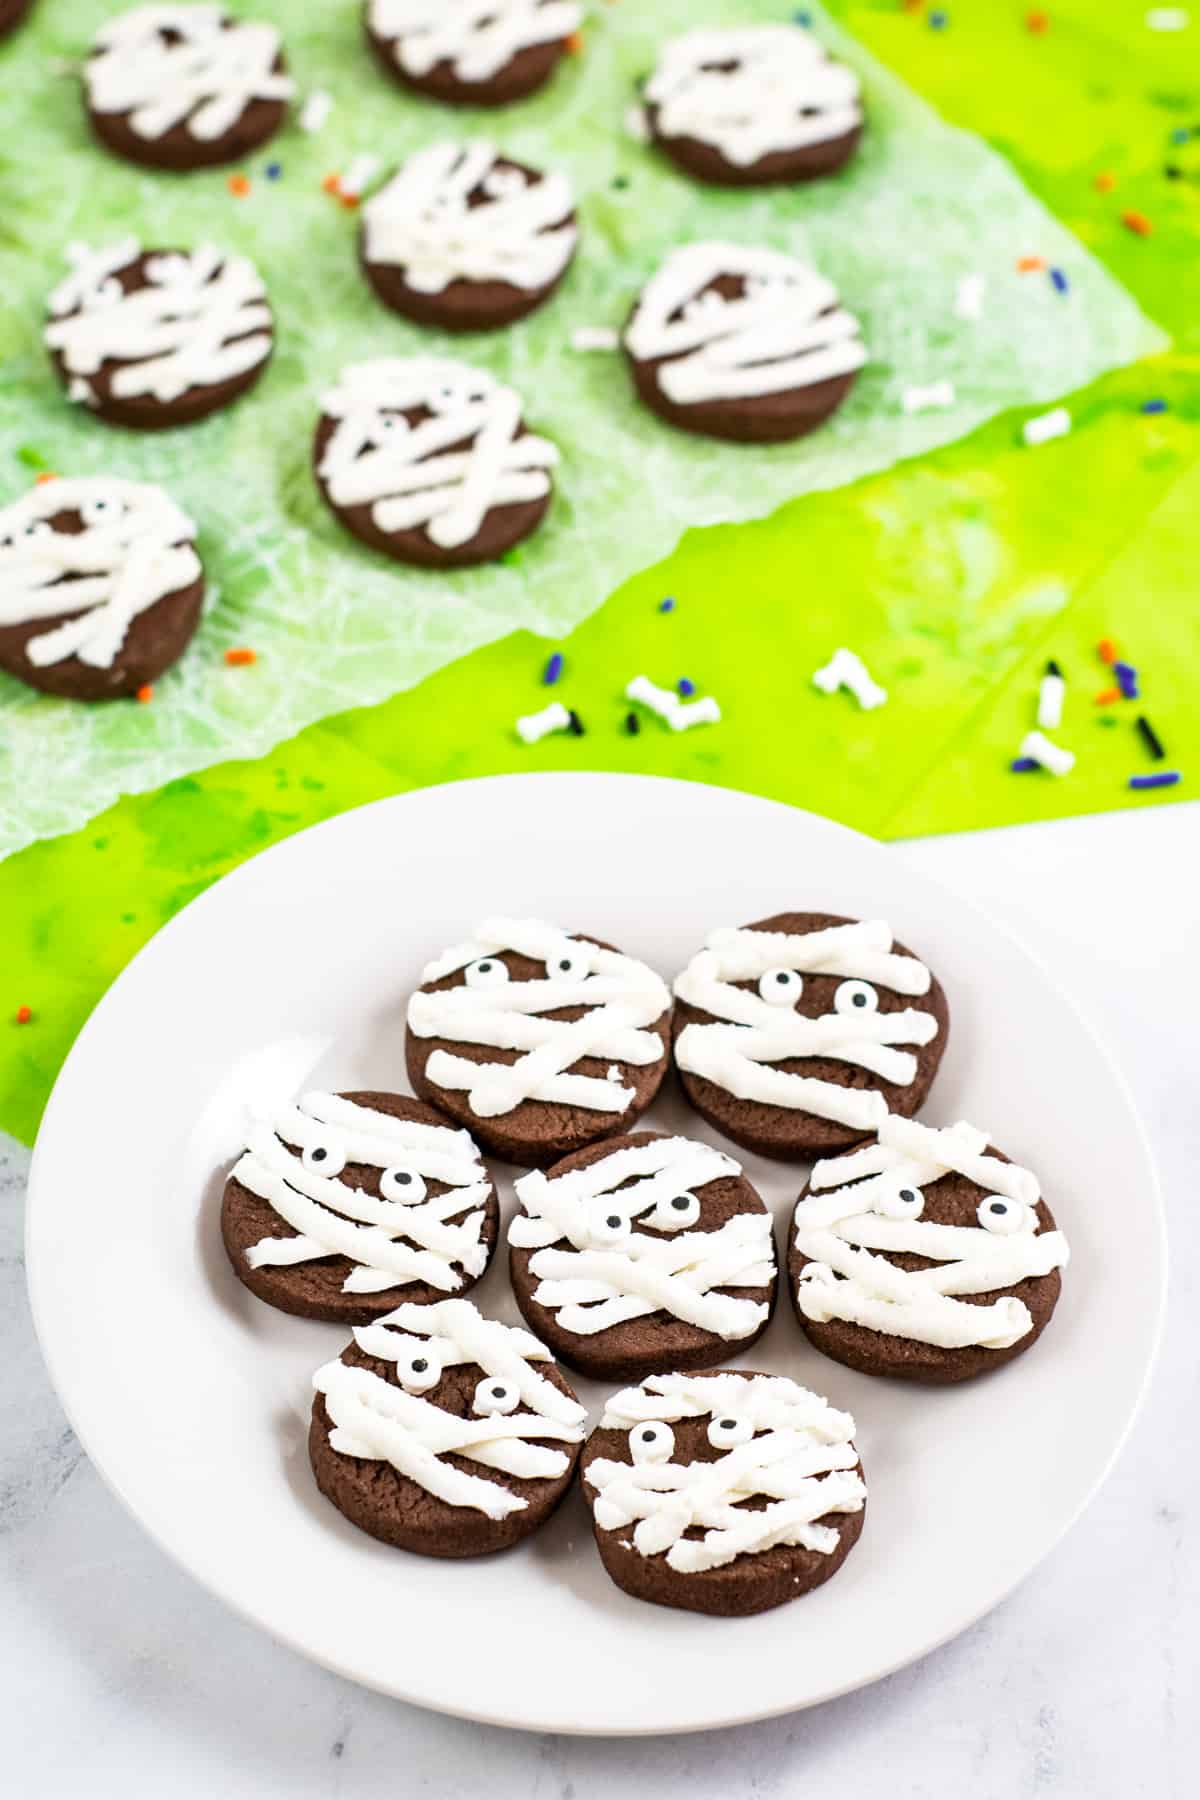
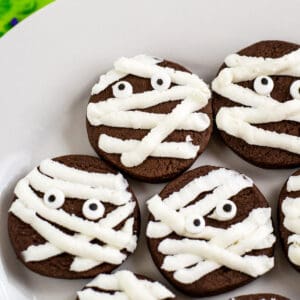
Mummy cookies! A tasty Halloween cookie made by topping soft and chewy chocolate cookies with strips of sweet buttercream frosting.
For more mummy recipes for Halloween, try our mummy hot dogs and mummy rice krispies treats.
These chocolate mummy cookies are perfect to make for Halloween parties, as one batch makes 60 of the festive treats!
They are also great to get in the kitchen and make with the kids, just for fun. For more creative Halloween cookie recipes check out these slime filled black velvet cookies, witch hat cookies, and black and red crinkle cookies.
The kids will love helping to make these decorated mummy cookies. Give them a piping bag full of icing and let them have fun turning the cookies into mummies with strips of frosting and candy eyeballs.
Ingredients
For the chocolate cookies, you will need:
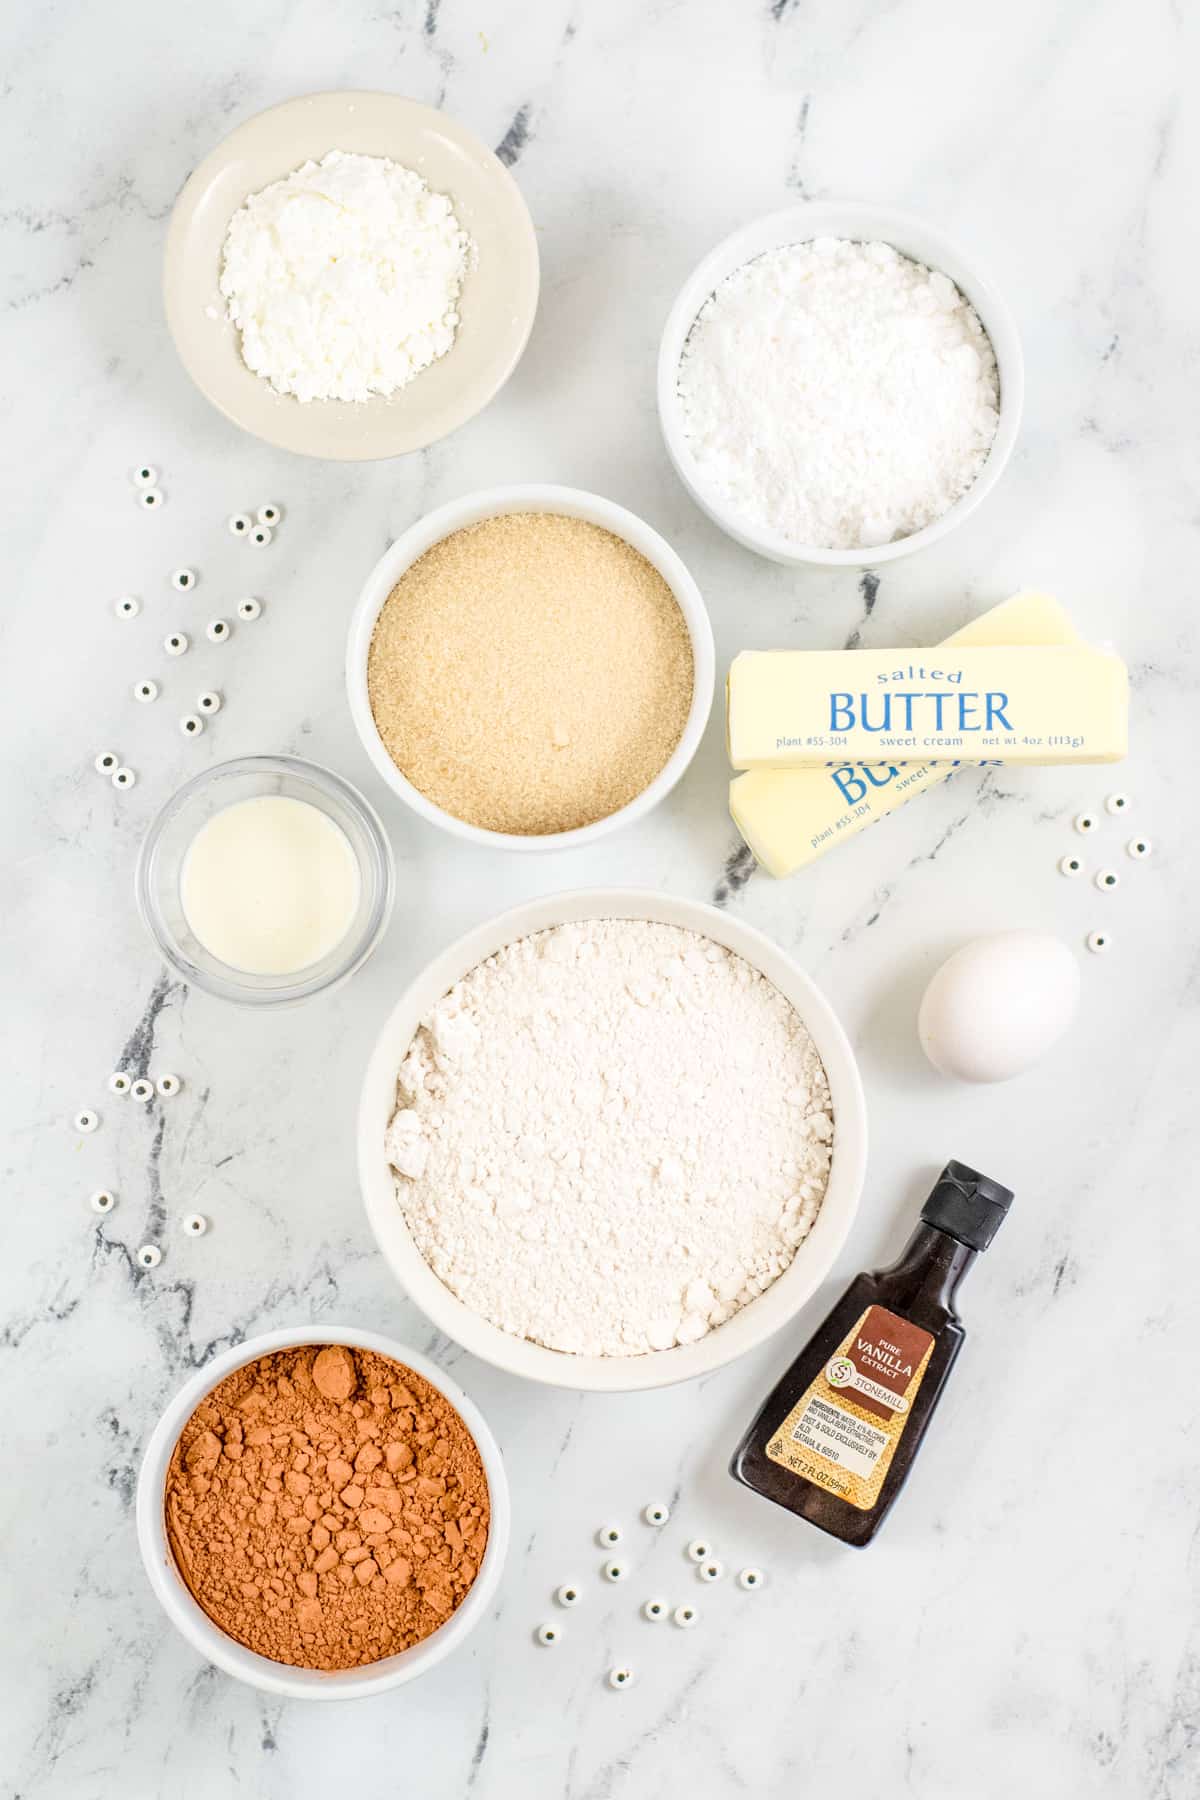
- 2 cups all-purpose flour
- 2 Tablespoons corn starch
- ½ tsp salt
- ¾ cup cocoa powder
- 1 cup granulated sugar
- 1 cup butter, room temperature
- 1 egg
- 2 teaspoons pure vanilla extract
For the buttercream frosting, you will need
- ½ cup butter, room temperature
- 2 cups powdered sugar
- 1 ½ Tablespoon heavy cream
- ½ teaspoon pure vanilla extract
- candy eyes
How to Make Mummy Cookies
This section shows you how to make the recipe with step-by-step photos and instructions. For the full printable recipe, see the recipe card below.
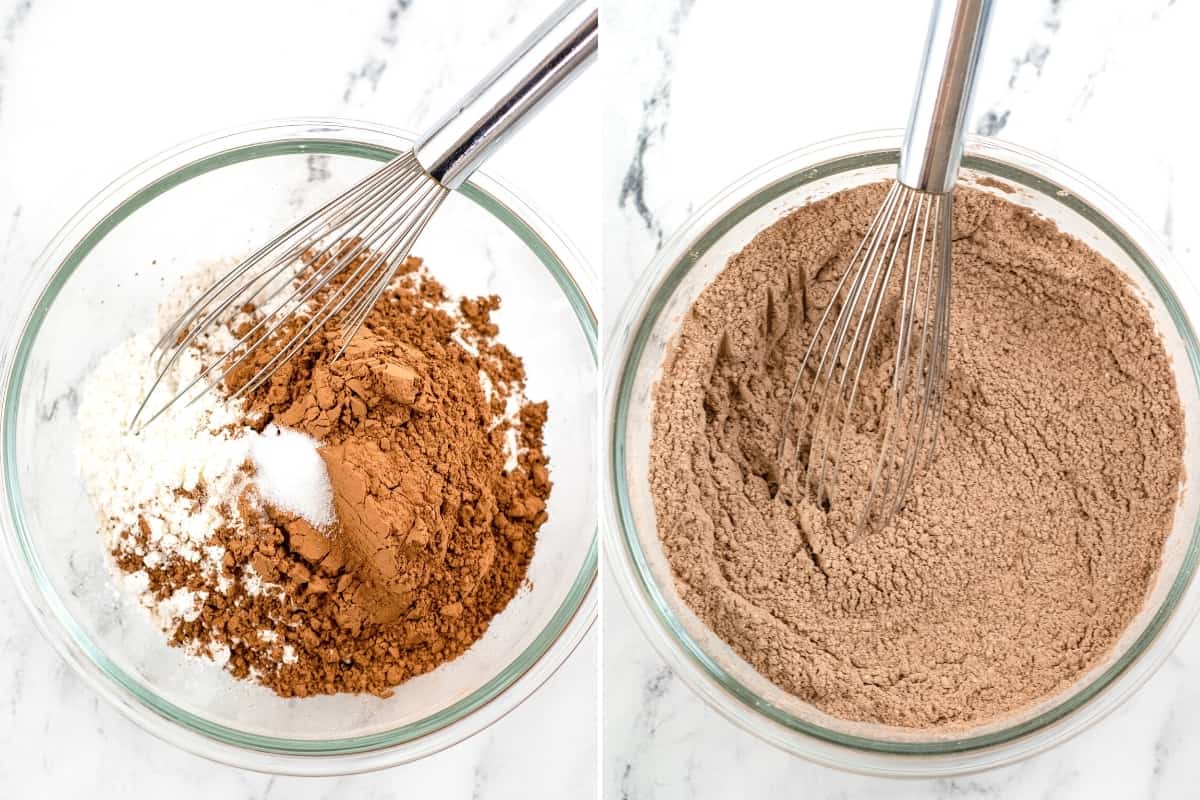
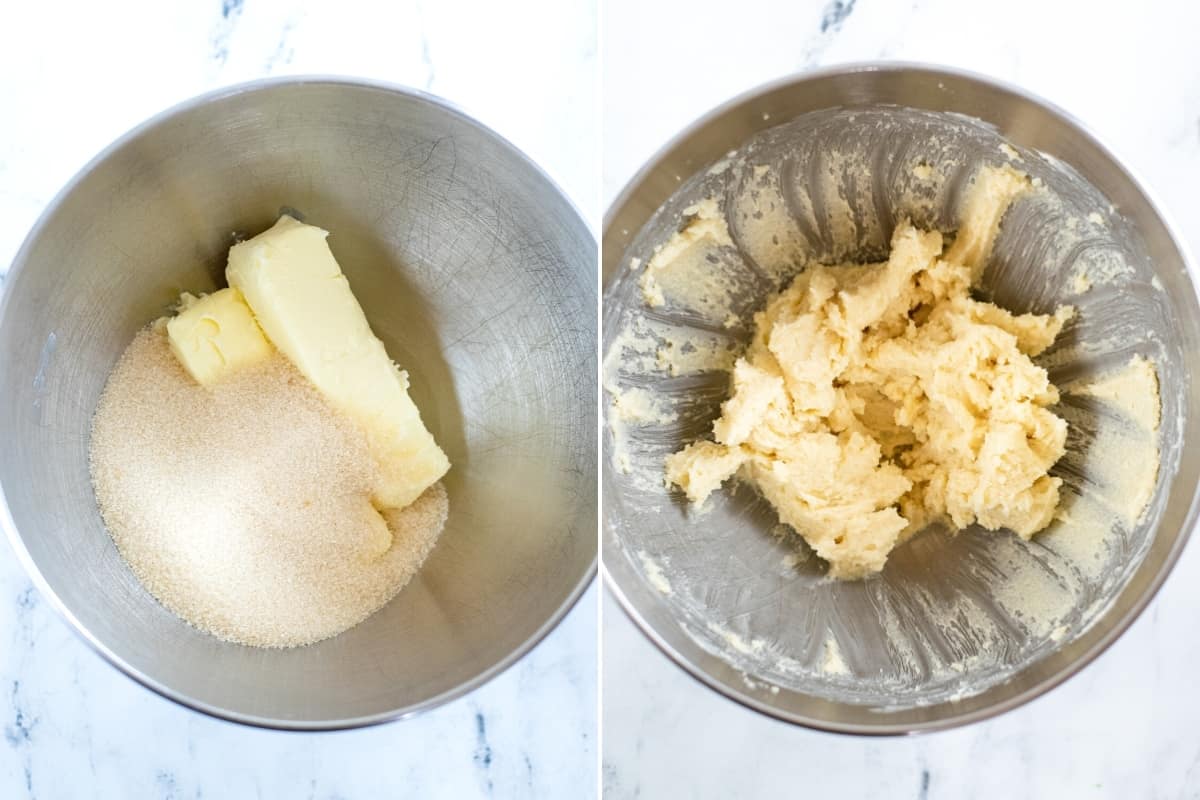
Step one: In a medium bowl, whisk to combine flour, corn starch, cocoa powder, and salt. Set aside.
Step two: Using a stand mixer or handheld electric mixer, beat butter and sugar together until light and fluffy. Add in egg and vanilla and continue to mix until well blended.
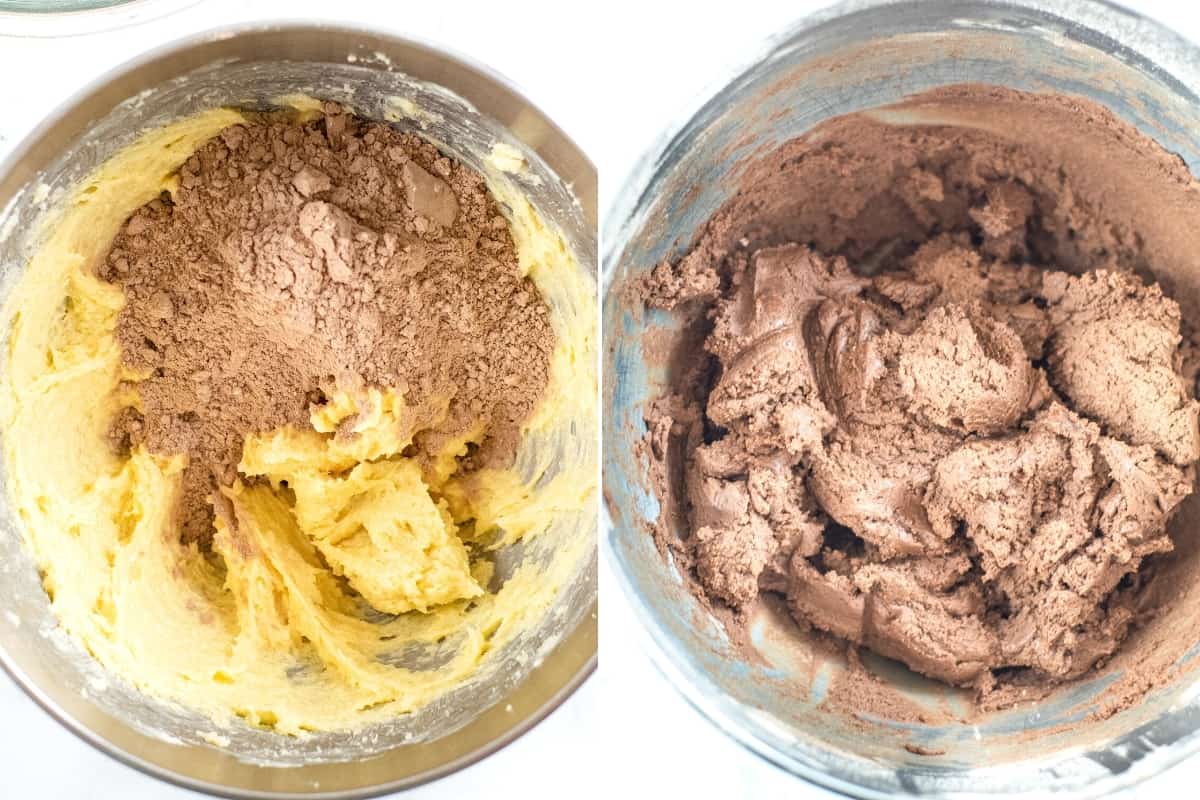
Step three: Gradually add in the flour mixture, mixing after each addition.
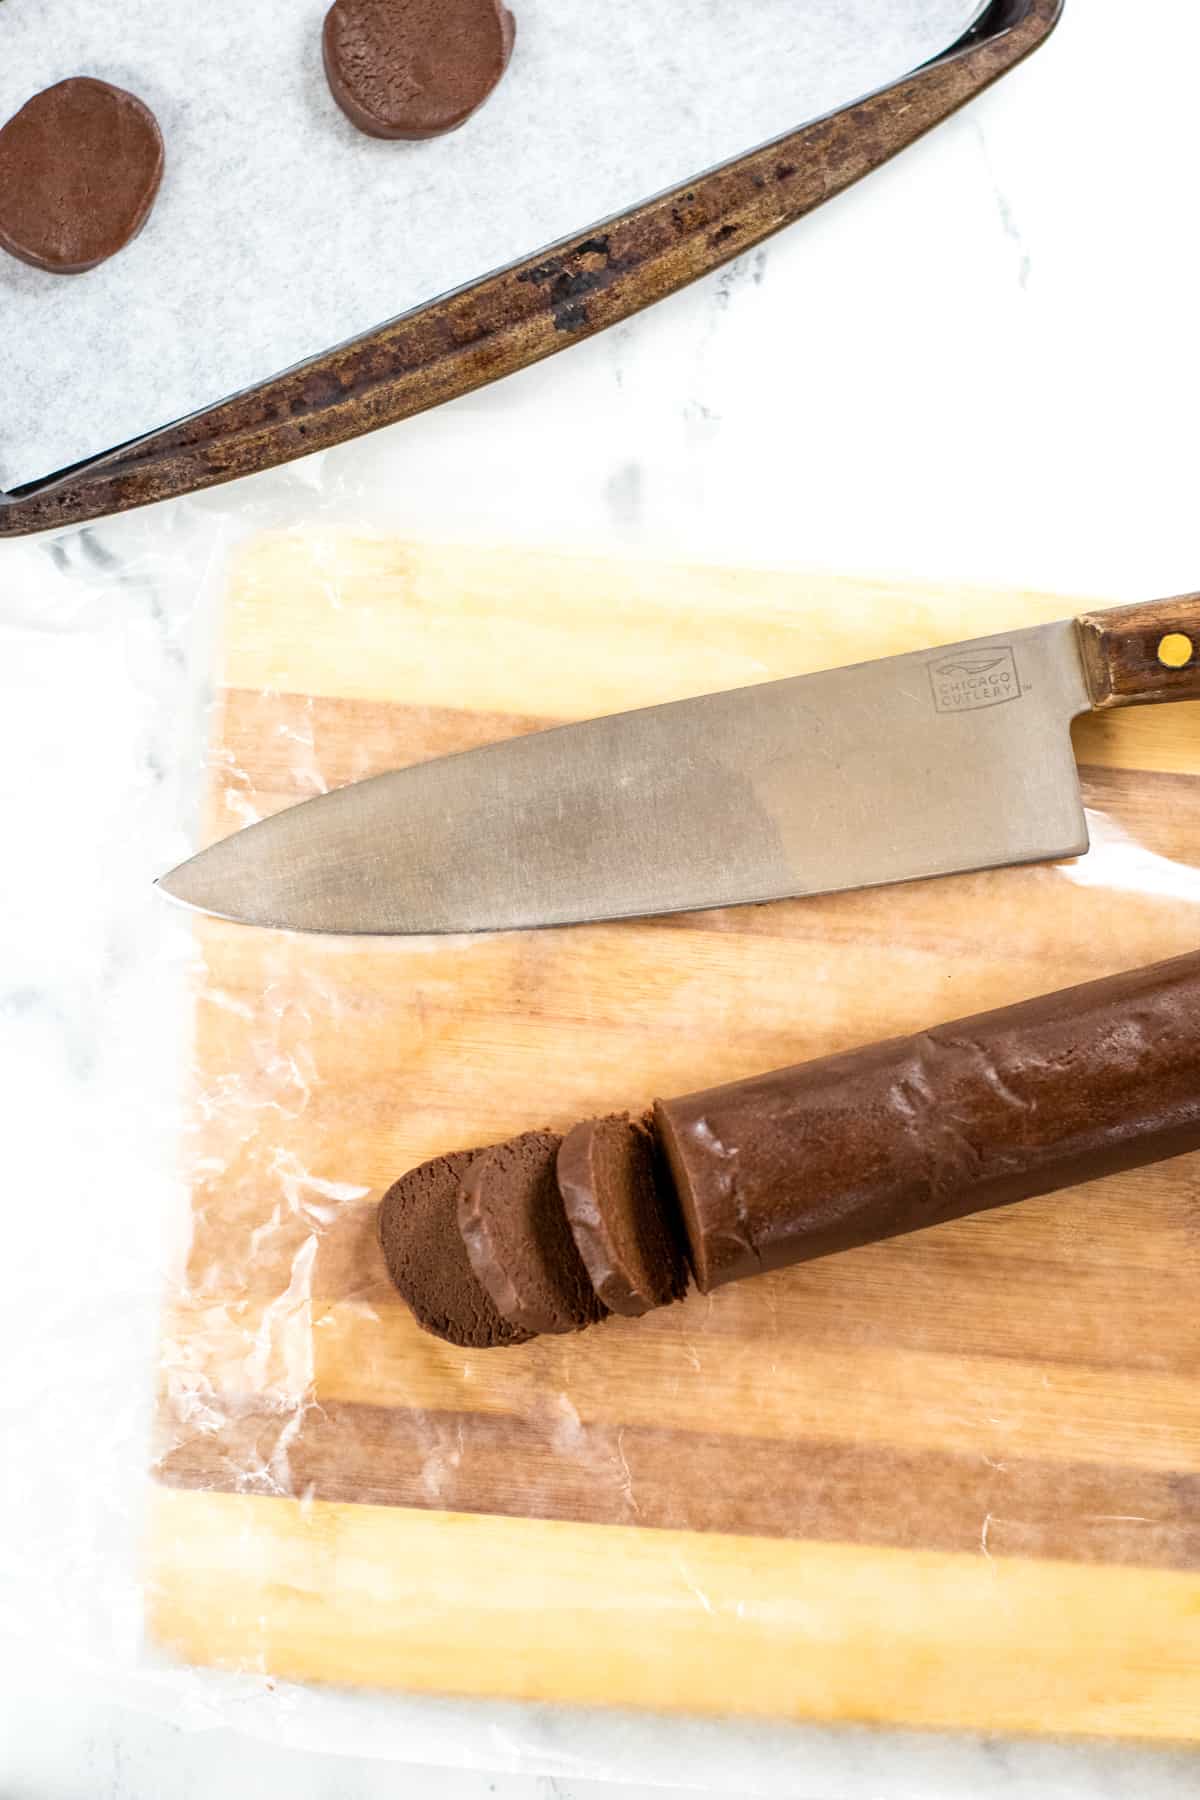
Step four: Using a rolling pin, roll the dough out an into a log with a diameter of about 1 ½ inches. Wrap with parchment or wax paper and place in the refrigerator to chill for 1 hour.

Step five: When ready to bake, preheat the oven to 350 °F and line baking sheets with parchment paper or silicone liners.
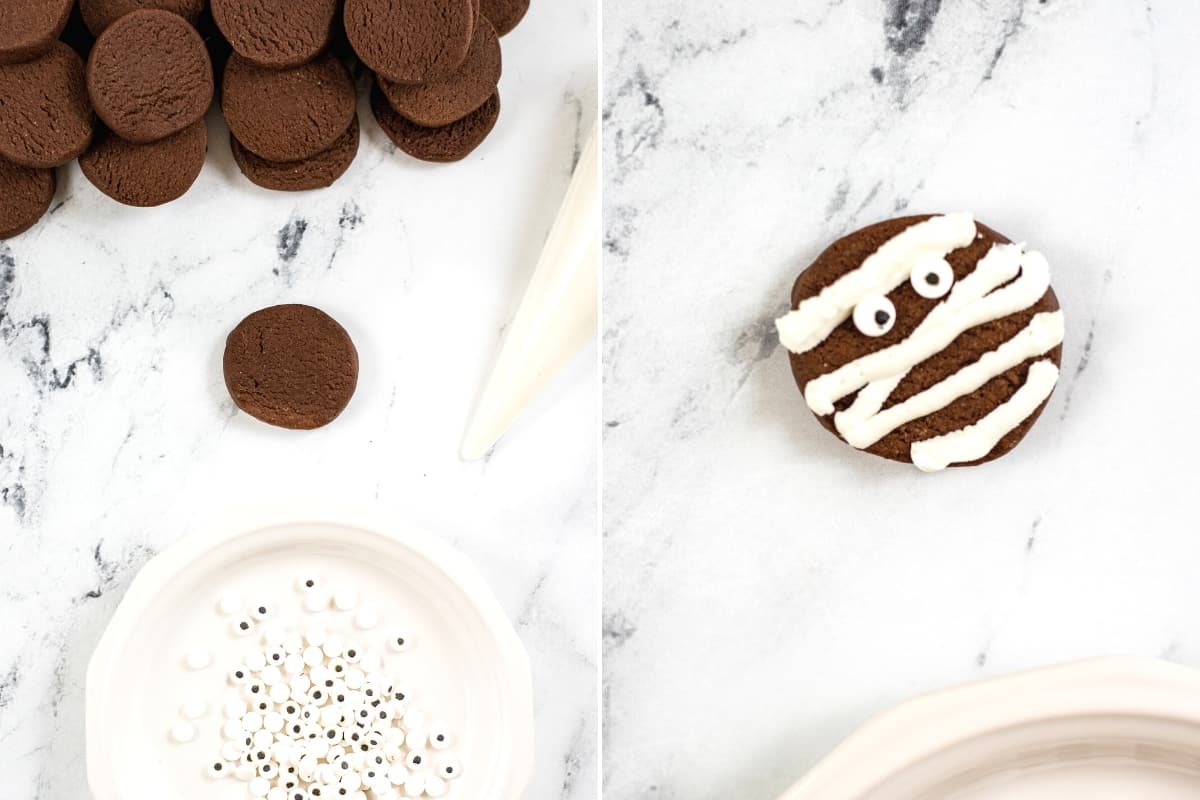
Step six: Carefully slice the dough into ¼- ½ inch slices and place them on the baking sheet.
Step seven: Bake for 8-12 minutes, or until set. Remove from the oven and allow to cool on the baking sheet for 2-3 minutes, then transfer to a wire rack to cool completely.
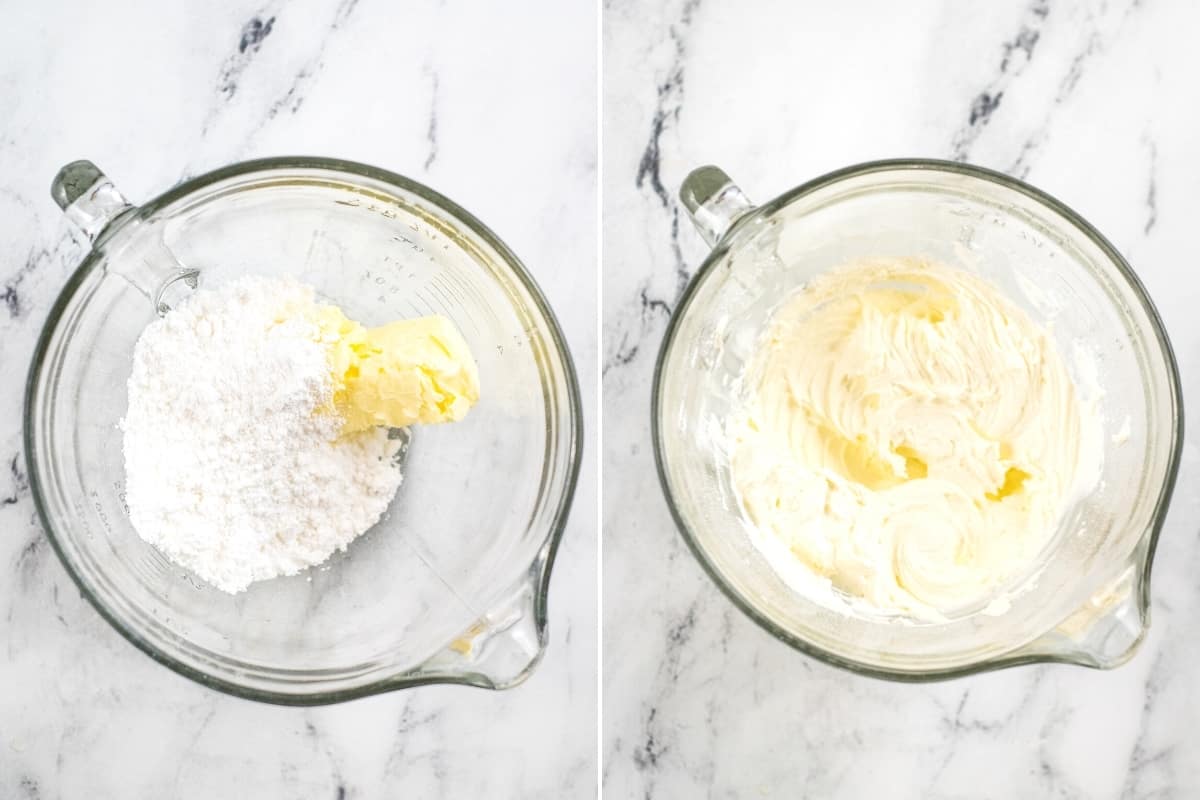
Step eight: In a large bowl, beat butter until light and fluffy. Slowly mix in the powdered sugar, about ½ cup at a time. Add cream and vanilla and mix until well combined.
Step nice: Using a piping bag, pipe the white icing in straight lines across the cookies creating “mummy wrappings.” Use a small dot of frosting on the back of each eyeball to secure them to the cookies.
Storage
Allow the cookies to sit on the countertop to allow the frosting to harden up a bit before placing them in an airtight container until serving. For best results store in a single layer. If you must stack the cookies place a sheet of parchment paper between each layer of cookies to help prevent them from sticking together.
If serving the same day, you can leave the container out on the countertop. If storing for longer I would recommend placing them in the refrigerator and allowing them to come to room temperature before serving.
Recipe Tips and Variations
- Looking for a Shortcut? We chose to make these from scratch, but if are in a hurry feel free to grab premade cookie dough or even store-bought cookies for a shortcut. Oreos, Milano cookies, or nutter butter cookies would be perfect! You can decorate the cookies with pre-made frosting as well if you wish!
- No piping bag? No problem. Spoon frosting into a resealable plastic baggie and snip off the tip of the corner to make your own.
- Add some color. Use gel food coloring to change the color of the buttercream to bright orange or green to bring some different colors to these fun Halloween cookies.
- Use white chocolate. Melted white chocolate or vanilla almond bark can be used to make the white mummy wrappings instead of homemade frosting.
More Halloween Party Ideas
- Candy Corn Fudge
- Frankenstein Rice Krispie Treats
- Halloween Candy Trifle
- Ghost Donuts
- Spider Cocoa Krispies Treats
- Monster Eyeball Donuts
- Halloween Cake Mix Cookies
Mummy Cookies
Ingredients
For the Cookies :
- 2 cups all-purpose flour
- 2 Tablespoons corn starch
- ½ teaspoon salt
- ¾ cup unsweetened cocoa powder
- 1 cup granulated sugar
- 1 cup butter room temperature
- 1 large egg
- 2 teaspoons pure vanilla extract
For the Frosting:
- ½ cup butter room temperature
- 2 cups confectioners’ sugar
- 1 ½ Tablespoon heavy cream
- ½ teaspoon pure vanilla extract
- candy eyes
Instructions
For the cookies:
- In a medium bowl, whisk to combine flour, corn starch, cocoa powder, and salt. Set aside.
- Using a stand mixer or handheld mixer, beat butter and sugar together until light and fluffy. Add in egg and vanilla and continue to mix until well blended.
- Gradually add in the flour mixture, mixing after each addition.
- Roll the dough into a log with a diameter of about 1 ½ inches. Wrap with parchment or wax paper and place in the refrigerator to chill for 1 hour.
- When ready to bake, preheat the oven to 350 °F and line baking sheets with parchment paper or silicone liners.
- Carefully slice the dough into ¼- ½ inch slices and place them on the baking sheet.
- Bake for 8-12 minutes, or until set. Remove from the oven and allow to cool on the baking sheet for 2-3 minutes, then transfer to a cooling rack to cool completely.
To decorate:
- In a large bowl, beat butter until light and fluffy. Slowly mix in the powdered sugar, about ½ cup at a time. Add cream and vanilla and mix until well combined.
- Using a piping bag, pipe frosting in strips across the cookies creating “mummy wrappings” use a small dot of frosting on the back of each eyeball to secure them to the cookies.
Notes
Nutrition

Did You Make This Recipe?
Share it with me on Instagram @crayonsandcravings and follow on Pinterest @crayonsandcravings for even more!