

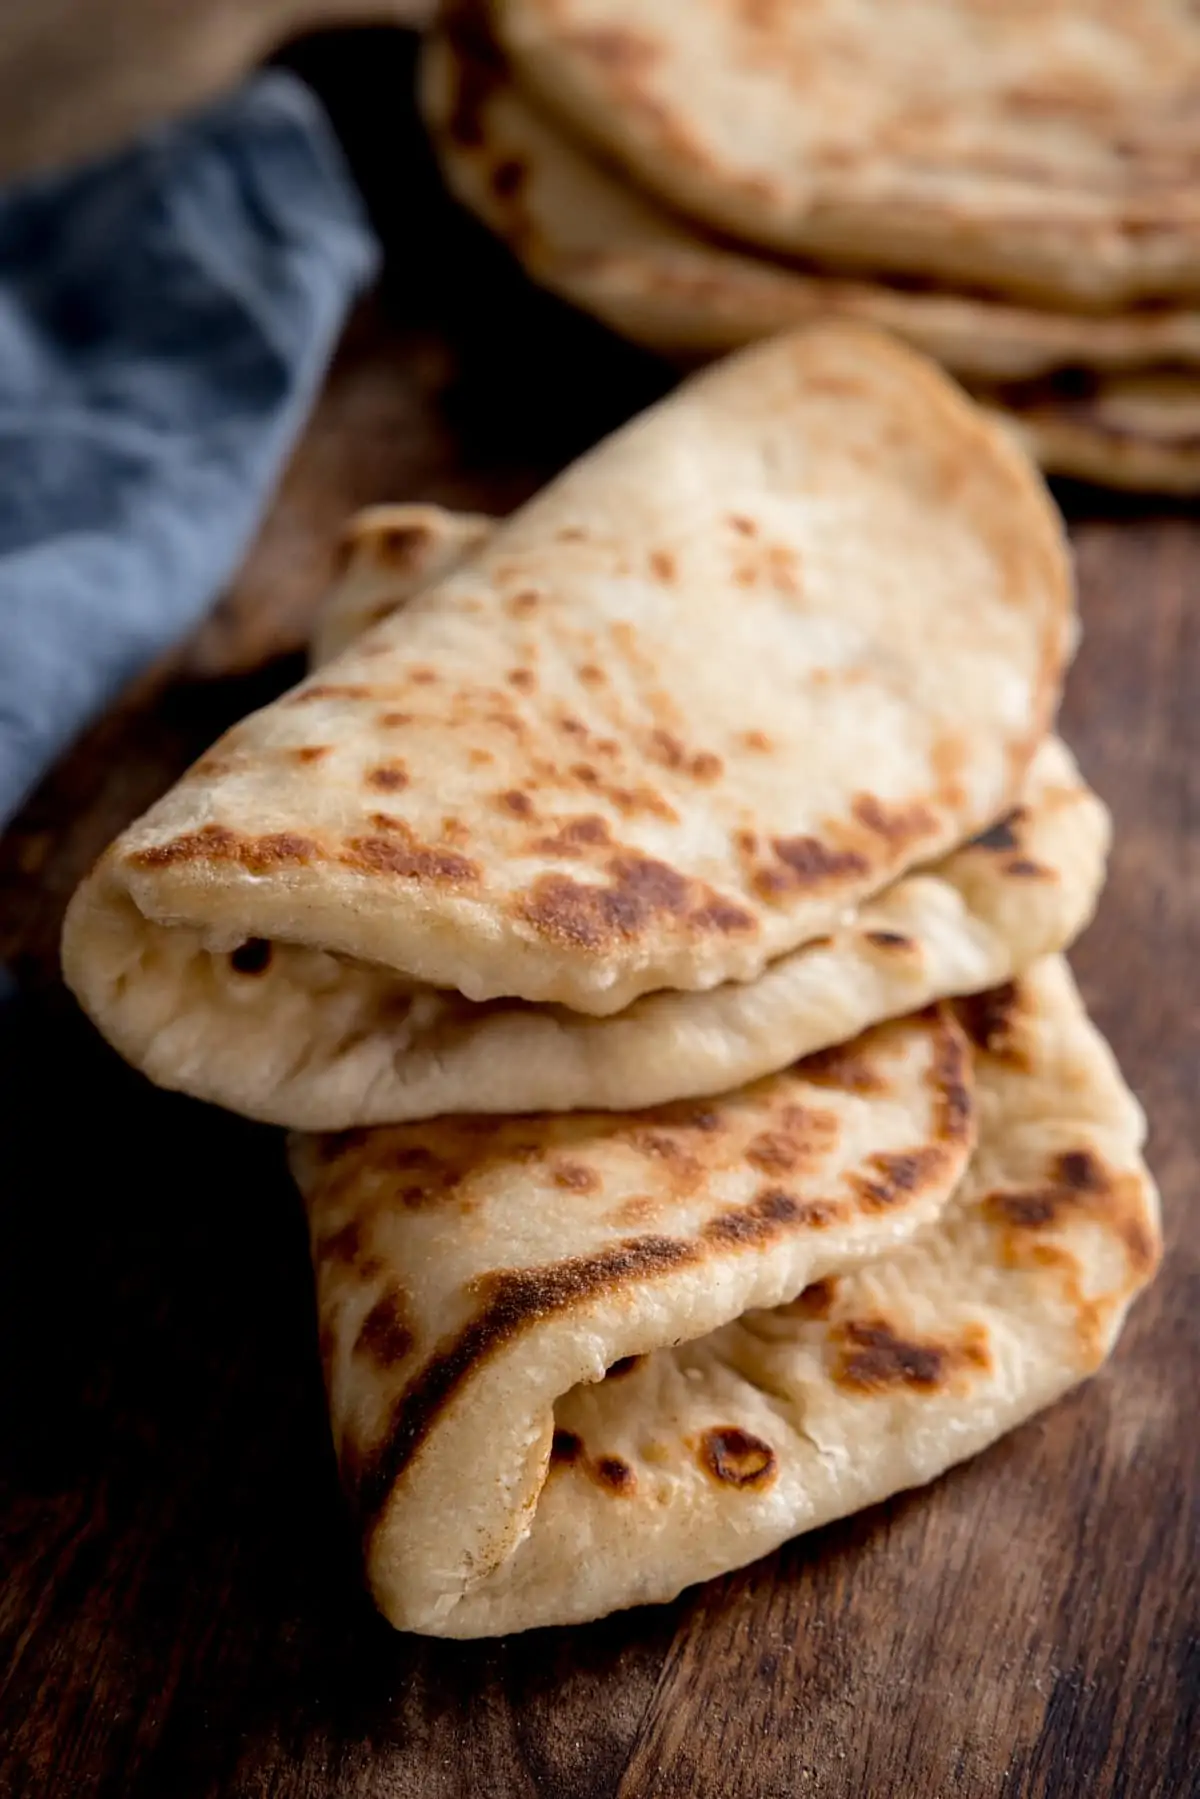
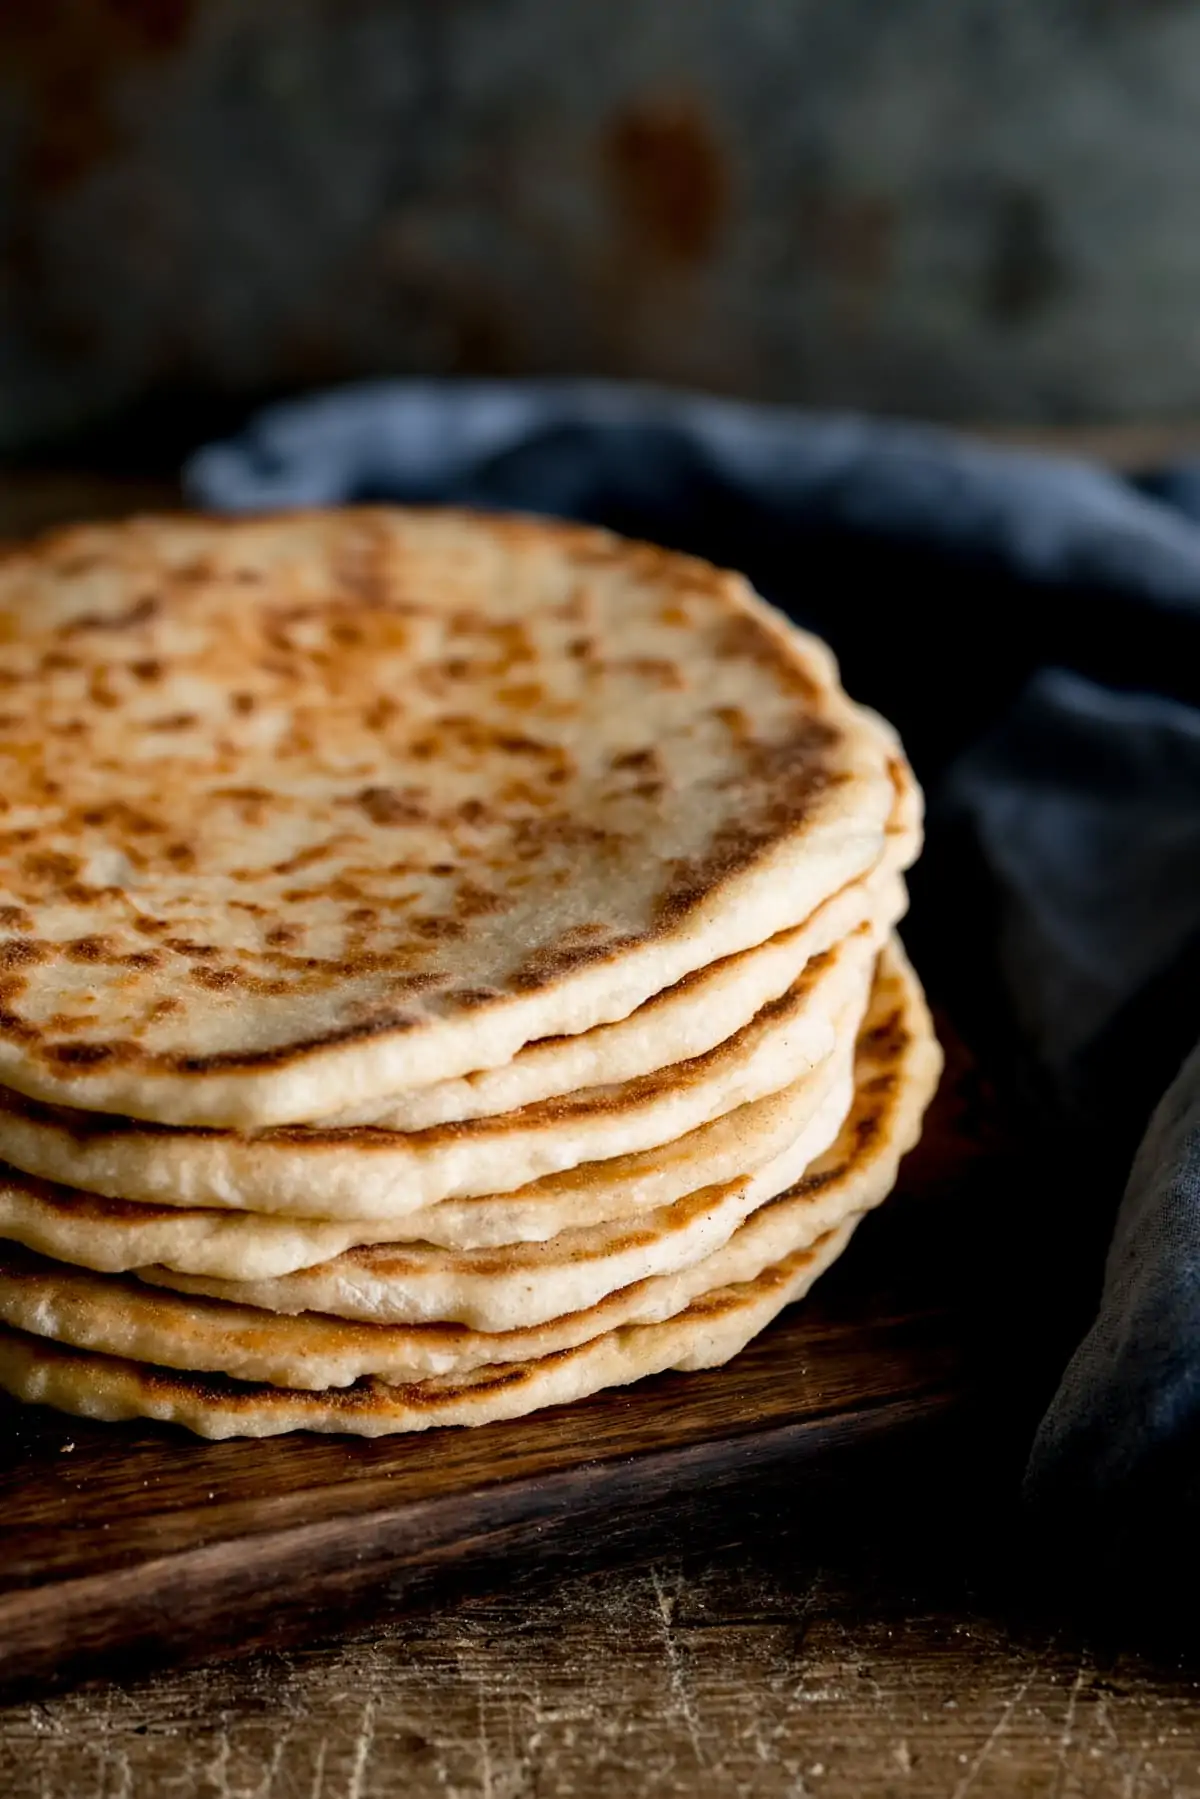
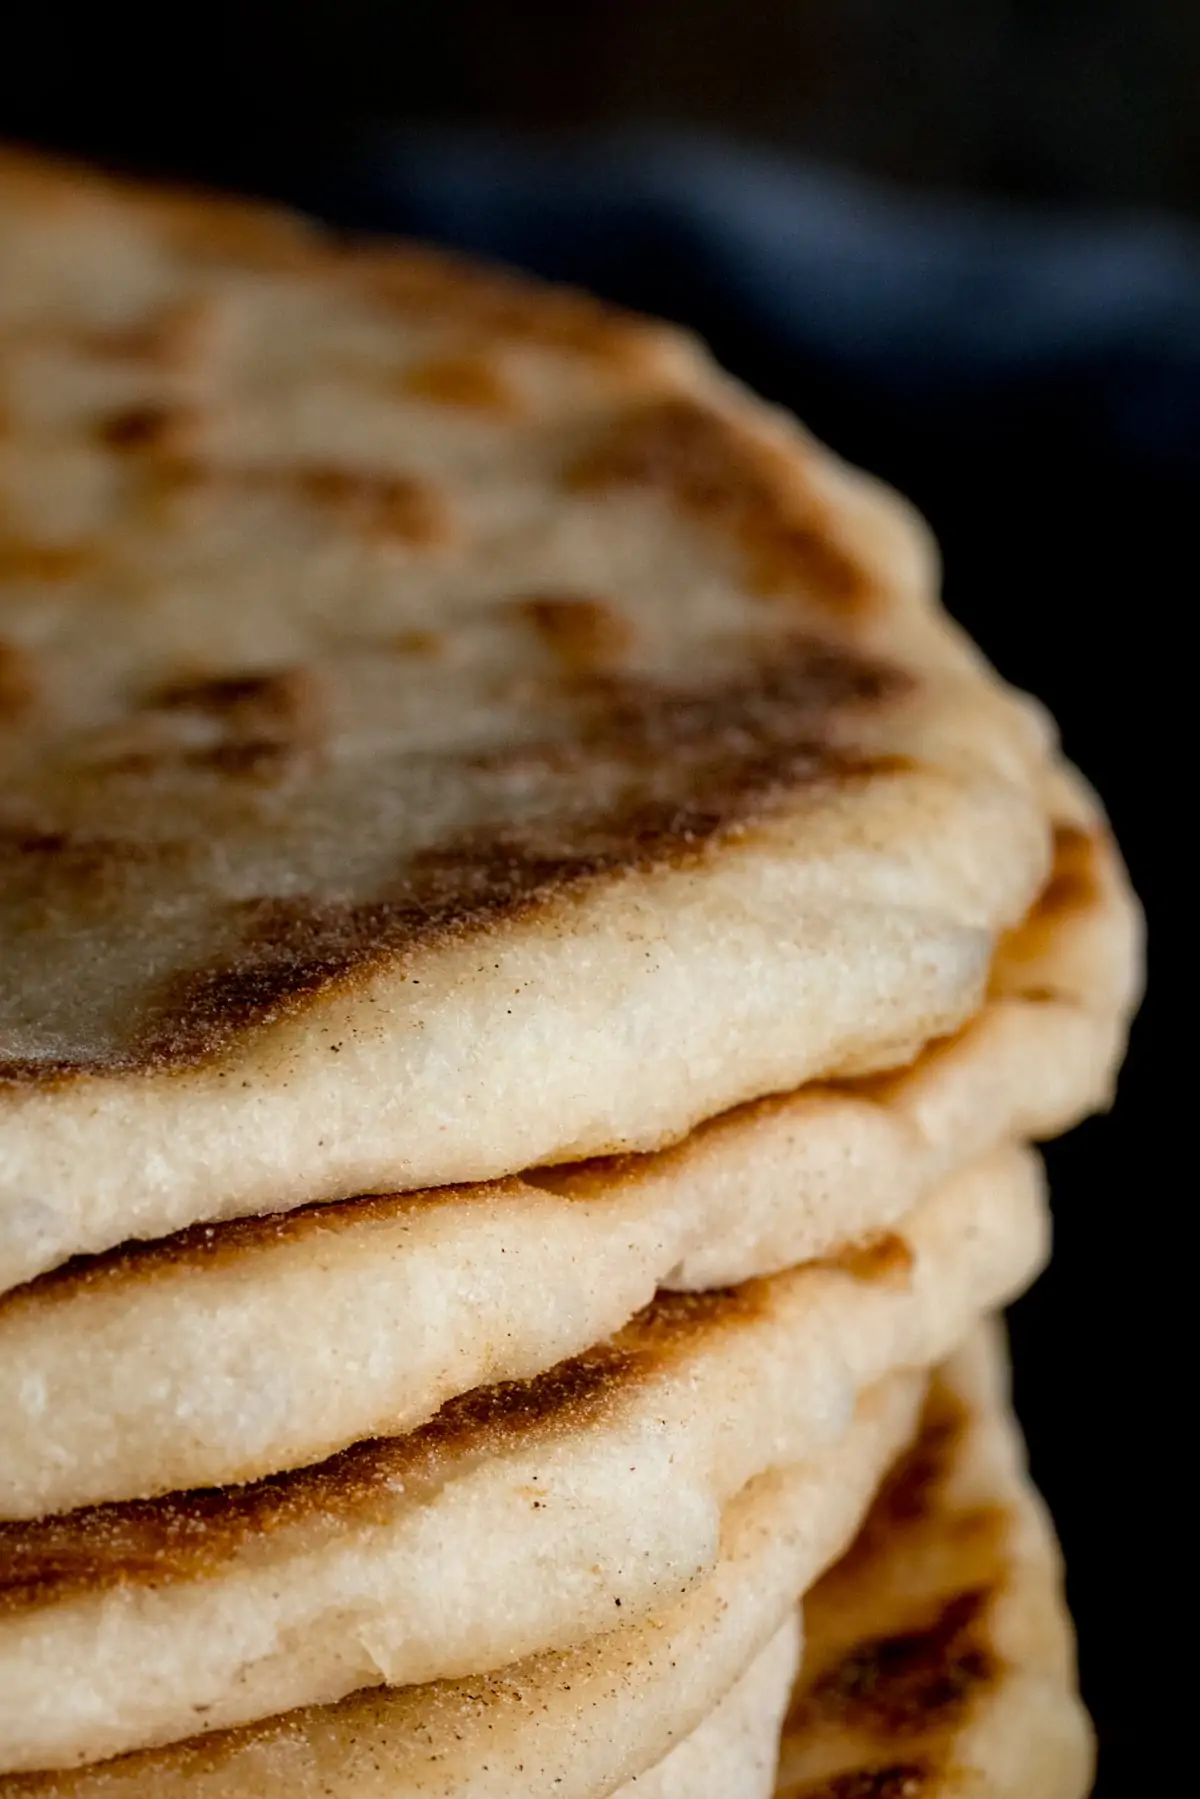
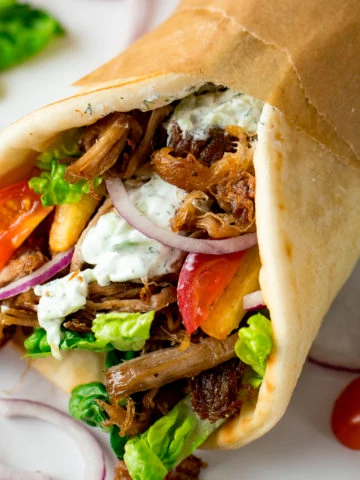
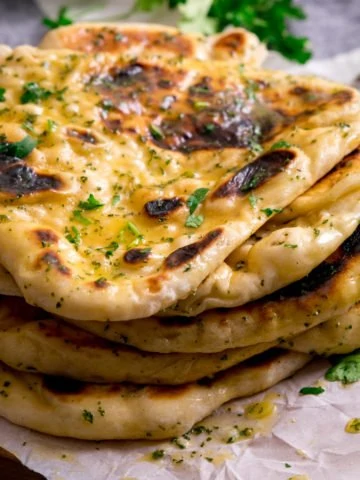
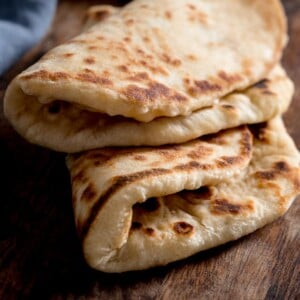
Soft, fluffy Greek pita-style flatbreads (the pocketless kind).
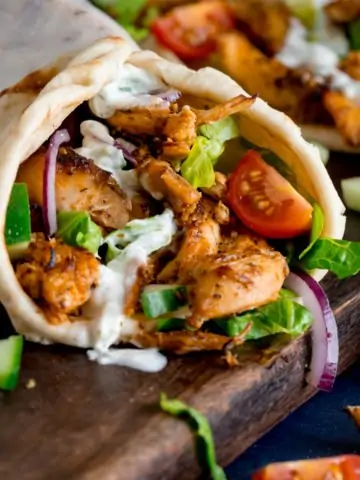
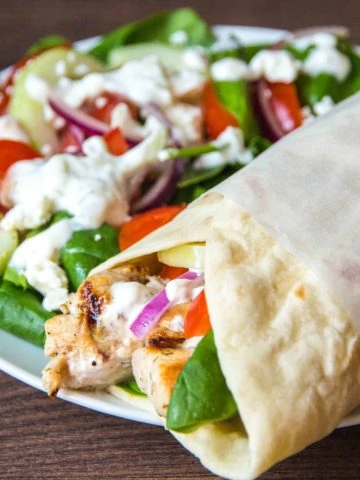
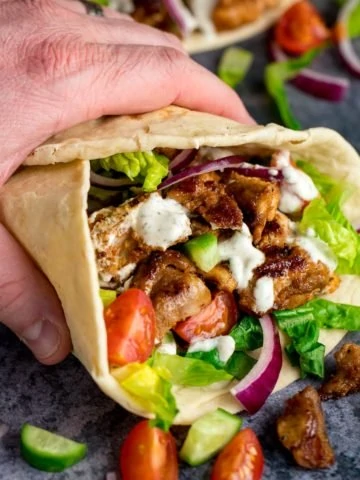
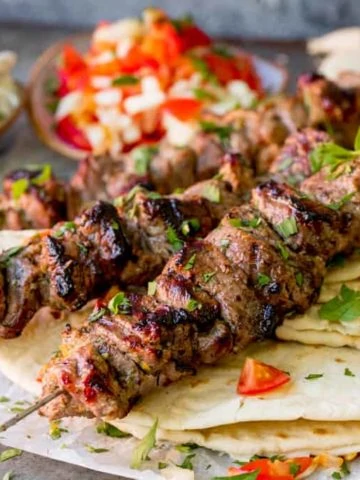
I love loading these up to make homemade Gyros or to serve with souvlaki kebabs.
They stay soft and pliable, even when cold, so you can roll or fold them without the risk of them breaking.
Yes these flatbreads need proving and kneading (use my yogurt flatbread recipe for super-quick flatbreads), but the extra time spent it so worth it. Why?
- You’ll get super fluffy, tender flatbreads with that perfect chewiness – thanks to the yeast and proving.
- They have bags of flavour – again the proving time helps the flavour to develop. The flavour is further enhanced because of the cooking method.
- They taste great hot OR cold.
- They don’t break when you fold them.
🔪 How to make them
Full recipe with detailed steps in the recipe card at the end of this post.
- Similar to most yeasted bread recipes, we mix together yeast, water, bread flour, sugar and salt. We’re also adding some olive oil to the mixture for extra flavour and tenderness.
- Once they’re mixed, we knead the dough for about 10 minutes, then leave to prove until doubled in size.
- Then we split the dough into 12 pieces, roll each into a ball, and roll out in a flat disk.
- Each flatbread is cooked in a hot, lightly oiled frying pan, until fluffy and golden.
👩🍳PRO TIP These breads are cooked one at a time, but you can keep them warm by stacking them on warm plate under a clean tea towel, or placing on a tray (cover it with foil) and place on a very low oven.
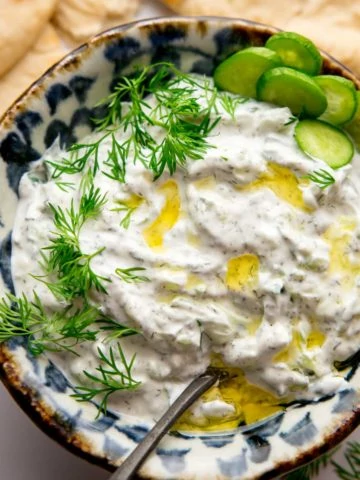
🍽️ What to these Greek Pitas with
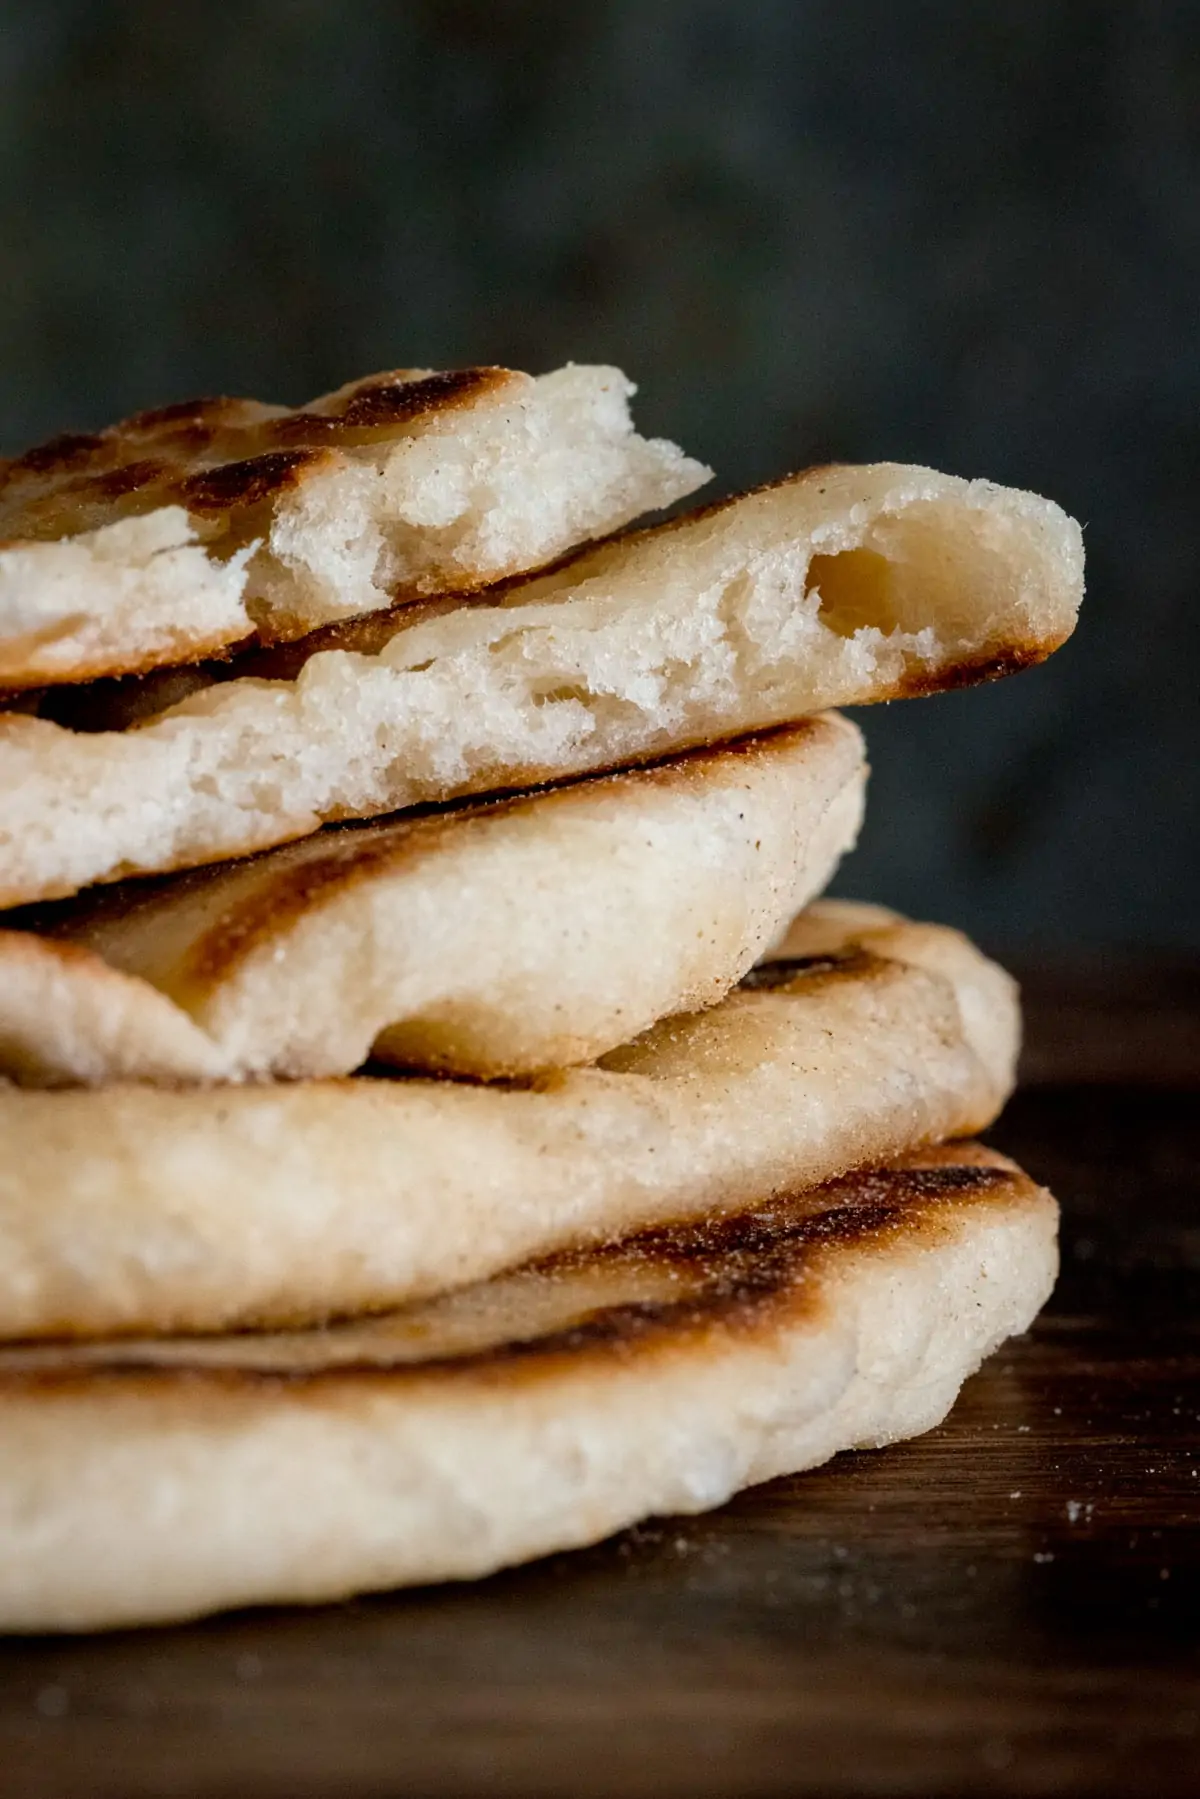
Just look at how deliciously fluffy they are inside!
🍲 More fantastic Bread recipes
Stay updated with new recipes!
Subscribe to the newsletter to hear when I post a new recipe. I’m also on YouTube (new videos every week) and Instagram (behind-the-scenes stories & beautiful food photos).
Homemade Flatbread Recipe
Ingredients
- 7 g (2 tsp) instant dry yeast
- 480 ml (2 cups) warm water
- 4 tbsp olive oil plus extra for brushing (approx 2-3 tbsp)
- 780 g (6 ½) cups strong bread flour plus extra for rolling (approx 60g or 1/2 cup)
- 1 ½ tsp sugar
- 1 ½ tsp table salt
Instructions
- Place the yeast in the bowl of a stand mixer (or a large bowl) and add the warm water. Stir together and leave for 5 minutes, until foam appears on top of the water.7 g (2 tsp) instant dry yeast, 480 ml (2 cups) warm water
- Add the olive oil, flour, sugar, and salt to the yeast mixture.4 tbsp olive oil, 780 g (6 ½) cups strong bread flour, 1 ½ tsp sugar, 1 ½ tsp table salt
- Mix the dough together using either using a stand mixer with a dough hook (recommended) or your hands, until combined.
- Once combined, knead the dough for 10 minutes using the stand mixer with a dough hook or by hand. The mixture will be quite sticky, so if you’re kneading by hand, it’s a good idea to coat your hands and work surface in a little olive oil to stop it sticking.
- Place the dough in an oiled bowl, cover with a damp cloth or clingfilm and allow to prove for 60-90 minutes, until doubled in size.
- Divide the dough into 12 pieces. Shape into balls and place on a tray or board with a damp cloth over the top to rest for a few minutes, while you prepare to start cooking them.
- Lightly flour the work surface.
- Brush or spray a medium-sized frying pan (cast iron gives you the best results) with a little oil (just 1/4 tsp or so) and place over a medium-high heat to heat up.
- Take one of the dough balls, and roll it into a circle, about 19cm (7.5 inches) in diameter and ½ cm (just under ¼ inch) thick.
- Toss the pita back and forth a couple of times in your hands to remove excess flour, then place the pita in the pan.
- Brush the top of the pita in the pan lightly with oil and cook for about 60-90 seconds, until bubbles start to appear. Then turn over a cook for a further minute.
- Place on a plate and repeat, brushing the pan with oil after every 3 or 4 pitas.
- Stack the pitas up on a plate (stacking them helps to keep them soft), laying a tea towel over them to keep warm until you’re ready to serve.
Notes
Nutrition
Nutrition information is automatically calculated, so should only be used as an approximation.
Some of the links in this post may be affiliate links – which means if you buy the product I get a small commission (at no extra cost to you). If you do buy, then thank you! That’s what helps us to keep Kitchen Sanctuary running. The nutritional information provided is approximate and can vary depending on several factors. For more information please see our Terms & Conditions.


This is the best recipe I have used and will definitely use again. They were perfect with falafels, hummus and tabbouleh. I reheated some the next day and sprinkled on nigella seeds to eat with dhal. Very versatile but next time I’ll halve the recipe as my freezer is now full of flatbreads.
This was PERFECT! Thank you so much for sharing.
I followed the instructions exactly, but noticed the dough wasn’t sticky like the description mentioned. I couldn’t shape it into a ball to rise because it wouldn’t stick together. I made another batch with 6 cups flour and 2 1/4 cups water instead and it was much better, yet still not really sticky. That modified batch turned out perfectly. I still cooked up the original batch and it was much more dense, harder to eork with, and barely bubbled up. Both turned out enough in the end, but the original had too much flour. That’s probably the problem converting something from weight. Some people pack flour in, others spoon or sift it in and it affects the conversion….
Deliciously simple, just perfect. Thank you x
This is the recipe I have been looking for! These are soft, chewy, and delicious!
I made only two tweaks – upped the salt to 2 tsp, and added 1 tablespoon of vital wheat gluten. The dough was so velvety and lovely! I portioned the dough into 100g balls, and they rolled out to be the perfect size for my 12” cast iron.
The breads also didn’t dry out! We finished them three days after making. They soften beautifully with 10 seconds in the microwave. I will be keeping this recipe forever!
This was great! So FYI when you’re 99% sure you have bread flour in the pantry but you’re 100% wrong, this recipe works with AP flour too! I can’t say how much better it would be if I did it right but it was good. All of the gluten, and I’d imagine more with the higher protein flour. I didn’t roll it out, just grabbed a chunk and stretched it until it was flat-ish and threw it in the cast iron skillet with olive oil. This was my first attempt at a fried bread and it’s crazy simple and forgiving. Will totally make this many more times, thanks!
I made these tonight! They are amazing! I would 10/10 make these and recommend this recipe to anyone!!! Quick and easy and delicious!
For the first time ever I made these and they worked! So happy, soft and doughy. Delicious, the dough multiplied in size and produced squidgy lively flat breads, thankyou for this recipe. Amazing