

No-Churn Chocolate Ice Cream
Posts may contain affiliate links, meaning that I may earn a commission if you use a link provided.

Make rich and creamy homemade no-churn chocolate ice cream at home with just a few simple ingredients–no ice cream maker necessary!
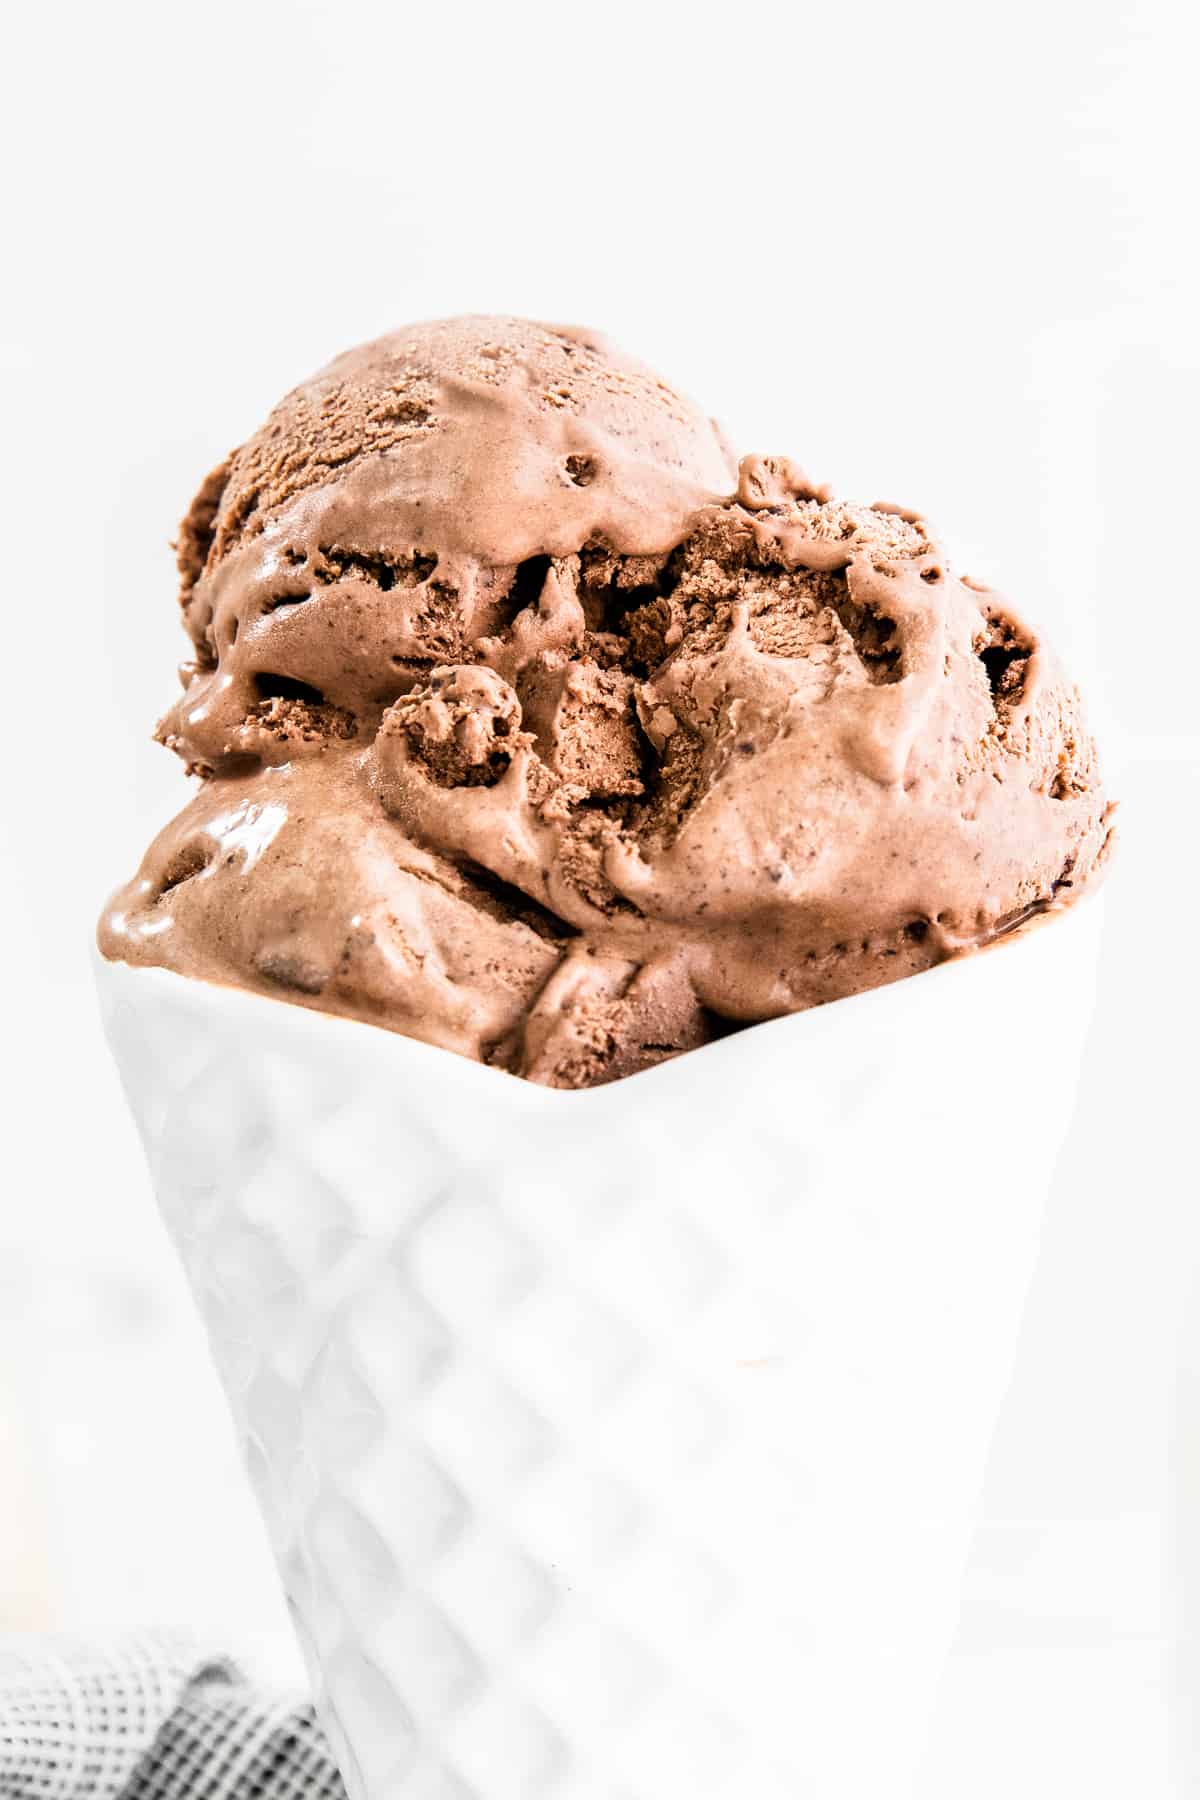
Once you try this homemade no-churn chocolate ice cream recipe, I am sure that you will agree it is the absolute best chocolate ice cream EVER.

Unlike most chocolate ice cream recipes out there, I prefer to make my chocolate ice cream with real chocolate. It gives the ice cream an ultra-rich chocolatey flavor that you just can’t get from cocoa powder alone.
Like our Bubble Gum Ice Cream and Twix Ice Cream, this homemade chocolate ice cream recipe is easy to make at home with a stand mixer, hand mixer, or a whisk and a bit of an arm workout. Speaking of arm workouts, have you ever tried making mason jar ice cream? It is a fun activity I think everyone should try at least once!
Ingredients
For this easy chocolate ice cream recipe, all you will need are 5 ingredients.
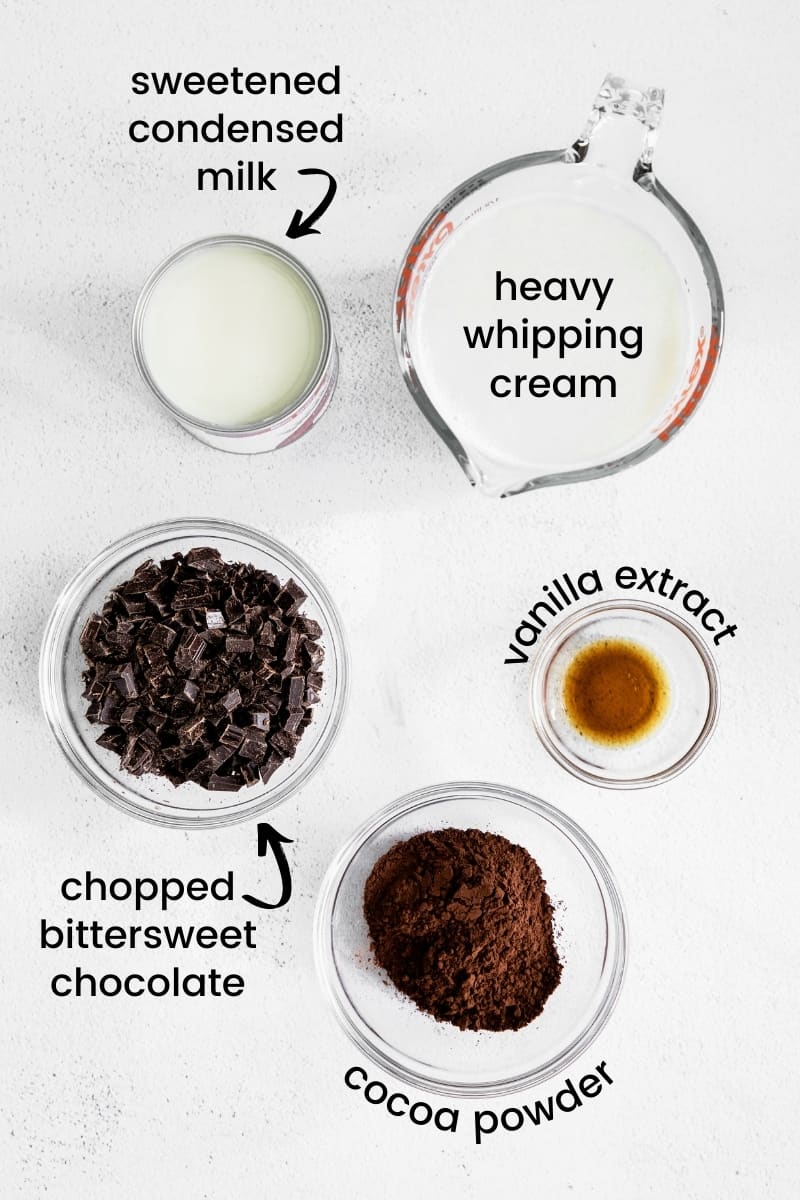
- Chocolate: For best results, use a high-quality bittersweet chocolate– I used a Ghirardelli 60% baking bar. You could also use bittersweet or semi-sweet chocolate chips. If using a bar, chop it into pieces using a serrated knife.
- Sweetened condensed milk: One 14 oz. can of sweetened condensed milk, found in the baking aisle.
- Cocoa powder: Unsweetened cocoa powder, the recipe will be sweet enough already from the sweetened condensed milk.
- Vanilla extract: A bit of pure vanilla extract for depth of flavor.
- Heavy whipping cream: You will need one pint (2 cups) of cold heavy whipping cream.

Additions and variations
While this chocolate ice cream is incredible on its own, feel free to experiment with toppings or recipe variations. Below are a few ideas to get you started.
- Toppings: Sprinkles, chopped nuts, whipped cream, etc…
- Double Chocolate Ice Cream: For extra chunks of chocolatey goodness try adding chocolate chips or chocolate chunks into your ice cream before freezing.
- Reese’s Peanut Butter Cup: Love that classic peanut butter and chocolate flavor combo? Fold Reese’s Pieces or Peanut Butter Cups into your ice cream before freezing for a chunky Reese’s ice cream.
- Rocky Road: Add mini marshmallows and chopped nuts for homemade rocky road ice cream.
- Mocha Ice Cream: Add 1 Tablespoon of espresso powder to make mocha ice cream.
Instructions
Here is how to make homemade chocolate ice cream. You can print the full recipe below.
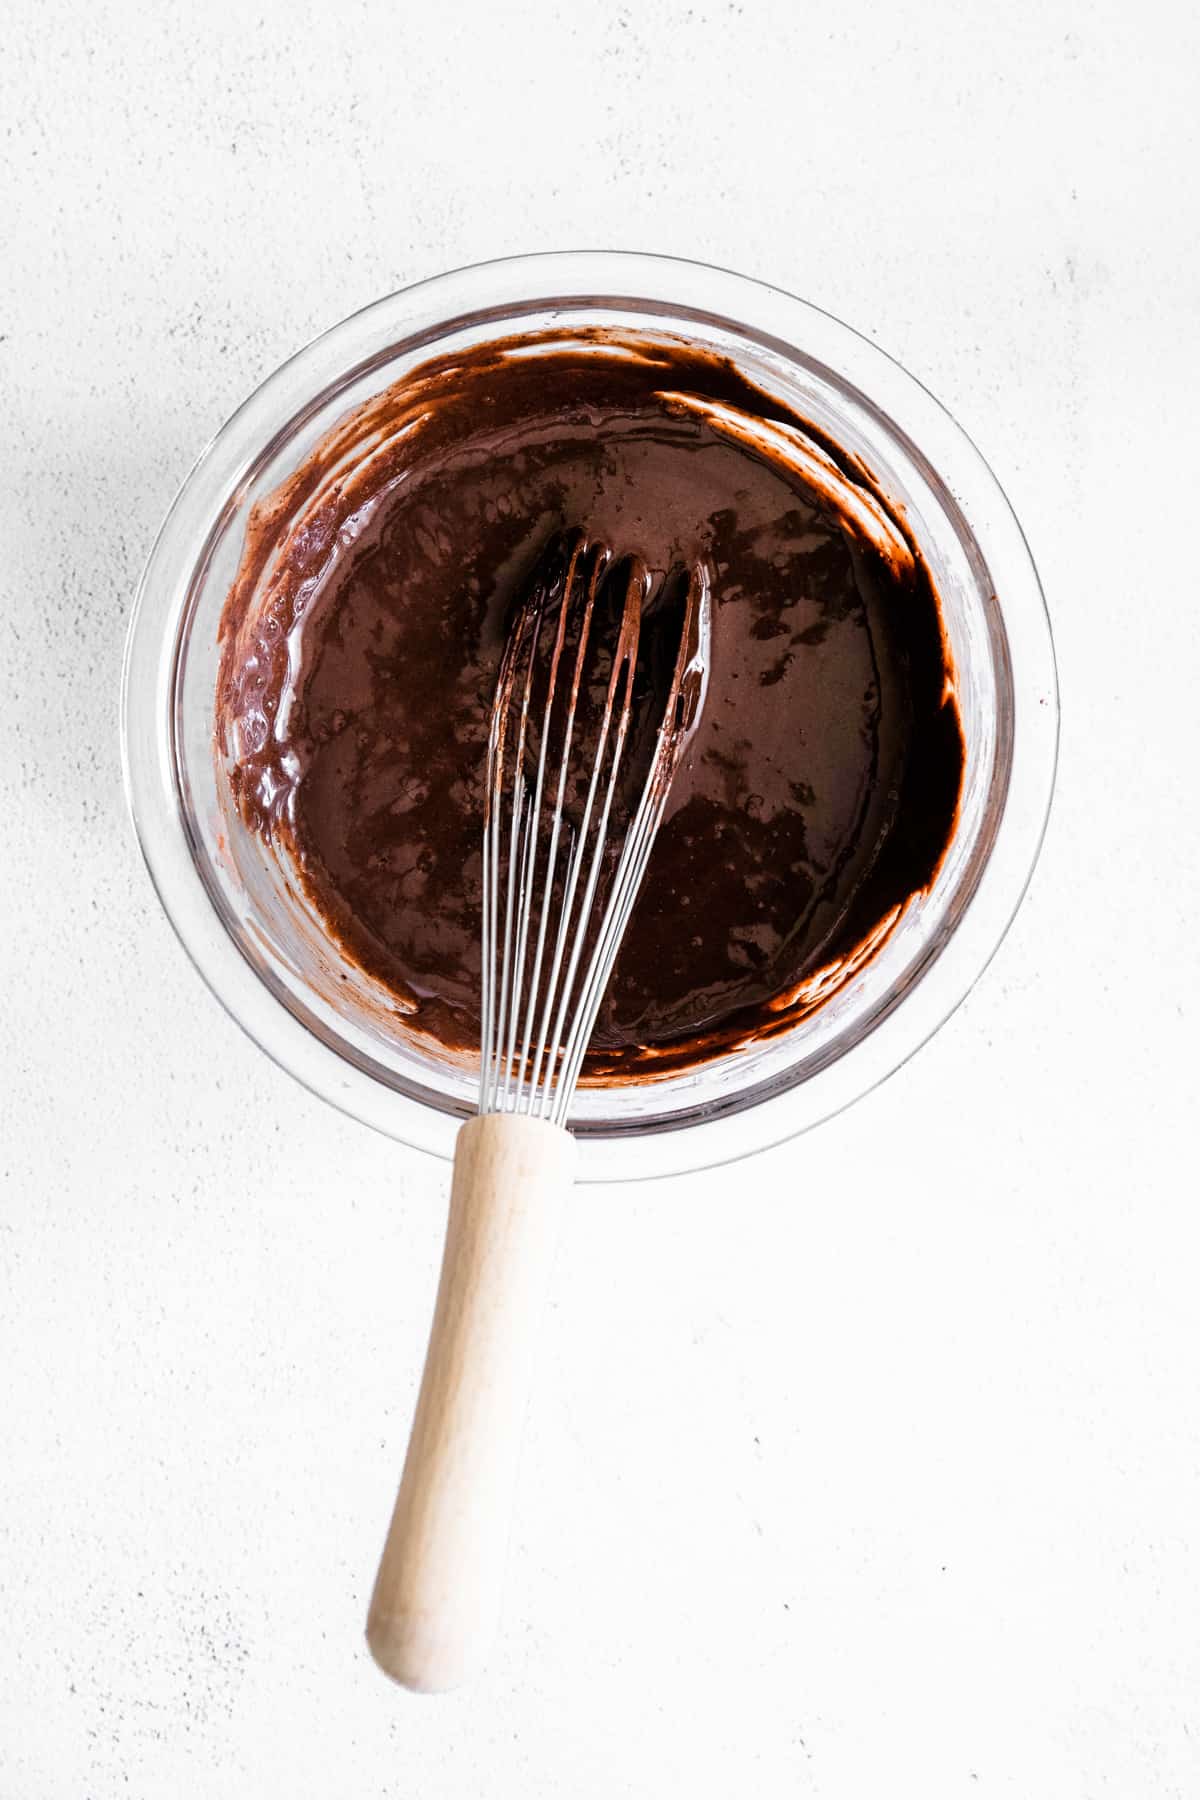
STEP 1: Microwave the chopped chocolate in a small, microwave-safe bowl for 30 seconds. Stir well and reheat 15 more seconds if needed. Continue stirring and heating in 15-second increments until melted. Whisk in the sweetened condensed milk, cocoa powder, and vanilla until well combined and smooth.
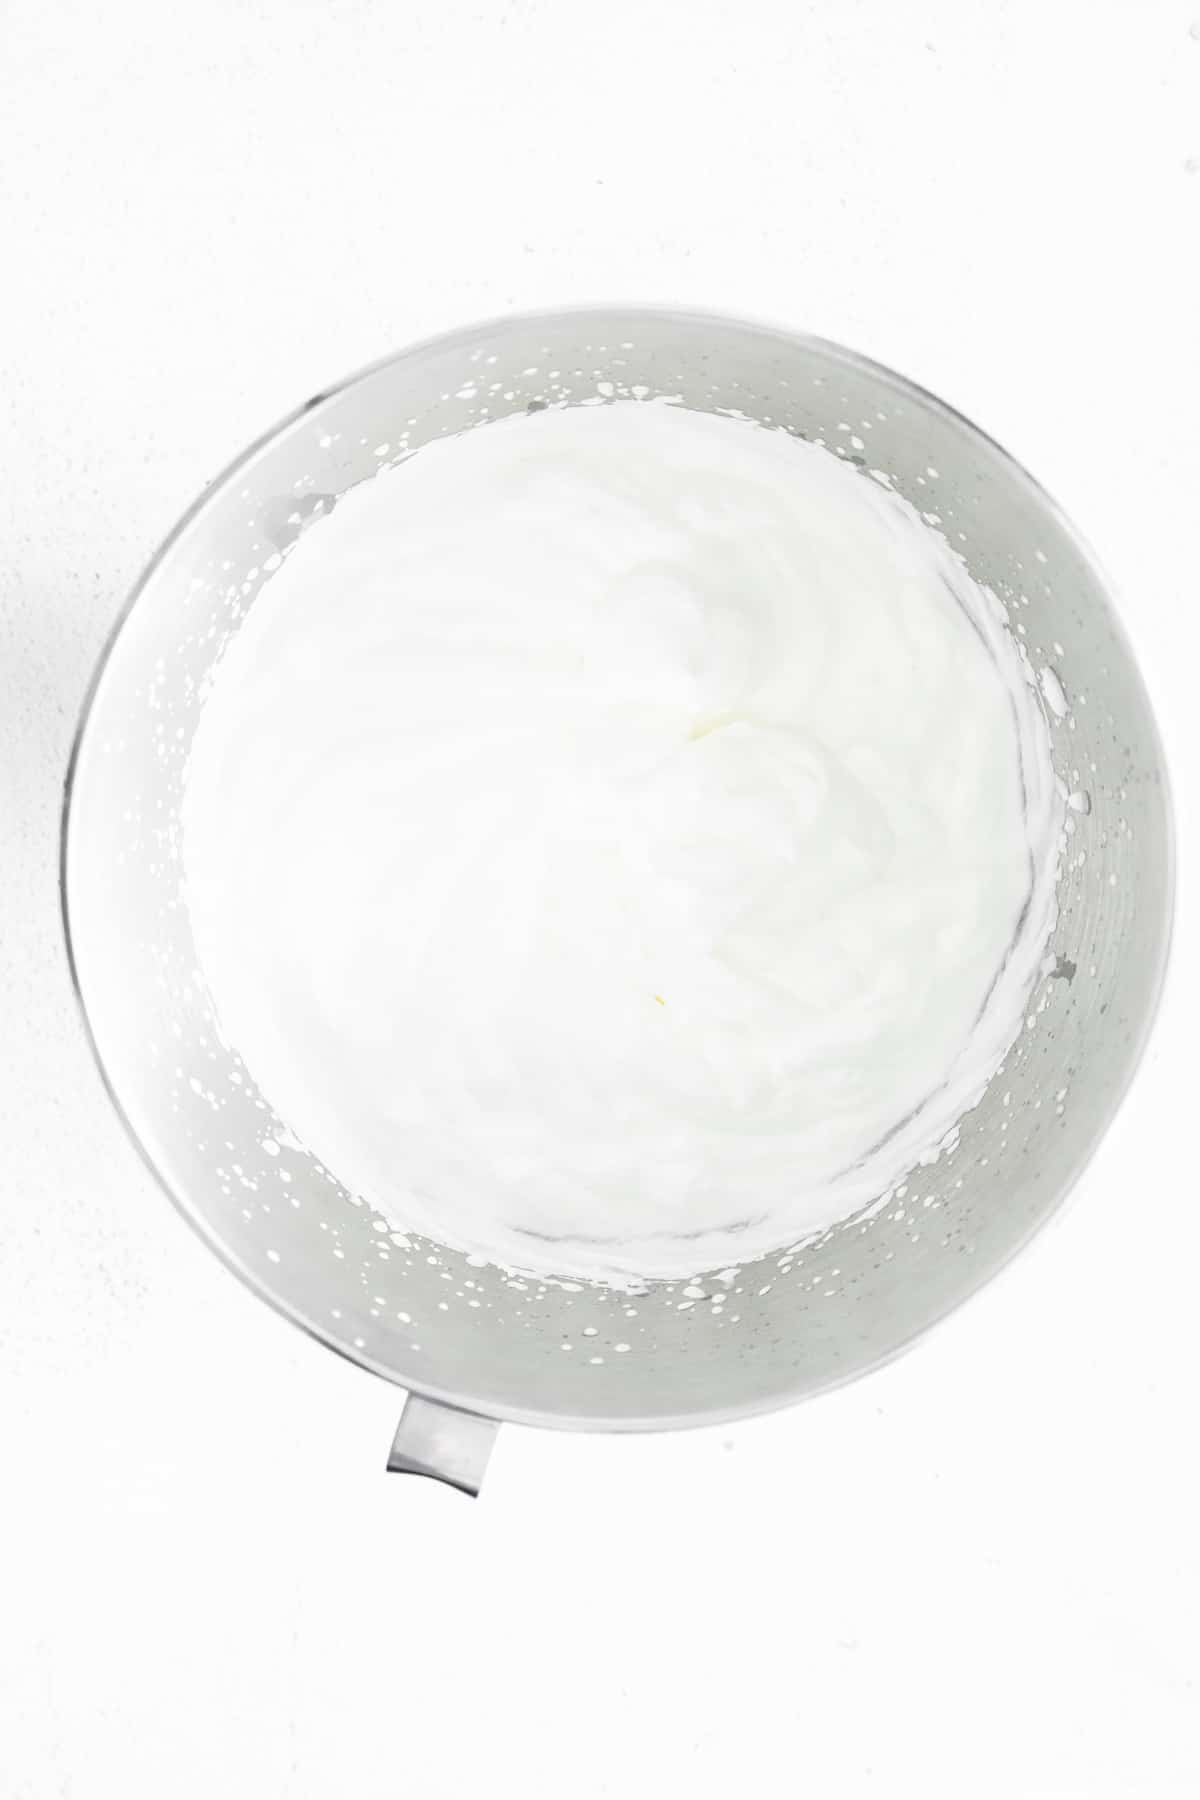
STEP 2: In the bowl of a stand mixer fitted with the whisk attachment or in a large bowl with a.hand mixer, beat the heavy cream on medium speed until it forms stiff peaks (about 2-3 minutes).
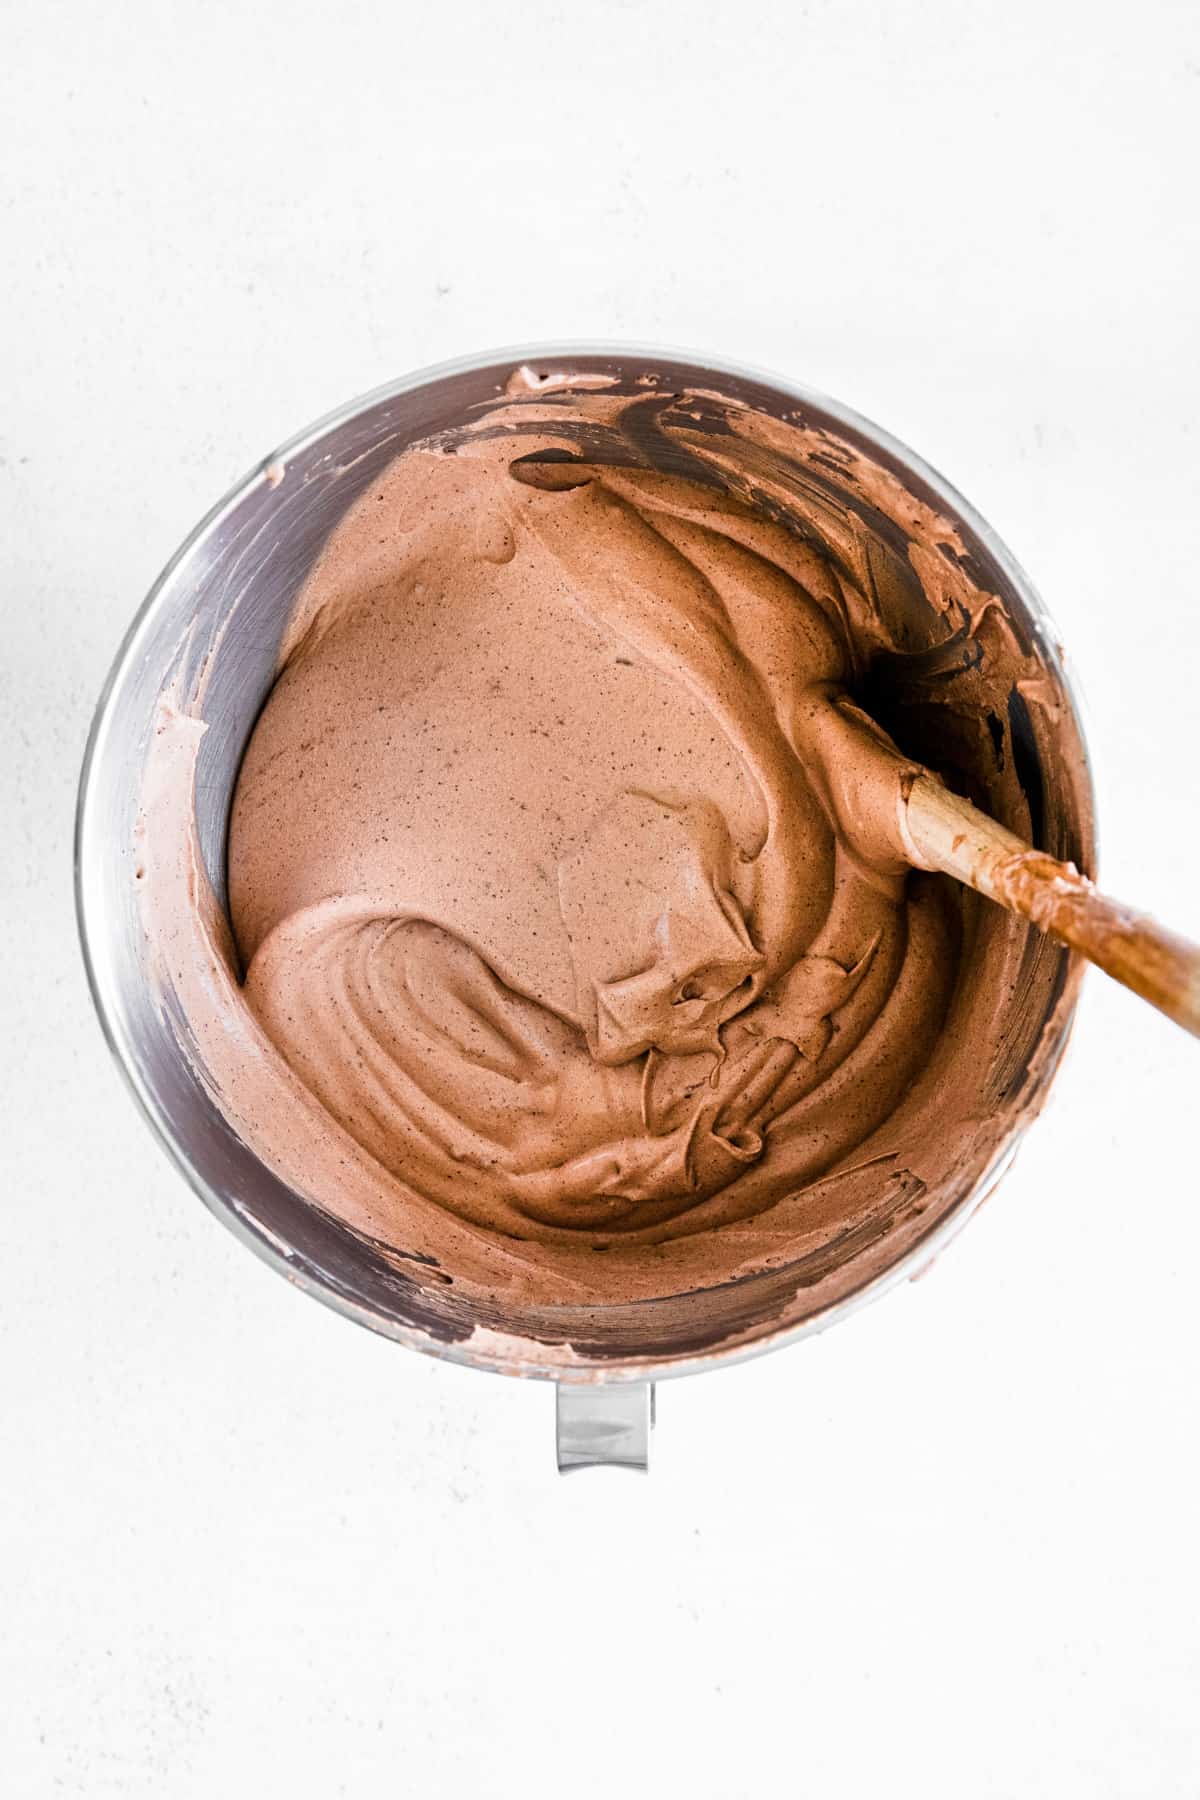
STEP 3: Add the chocolate mixture to the whipped cream and fold it together gently– you don’t want to deflate it!
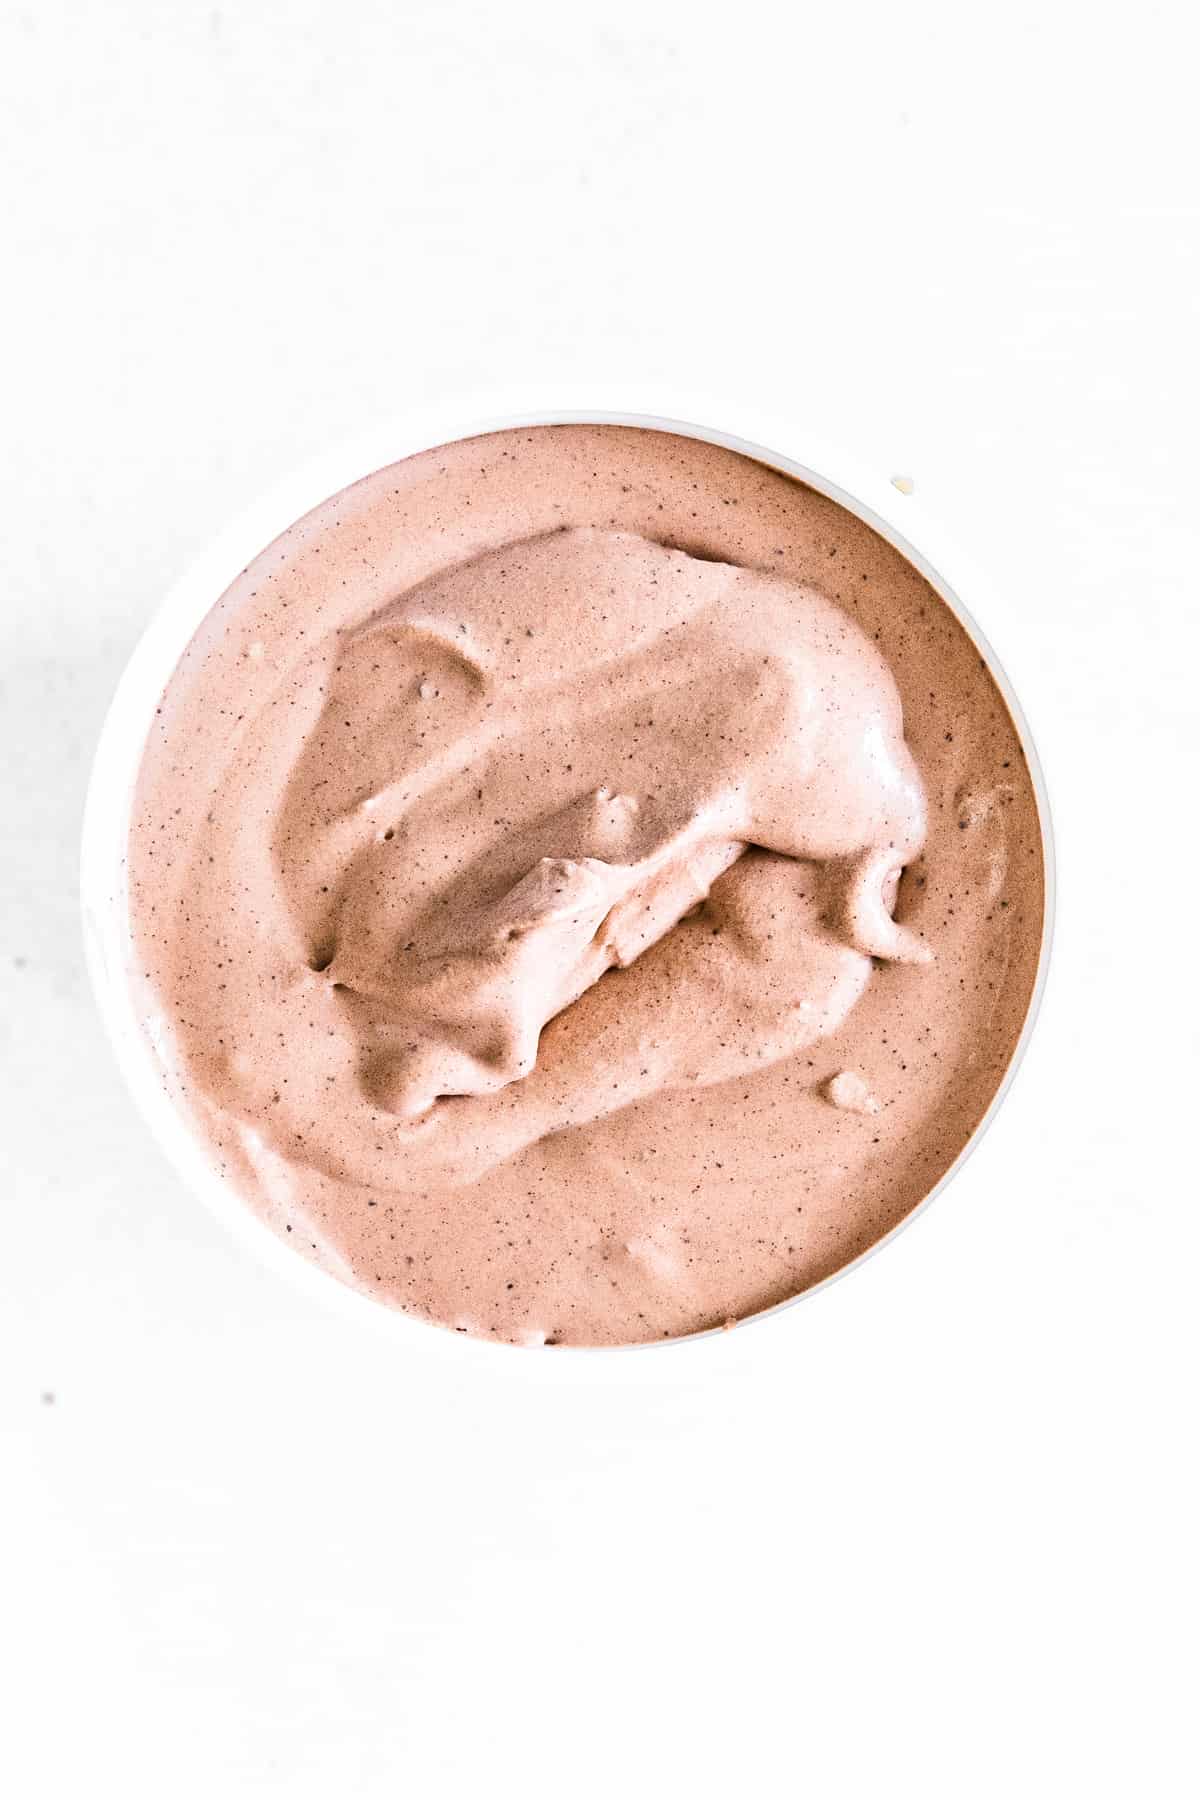
STEP 4: Once the mixture is fully combined, transfer it to an ice cream tub or freezer-safe loaf pan. Freeze overnight (or for at least 8 hours) before serving.
Recipe tips
- Cream whips quicker when cold. Keep your heavy cream in the fridge until ready to use and place your bowl and whisk attachment in the freezer for a few minutes before beginning.
- Easy scooping. For easier scooping remove your ice cream from the freezer and let it thaw for 5 or 10 minutes before serving.
- Keeps for up to 2 weeks in the freezer. Store your homemade chocolate ice cream in an airtight container in the freezer for up to two weeks. These containers are perfect for homemade ice cream storage.
Recipe FAQ
The major difference between churn and no-churn ice cream is that no-churn ice cream doesn’t require an ice cream maker. All you need is a stand mixer or hand mixer. You could even use a hand whisk to whip the cream, it would just take longer.
Another difference is that no-churn ice cream doesn’t typically call for eggs or added sugar, as it uses for sweetened condensed milk instead.
In short no, evaporated milk and sweetened condensed milk are not the same. They are different products. While they are both shelf-stable concentrated milk products, sweetened condensed milk is sweetened while evaporated milk is not.
More must-try frozen desserts
- Ice Cream Pie
- Rainbow Ice Pops (so fun!)
- Banana Pudding Popsicles (only 3 ingredients!)
- Boozy Oreo Milkshake (for the grown-ups)
- 27 Best Milkshake Recipes

No-Churn Chocolate Ice Cream
Ingredients
- 4 ounces bittersweet chocolate chopped
- 1 14 oz can sweetened condensed milk
- ¼ cup unsweetened cocoa powder
- 1 teaspoon pure vanilla extract
- 2 cups heavy whipping cream
Instructions
- Microwave the chopped chocolate in a small, microwave-safe bowl for 30 seconds. Stir well and reheat 15 more seconds if needed. Continue stirring and heating in 15-second increments until melted. Whisk in the sweetened condensed milk, cocoa powder, and vanilla until well combined and smooth.
- In the bowl of a stand mixer fitted with the whisk attachment or in a large bowl with a hand mixer, beat the heavy cream on medium speed until it forms stiff peaks (about 2-3 minutes).
- Add the chocolate mixture to the whipped cream and fold it together gently– you don’t want to deflate it!
- Once the mixture is fully combined, transfer it to an ice cream tub or freezer-safe loaf pan and freeze overnight (or for at least 8 hours) before serving.
Notes
- Use high-quality chocolate for best results. I used a Ghirardelli 60% baking bar.
- Cream whips quicker when cold. Keep your heavy cream in the fridge until ready to use and place your bowl and whisk attachment in the freezer for a few minutes before beginning.
- Storage: Store your homemade chocolate ice cream in an airtight container in the freezer for up to 2 weeks.
Nutrition

Did You Make This Recipe?
Share it with me on Instagram @crayonsandcravings and follow on Pinterest @crayonsandcravings for even more!
Pin for Later


I can’t wait to see what we can make 😉