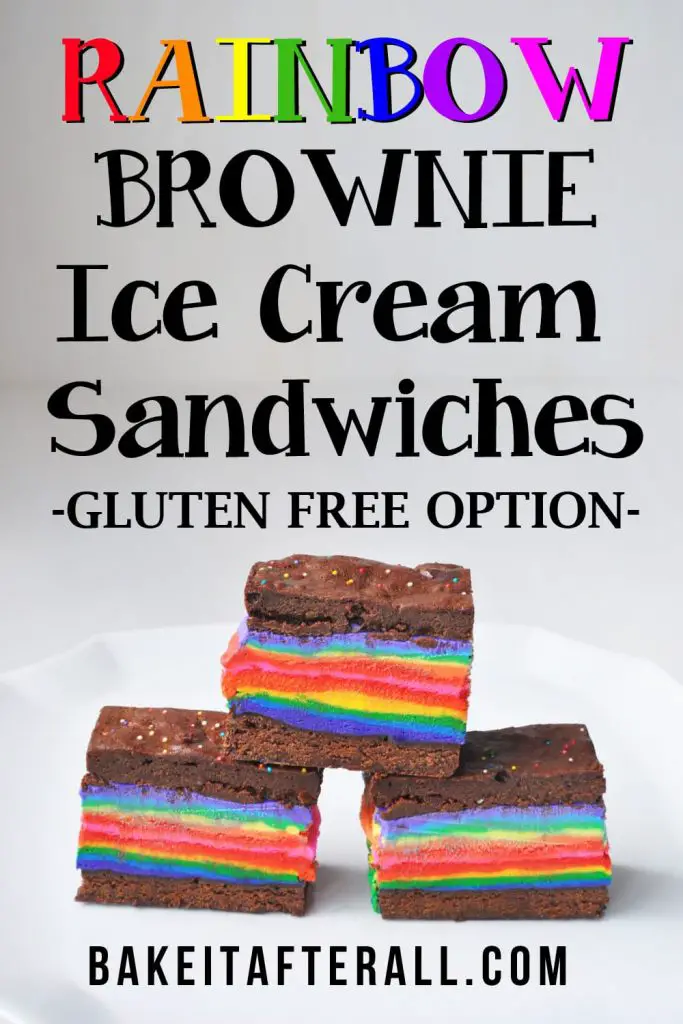
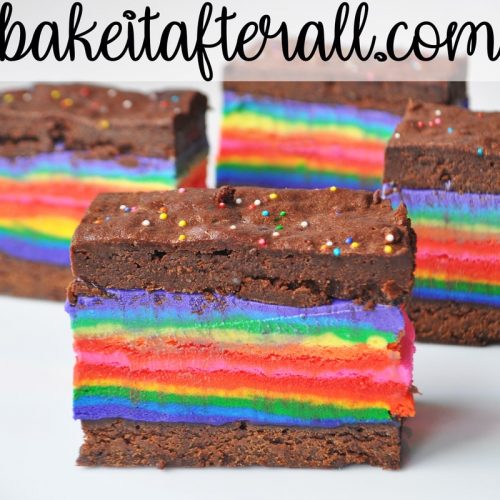
Rainbow Brownie Ice Cream Sandwiches
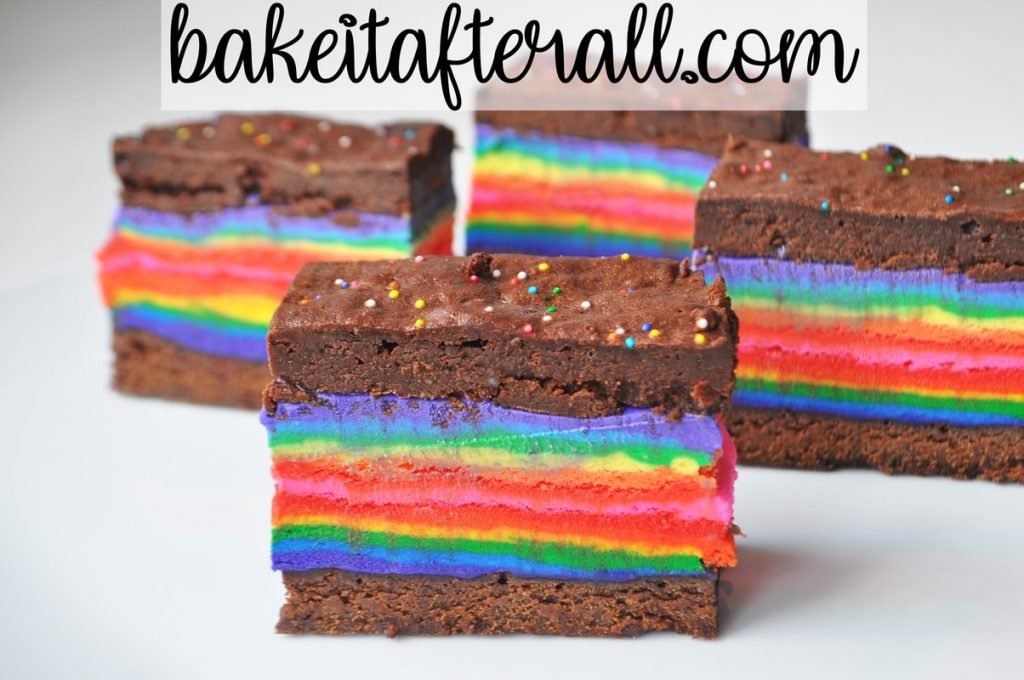
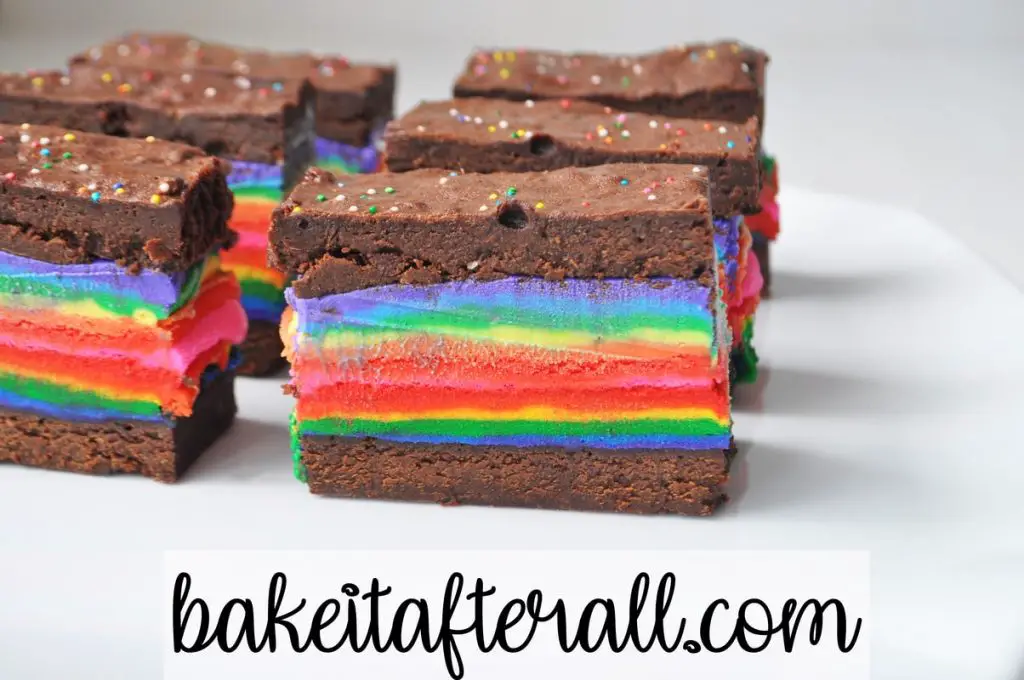
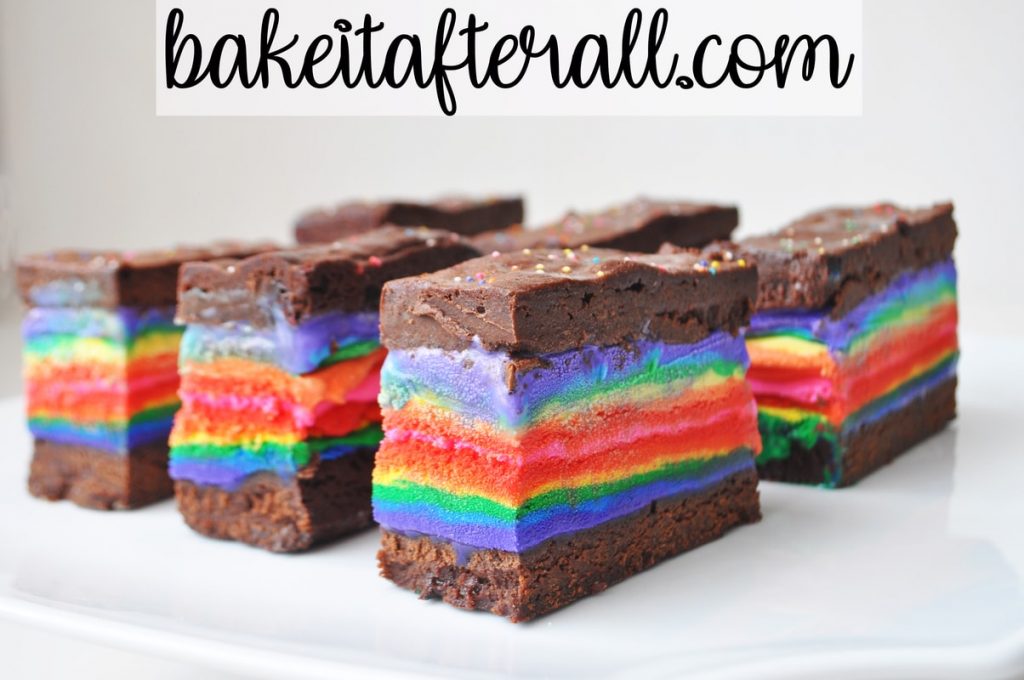
Rainbow Brownie Ice Cream Sandwiches feature my Best Gooey French Brownies with rainbow colored vanilla ice cream in between. They are perfect for so many colorful celebrations!
My 6 year old Ella and I were brainstorming ideas for ice cream cakes. We were both tossing out possible new variations when I got the idea for a Rainbow Ice Cream Cake. I have some plans for that in the future, but I also remembered Smitten Kitchen’s Brownie Ice Cream Sandwiches. Have you ever gotten an idea that you can’t get out of your head until you make it happen? These Rainbow Brownie Ice Cream Sandwiches were just that for me!
I’ll take you through my rationale for choosing this brownie recipe and rainbow design, but you may be wondering how these taste. These are AMAZING! That may even be an understatement.
The brownie recipe ended up freezing perfectly, still soft and easy to bite. Intense chocolate flavor, almost fudge-like in texture. The bittersweet chocolate nicely balances the sweet and mild flavor of the vanilla ice cream. I think I may have found a new crust for my Homemade Ice Cream Cakes (check out this Brownie Peppermint Ice Cream Cake!)
LOVE ICE CREAM SANDWICHES? Check out these Chocolate Chip Cookie Ice Cream Sandwiches!
Choosing a Brownie Recipe for the Rainbow Brownie Ice Cream Sandwiches
I checked Deb’s recipe, and her brownie recipe is remarkably similar to the recipe from my thesis advisor (Best Gooey French Brownies). She explained that these brownies work well because they don’t get too hard when frozen. The Best Gooey French Brownies are the perfect brownie for this application for 3 reasons:
1) They are made with real chocolate, not cocoa powder, for an intense chocolate flavor.
2) They have very little flour, only 1/4 cup for an entire batch. This makes the brownies even more chocolate focused.
3) These brownies have no baking powder or leavening agent. Again, this contributes to them being chocolate-centric.
Each of these qualities made me realize that when frozen, instead of gooey, these brownies would be easy to bite and fudge-like in texture. That’s exactly what I was going for.
The Best Gooey French Brownie recipe calls for unsweetened chocolate. I didn’t have unsweetened chocolate on hand. In fact, I don’t usually prefer to bake with unsweetened chocolate because I like Ghirardelli bittersweet chips so much. I decided to adapted the Best Gooey French Brownie recipe to use bittersweet chocolate. To do this, I had to use the conversion formula I used for the Homemade Ben & Jerry’s Hot Fudge Sauce. It involves upping the chocolate amount and decreasing the sugar.
Smitten Kitchen mentioned lowering the sugar in her brownies to compensate for the sweetness of the ice cream. I liked this idea, so I further reduced the sugar in the Best Gooey French Brownie recipe. I also added some salt and swapped the all purpose flour for gluten free. These certainly can be made with all purpose flour though. I have always made the Best Gooey French Brownies with all purpose flour.
Rainbow Theme
Like many young girls, my daughters love rainbow. For Ella’s 4th birthday I made her a Rainbow Unicorn Cake and Unicorn Royal Icing Cookies (details coming soon!). I also made her a My Little Pony Rainbow Unicorn Ice Cream Cake for another party to celebrate her turning 4. I regularly color the ice cream of my ice cream cakes to fit the theme of my kids’ birthdays. It only seemed fitting to try a true rainbow ice cream dessert, and I thought these Brownie Ice Cream Sandwiches would be the perfect opportunity.
The beautiful rainbow ice cream is fitting for many different occasions – from Rainbow Unicorn theme to birthday parties celebrating Rainbow Babies to celebrating LGBTQ Pride. These Rainbow Brownie Ice Cream Sandwiches are sure to add a fun and delicious element to any celebration!
Making the colored ice cream is of course more work and more time consuming than just using one large layer of ice cream. You can customize these Brownie Ice Cream Sandwiches any way you’d like. Use your favorite ice cream flavor, color vanilla ice cream any way you’d like, or just stick with white vanilla ice cream. I’m thinking of so many delicious combinations with the chocolate brownies: coffee ice cream, dark cherry ice cream, peppermint ice cream, mint chocolate chunk ice cream, Neapolitan ice cream, the list goes on. The sides of the Brownie Ice Cream Sandwiches can be left plain, or rolled in sprinkles or crushed peppermint or toffee. The possibilities are endless!
Calculating the Amount of Ice Cream for the Rainbow Brownie Ice Cream Sandwiches
You’ll notice the ice cream layer in these Rainbow Brownie Ice Cream Sandwiches is a bit large. The recipe I used as a guide for how much ice cream I would need called for 3 cups of ice cream. I put 1/2 cup of ice cream into each of 6 bowls for the colors of the rainbow. I realized after adding the first layer that 3 cups total of ice cream was not going to be enough. This was even ore apparent after adding the 6th layer. Perhaps because it deflates a little when being mixed with food coloring?
I ended up having to do a second round of rainbow, which I did in reverse and put pink in the center. This resulted in 13 layers of ice cream! My original intention was 6. I’ve adjusted the amount of ice cream in my recipe.
If you’re not coloring the ice cream, or if you prefer a thinner sandwich, you can scale back on the ice cream. It’s a matter of personal preference what you want for the ratio of brownie to ice cream.
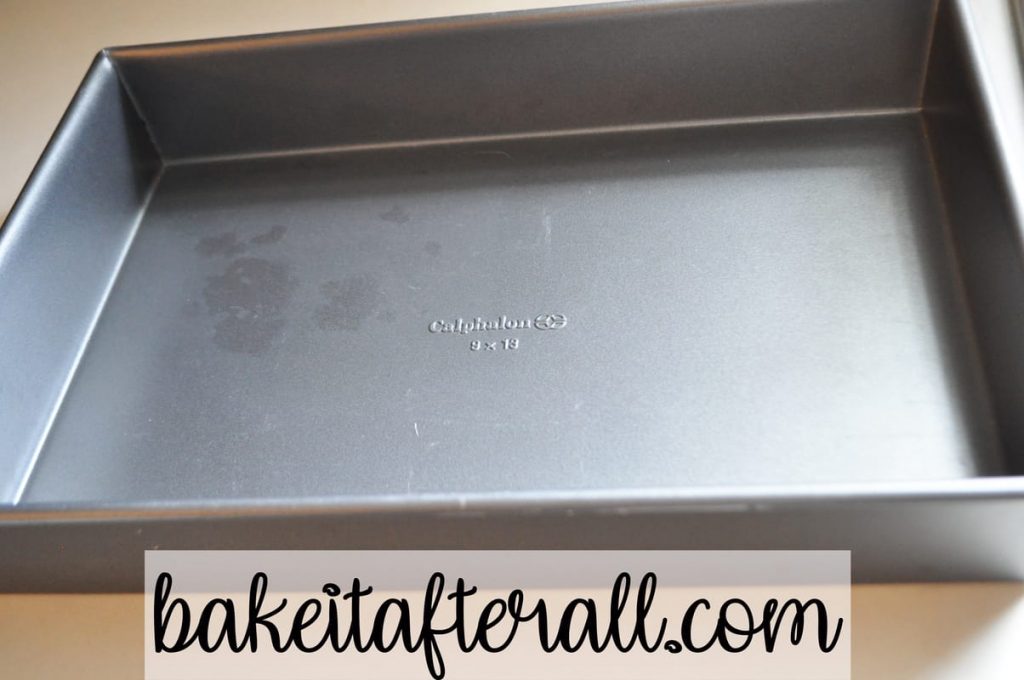
Prepare the Brownie Pan
For these ice cream sandwiches, I decided to take my new adaptation of the Best Gooey French Brownie recipe, which I usually bake in an 8 or 9-inch square baking dish, and put it in a 9 x 13-inch pan. This way the brownies would be thinner and more suitable for a sandwich dessert.
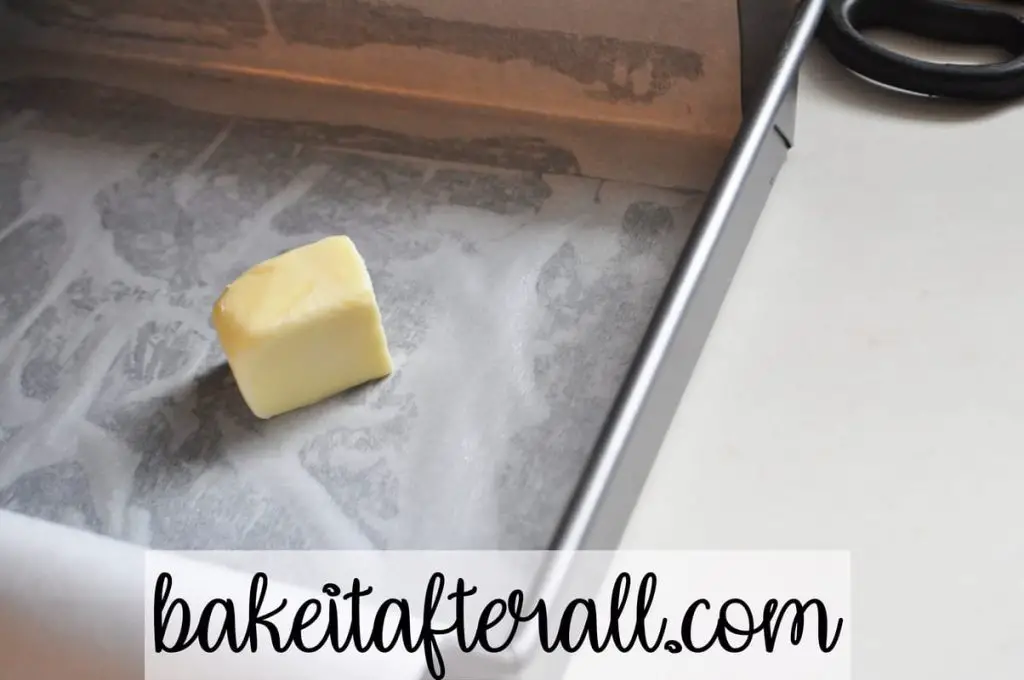
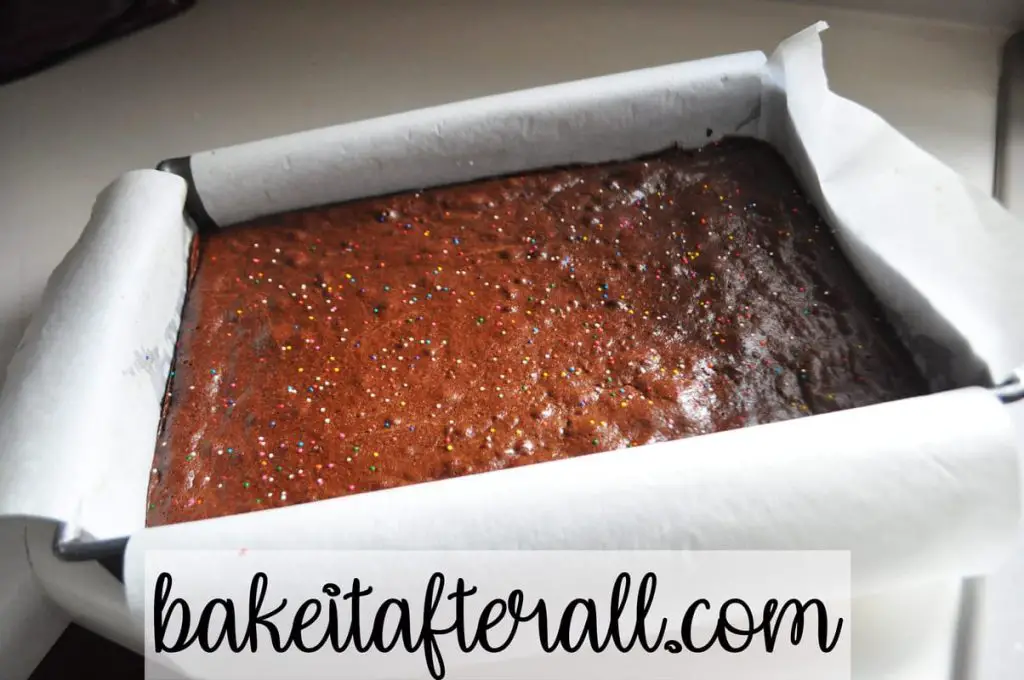
To ensure the brownies can be lifted out of the pan when turning them into Brownie Ice Cream Sandwiches, I added parchment paper in both directions with overhang flaps for easy lifting. I buttered the pan underneath the parchment to get it to stick to the pan.
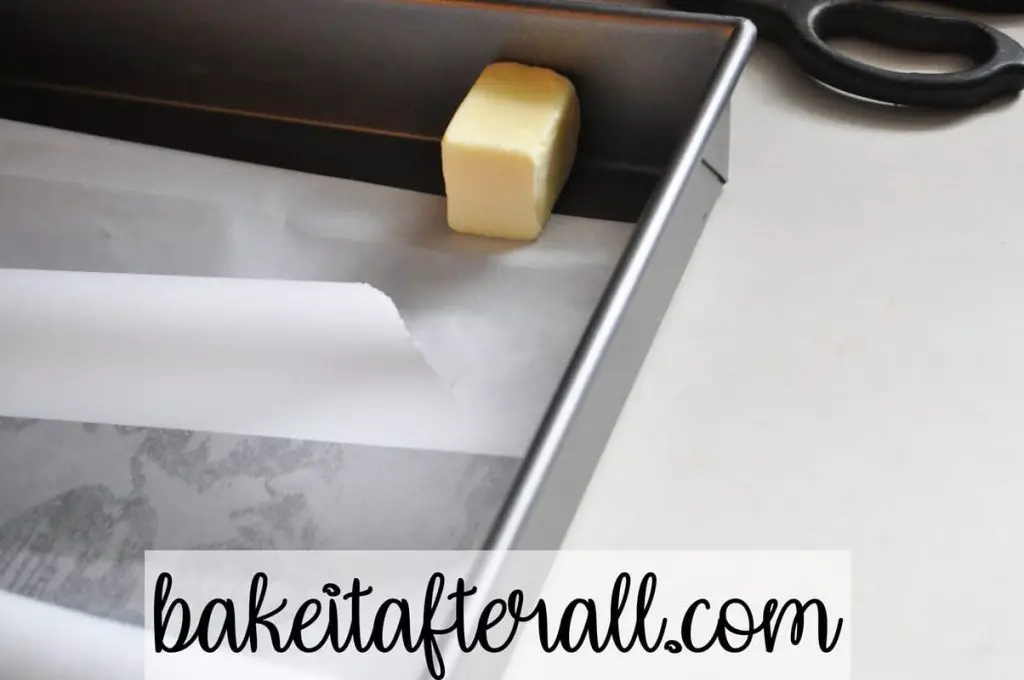
I also buttered on top of the parchment paper so the brownies would come off of the paper easily after being baked.
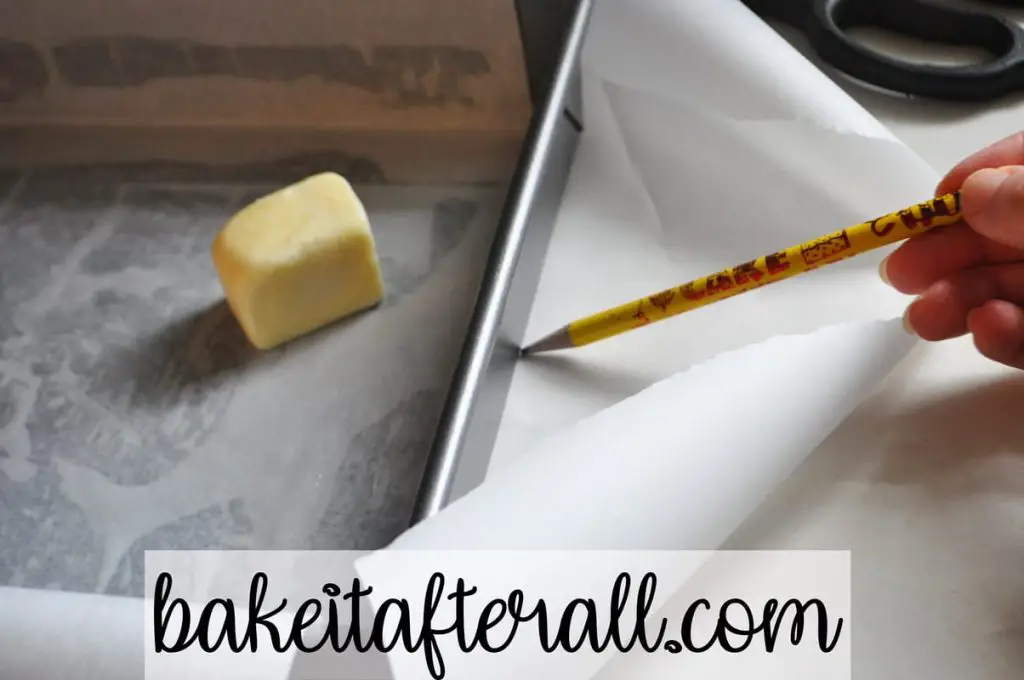
One way I like to measure out my parchment is to put it under the pan and use a pencil to draw an edge so I know where to cut. It’s paper, so a pencil works nicely and you end up cutting off the pencil mark anyway.

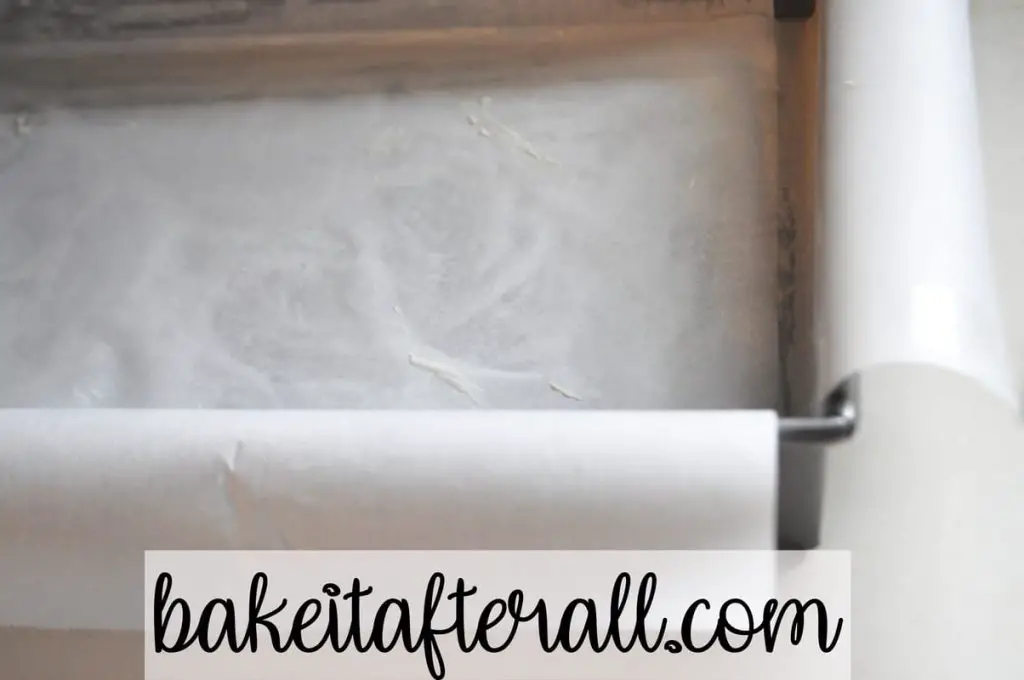
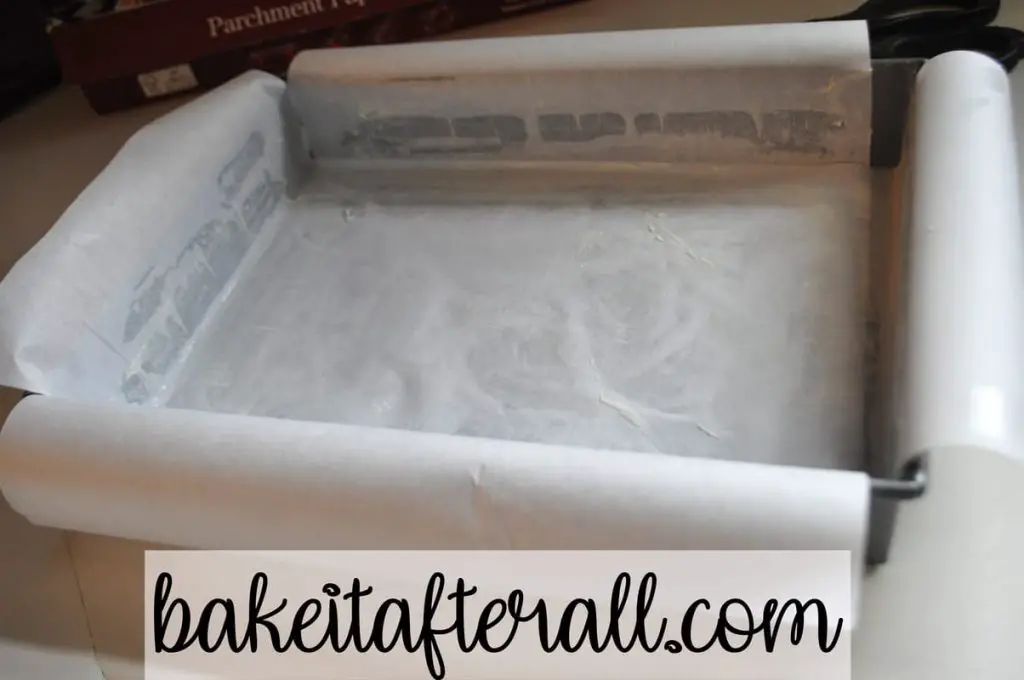
Once I added two pieces of parchment paper in opposite directions, I had flaps on all 4 sides. I buttered all surfaces under and on top of the parchment.
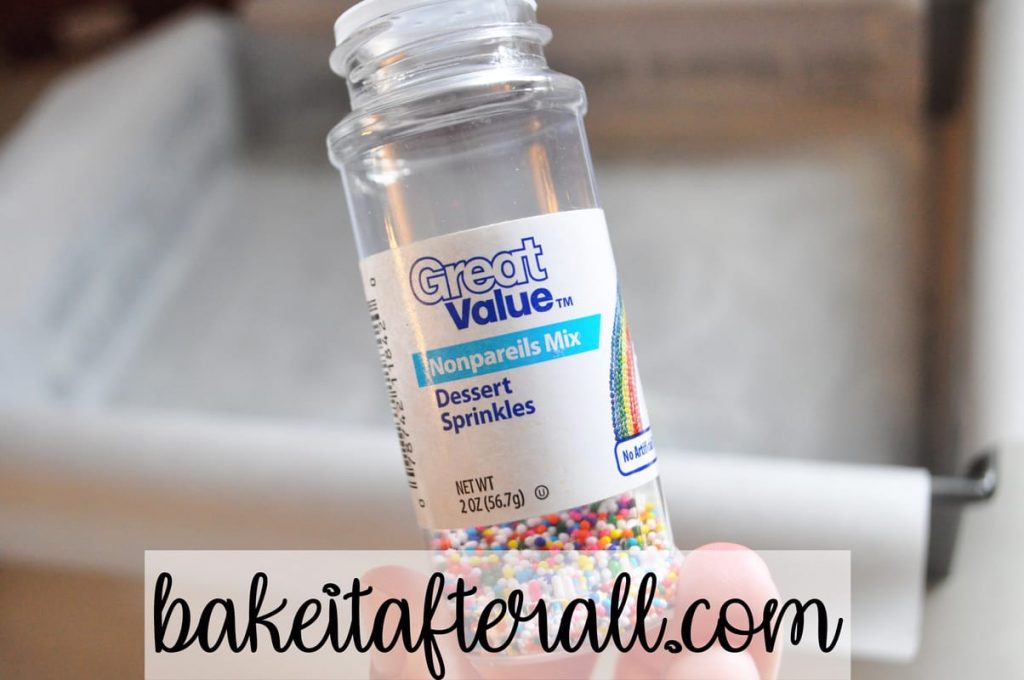
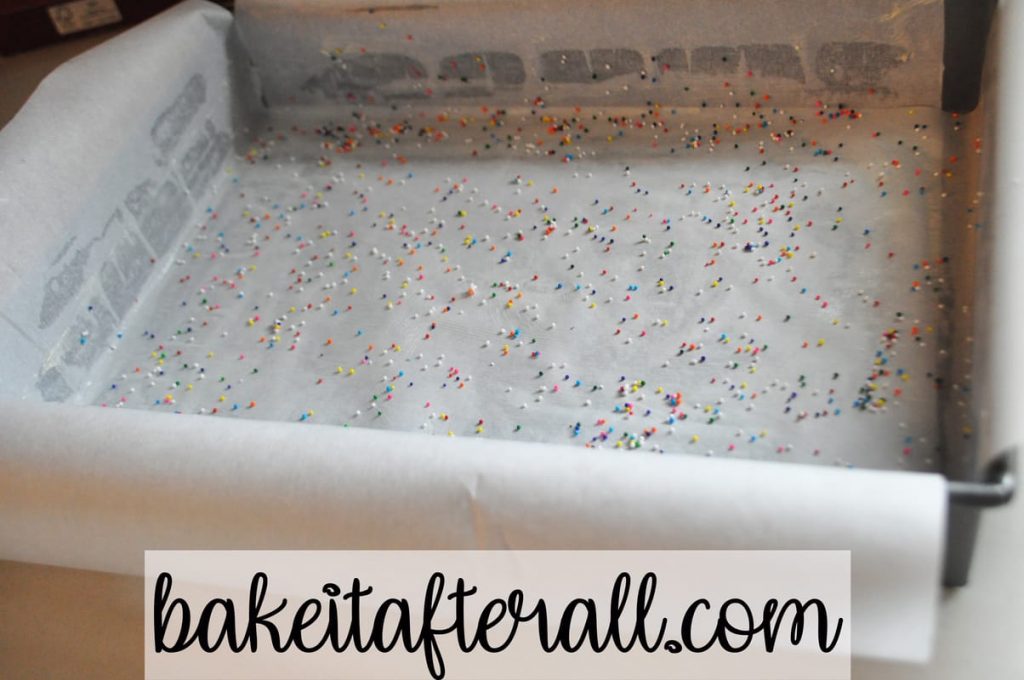
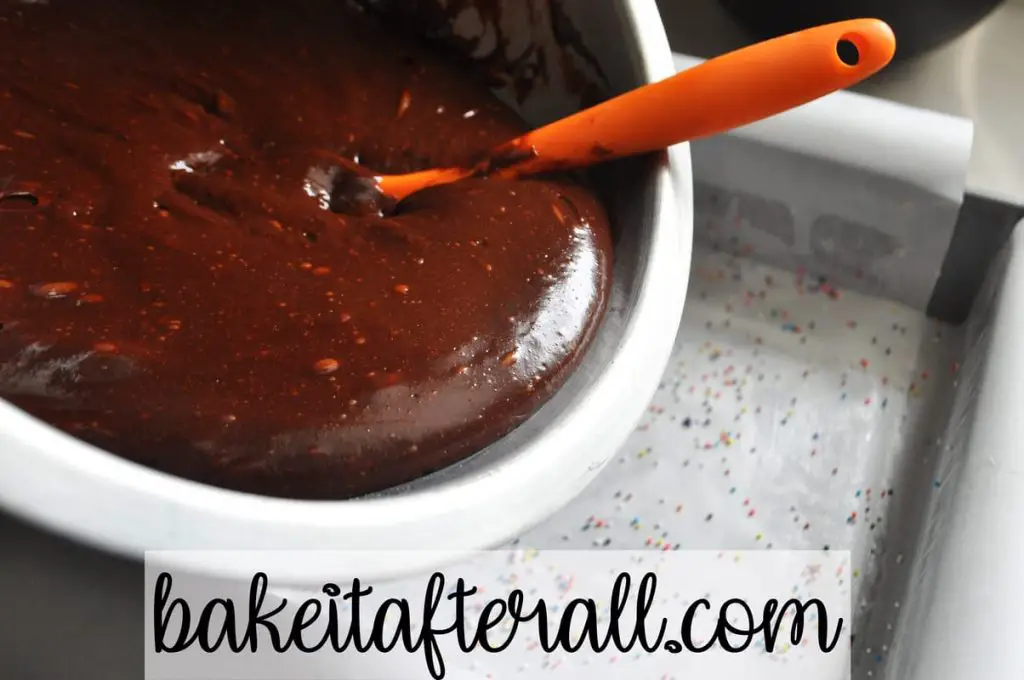
At this point, I decided to sprinkle nonpareil dessert sprinkles in the bottom of the pan. I wanted to see if it would decorate the bottom of the brownies with colorful sprinkles. It did not. The batter displaced the sprinkles. My experiment did not work, so I have eliminated this step in the recipe card!
Melt the Chocolate and Butter
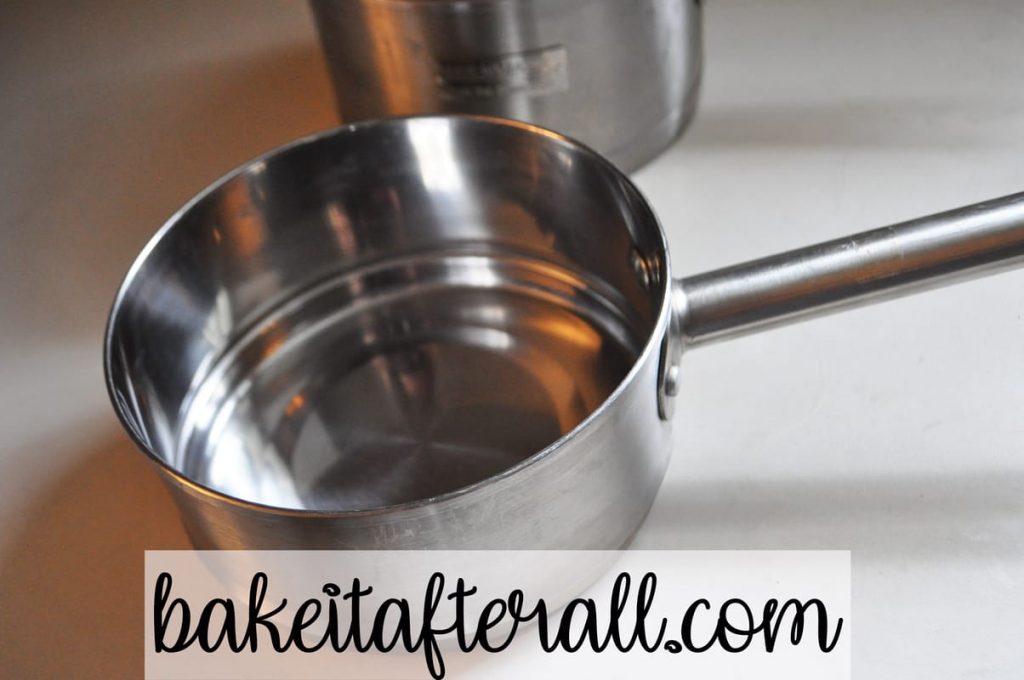
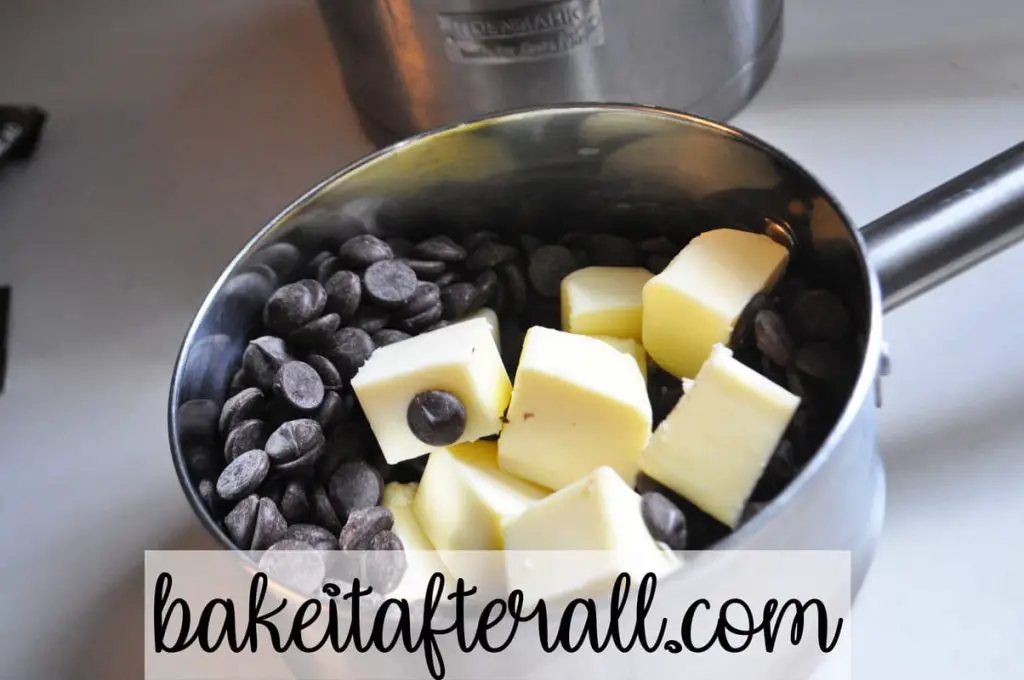
To make the brownie batter, the first step is to melt the chocolate and butter. I added the bittersweet chocolate and butter to the top of a double boiler. Alternatively, you can use a bowl set above a pot of simmering water. Either will work. I used a bowl over a pot of water for a few years before breaking down and buying a double boiler. Sometimes the bowl gets slippery and can tip, so you have to be extra careful. You don’t have to worry about that with a double boiler because the top pan securely nests into the bottom pan.
As I’ve mentioned before, you often read in recipes not to use chocolate chips because they have stabilizers in them. I find that Ghirardelli Bittersweet Chips melt beautifully and quickly, so I use them anytime I need bittersweet chocolate.

I always weight my ingredients with a kitchen scale. That’s the scientist in me needing for measurements to be exact.
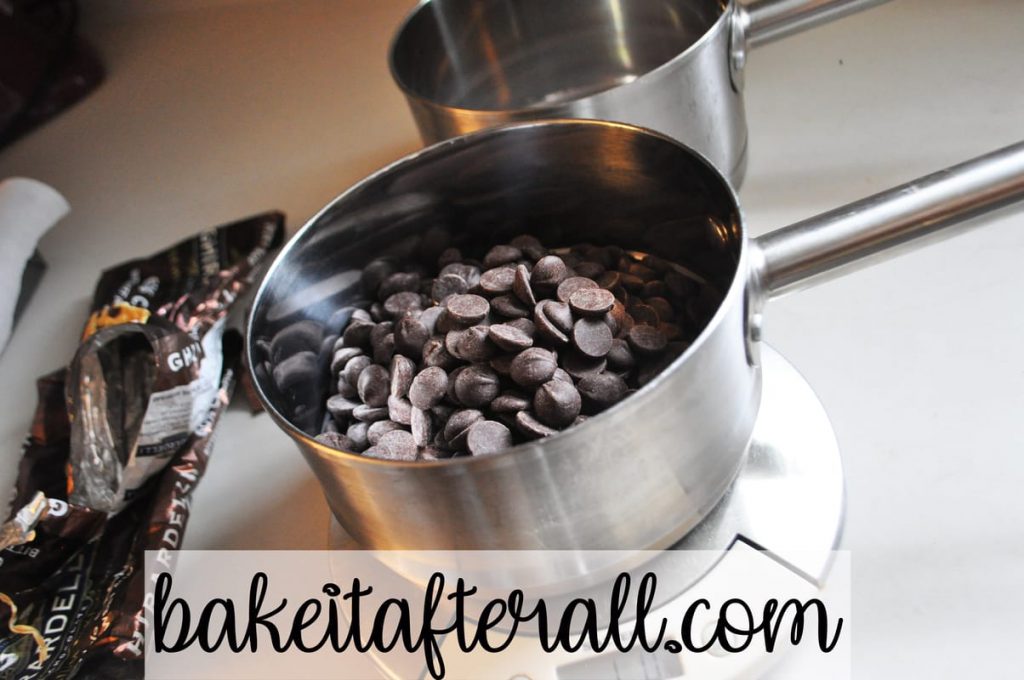
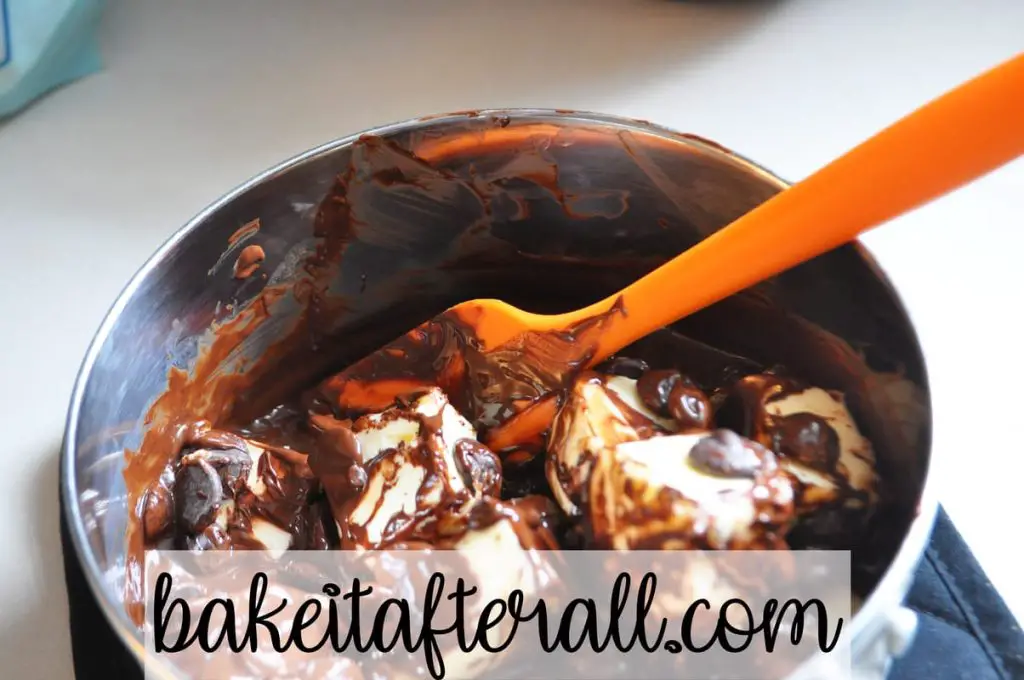
I added the pieces of butter to the chocolate in the top of the double boiler. The water in the bottom of the double boiler should only be about half full. You don’t want the simmering water to make contact with the bottom of the pan containing the chocolate. The steam from the simmering water will melt the chocolate and butter. Direct heat is bad for chocolate. It can burn or seize up.
I like to use one of my small silicone spatulas in the top of the double boiler. Because they are heat resistant, I can leave the spatula in the mixture and stir when needed.
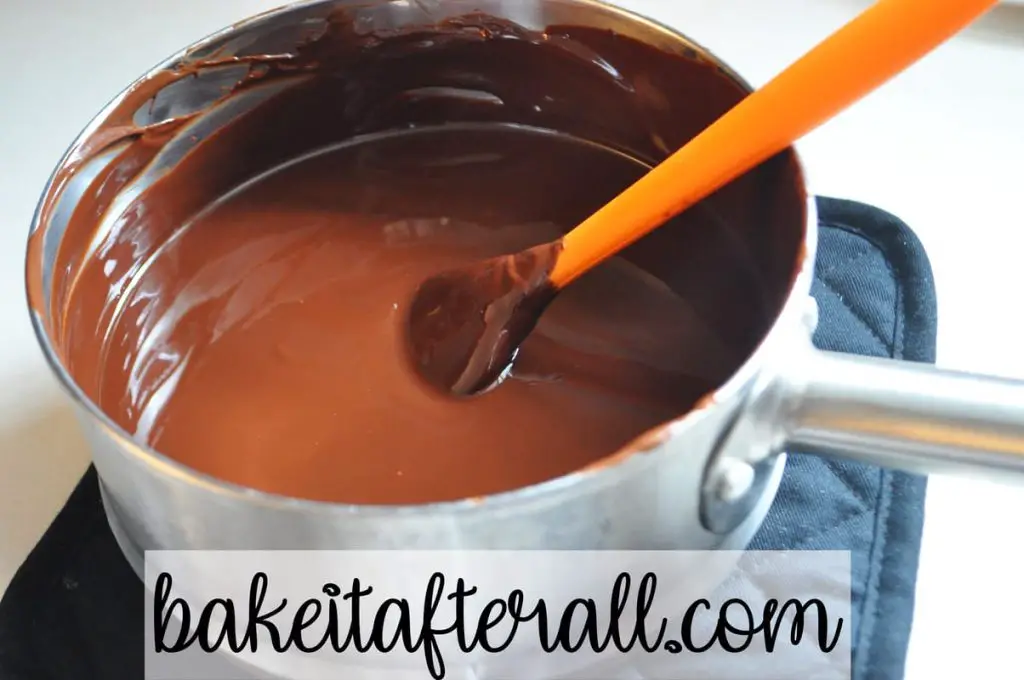
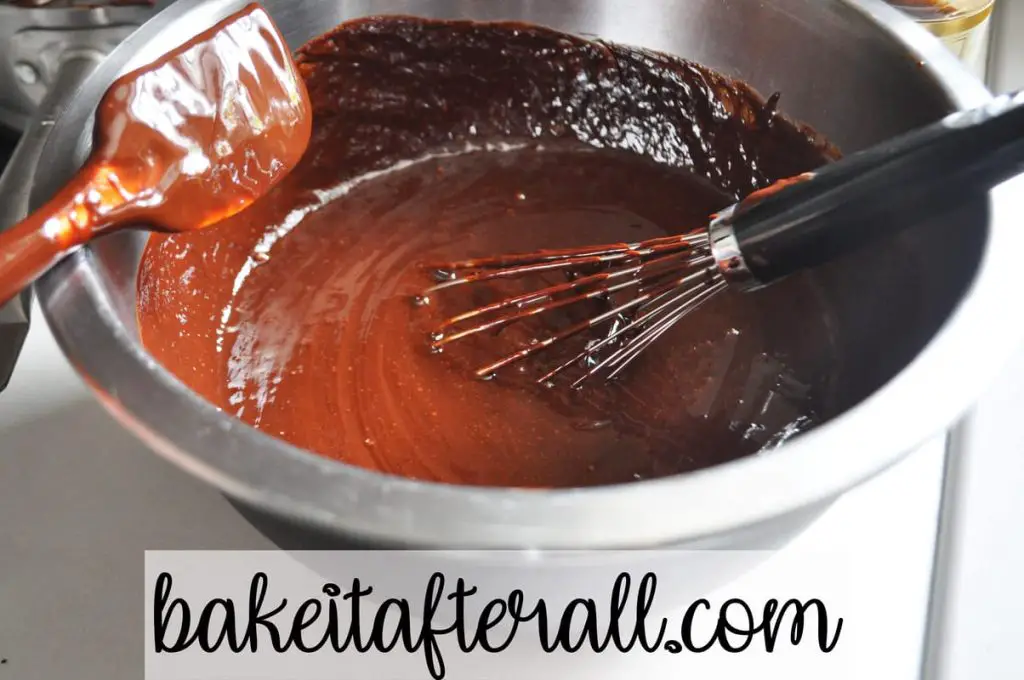
This chocolate and butter are completely melted and smooth. I set aside this mixture to cool. Meanwhile, I prepared the egg mixture and dry ingredients.

Prepare Egg Mixture
I added the sugar to a large bowl. Everything else will be added to this bowl eventually, so it needs to be big enough for all of the brownie batter.
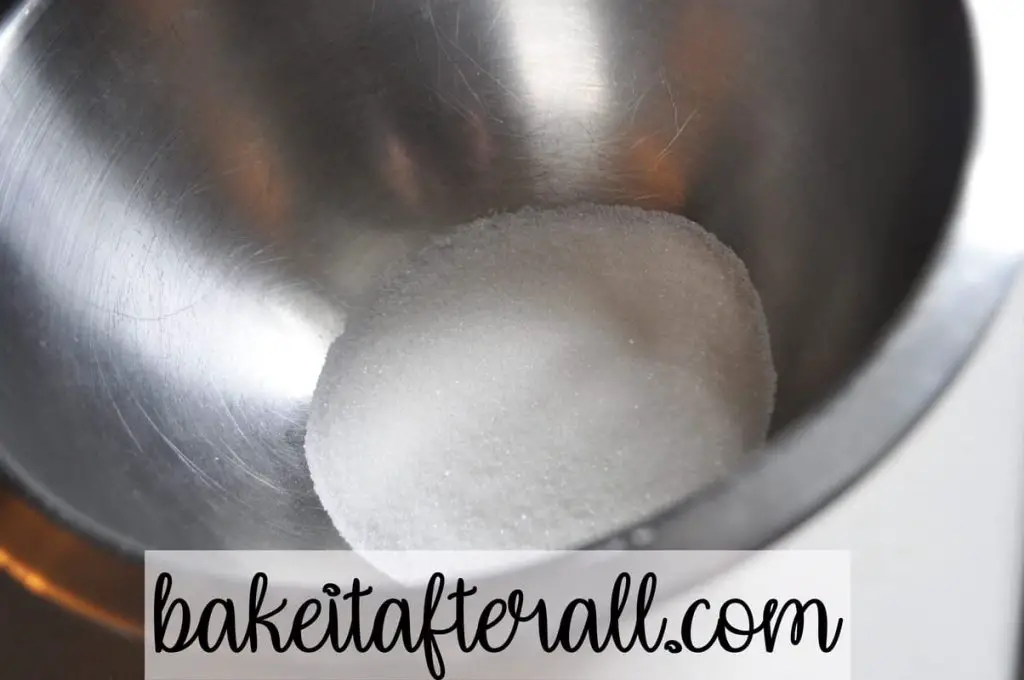
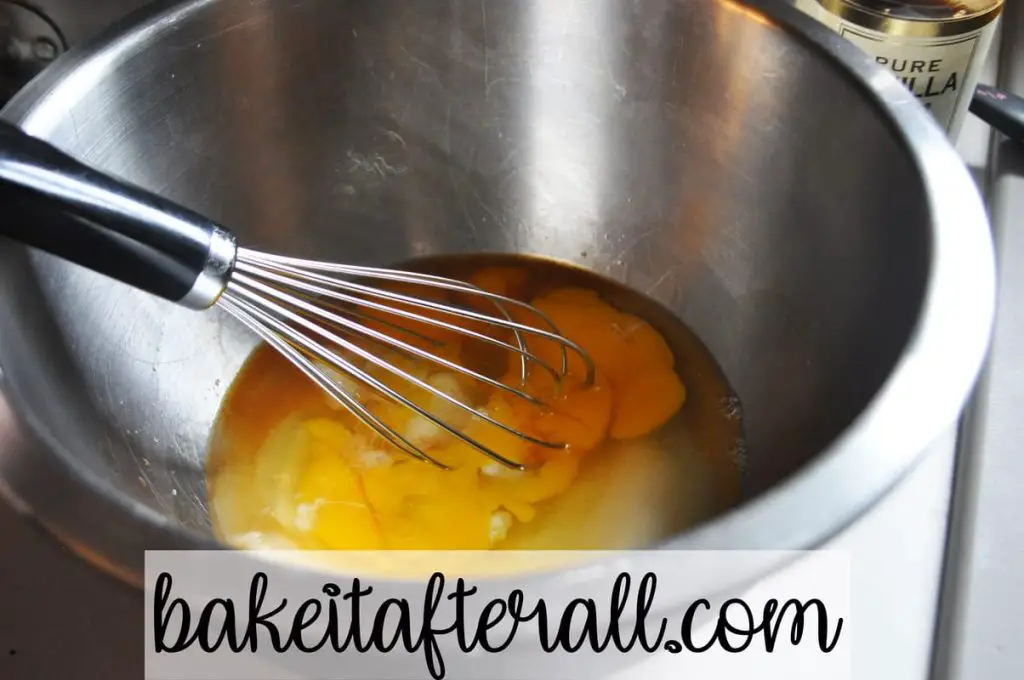
Then I added the eggs and vanilla extract.
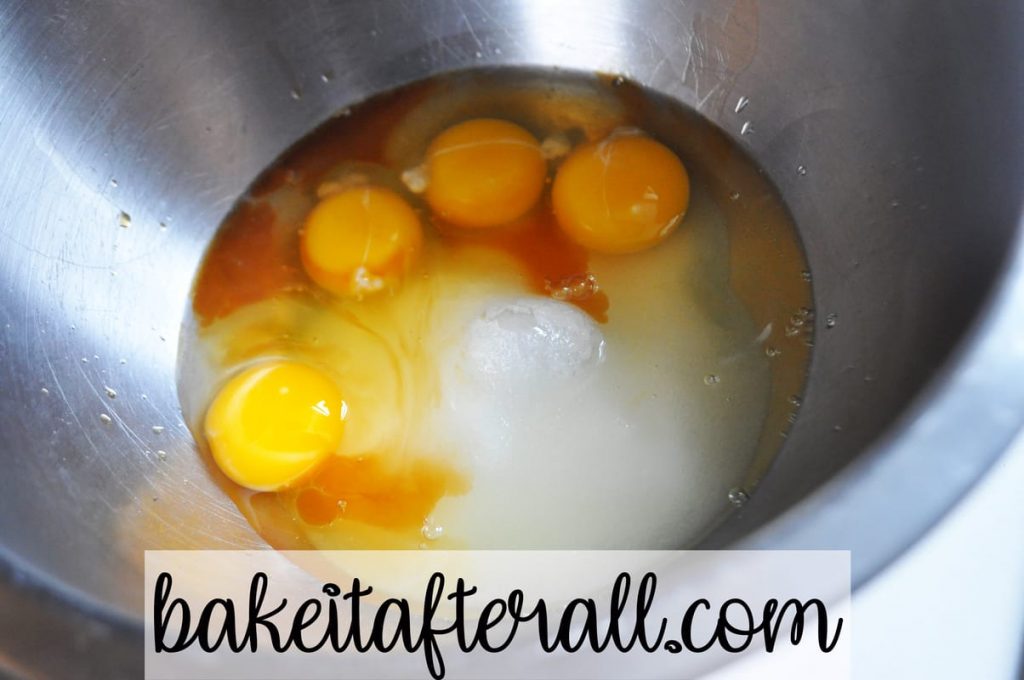
I used a whisk for this step to make sure it’s mixed well.
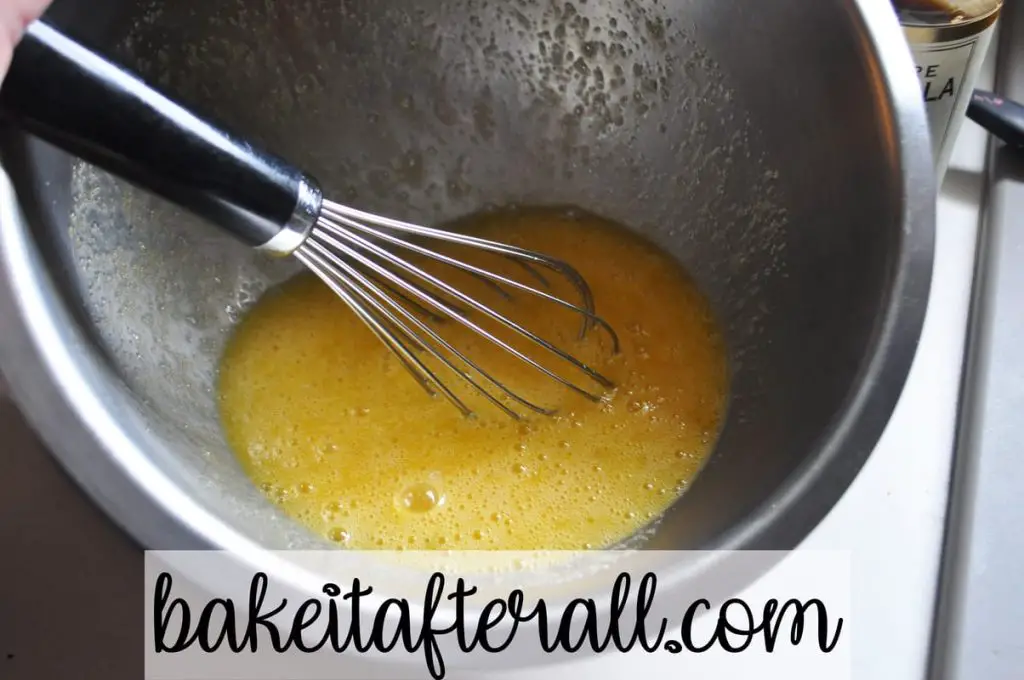
I set the egg mixture aside and prepared the dry ingredients.
Prepare Dry Ingredients
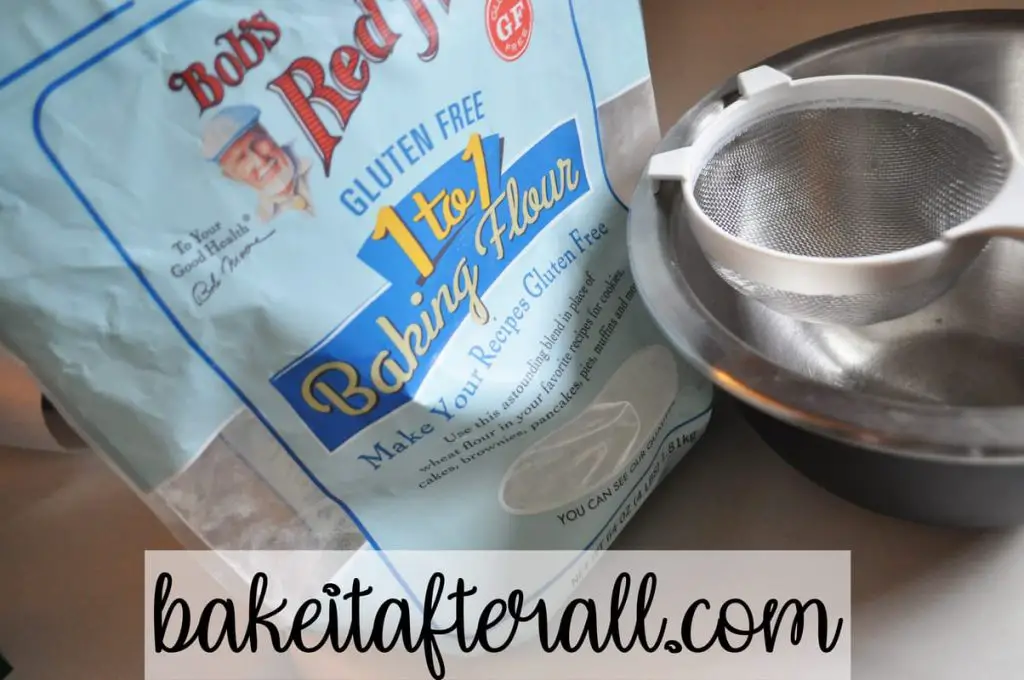
I decided to make these Brownie Ice Cream Sandwiches gluten free so I could eat them. Sometimes I purposefully use all purpose flour so I DON’T eat something, but I really wanted to try these! I always use my favorite Bob’s Red Mill Gluten Free 1 to 1 Baking Flour. While I feel like a broken record with this flour, it really is amazing. I have had luck replicating so many recipes with this flour. I have the hardest time with yeast breads, but baked goods tend to be nearly identical results!
This recipe has very little flour compared to most brownie recipes. It’s verging on the texture of a flourless chocolate cake. Using less flour really makes the chocolate the star of the show with these brownies.
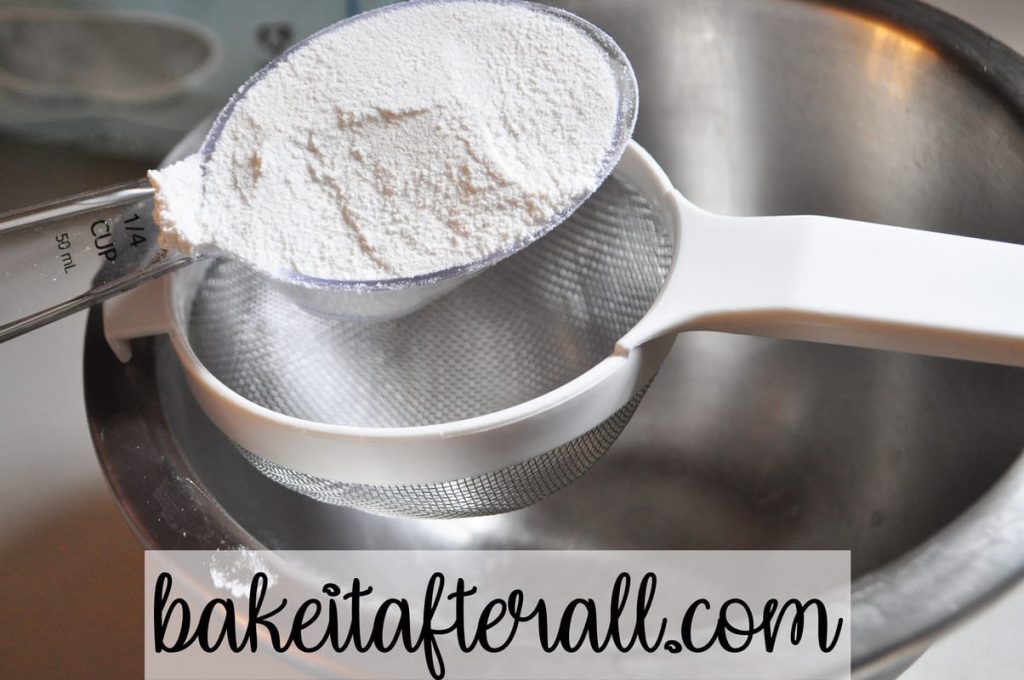
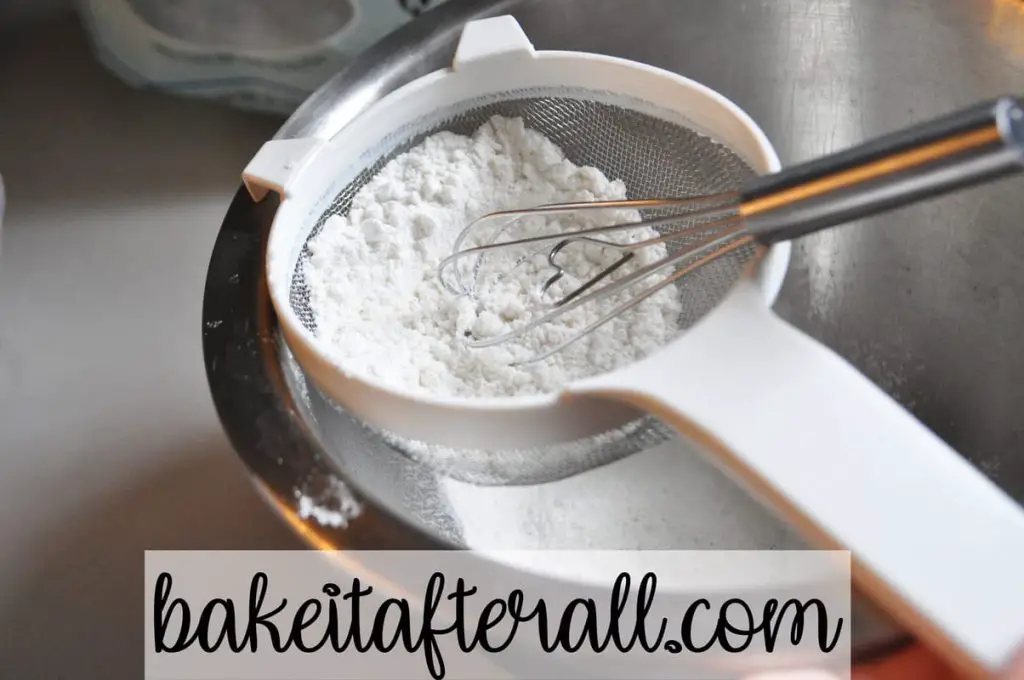
I don’t have a flour sifter. I just use a small wire strainer and a small wire whisk and stir the dry ingredients, in this case just flour and salt, through the strainer. This helps remove lumps. These brownies do not contain any baking powder or leavening agent. Again, this contributes to them being super fudge-like and decadent. I set aside the dry ingredients to finish the wet ingredient part of the recipe.
Finish the Brownie Batter
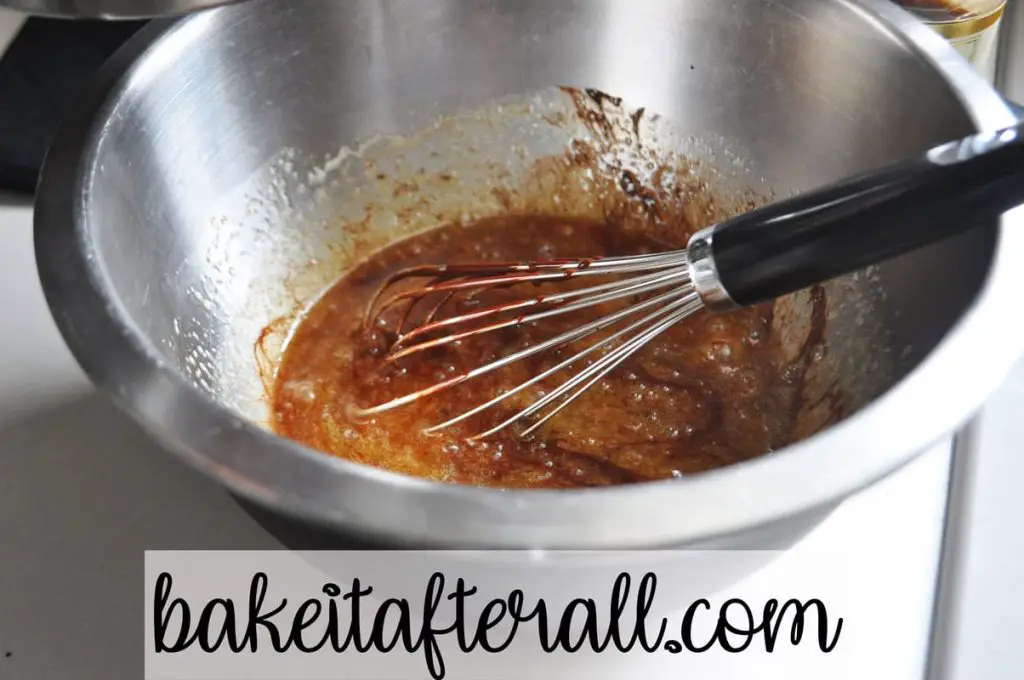
Once the chocolate mixture has cooled to room temperature, I added it to the egg mixture. I got a little impatient and decided to add it when it was still a little warm. To ensure I didn’t scramble the eggs, I added a tiny bit of the chocolate mixture then whisked well. This slowly raises the temperature of the eggs and helps keep them from scrambling when the rest of the chocolate is added. This is called tempering the eggs, which is along the same lines as tempering chocolate.
Here’s the rest of the chocolate being added.
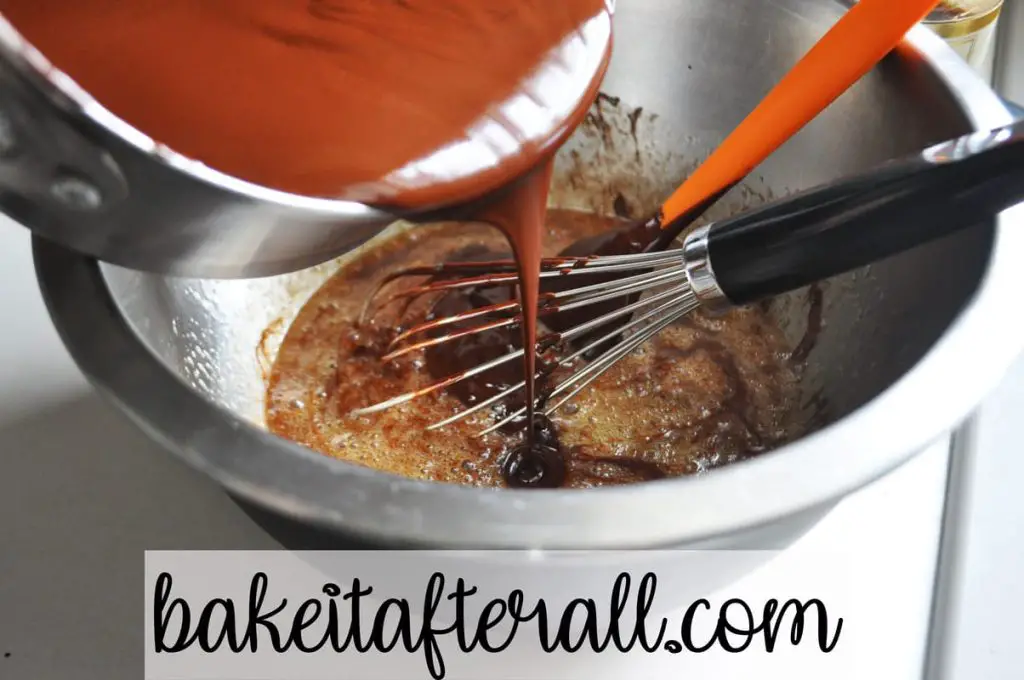
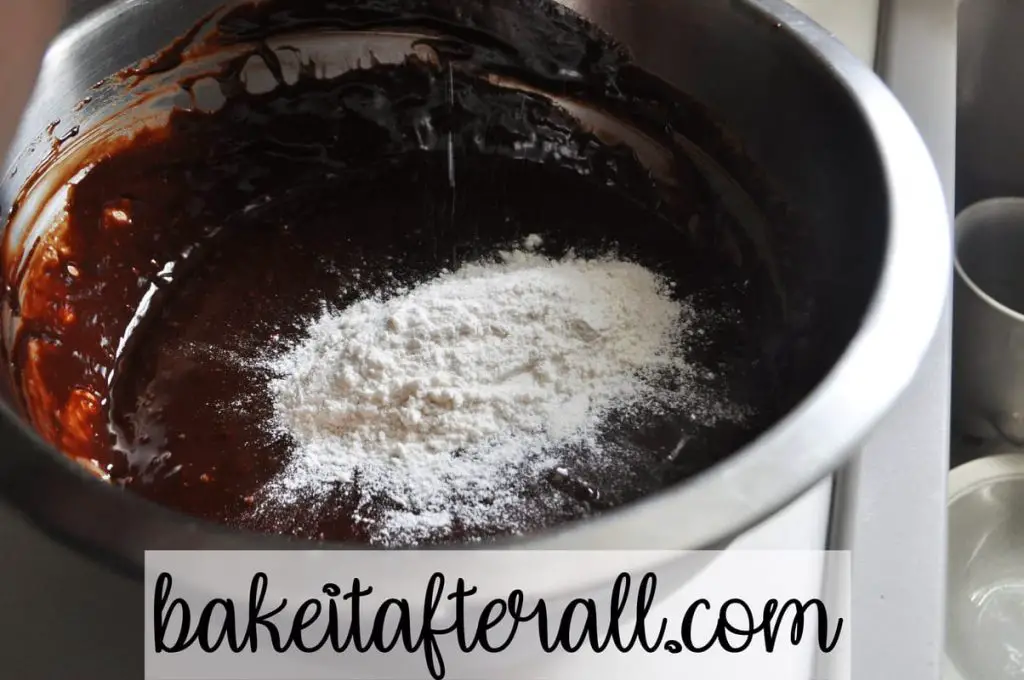
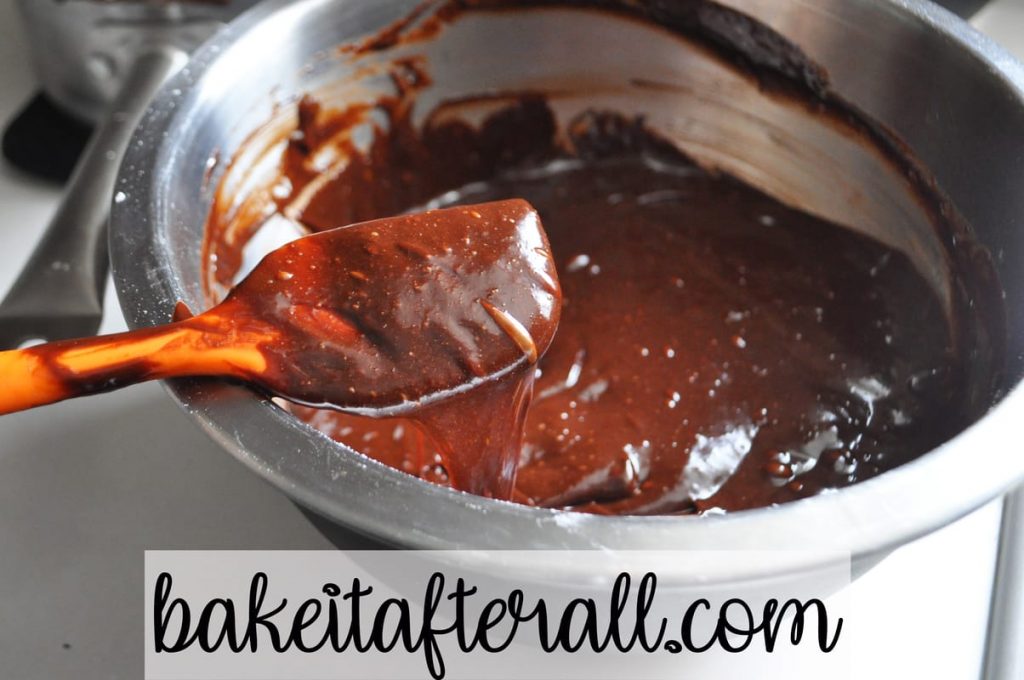
Once the chocolate mixture was well mixed into the egg mixture, the batter was ready for the dry ingredients. It’s fine to whisk the batter up until this point, but now the whisk must be ditched in favor of a spatula for folding in the dry ingredients.

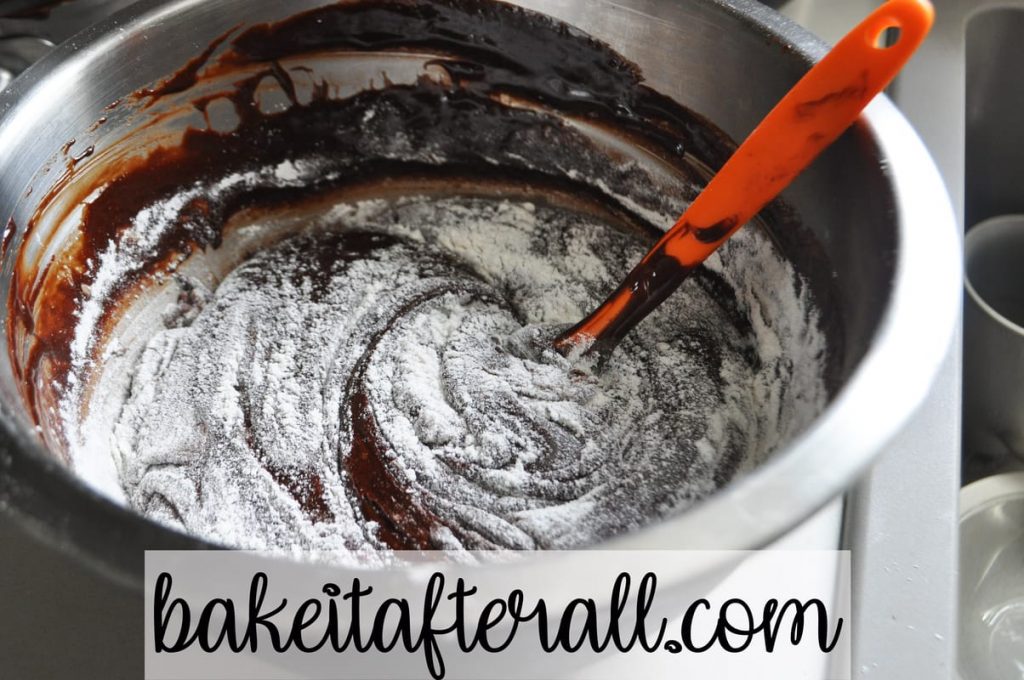
Typically with flour, you want to avoid overmixing to prevent gluten strands from forming. This was gluten free flour, but I followed the same method.
Here’s that pan with the sprinkles again. Looks pretty but as I said above, it was in vain.

The batter is then carefully poured into the prepared pan. I tried to make sure I distributed it evenly when I poured it in to keep the sprinkles in place, which didn’t end up mattering.
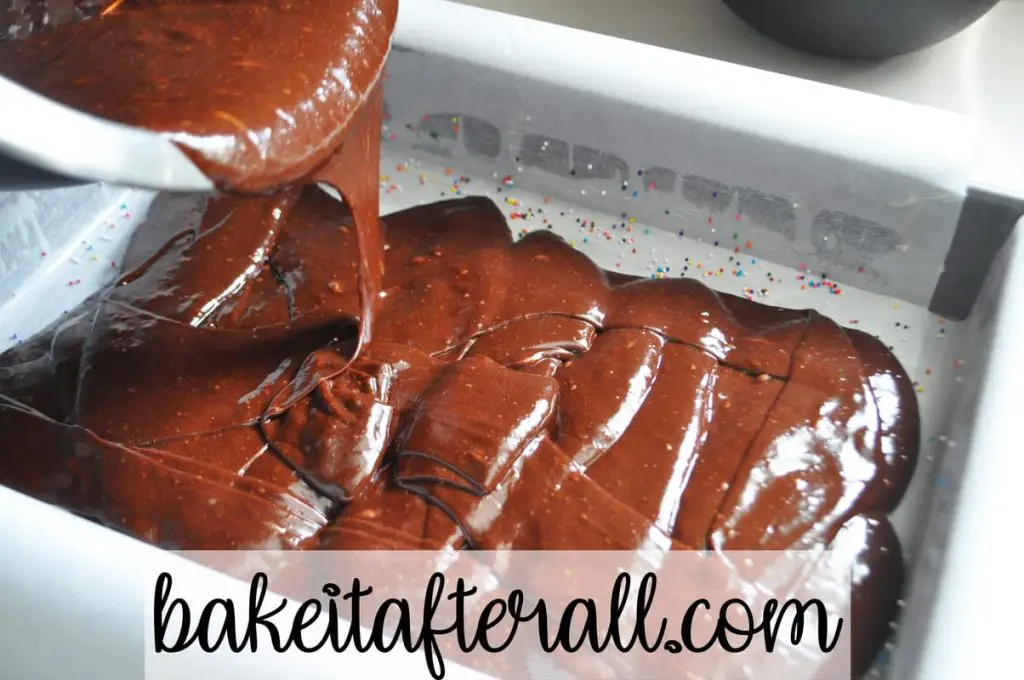
I used the spatula to smooth the surface of the brownie batter.
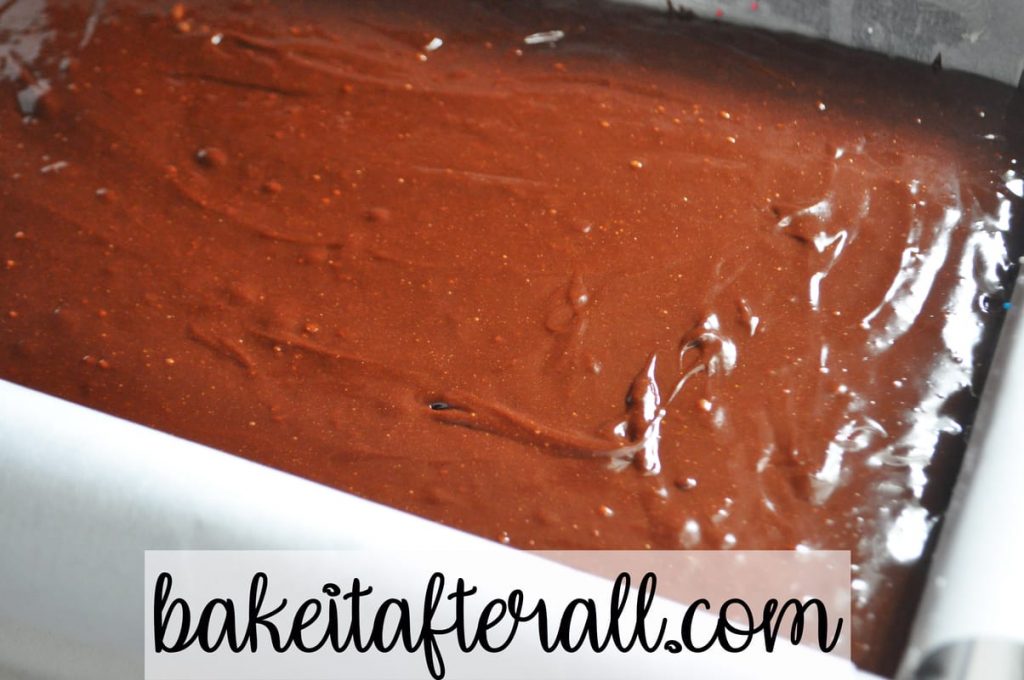
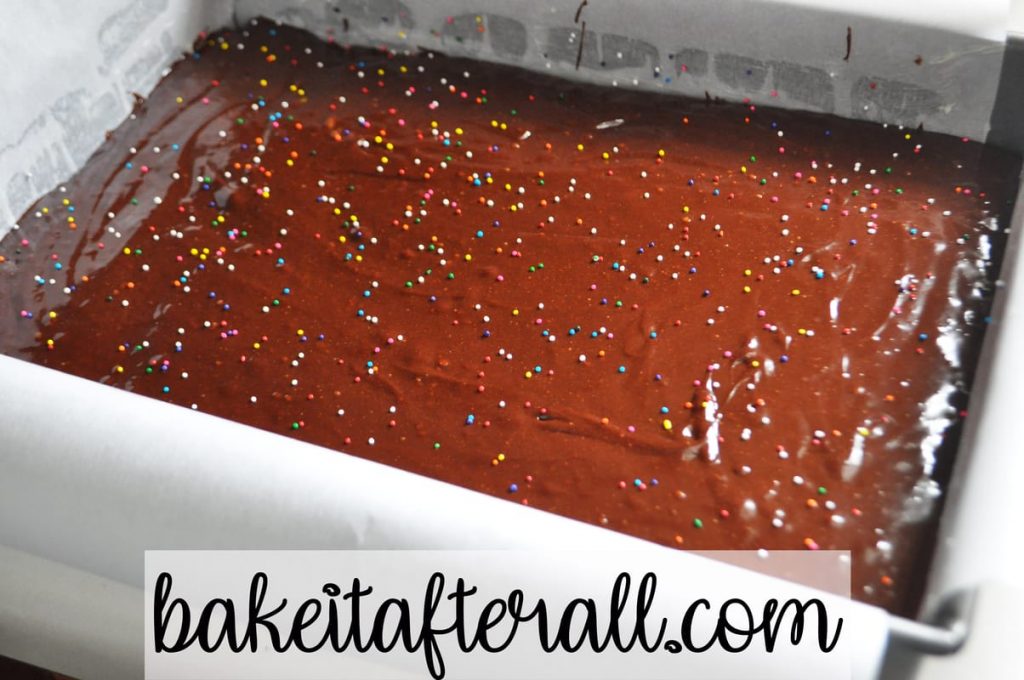
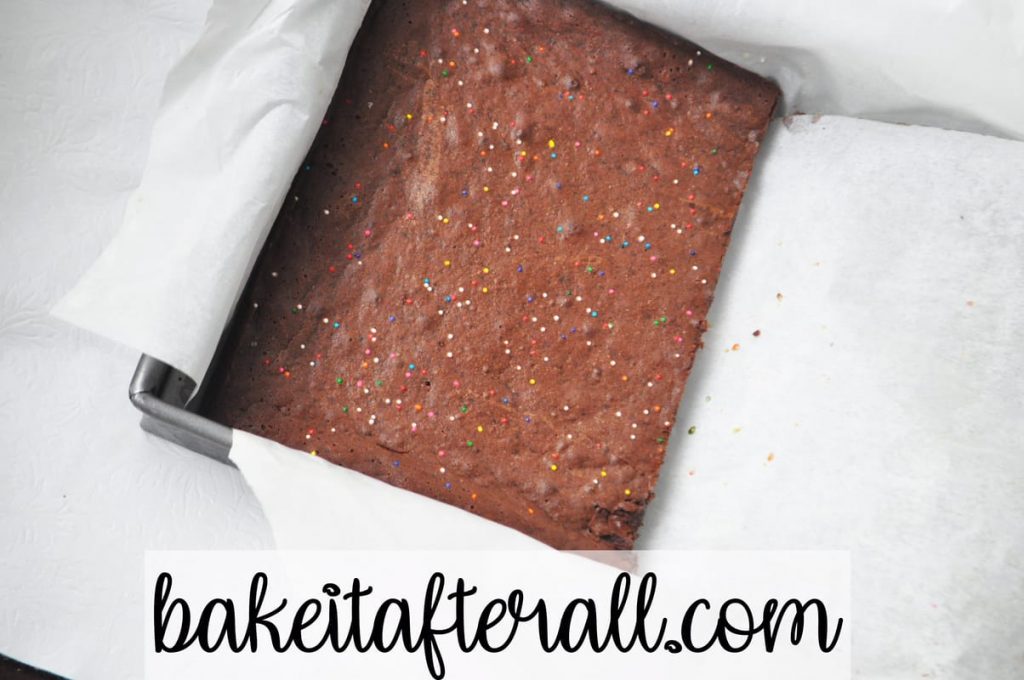
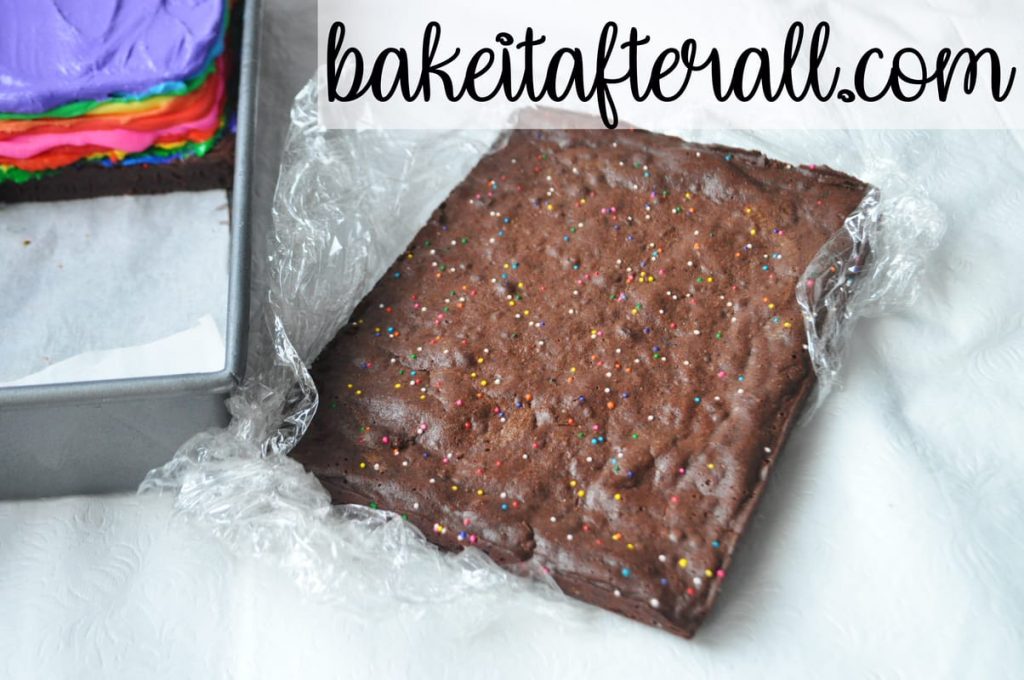
Then I shook the pan back and forth a bit to make sure the batter was nice and even. I added more sprinkles on top. These ended up working nicely!
Bake the Brownies
These brownies are naturally gooey, and underbaking them slightly isn’t a bad idea since they will be frozen in the final dessert. I usually set my timer for 5 to 10 minutes less than the minimum to account for difference in ovens. It’s a good idea to start checking on these around 15 or 20 minutes into baking.
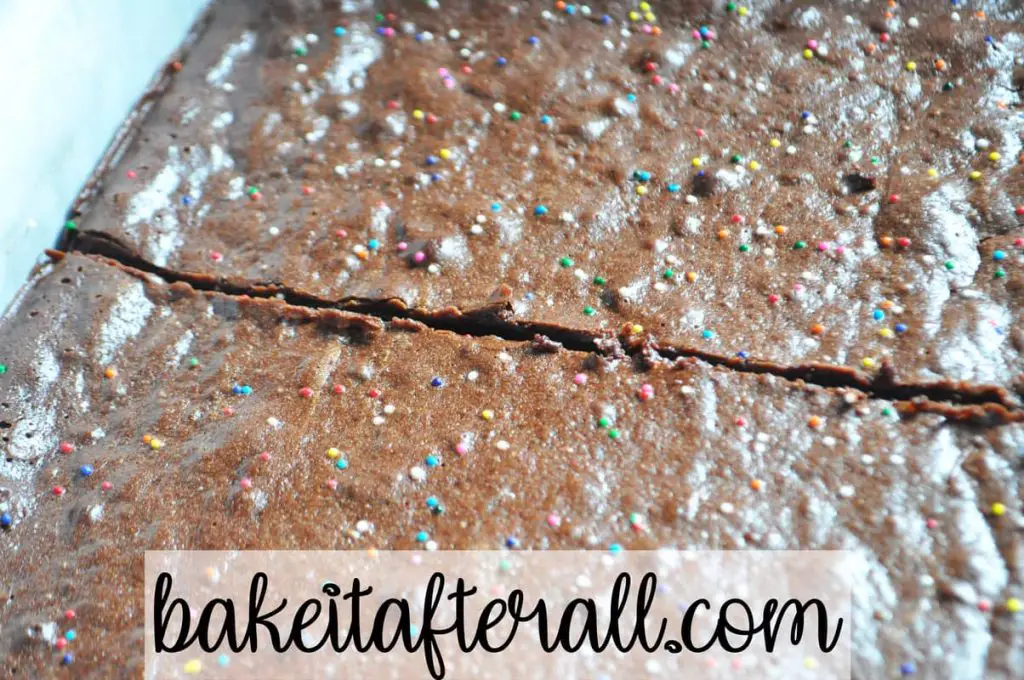
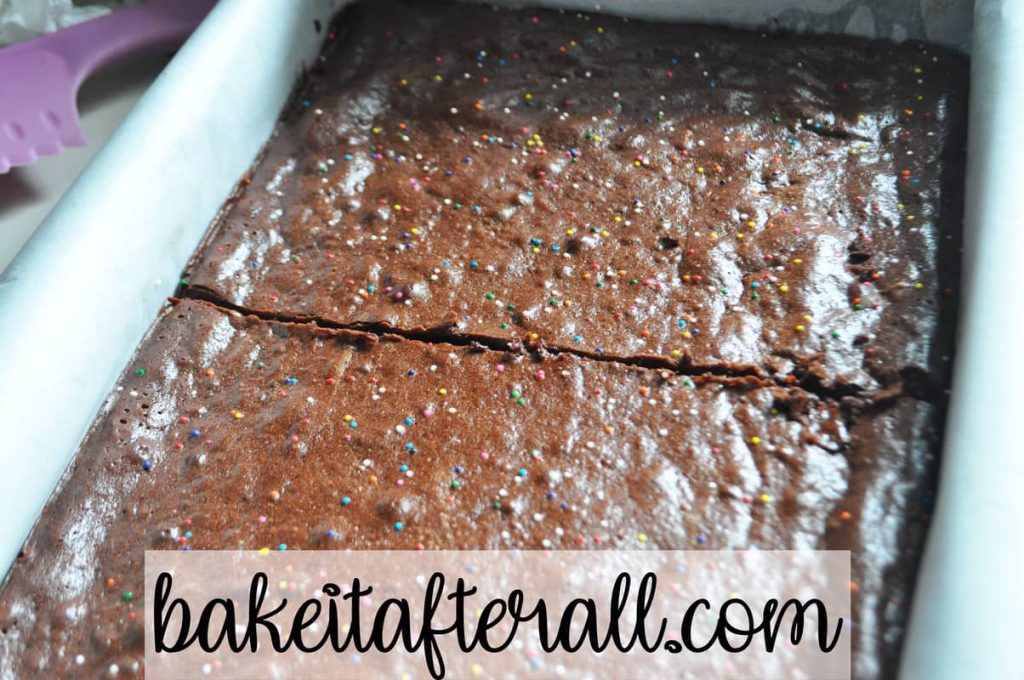
When the brownies were done, I let them cool to room temperature. Then I wanted to freeze them so they would be nice and cold when I started adding the ice cream layers. Before freezing, I took a plastic knife and cut them down the center, making two equal pieces that were almost square in shape.
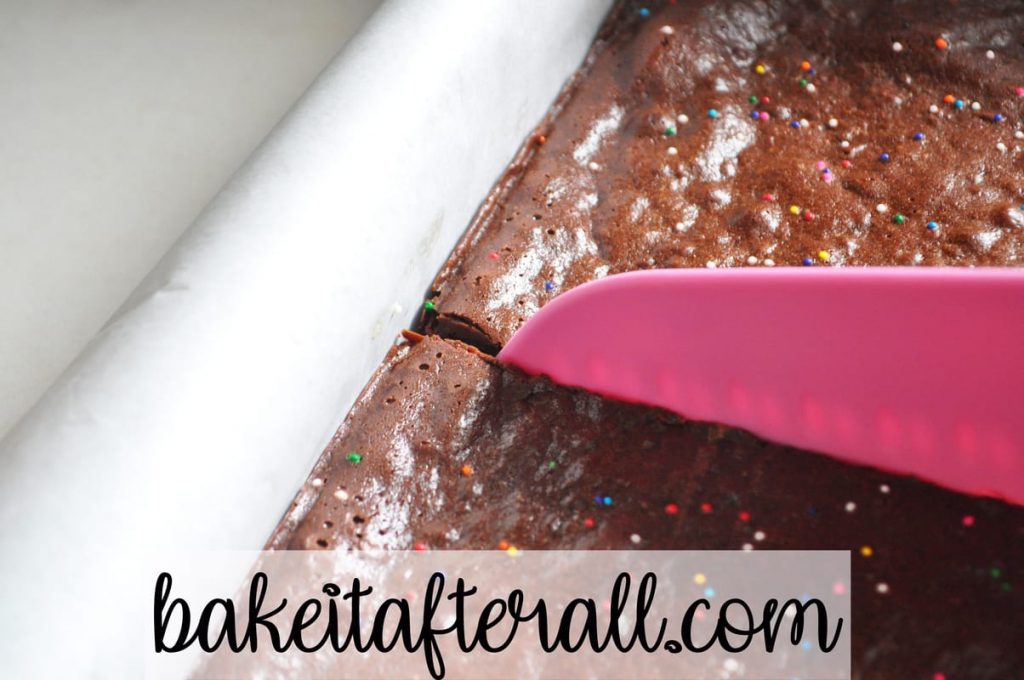
The reason I cut them before freezing was that I didn’t want to risk them breaking if I cut them frozen. At this point, I put the brownies in the freezer and got started on the ice cream layers.
Mix the Ice Cream Colors for the Rainbow Brownie Ice Cream Sandwiches
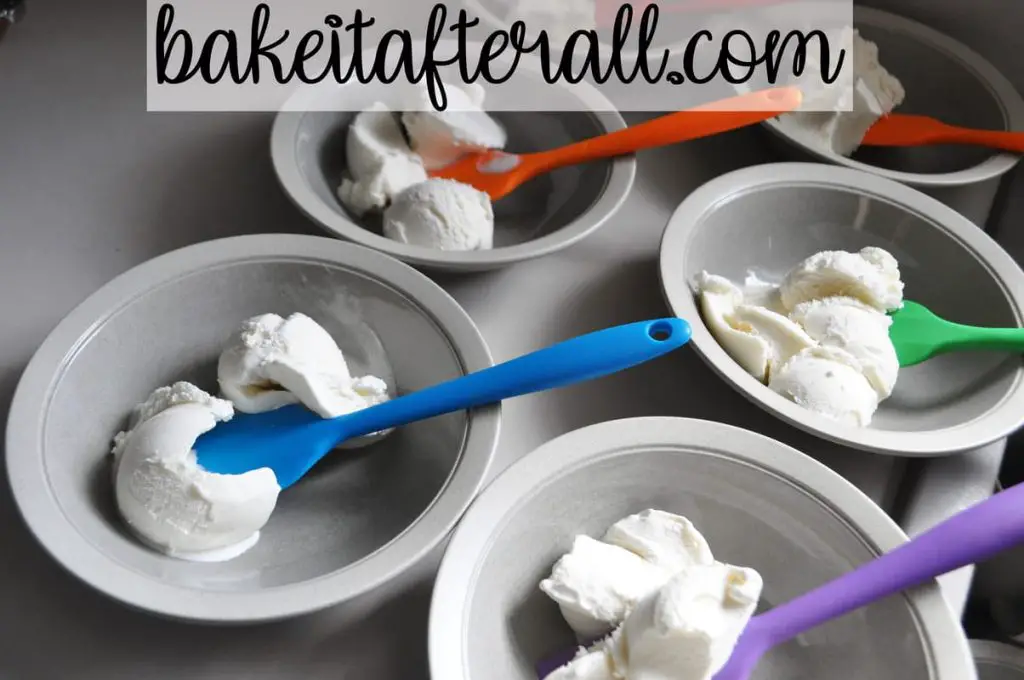
My obsession with small silicone spatulas pays off during projects like this.
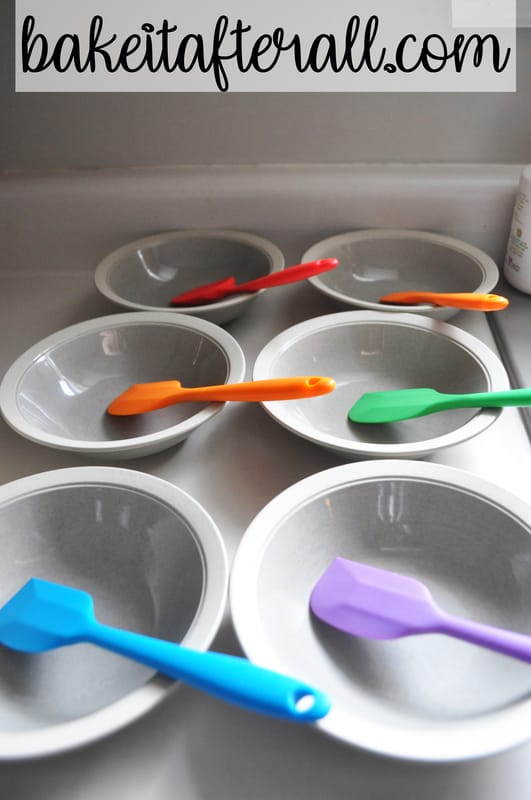
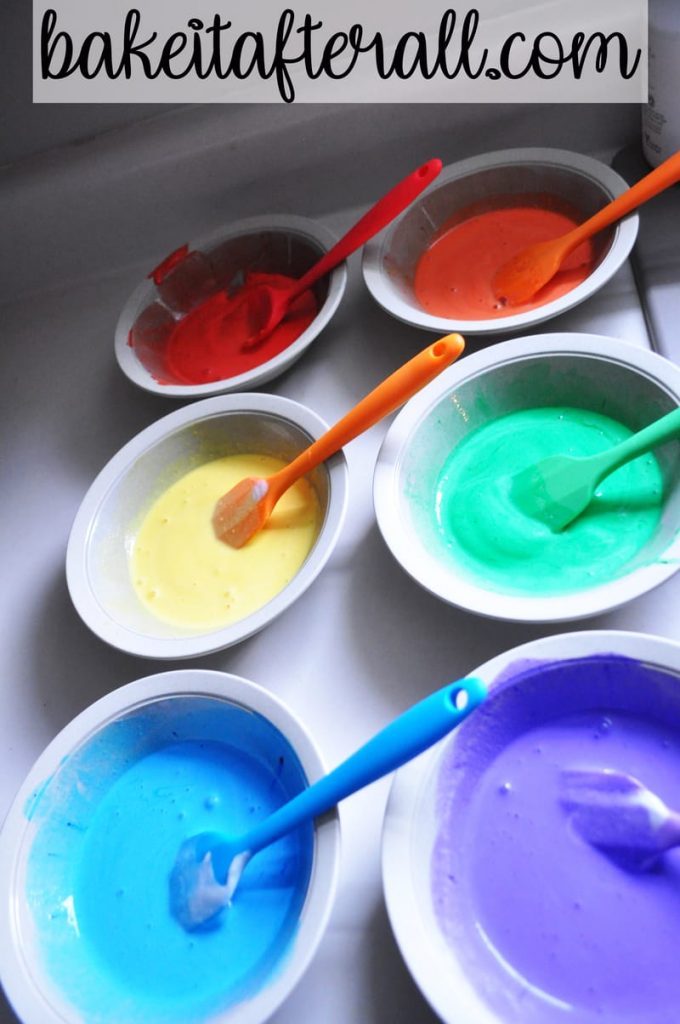
I added ice cream to each bowl. As I mentioned before, I initially thought I would need 3 cups of ice cream total, so I put 1/2 cup into each of 6 bowls. This did not end up being enough for what I wanted, so I ended up more than doubling this by doing an additional 7 layers. You can use your judgment as to how much ice cream you prefer in these Brownie Ice Cream Sandwiches.
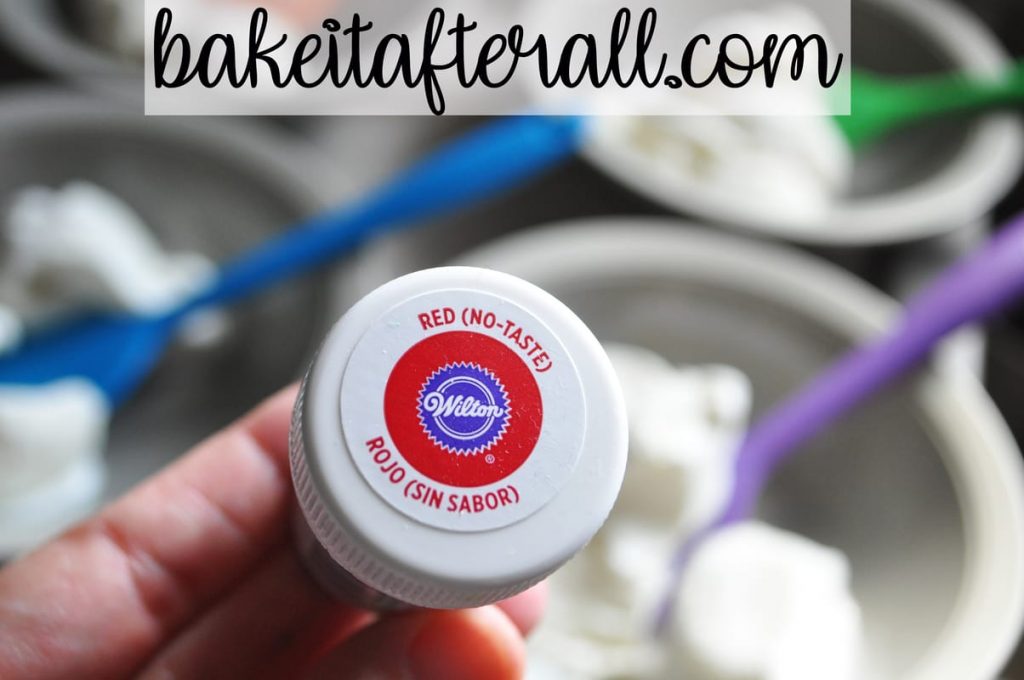
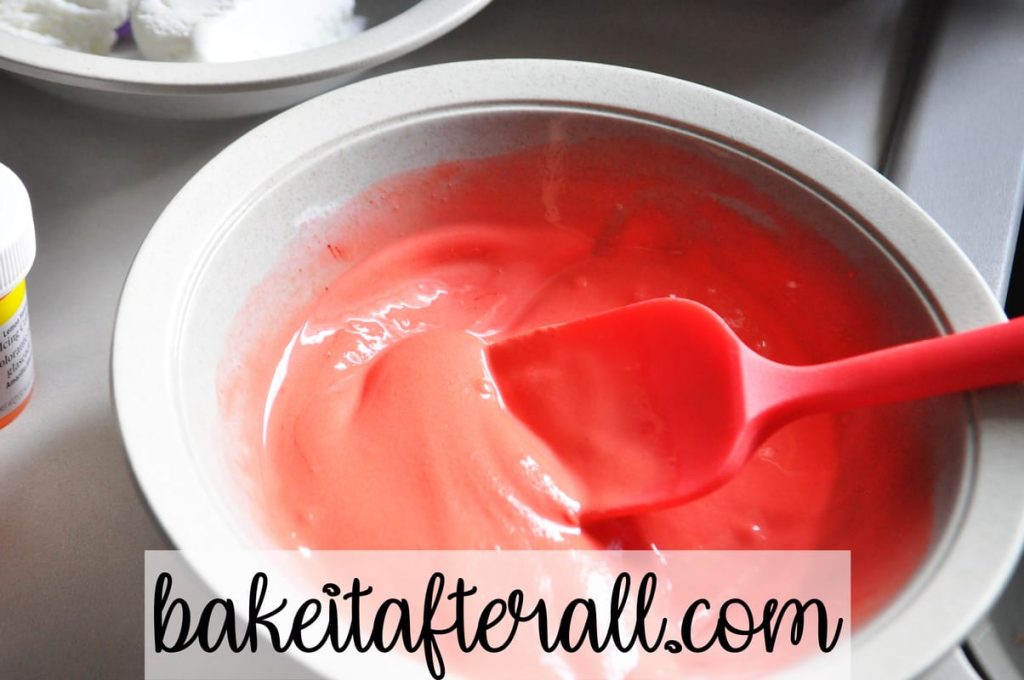
I use Wilton Red No Taste Food Coloring gel to achieve an intense red color. It is important to get a “no taste” red food coloring because many red food colorings have an off taste when used in quantities needed to create vibrant colors, such as in Red Velvet desserts, like these Red Velvet Cheesecake Brownies and Red Velvet Cheesecake.
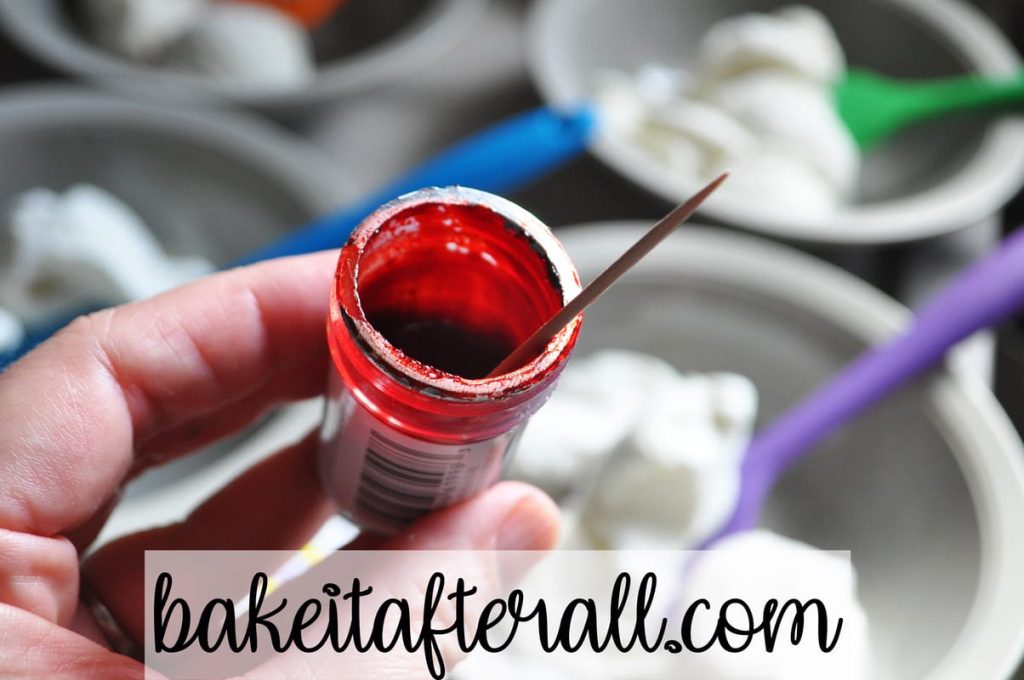
When I color frosting for decorating cakes or for Royal icing, I use toothpicks to transfer gel from the container to the food I’m coloring. This allows me to use a fresh toothpick each time I need to add more color and not contaminate my food gel container.
You can approach this in one of two ways. I colored each of the ice cream bowls at once and then stored them in the freezer until I was ready to add each layer. This requires some spare freezer space. The other option is to mix up each color when you’re ready to add it on top of the previous color. In order to get the nice, distinct layers of color, I included a freezing step of 30 minutes in between each layer to set it, so there’s plenty of time to mix up the next ice cream color in that time.
Assemble the Rainbow Brownie Ice Cream Sandwiches
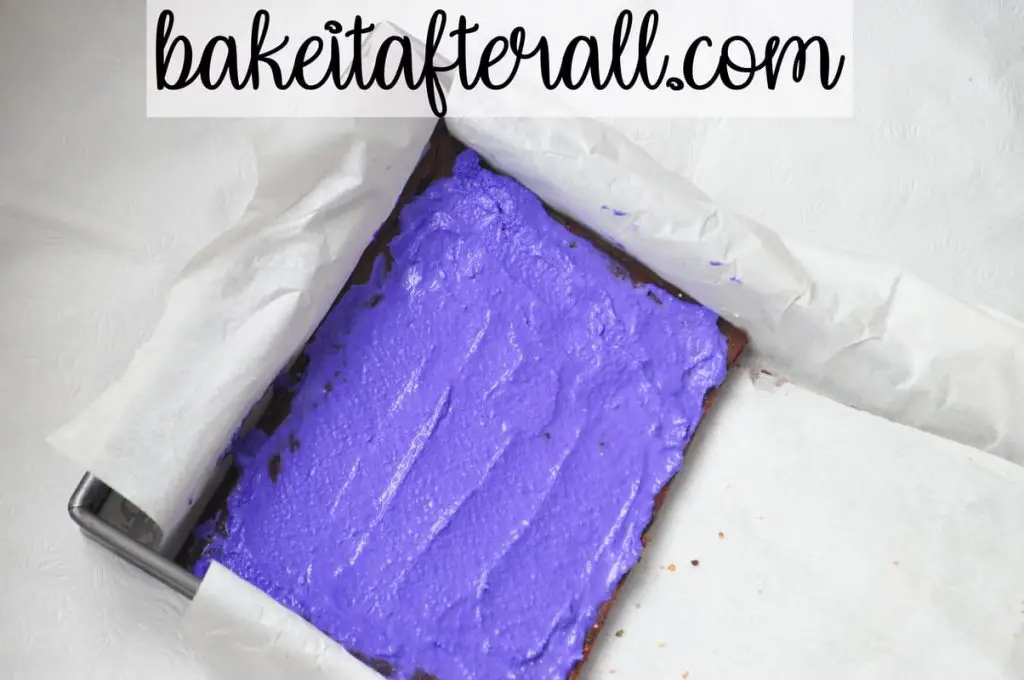
At this point, I removed the brownies from the freezer and wrapped one half of the brownies in plastic wrap and stored it in the refrigerator. I wanted to keep that piece of brownie, which would become the top of the Brownie Ice Cream Sandwiches, cold.
I then spread the purple ice cream evenly over the cold brownies with a spatula. The brownies went back into the freezer for at least 30 minutes to set the ice cream. You can certainly do more than 30 minutes or even overnight in between any of the layers if that works better into your schedule.
After 30 minutes, I spread on the blue ice cream. I dropped small amounts of the blue in random spots on top of the purple and then carefully smoothed it with a spatula, taking care not to mix the colors. Then it went back into the freezer for 30 minutes. The same process is repeated for each ice cream layer. It goes on . . . and on . . . and on . . .
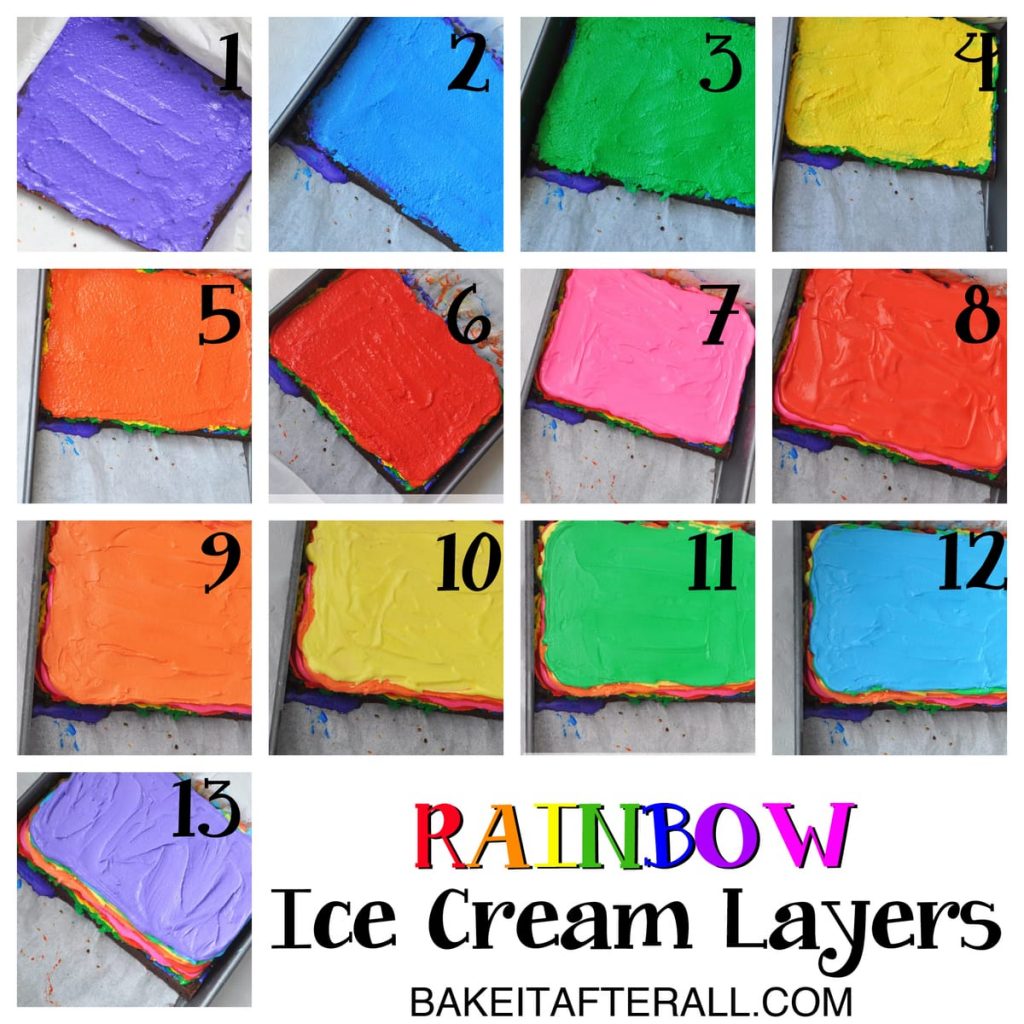
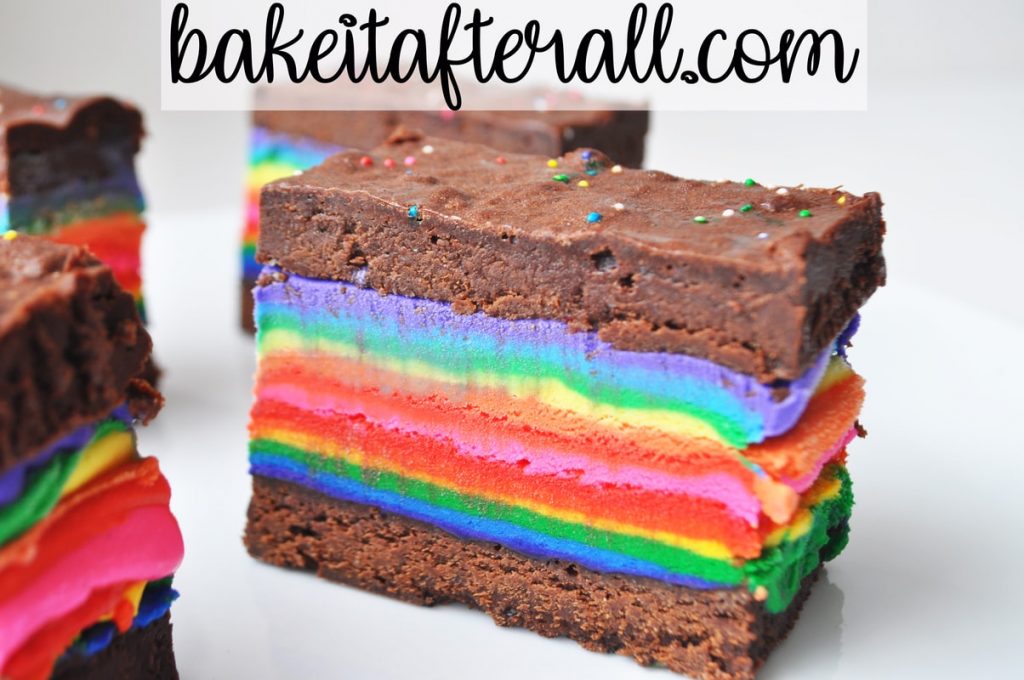
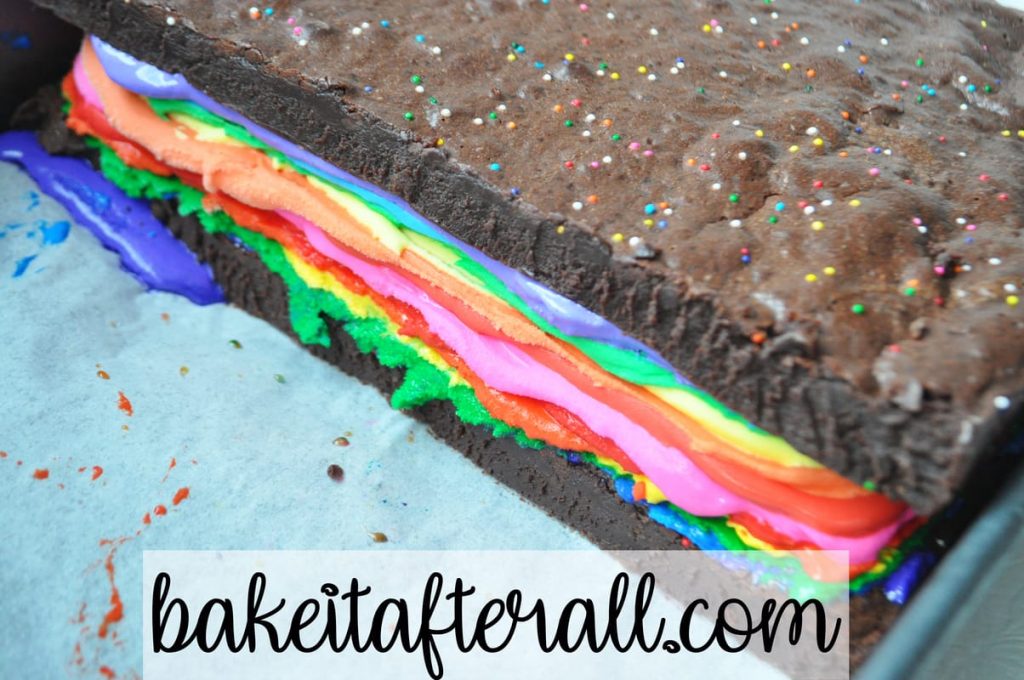
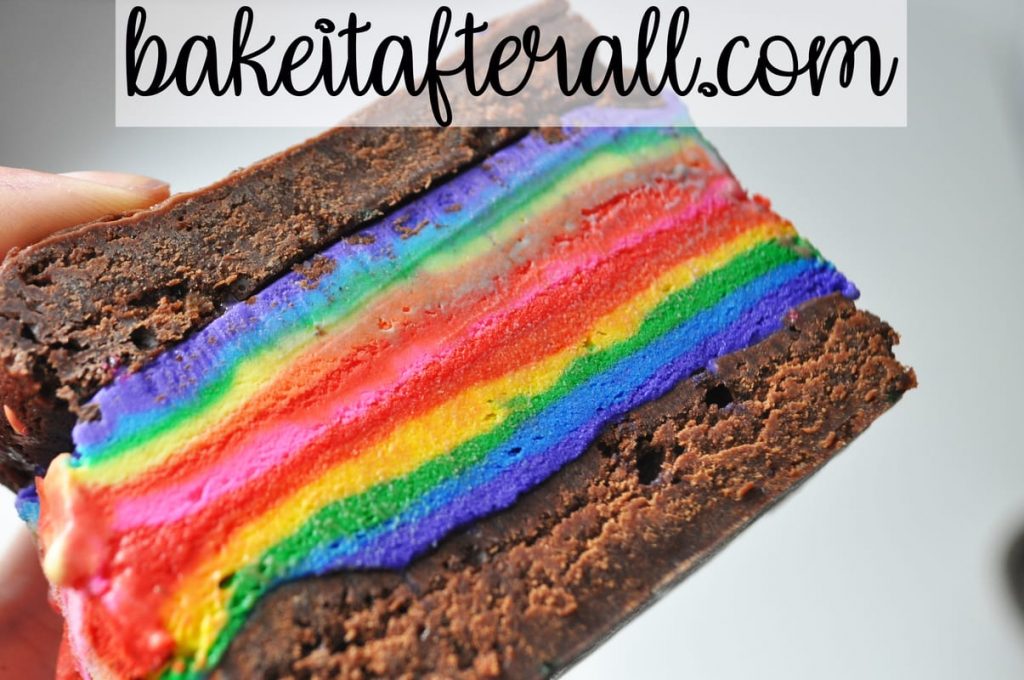
After getting to the red layer (layer 6), I decided I needed to add more ice cream to make the volume of ice cream larger. To maintain the rainbow, I added a layer of pink, then reversed the rainbow in slightly lighter colors. Partially because I thought it would look cool, partially because I was now running low on food coloring gels.
FINALLY the last layer!!!
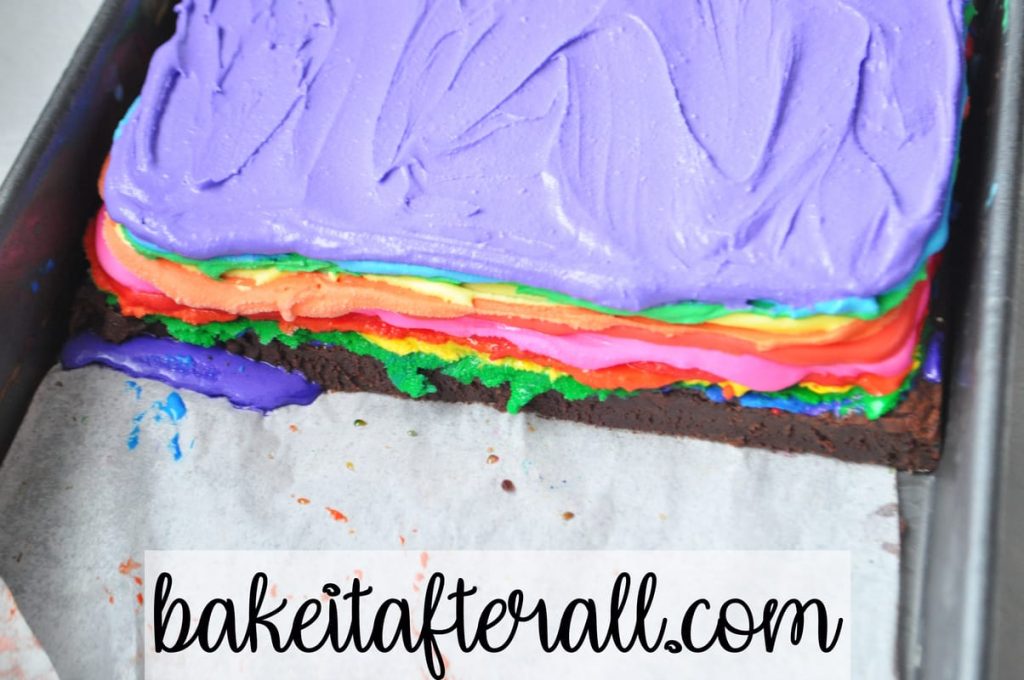
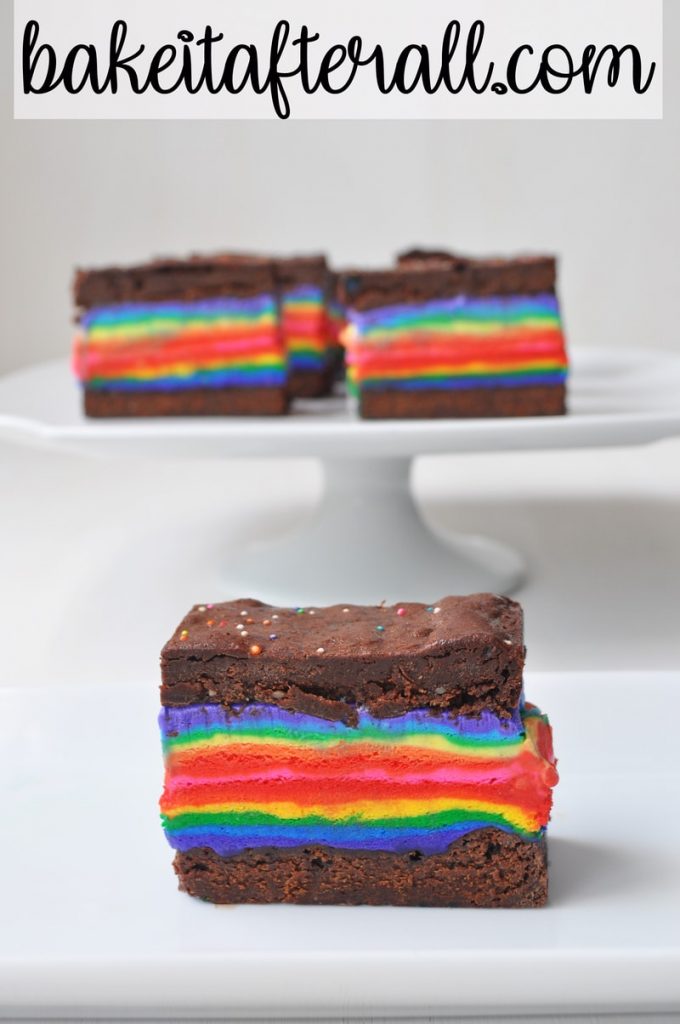
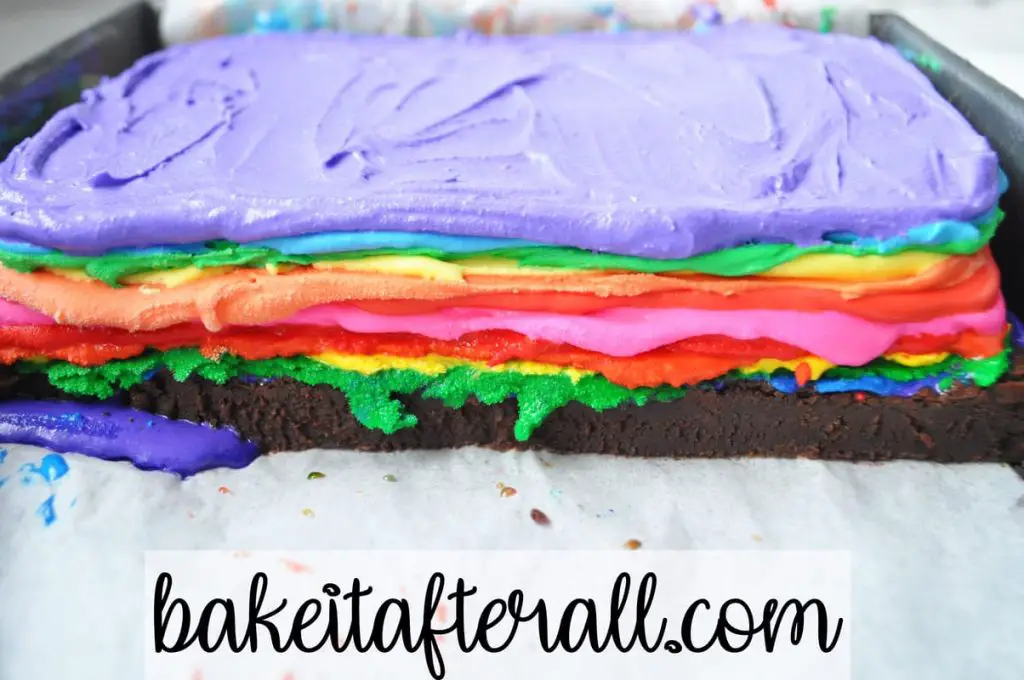
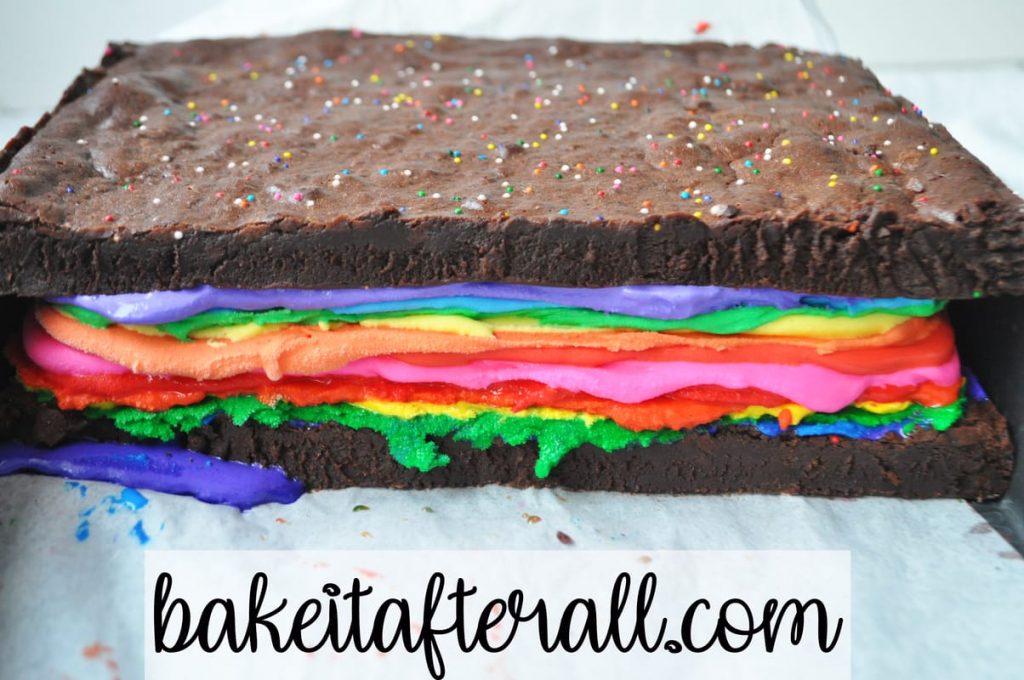
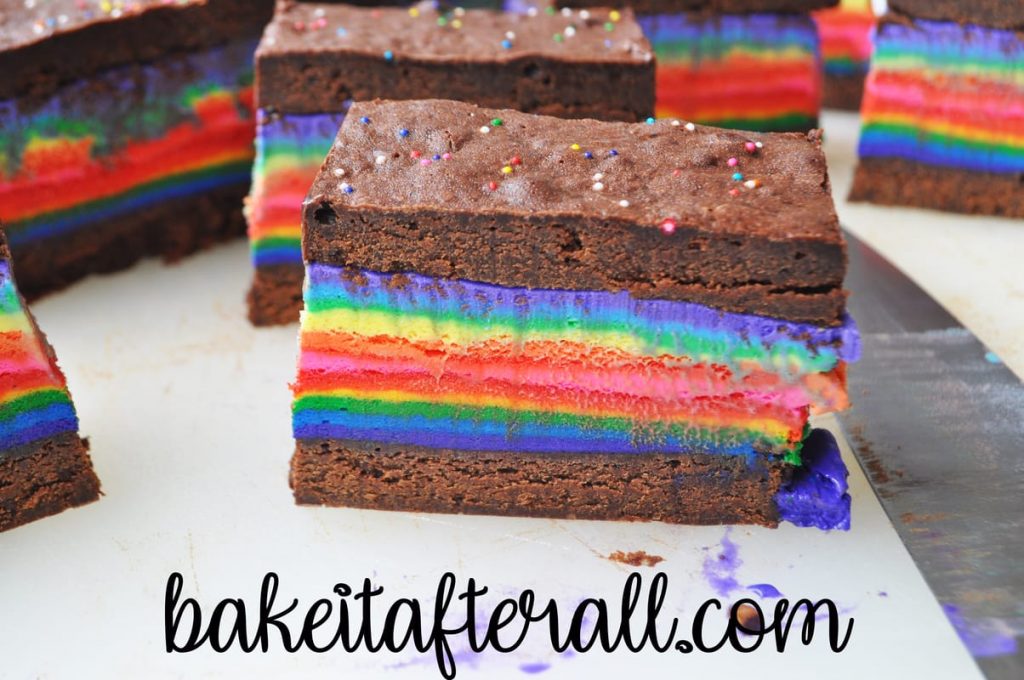
Just look at all of those colorful layers!
At this point, I added the other piece of brownie immediately (no freezing step after the top layer) and pressed down lightly so it would stick to the top ice cream layer.
It was time for the entire block to go into the freezer for at least 6 hours, or overnight. I wanted the ice cream to be frozen well before slicing it into Rainbow Brownie Ice Cream Sandwiches.
Cut the Rainbow Brownie Ice Cream Sandwiches
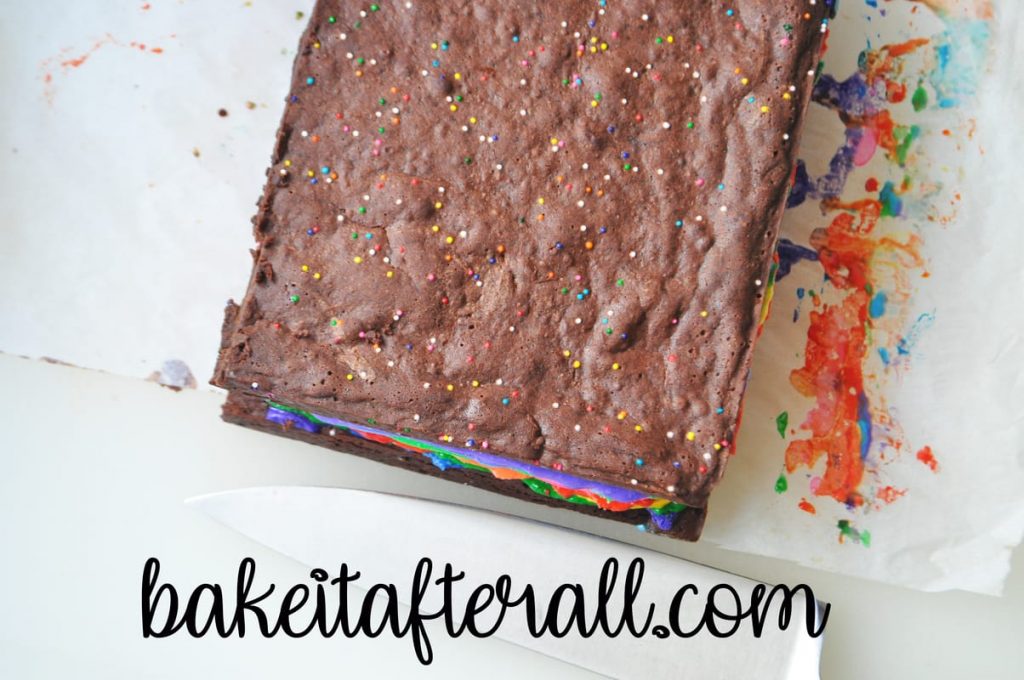
The big block of Rainbow Brownie Ice Cream Sandwich had been frozen for at least 6 hours and was ready to cut.
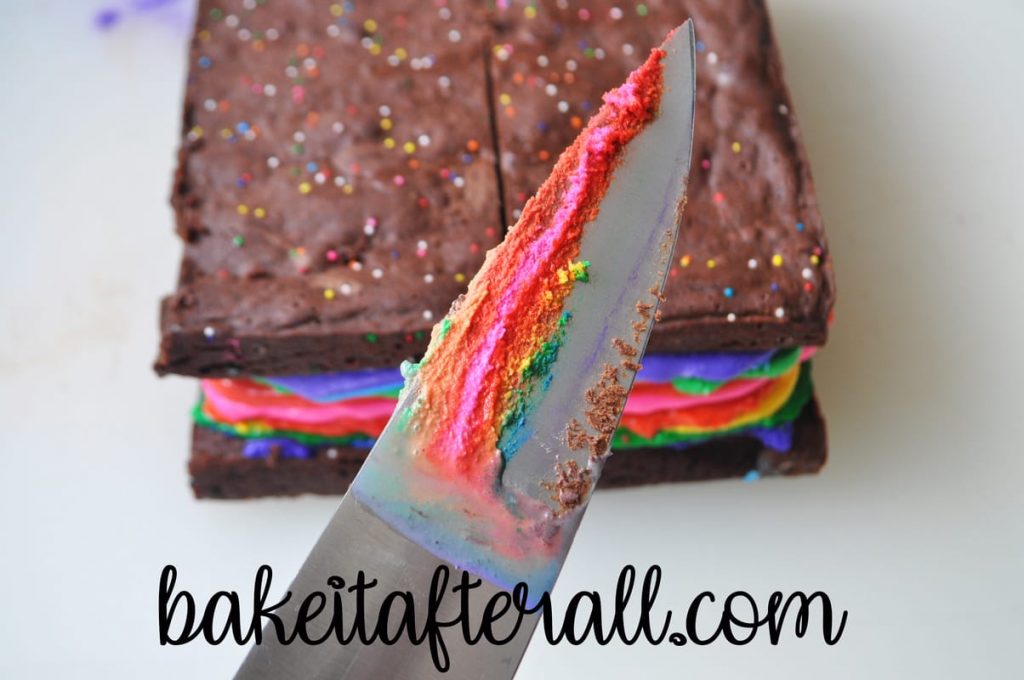
It’s best to use a very large, sharp knife. You’re going to have to put some muscle in.
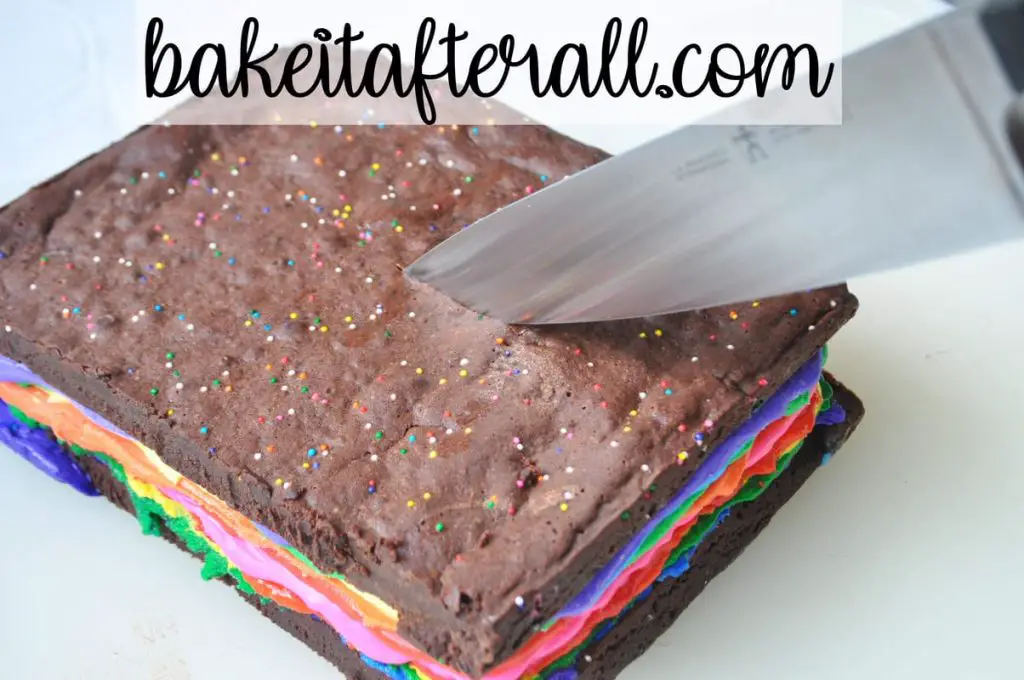
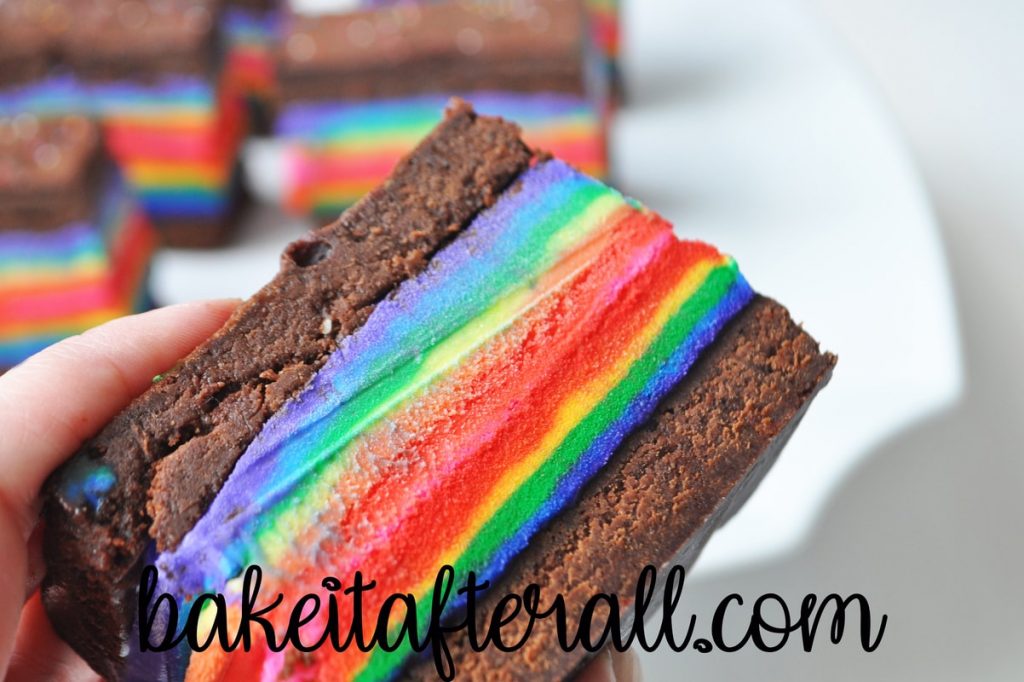
For nice clean slices to show off the rainbow layers, I wiped the knife with a paper towel between each cut.
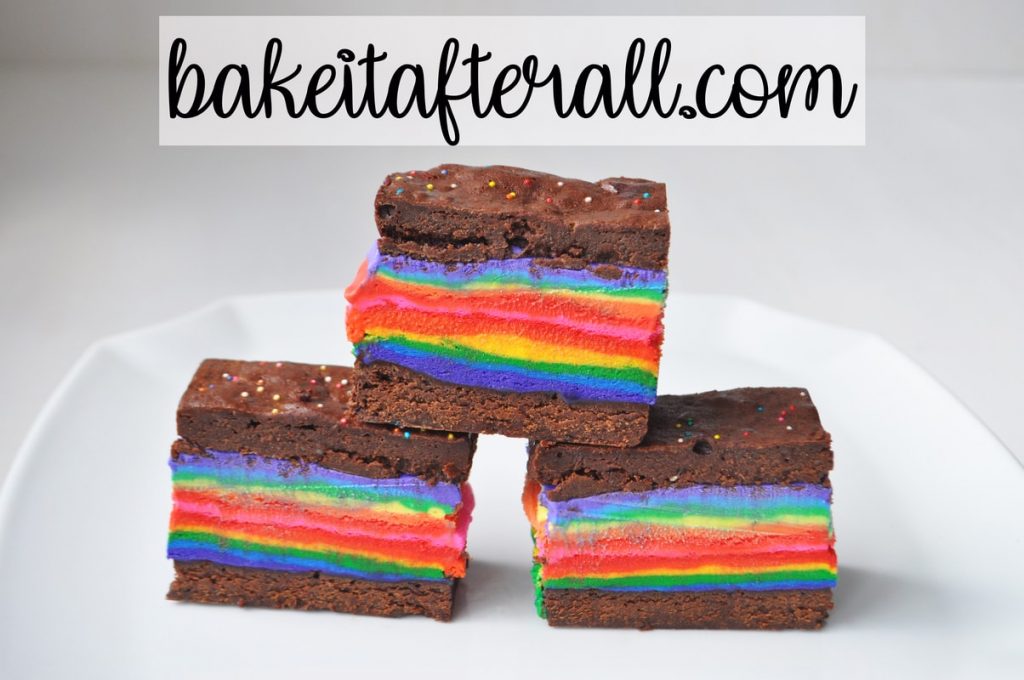
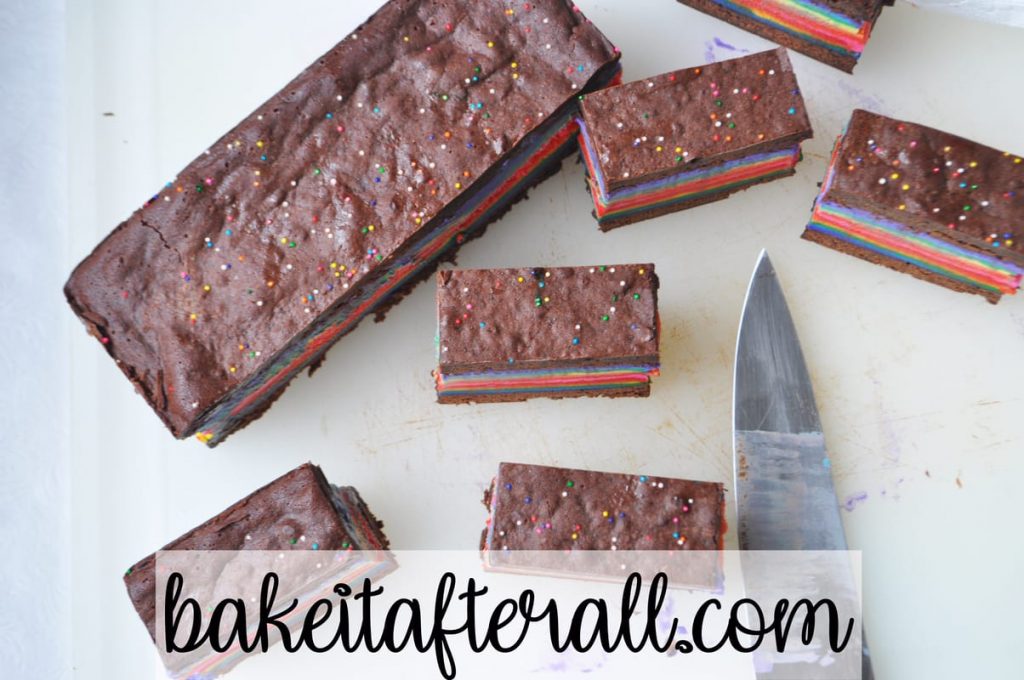
I cut them into 12 pieces.
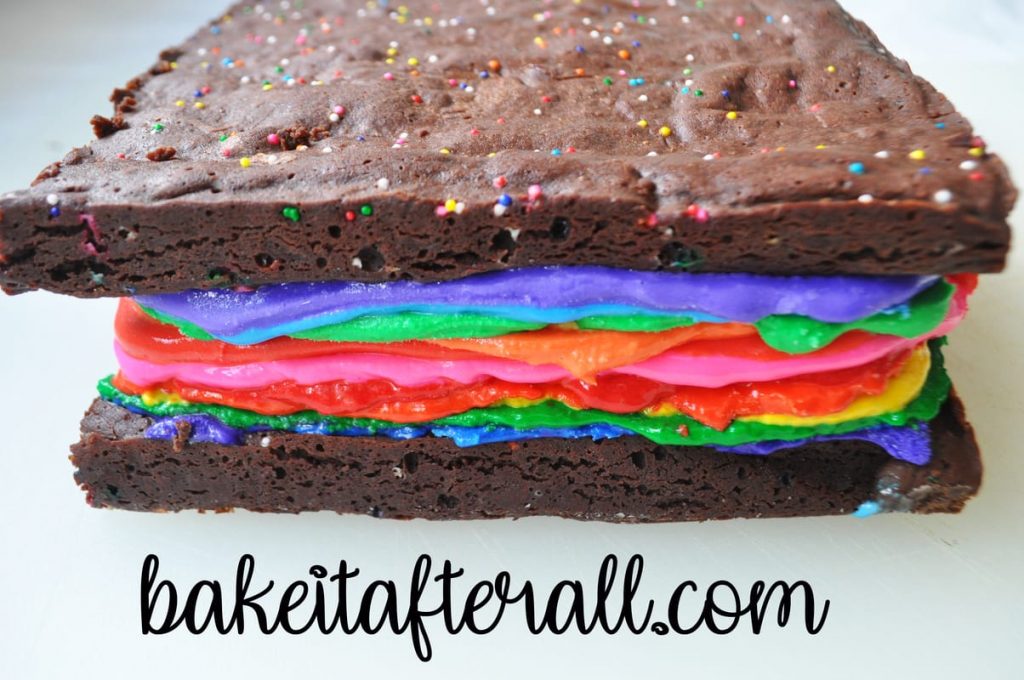
Seeing these layers makes all of the time and effort worth it! I was starting to think I was crazy for even attempting this project. When the final product meets my vision, I tend to forget the inevitable frustration that comes from recipe development.

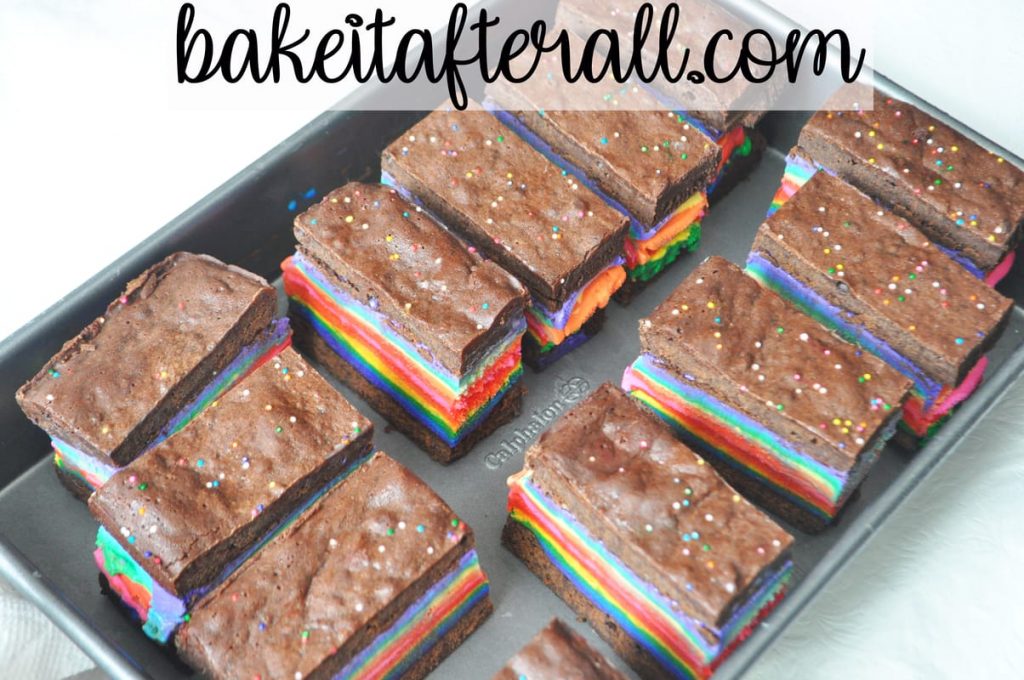
I put the cut Rainbow Brownie Ice Cream Sandwiches back into the pan to freeze for storage until serving. If you’re serving them soon, you can leave them like this. For longer storage, I recommend wrapping each one in plastic wrap, then storing them in resealable freezer bags to prevent freezer burn. This makes them super easy to serve too; you can just hand them out straight from the freezer.
Gluten Free Option for Rainbow Brownie Ice Cream Sandwiches
Use a gluten free flour for the Brownies. I made these with my favorite gluten free flour: Bob’s Red Mill Gluten Free 1 to 1 Baking Flour.
For another rainbow dessert, see my Painted Rainbow Cookies!
Looking for More Ice Cream and Brownies?
Check out these other posts for Ice Cream Lovers:
Brownie Peppermint Ice Cream Cake
Chocolate Chip Cookie Ice Cream Cake
Chocolate Chip Cookie Ice Cream Sandwiches
Oreo Shamrock Shakes
Homemade Ice Cream Cake – Dairy Queen Copycat
Mermaid Ice Cream Birthday Cake
My Little Pony Rainbow Unicorn Ice Cream Cake
Grasshopper Pie
Roasted Cherry Brownie Sundaes with Cherry Port Sauce
Homemade Ben & Jerry’s Hot Fudge Sauce
Raspberry Sorbet
Daniel Tiger’s Banana Swirl
Homemade French Vanilla Ice Cream
Homemade Cinnamon Ice Cream
Homemade Mint Chocolate Chunk Ice Cream
And these Brownie Recipes:
Best Gooey French Brownies
Dark Chocolate Mascarpone Brownies with Blueberry Ganache
Coconut Butterscotch Chip Brownies
Roasted Cherry Brownies
Red Velvet Brownies with Cheesecake Swirl
Chewy Fudgy Brownies
Ina’s Outrageous Brownies
Pumpkin Spice Kiss Brownies
Rainbow Brownie Ice Cream Sandwiches
Equipment
- 9×13-inch pan
- parchment paper
- toothpicks
Ingredients
For the Brownies:
- butter for the pan
- 16 tablespoons unsalted butter, cut into 1-inch chunks, (2 sticks)
- 16 ounces bittersweet chocolate (1 pound)
- 3/4 cup granulated sugar
- 4 eggs
- 1 teaspoon of vanilla extract
- 1/4 cup all purpose or gluten free flour (for gluten free, Bob's Red Mill GF 1 to 1 Baking Flour recommended)
- 1/2 teaspoon salt
- sprinkles (optional)
For the Ice Cream:
- 6 cups vanilla ice cream (or less for thinner sandwiches)
- Food coloring gels
Instructions
- Preheat oven to 350°F.
Prepare the Pan:
- Butter the bottom and sides of the 9×13-inch pan, then add parchment paper in both directions with flaps that hang over all four sides of the pan. Butter the top of the parchment paper.
Make the Brownies:
- In the top of a double boiler (or a bowl set on top of a pot of simmering water), melt the butter and chocolate in the top of a double boiler, whisking until smooth. Cool to room temperature.
- While the chocolate mixture cools, in a large bowl, whisk together sugar, eggs, and vanilla extract, set aside. In a small bowl, sift together flour and salt, set aside.
- Whisk in a small amount of the chocolate mixture into the egg mixture, then slowly add the rest and whisk until combined. Gently fold in the flour mixture with a spatula.
- Pour batter into the prepared pan. Bake for 20 – 30 minutes. These will seem slightly underbaked, as they are a gooey brownie. Allow to cool to room temperature. Use a knife to cut the pan of brownies down the center so you end up with 2 nearly square shaped pieces. Place pan in the freezer for about 30 to 60 minutes until the brownies are cold and partially frozen.
Color the Ice Cream:
- For 6 color rainbow, add 1 cup of ice cream to each of 6 bowls. Tint the ice cream using a toothpick to remove gel food coloring from the container and applying it to the ice cream then stirring well to mix. Place all bowls of ice cream in freezer until ready to use one by one. Alternatively, color 1 bowl at a time as you're ready to use it.
Add the Ice Cream Layers:
- Once brownies are cold, remove one of the brownie squares and wrap up in plastic wrap and place in refrigerator. Apply the first layer of ice cream to the top of the other brownie square. Freeze for 30 minutes before proceeding to next layer. Repeat for all layers. When adding the last layer of ice cream, immediately place the other brownie piece on top. Press down lightly so it sticks to the ice cream. Freeze for at least 6 hours or overnight.
Finish the Brownie Ice Cream Sandwiches:
- Using a sharp knife, cut in half, then cut each half into 6 rectangles for a total of 12 sandwiches. Individually wrap each sandwich in plastic wrap and freeze until ready to serve. These should keep well in the freezer if stored properly in a resealable freezer bag.
OMG….patience is what you need, but what an impressive dessert! Some of us have extra time on our hands to try this project, though.
Sounds amazing…can’t wait to try. I give 5 stars on looks alone!
These look perfect. When did you make them and is there any left over?