Instant Pot Brown Rice
Note: This post contains affiliate links. As an Amazon Associate I earn from qualifying purchases.
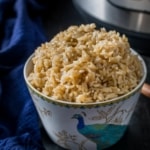

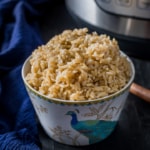
Healthy Instant Pot Brown Rice – Say goodbye to gummy, crunchy and tasteless brown rice. Master the process of making brown rice in the Instant Pot and get perfect results every time!
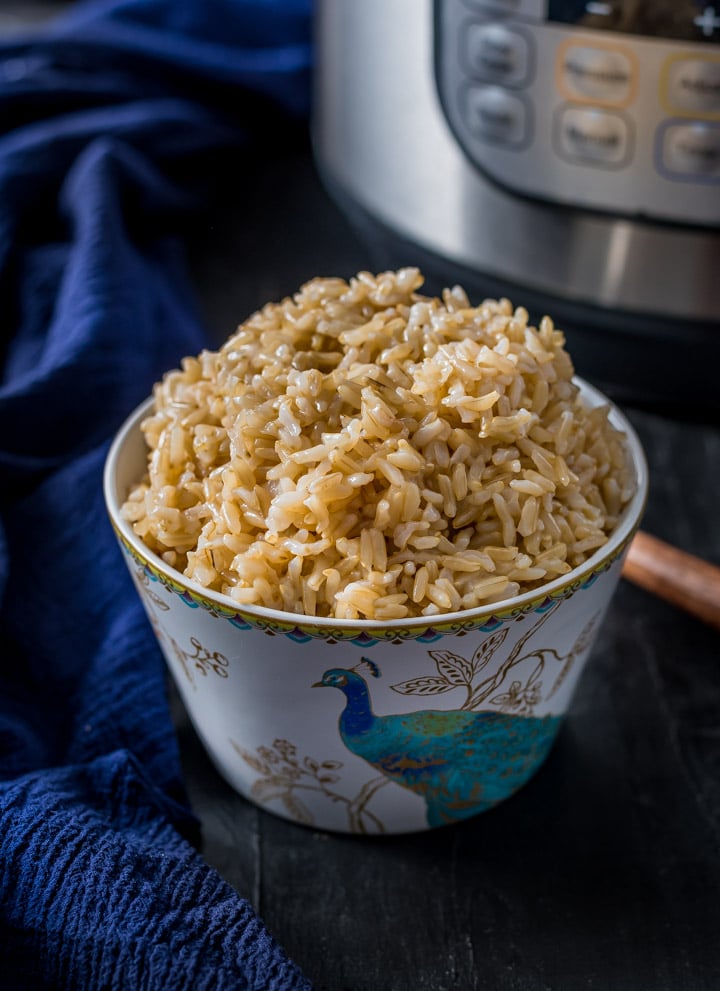
Cooking brown rice can be tricky. You can easily end up with rice that is crunchy, chewy and bland like cardboard. But with the right recipe and Instant Pot by your side, you could avoid all that and make perfectly cooked brown rice at home – in 4 easy steps and with a touch of a button (or two).
Let’s get you started..
How to make brown rice in Instant Pot
There are only two things that you need to get right to make fluffy brown rice in the Instant Pot and that would be –
- Water to rice ratio: for 1 cup of rice, use 1.5 cups of water.
- Cooking time: Pressure cook on high for 24 minutes and allow the pressure to release after 10 minutes.
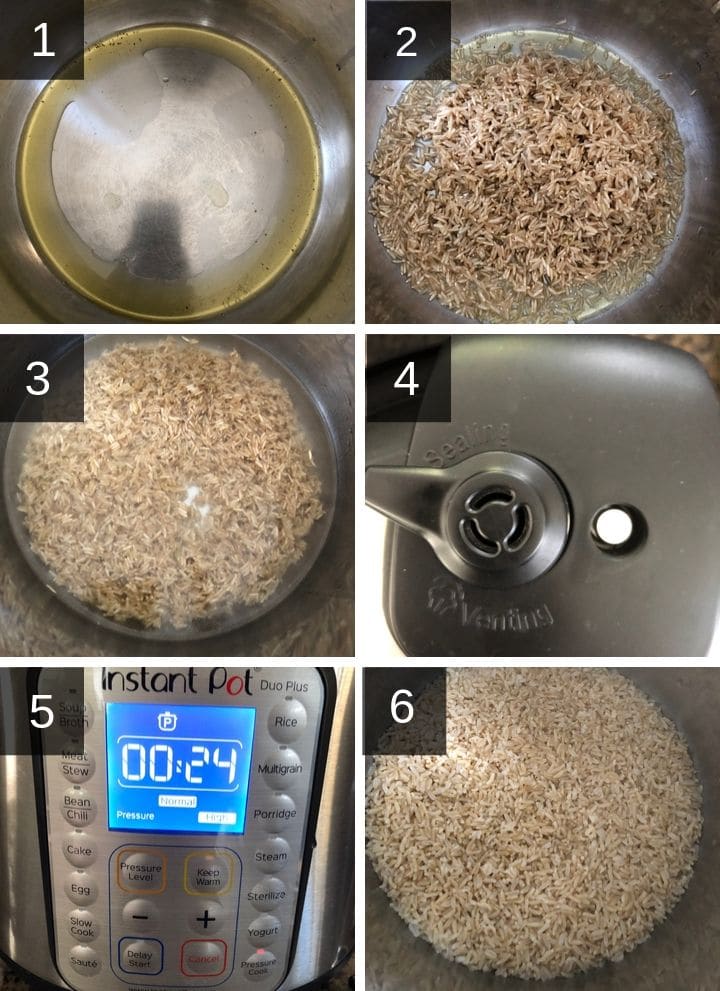
The steps are easy and straightforward –
-
Rinse the brown rice using a strainer till the water runs clear.
-
Select the Saute program in the Instant Pot and set it to Normal.
-
Add one tablespoon of ghee or olive oil in the inner steel pot.
-
Drain the rice and add it to the inner pot.
- Saute the rice for about 30 seconds. Press cancel.
-
Add water along with salt to the inner pot. Mix well.
-
Close the lid and set the steam valve to sealing.
-
Pressure cook for 24 minutes under high pressure.
-
When the cooking cycle is complete, wait for 10 minutes before moving the valve to ‘venting’ to release pressure.
-
Open the lid and let the steam escape. Fluff the rice gently with a fork and it is ready to serve.
Note – You don’t have to saute the rice with ghee or add salt but it tastes so much better if you do it!
Read this: How to make brown rice over a stovetop.
Tips for best tasting Instant Pot brown rice
- Always rinse the rice until the water runs clear. This is an important step and helps keep the rice from getting clumpy.
- You can skip adding fat (ghee, olive oil and butter) and salt while making brown rice but I think including them makes a huge difference in taste.
- Substitute water with equal amounts of either vegetable or chicken broth. Don’t add salt if you use any kind of broth.
Cooking brown rice (pot-in-pot) method
Pot in Pot cooking involves placing a smaller container (or stackable containers) inside the inner pot to prepare a dish. This technique is used to cook different food items with similar cooking times in one go.
Since brown rice takes about 24 minutes to cook, it is best to cook it pot in pot with Rajma (kidney beans curry) or Chana masala (chickpeas curry)
Frequently asked questions about making brown rice in Instant Pot
What kind of brown rice was used to test this recipe?
I used organic long-grain brown rice from Whole Foods.
Can I use the rice setting for Brown rice?
The rice setting is meant for white rice and defaults to 12 minutes of cooking which cannot be changed. That’s insufficient time for brown rice.
Should brown rice be soaked before cooking?
Soaking rice does shorten the cooking time. But in the case of brown rice, you need to soak for at least 6 hours to make a difference. To be honest, I haven’t tried soaking it but you could definitely soak and cook using the delayed timer approach shown below.
How to cook rice using the delay timer?
- Add the rice along with the water (1:1.5 ratio) in the Instant Pot.
- Set to Pressure cook on high for 24 minutes.
- Press ‘Delay Start’ or ‘Timer’ (in old models) and use the + and – button to set a later time (max time you can set is 24 hours) for the cooking to begin. The count down will start.
- Cover the lid. The cooking program will begin after the set time.
How can I double this recipe?
You can double or halve the recipe without changing the cooking time. Make sure to keep the rice to water ratio the same – 1 cup rice to 1.5 cups water.
How do I store the leftovers?
Store the leftover brown rice in the refrigerator for up to 2 days. To reheat, add a tablespoon of water for every cup of rice and pressure cook for 0 minutes on high pressure. When the cooking cycle is complete, move the valve to ‘venting’ to release pressure immediately.
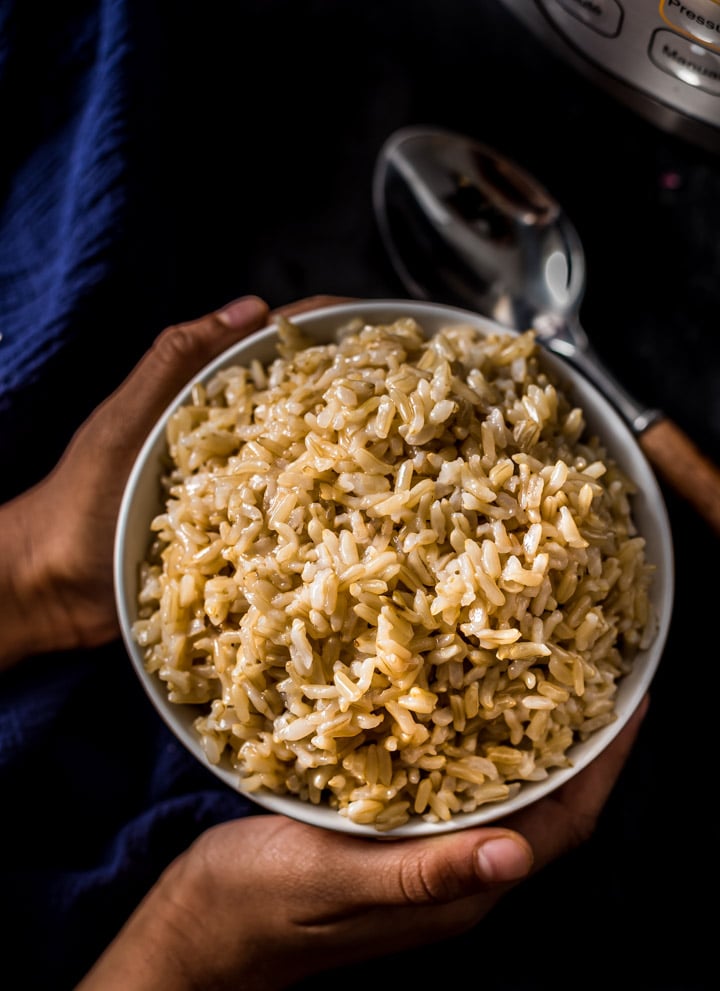
Serving suggestions for brown rice
Pair your delicious brown rice with any of these curries below –
- Kori Gassi (Mangalorean chicken curry) – a coconut-based spicy chicken curry
- Chicken ghee roast – a spicy and tangy chicken curry from Karnataka
- Shrimp gassi (shrimp curry) – a Mangalorean style shrimp/prawn curry
- Chicken vindaloo – Learn how to make this tangy finger-licking chicken vindaloo curry in an Instant Pot or Stovetop.
Read on: How to make the perfect Basmati rice in the Instant Pot.
Instant Pot Brown Rice
Equipment
Ingredients
- 1 cup brown rice, long grain
- 1 tablespoon ghee or olive oil
- ½ teaspoon salt
- 1.5 cups water
Instructions
- Rinse the brown rice using a strainer till the water runs clear.
- Select the Saute program in the Instant Pot and set it to Normal.
- Add one tablespoon of ghee in the inner steel pot.
- Drain the rice and add it to the inner pot.
- Saute the rice for about 30 seconds. Press cancel.
- Add water along with salt to the inner pot. Mix well.
- Close the lid and set the steam valve to sealing.
- Pressure cook for 24 minutes under high pressure.
- When the cooking cycle is complete, wait for 10 minutes before moving the valve to 'venting' to release pressure.
- Open the lid and let the steam escape. Wait for a minute or two and then fluff the rice gently with a fork and it is ready to serve.
Notes
- This recipe was tested in an Instant Pot Duo - 6 quart. To make this in an 8-quart Instant Pot, make at least 2 cups of brown rice since 8-quart needs at least 2 cups of water to come to pressure.
- I have used a standard measuring cup for the recipe and not the rice cup that came with Instant Pot.
- If not serving immediately, remove the inner pot from the Instant Pot to prevent the rice from drying out and sticking to the bottom.
- Reheating leftover rice - Add a tablespoon of water for every cup of leftover rice. Mix well and pressure cook for zero minutes. When the cooking cycle is complete, move the valve to 'venting' to release pressure immediately.
- Do not use the 'Rice' smart program. It doesn't work well for Brown rice.
- Use olive oil instead of ghee to make it vegan.
Disclaimer: Approximate nutritional information is provided as a courtesy and can vary depending on the exact ingredients/brands used. If you have health issues, please work with a registered dietician or nutritionist.
Nutrition