First, I need to get this little note to self out of the way:
CHELSEA. When you are taking pictures of food, don’t wear your awesome bright orange sweater. Yes, it’s fun and comfy, but it will create weird orange blobs in photos that have anything reflective. And anyone who looks at those pictures will be confused, because bread dough doesn’t have anything the color of traffic cones in it.
Now that that’s done, I apologize for the weird effects my sweater caused in the following photos. Try to ignore them.
I bake this bread at least once a week. The dough recipe is a great platform for any type of bread you want to make. Sometimes I add a tablespoon of dried Italian herbs. Sometimes I melt butter with garlic cloves and Italian seasoning, roll the dough out, spread on the melted butter, then roll it up and let it rise and bake to make garlic bread. It also makes a good, easy pizza dough.
The secret for the crust on this bread is STEAM. Which I will be getting to in a bit. If you prefer a very soft bread, just skip the steam part. But I like a bit of a crust on mine.
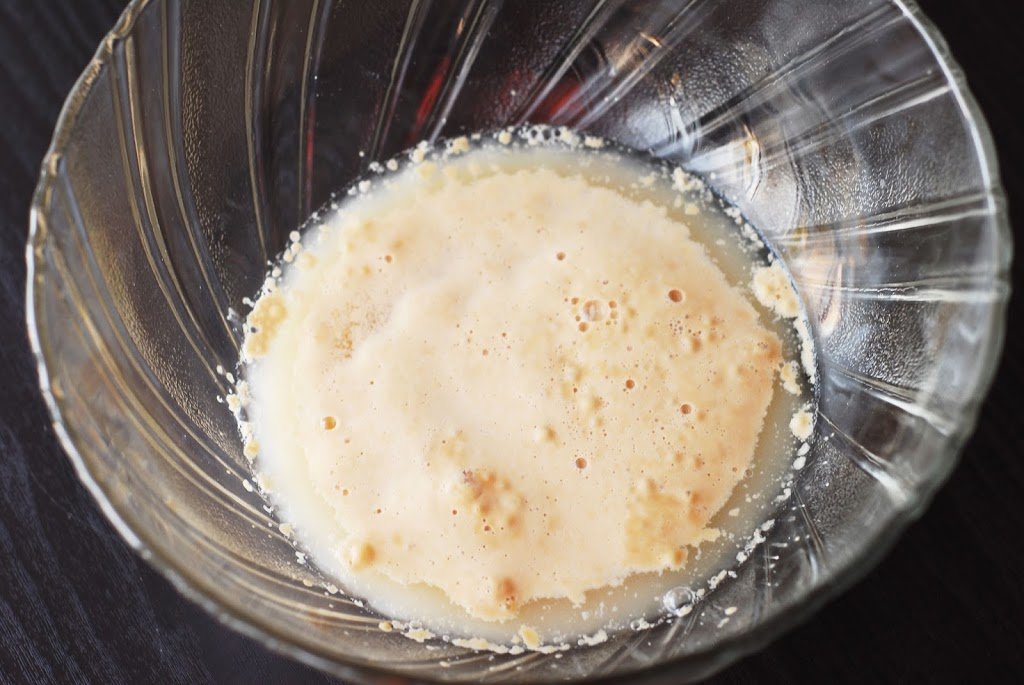
To start, stir together yeast, water, and a little sugar in a big bowl. I don’t have a KitchenAid here in Cape Town, but at home I would do this in the bowl of my KitchenAid. Let it sit…

Until it gets foamy, like this. The yeast is proofed! This is a very important step so be patient and wait until it looks like so. Don’t be afraid of the sugar: it’s not going to effect the taste of the bread and it gives the yeast something to munch on and get strong.
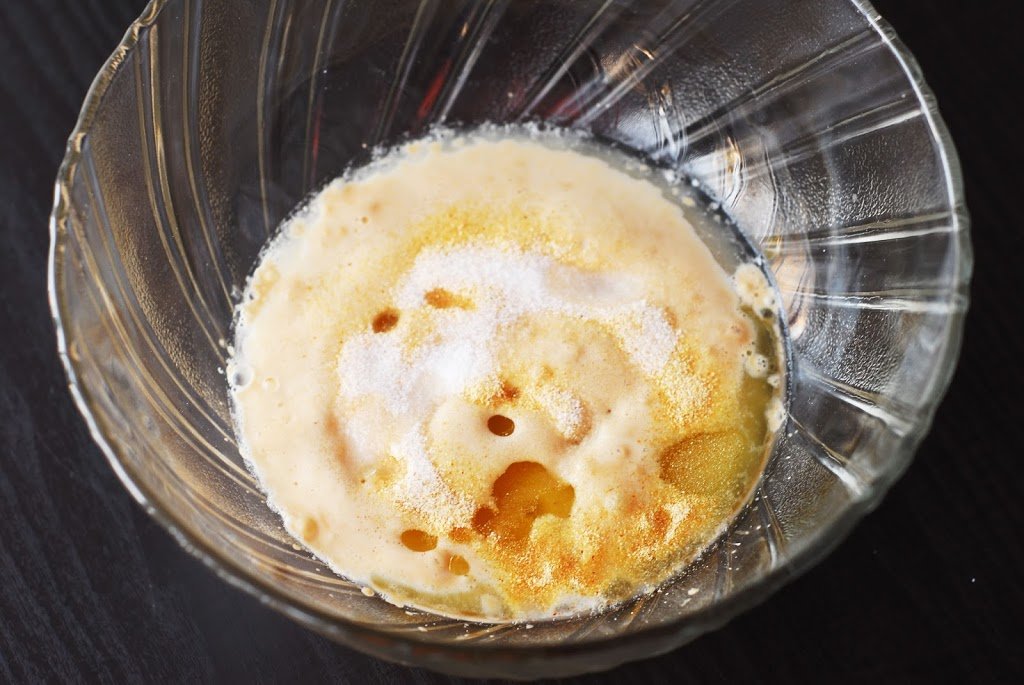
Then add what ya wanna add. For this simple crusty bread, I just do olive oil, salt, and garlic powder. But, like I said, Italian herbs commonly make an appearance.
A KitchenAid makes this part way, way easier. Just pop on the dough hook and add the flour a bit at a time. Without a KitchenAid, I stir as much of the flour in as I can with a wooden spoon, then turn the dough onto a floured cutting board and knead the rest in by hand, until it’s just a little sticky.
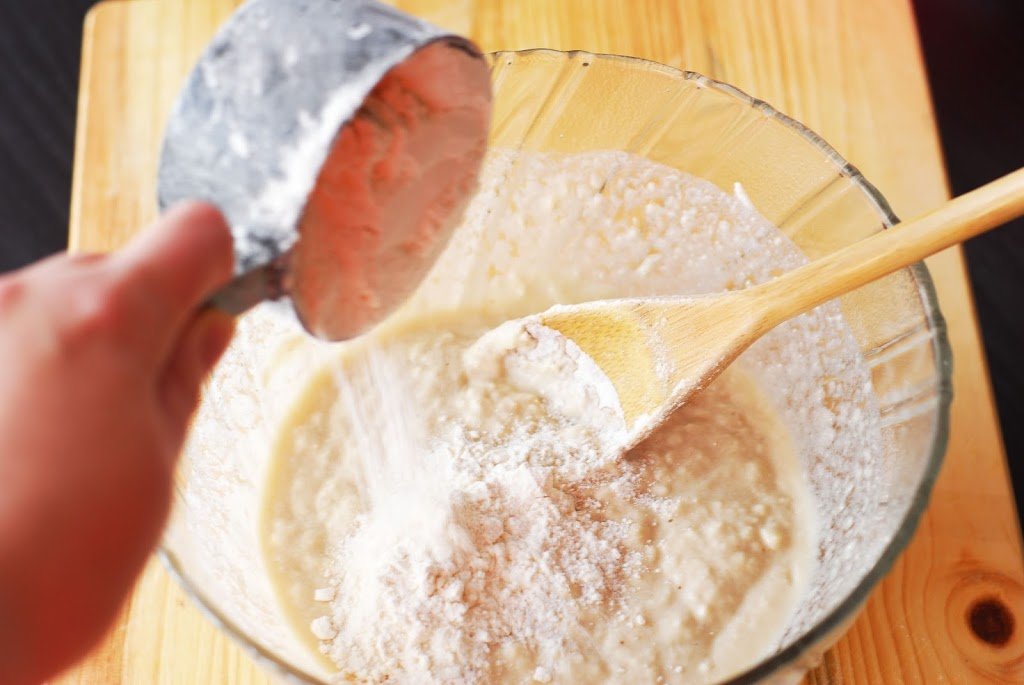
And it’ll come together into a pretty dough ball.

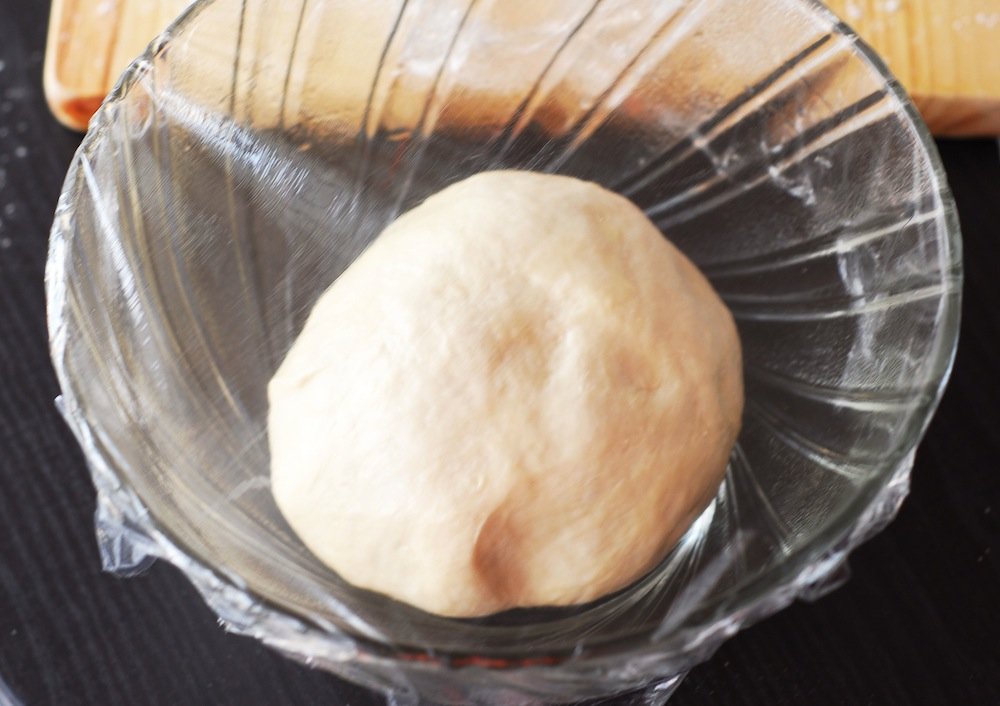
Lightly oil a bowl with olive oil, add the dough, turn it a bit so it gets coated in oil, then wrap it in saran wrap and stick it in a warm spot.
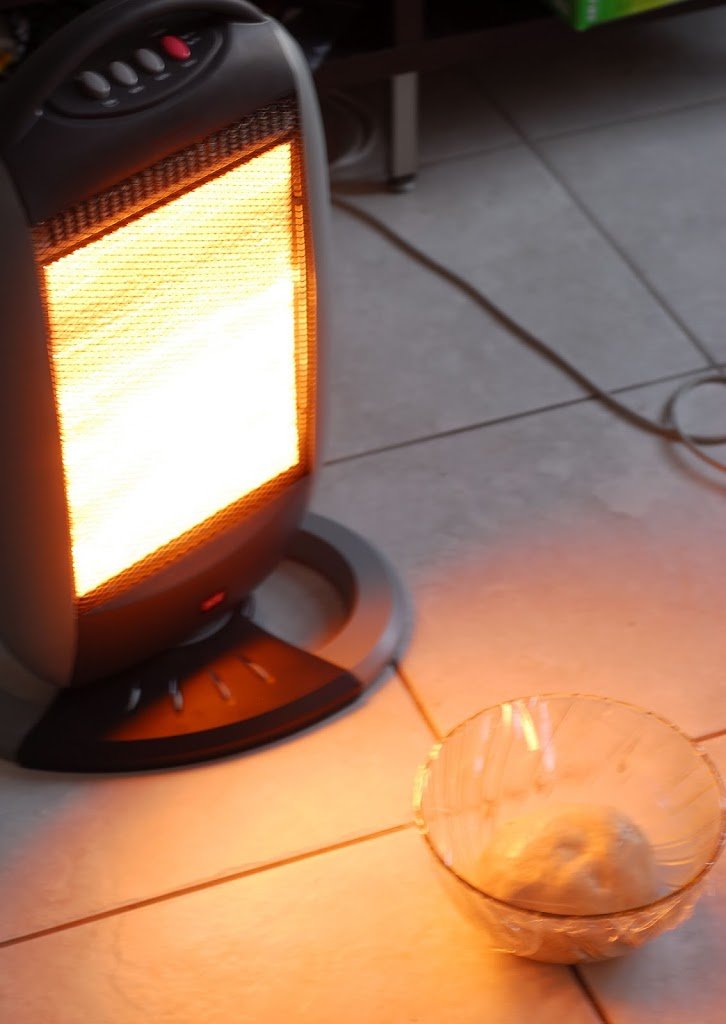
I put ours in front of the space heater. It’s very effective.
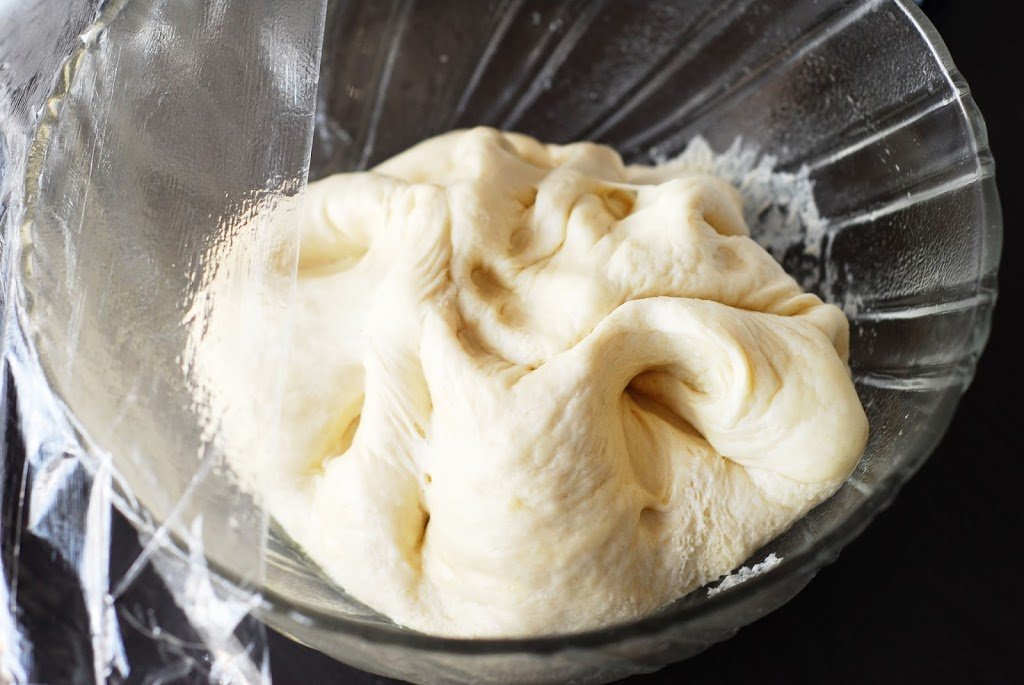
After it’s doubled in size, punch it down. I think this part is super fun, like popping a balloon or bubble wrap. Maybe I’m just weird.
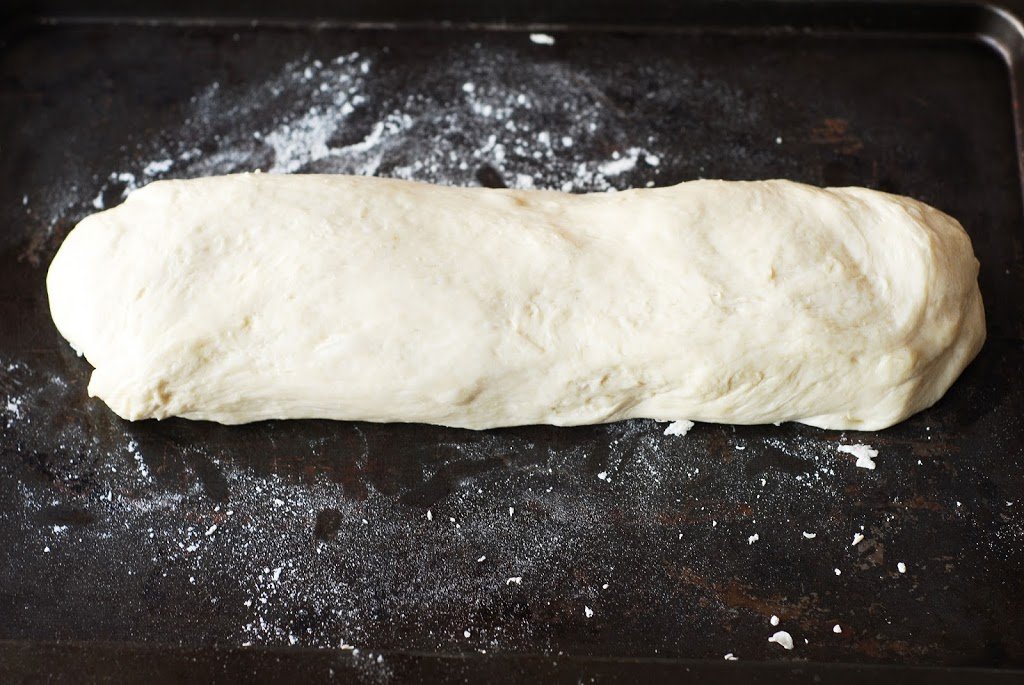
Then form it into a log on a lightly greased and flour baking sheet. As you can see, I don’t put all that much effort into making it pretty.
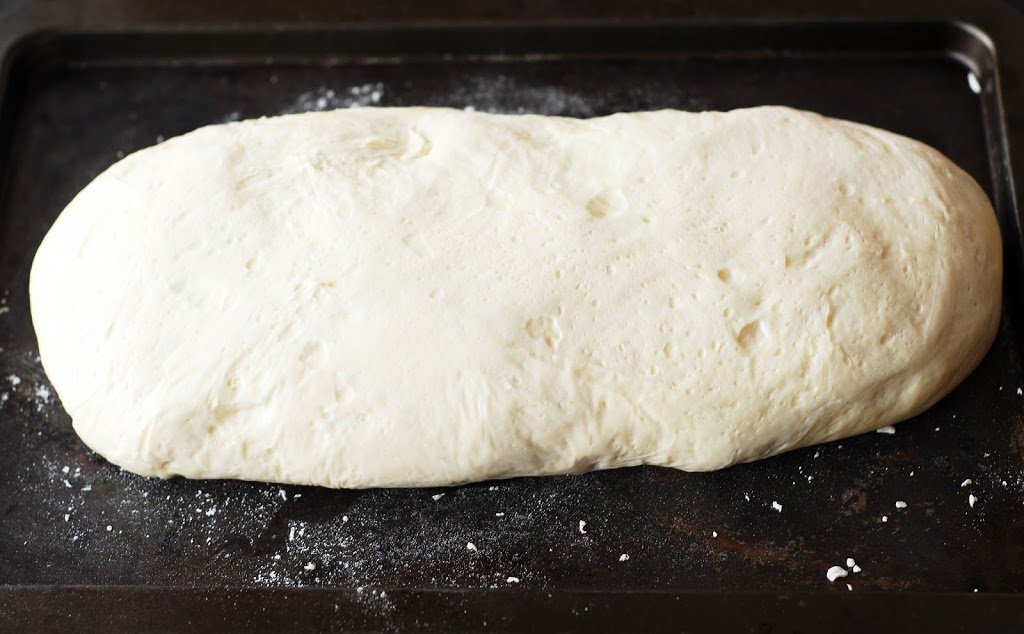
Then cover it and let it rise again, until it’s close to doubled in size.
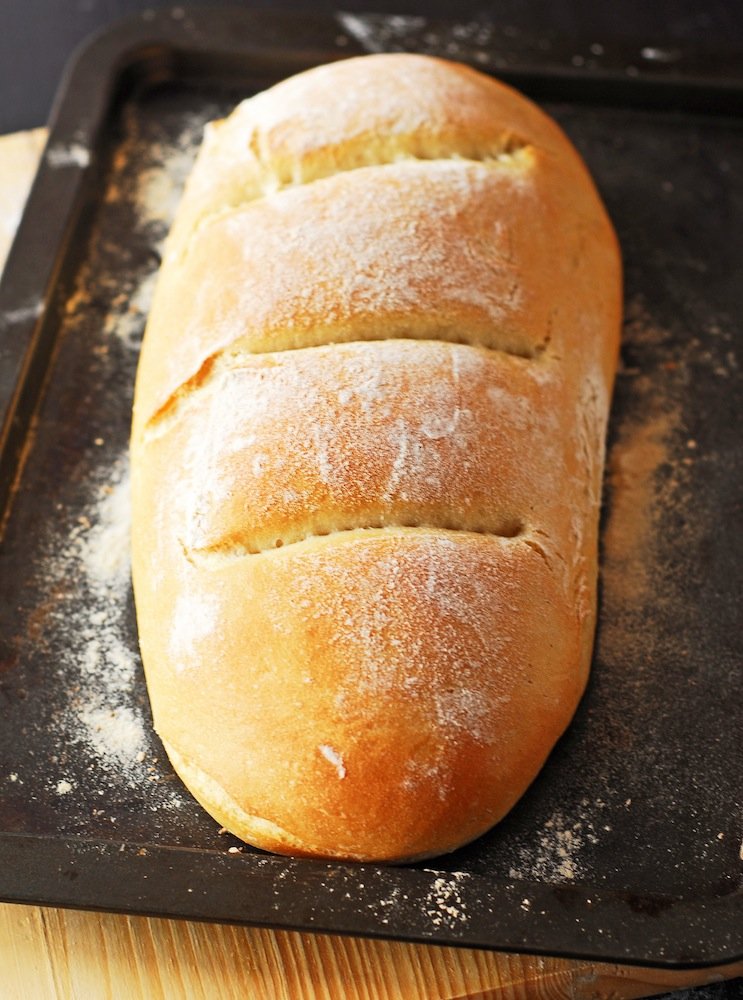
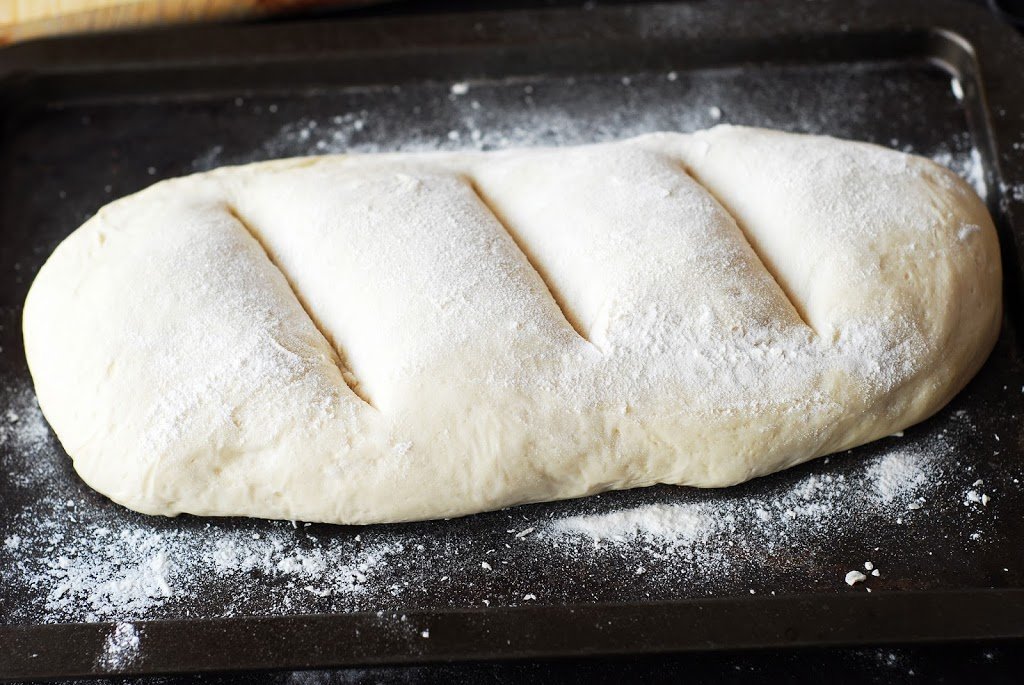
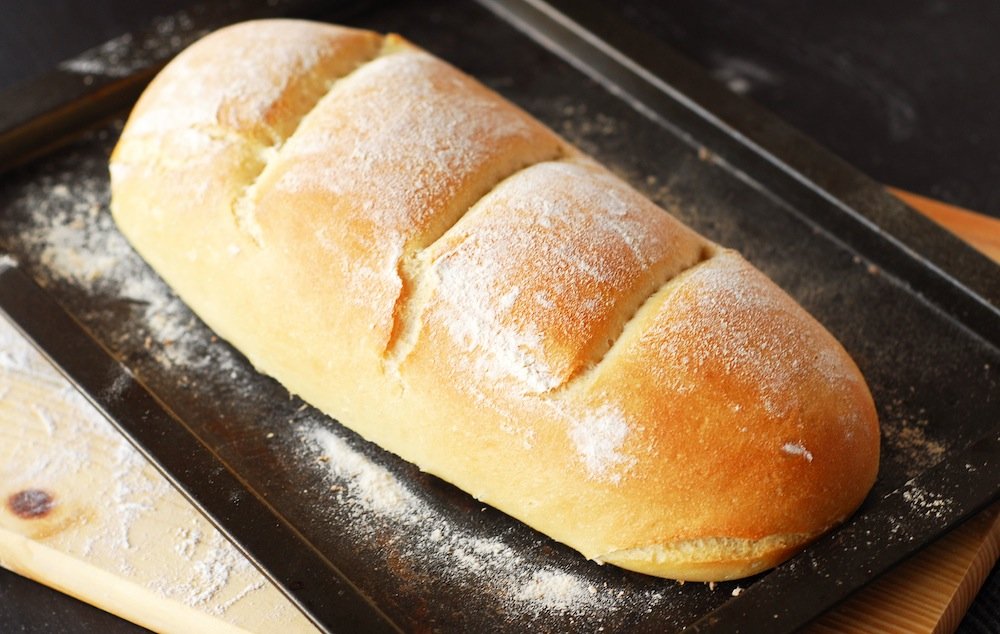
Flour the top. This part is mostly just for prettiness. You don’t have to do it. And cut three diagonal slits.
This is the part that gives you the crust! Put an empty sheet pan on the very bottom rack of the oven. Put the raw loaf in the oven, pour a half cup water on the sheet pan, then quickly close the oven door to trap the steam. You can just pour the water into the bottom of the oven, but I’ve read that can warp it.
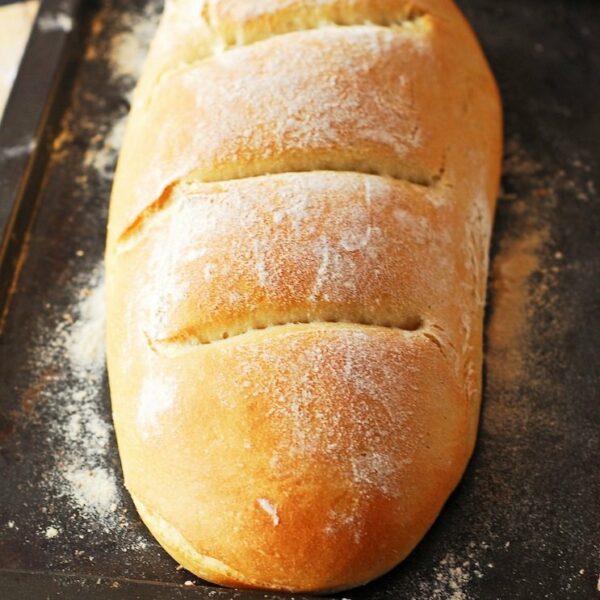
Bake it for 15-20 minutes, or until it’s golden brown and the world smells wonderful.
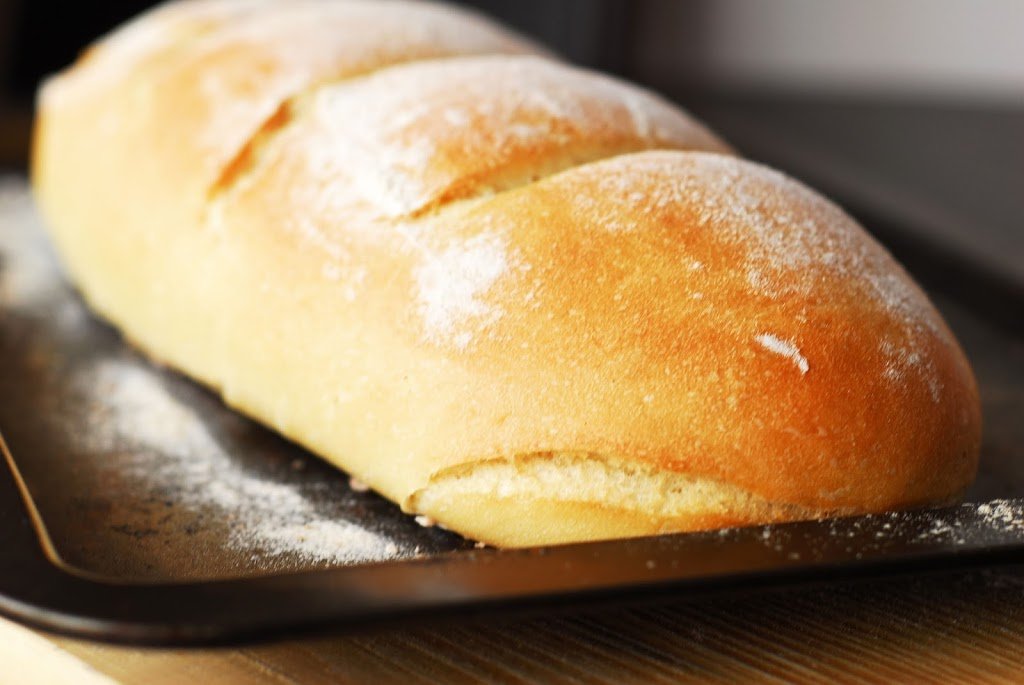
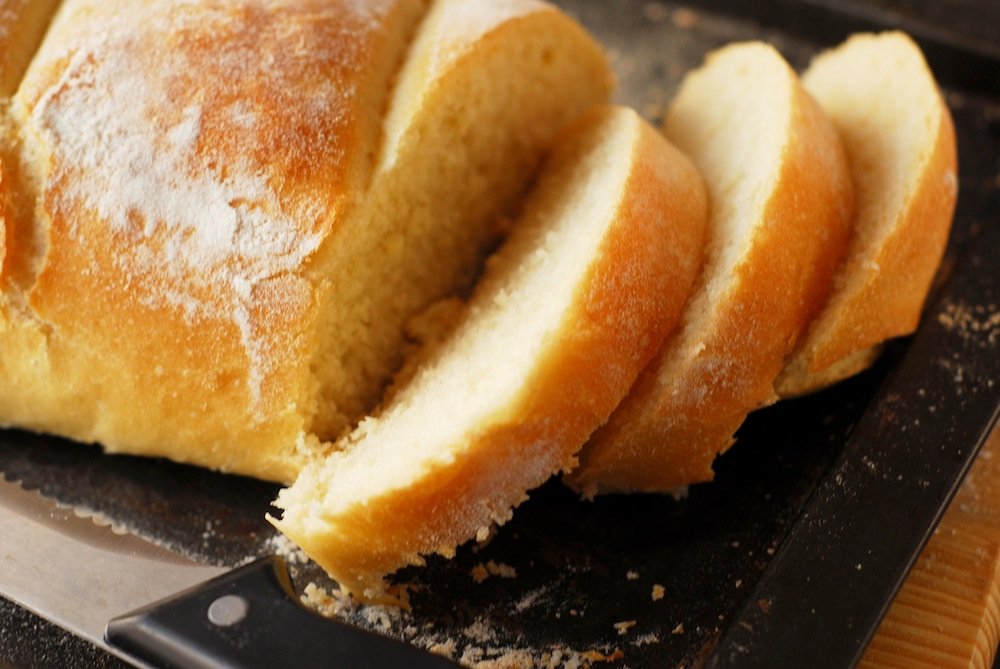
Eat it as is, use it for dunking into soup or a red sauce pasta, or make sandwiches. We had salami grilled cheeses and tomato soup with this particular loaf, and they were magical.
Homemade bread makes everything better.

Get the Recipe:
Easy Crusty Bread
Ingredients
Instructions
- In a large bowl or in the bowl of your KitchenAid, stir together the water, yeast, and sugar. Let sit for about ten minutes, or until foamy.
- Add the salt, garlic powder, and olive oil to the yeast mixture and stir to combine.
- If using a KitchenAid, use the dough hook attachment and add the flour about 1/2 cup at a time. Add flour until dough pulls away from the edgy and is just a little sticky to touch. Knead with the dough hook on low for about five minutes.
- If not using a KitchenAid, stir in flour 1/2 cup at a time until it becomes to difficult to stir. Turn the dough onto a well-floured surface and continue to knead in the flour a bit at a time, until barely sticky to the touch.
- Oil a large bowl with a little olive oil. Add the dough to the bowl and turn to coat. Cover with plastic wrap and leave in a warm place to rise until doubled, about an hour to an hour and a half.
- After dough has risen, punch it down. Move one oven rack to the bottom of the oven, another to the middle. Preheat oven to 425 degrees. Lightly oil and flour a baking sheet.
- Form the dough into a log on the baking sheet. Cover and let rise until almost doubled, about 45 minutes to an hour.
- Once risen, lightly sprinkle the top with flour. Using a sharp knife, make three diagonal slits in the loaf.
- Place an empty baking sheet on the bottom rack in the oven. Place the baking sheet with the dough on the middle rack. Before closing the oven door, pour 1/2 cup water onto the empty cooking sheet on the bottom rack. Close the oven door quickly to trap the steam. Bake for 15-20 minutes, or until golden brown.
thank you for the one loaf recipe
You’re welcome!
I’m not good at cooking or baking, but I made this yesterday and it turned out so good. Can’t stop eating it. Could I mention you in my blog post that I’m writing up?
Aw, I’m so glad to hear it! Yes, absolutely!
Wonderful, thank you.?
Awesome recipe! Thanks so much!
I have never made my own bread in my Kitchenaid. I have made bread in my bread machine manytimes. But, I wanted to try it with my Kitchenaid. Last week Sunday I made this wonderful bread and my family was in LOVE…it was a little crusty but not hard. The middle of the bread was so tender…perfect size for my family of 3. I’m making it again with my Bolognese sauce & Spaghettis & Caesars salad for tonight’s dinner.
I’m so glad to hear this!!
An excellent recipe providing a spectacular result… omit the garlic powder for a simple white loaf!
First time making bread this way… DELICIOUS!
Ty!