Basic Butter Pie Crust
/Everybody needs a basic butter pie crust. A recipe that’s easy to make, turns out, and goes with all your baking ideas. Oh, and dinner too! Dinner is important.
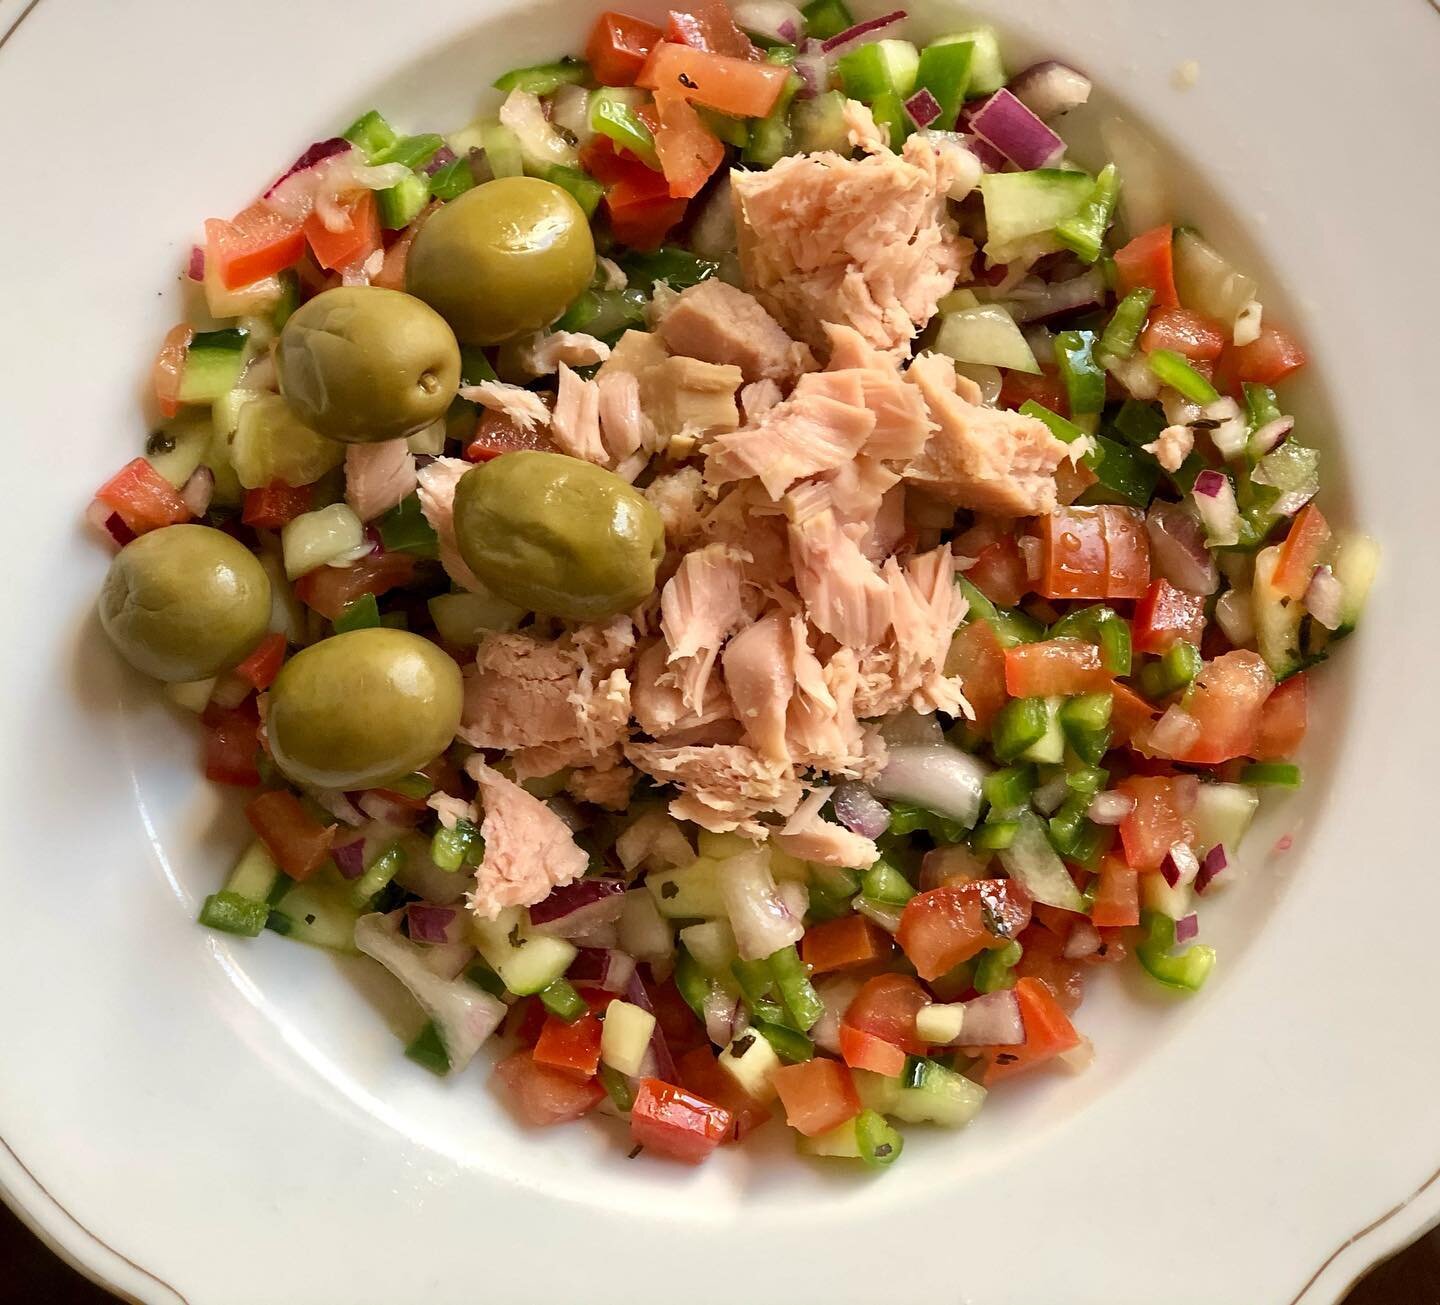
Like last night. I decided I wanted to make a quiche for dinner, and it was SO nice to be able to pull up this recipe and be able to whip it out, knowing it would turn out, not shrink, and be flaky but sturdy enough to hold a whopping load of eggs, milk, and veggies. Too many veggies, actually. Even though I pre-cooked them, there just wasn’t enough of the custard part of the quiche to hold it all together. Ah well, you live and you learn. And I just had to choose veggies like tomatoes that lose a LOT of liquid when baked. It’s actually a really delicious quiche, I made it crustless a few weeks ago and wanted to share the recipe with you guys, but um. I’ll reduce the quantity of veggies and get back to you with a successful recipe. The crust was nice, regardless.
This crust is your easy buttery friend. If you bake things that need crusts a lot, like quiche, pies, pot pies, homemade poptarts, etc. you’ll have the recipe memorized in no time and can whip it up on command!
I like butter because it tastes the best and is definitely the healthier option when looking at lard and shortening. My mom always uses oil, but oil makes for a finicky and often tough crust. So for a reliable crust, I use butter. For a healthy crust, oil. That recipe will come, but it also won’t be touted as a fool-proof, everyday crust! :)
This butter crust is only flour, salt, butter, and water. If you’ve been burned by crusts in the past (or you’ve burned them, heheh) because they shrink, fall apart, or are tough, despair not, my friend! I think we’ve all been there, maybe on repeat and it can be very frustrating. Along with the recipe I’m also going to share with you all the tips and tricks I’ve learned to get a fool-proof pie crust every time!
Plan Ahead
If you normally eat dinner at 6:30pm and it’s now 6:21pm, I’m sorry but your pie crust will be compromised. Pie crusts need time if they’re going to be the flaky, tasty, shapely vessels for filling that we want them to be!
For this crust you need about 1 1/2 hours minimum, plus more if you need to blind-bake it.
It can be made up to 2-3 days ahead of time and kept in the fridge. It also freezes beautifully. Either way, you can store it as a block of dough or even already prepared in the pie dish.
Tips for a Flaky Crust
When cutting up the cold butter, the chunks don’t have to be super small. 1/2” chunks are great, and try to keep them all the same size so smaller chunks don’t melt while you’re still squishing the bigger chunks.
When crumbling the butter, less is always more. You may be tempted to really integrate the butter, but this is more likely to cause the butter to melt and result in a tough crust. Leave chunks of butter, really, it’ll turn out great!
Make sure your butter is cold and stays cold while you’re making the dough. If your house is warm or even hot like my house in the summertime, then you will probably need to stick your butter back in the fridge or freezer after you cut it into small pieces. If you do this first, you can then weigh your flour, salt, and prepare your ice water while it’s chilling.
If your cold butter softens up too much while crumbling it into the flour mixture, it’s best to stick it back into the fridge/freezer for a few minutes before adding the ice water.
Another note on the ice water, you can also just stick some water in the freezer, but this requires a bit of planning so it’s cold enough when you go to make the crust. I often do this because I have only one ice tray and don’t always have ice ready…especially in the summer. Sometimes an iced beverage takes preference over a crust, haha.
How to Avoid a Shrinking Crust
If your crust is shrinking, most likely it didn’t rest long enough in the fridge. While you are mixing the dough it is inevitable that a bit of gluten builds up, which is a very elastic-like substance. This is good when making bread, bad when making flaky pie crust. The dough needs to rest so that the gluten strands have time to relax. If the gluten strands didn’t have adequate time to relax they will shrink back on themselves, hence the shrinking crust.
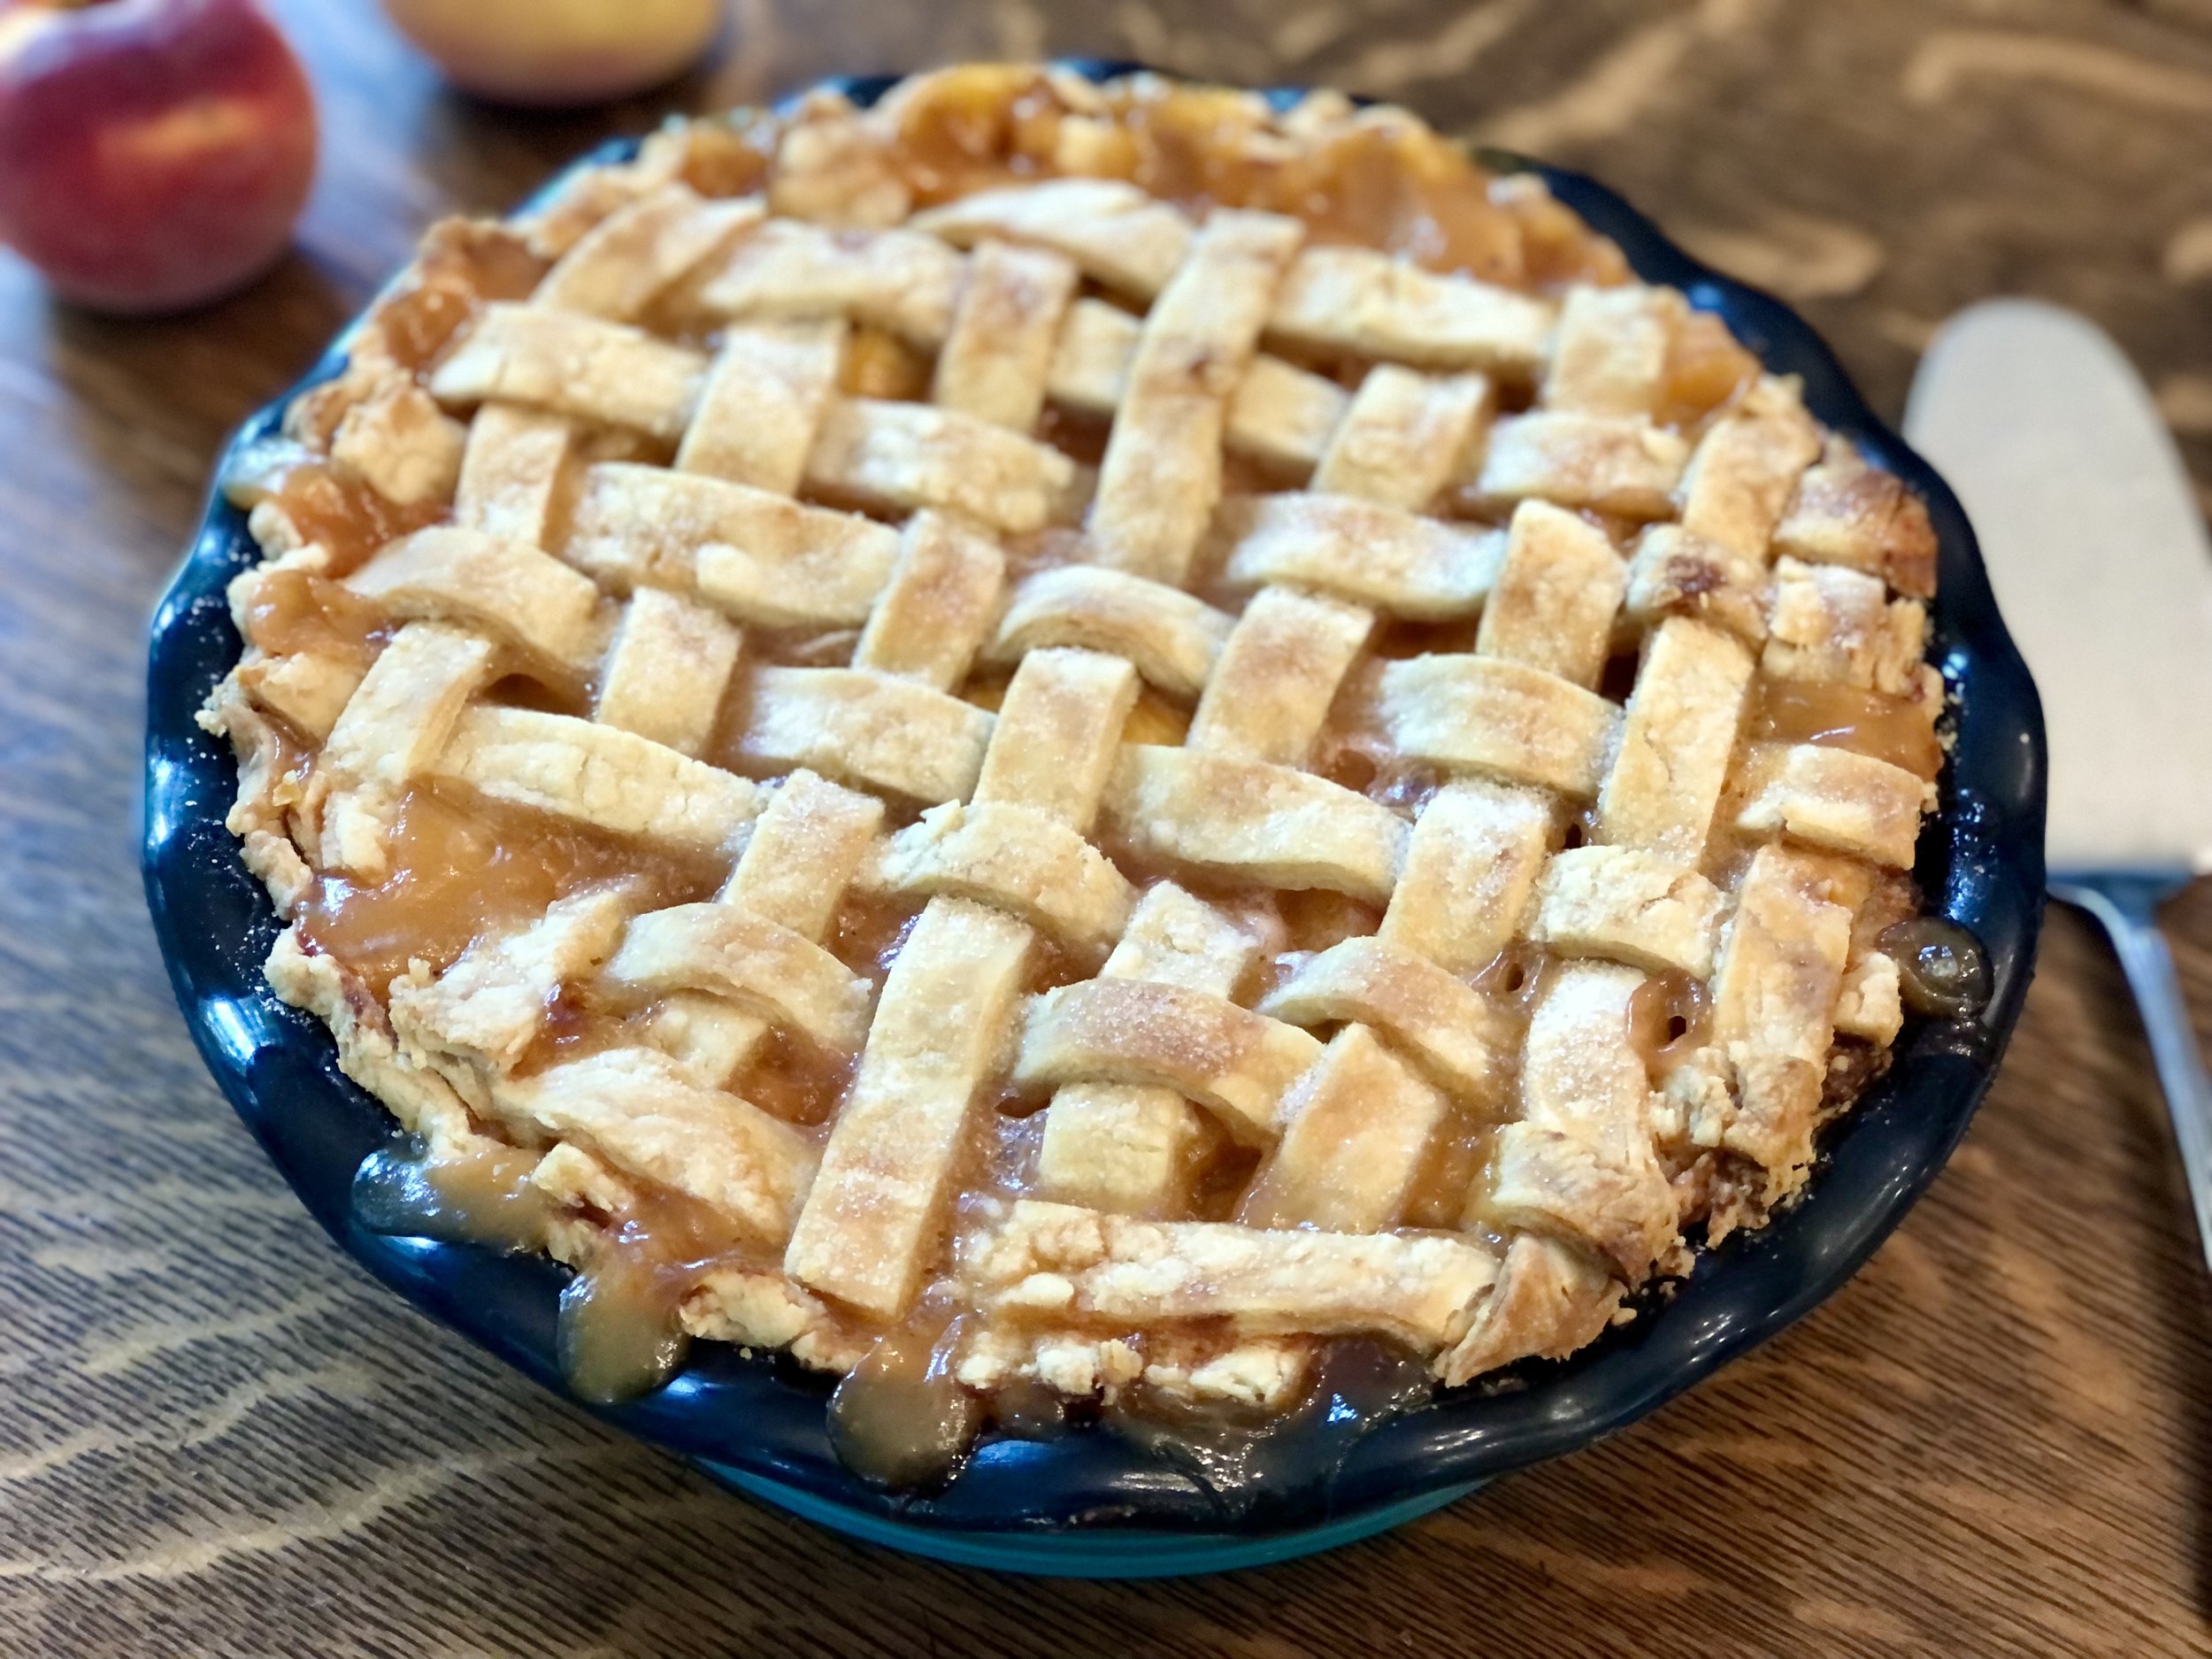
If your crust is still shrinking, try to use a ceramic or metal pie dish instead of slippery glass. I LOVE my Emile Henry ceramic pie dish I received for Christmas. French baking ware like Emile Henry and Le Creuset are pricey but so worth it!
You can also try using pie weights if you are blind-baking, or dry beans if you have those on hand. Simply line the inside of your prepared crust with parchment paper and add the pie weights or dry beans. Bake as directed.
Still shrinking? Bake at low temperatures, like 325°F - 350°F / 163°C - 177°C.
Freeze the prepared crust for at least one hour or even overnight.
Make sure your crust reaches high enough that it rests on the lip of the pie dish, not beyond or too short, but just resting on the edge. It also helps to cut off the extra pie crust while leaving an overhang of about 1/2” all the way around. Tuck this overhang under and crimp the edge, or use a fork. The thicker crust edge not only gives you more to work with while crimping, it is also less likely to shrink down.
This post may contain affiliate links. If you make a purchase using these links, Jennyblogs may receive a small commission, at no extra cost to you. This helps to support Jennyblogs. For further information see the privacy policy. Grazie!
Basic Butter Pie Crust
Makes 1 bottom pie crust. For a bottom and top crust, double this recipe.
Ingredients:

1 1/3 cup / 160g all-purpose flour
1/2 tsp / 2.5g salt
4 Tbsp / 56g butter, cold, cut into equally-sized 1/2” chunks
4-6 Tbsp / 59 - 89g ice water
Directions:
Oven 425°F / 220°C. Ungreased 8 - 9in / 20 - 23cm pie dish.
In a medium bowl whisk together flour and salt. Blend in cold butter using a pastry cutter, fork, or your hands. You want the butter to end up in pieces, no smaller than peas.
Add the ice water, starting with 4 Tbsp / 59g, mixing as little as possible. The dough should be able to hold together in a ball, without being too dry or too wet, but still a bit shaggy looking. Add more water if necessary, 1 tablespoon at a time.
Place dough on a piece of plastic wrap, shape into a disc, and wrap tightly. Place in fridge for 1 - 48 hours.
After the crust has rested, roll into a circle on a lightly floured surface or silpat. Roll a few times with your rolling pin in one direction before turning the crust 45° (quarter turn) and continuing with a few more rolls. Periodically check under the crust to make sure it isn’t sticking and sprinkling more flour if needed. Continue like this until your crust is nicely round and roughly 2in / 5cm larger than your pie dish.
Carefully transfer crust to pie dish (this is easier if using a silpat), trim the excess overhang to within about 1/2” of the edge of pie dish if necessary, and fold the ends under. Crimp as desired, or press with a fork. Prick the bottom of the crust with a fork. The crust can also be refrigerated or even frozen at this point, if needed.
If blind baking, bake in preheated oven for 10-12 minutes, or until crust is lightly golden-brown. Cool completely. Otherwise fill and proceed according to your recipe.
Jenny’s Notes:
You can also use a food processor, pulsing in the butter until it has the desired consistency. Just be sure to remove the dough from the food processor and mix in the water with a fork or pastry cutter so you don't overwork the dough. You want to work it as little as possible once you add the water. The liquid helps to awaken the gluten, and the more you work it and the gluten strands develop, the tougher your crust will be. The minimum of 1 hour rest in the fridge allows what gluten inevitably developed to relax.
If you are having problems with a shrinking crust, try using a metal or ceramic pie dish and allowing the crust more time to rest before baking. You can also try using pie weights and baking at a lower temperature.
I have made this pie several times over the past year, and have always needed all 6 tablespoons of water, possibly because it was always during the dry winter. If you live in a really dry climate, you might need up to 7. Just be aware, an overly wet crust is more likely to glue itself to the pan during baking.

Basic Butter Pie Crust
Ingredients
Instructions
- Oven 425°F / 220°C. Ungreased 8 - 9in / 20 - 23cm pie dish.
- In a medium bowl whisk together flour and salt. Blend in cold butter using a pastry cutter, fork, or your hands. You want the butter to end up in pieces, no smaller than peas.
- Add the ice water, starting with 4 Tbsp / 59g, mixing as little as possible. The dough should be able to hold together in a ball, without being too dry or too wet, but still a bit shaggy looking. Add more water if necessary, 1 tablespoon at a time.
- Place dough on a piece of plastic wrap, shape into a disc, and wrap tightly. Place in fridge for 1 - 48 hours.
- After the crust has rested, roll into a circle on a lightly floured surface or silpat. Roll a few times with your rolling pin in one direction before turning the crust 45° (quarter turn) and continuing with a few more rolls. Periodically check under the crust to make sure it isn’t sticking and sprinkling more flour if needed. Continue like this until your crust is nicely round and roughly 2in / 5cm larger than your pie dish.
- Carefully transfer crust to pie dish (this is easier if using a silpat), trim the excess overhang to within about 1/2” of the edge of pie dish if necessary, and fold the ends under. Crimp as desired, or press with a fork. Prick the bottom of the crust with a fork. The crust can also be refrigerated or even frozen at this point, if needed.
- If blind baking, bake in preheated oven for 10-12 minutes, or until crust is lightly golden-brown. Cool completely. Otherwise fill and proceed according to your recipe.
Notes
You can also use a food processor, pulsing in the butter until it has the desired consistency. Just be sure to remove the dough from the food processor and mix in the water with a fork or pastry cutter so you don't overwork the dough. You want to work it as little as possible once you add the water. The liquid helps to awaken the gluten, and the more you work it and the gluten strands develop, the tougher your crust will be. The minimum of 1 hour rest in the fridge allows what gluten inevitably developed to relax. If you are having problems with a shrinking crust, try using a metal or ceramic pie dish and allowing the crust more time to rest before baking. You can also try using pie weights and baking at a lower temperature. I have made this pie several times over the past year, and have always needed all 6 tablespoons of water, possibly because it was always during the dry winter. If you live in a really dry climate, you might need up to 7. Just be aware, an overly wet crust is more likely to glue itself to the pan during baking.
Nutrition Facts
Calories
122.99Fat
5.87 gSat. Fat
3.63 gCarbs
15.27 gFiber
0.54 gNet carbs
14.73 gSugar
0.06 gProtein
2.13 gSodium
192.78 mgCholesterol
15.05 mgNutritional information is approximate and based on 8 servings.