


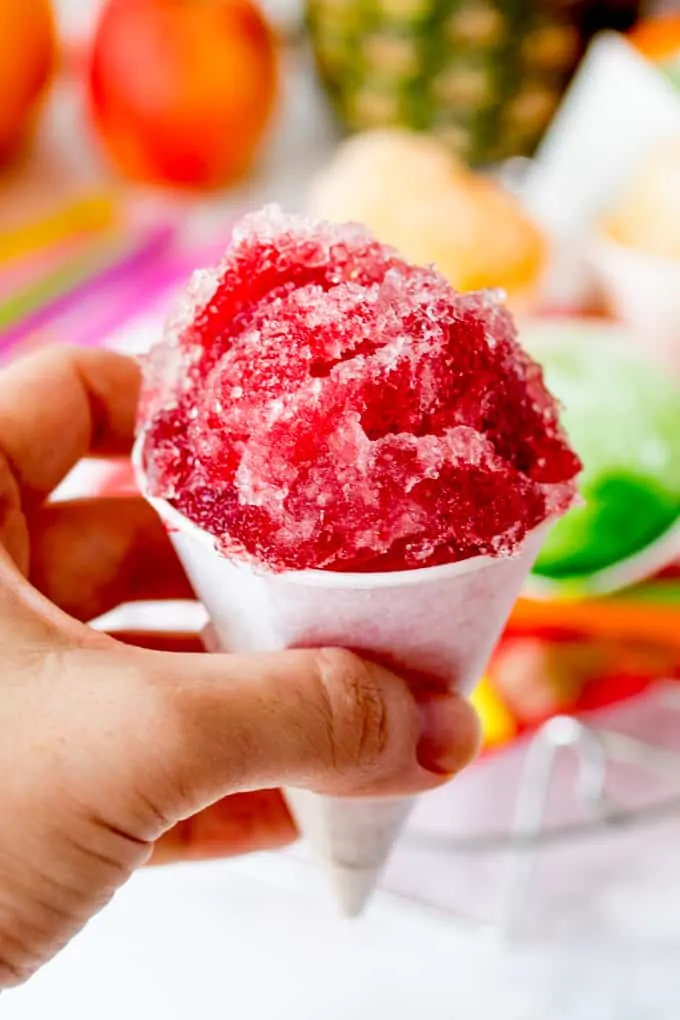
How to make Snow Cones with homemade fruit syrup – you’ll be eating these all Summer! Plus a quick tip on making shaved ice!
 The weather in the UK has been AMAZING this last week or so.
The blazing sunshine means that even I’ve been wearing strappy tops and sandals!
The kids have been begging for ice lollies every 15 minutes (Chris too), so to save my whole freezer being taken over by shop-bought popsicles, I’ve been making snow cones!!
I first made them a couple of years ago for another site, and at the time, I accidentally bought about a thousand snow cone cups.
The English weather means I’ve used about 27 of them since then, but this summer we’re going to make a real dint in that unintentional Amazon purchase!
(By the way you can buy the snow cone cups here) <– affiliate link
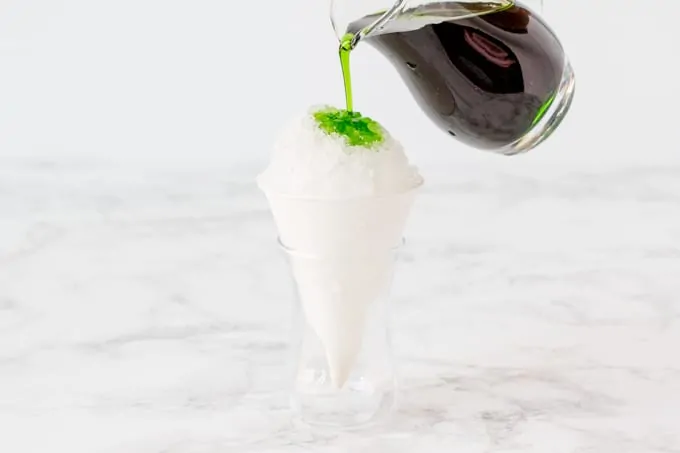
We start off making the fruit syrup, which I’ve made from cartons of fruit juice.
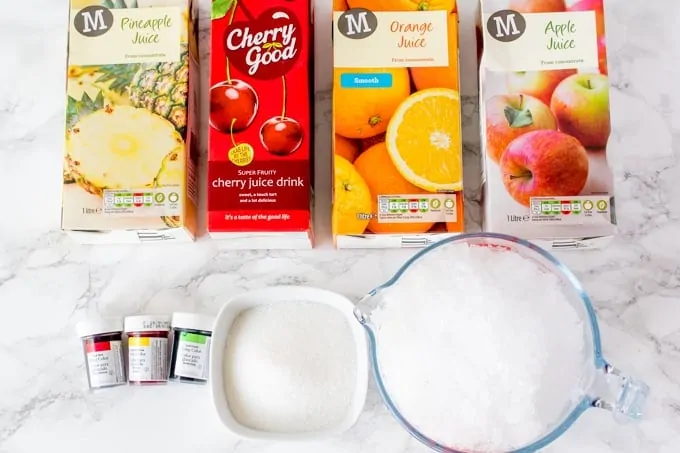
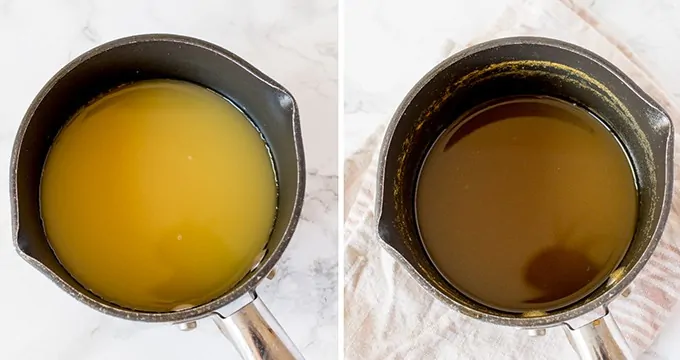
It’s a simple case of boiling and reducing the fruit juice in a pan with some sugar until slightly thickened.
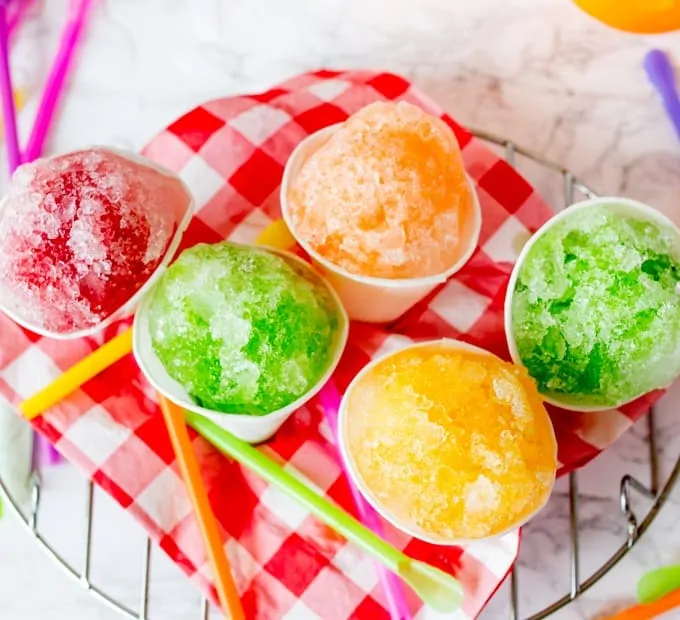
I used Orange, Apple, Pineapple and Cherry juice so we have a selection of flavours on tap.
I also stirred a little food colouring gel into the orange, apple and pineapple ones. This is completely optional, but trust me, a bright green apple snow cone looks far more appetizing than a suspiciously yellow-snow coloured snow cone.
Making the shaved ice is really simple. Just whizz up ice cubes or crushed ice in a food processor (I have this one) in short bursts (you’ll need to scrape down the bowl in between each burst) until the ice is soft and fluffy. Then you’re good to go!
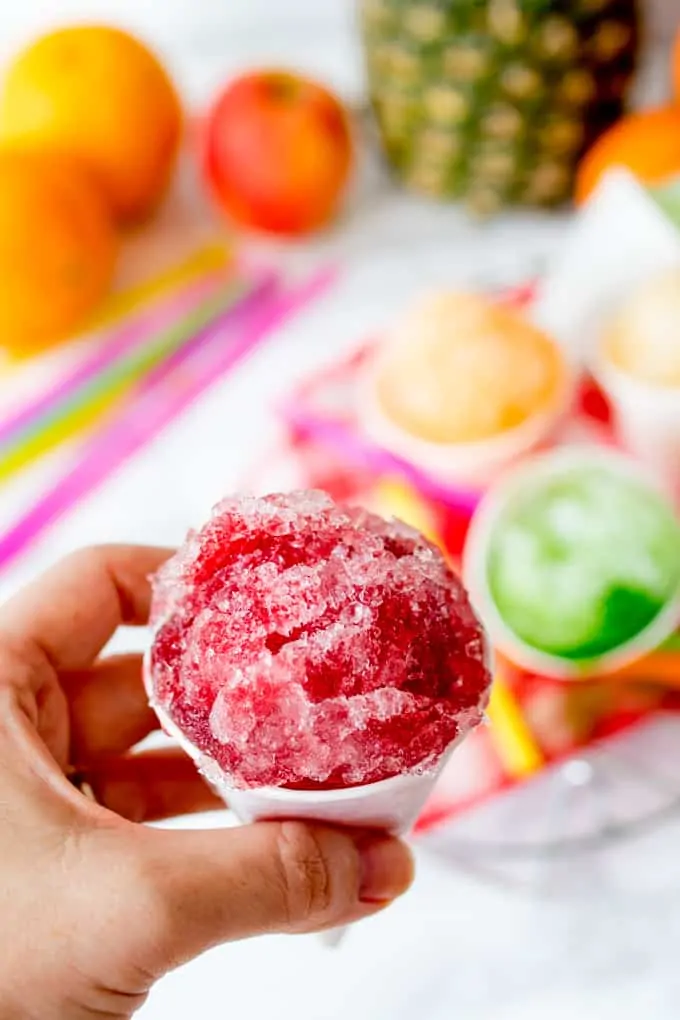
Cheap, tasty and a real hit with the kids!!
More Frozen Treats
If you’re looking for other recipes to cool you off this summer, how about my:
no churn cereal milk ice cream
prosecco, lemon and ginger granita
The Snow Cones with Homemade Fruit Syrup Recipe:
Snow Cones with Homemade Fruit Syrup
Ingredients
- 750 ml (3 1/4 cups minus 2 tbsp) orange juice fresh or from concentrate
- 750 ml (3 1/4 cups minus 2 tbsp) pineapple juice fresh or from concentrate
- 750 ml (3 1/4 cups minus 2 tbsp) cherry juice fresh or from concentrate
- 750 ml (3 1/4 cups minus 2 tbsp) apple juice fresh or from concentrate
- 200 g (1 cup) granulated sugar
- food colouring gel – green, red, and yellow (optional)
- shaved ice place ice cubes or crushed ice in a food processor and pulse until the ice is finely crushed and ‘fluffy’
Instructions
- Pour each of the fruit juices into separate saucepans. Add 50g (1/4 cup) of sugar to each. Stir and bring to the boil, then simmer on a medium heat until reduced by approximately two-thirds. This takes around 30-50 minutes, depending on the juice.750 ml (3 1/4 cups minus 2 tbsp) orange juice, 750 ml (3 1/4 cups minus 2 tbsp) pineapple juice, 750 ml (3 1/4 cups minus 2 tbsp) cherry juice, 750 ml (3 1/4 cups minus 2 tbsp) apple juice, 200 g (1 cup) granulated sugar
- Add a small blob of food colouring gel to the fruit juices if using. Use green for the apple flavour, red for the orange flavour and yellow for the pineapple flavour. Cherry juice shouldn't need any food colouring.food colouring gel
- Stir in until completely mixed, then leave the syrups to cool. They will thicken slightly when cool*.
- Spoon the shaved ice into cones, bowls or cups and pour 1-2 tbsp of the syrup of your choice on top of each cone. Serve immediately.shaved ice
Notes
Making the fruit syrups ahead:
*Once you've made and cooled the syrups, you can pour them into seal-able containers and refrigerate if you wish. They should keep for at least two weeks. . Nutritional information is approximate, per snow cone, based on using 1/10 of the each syrup per snow cone (the nutritional calculator pulls in nutritional info for all of the juices, then works out an average - so the nutritional info may not be exact for each flavour).Nutrition
Nutrition information is automatically calculated, so should only be used as an approximation.
I first made this recipe for DIYs.
Some of the links in this post may be affiliate links – which means if you buy the product I get a small commission (at no extra cost to you). If you do buy, then thank you! That’s what helps us to keep Kitchen Sanctuary running. The nutritional information provided is approximate and can vary depending on several factors. For more information please see our Terms & Conditions.


Question: did the cones go soggy quickly?
My girls would like to make these for a fundraising idea but I’m worried the cones will get too soggy.
Not sure what you mean by soggy? They do melt, so they’re not something that can be made ahead unfortunately.
my favorite is red cherry shave snow cone good nice and cold air
from ackum matharu
Can we make ahead of time? Also does this need to be refrigerated or can we keep outside
These were such a great hit with all the family this weekend, so easy. Thank you.