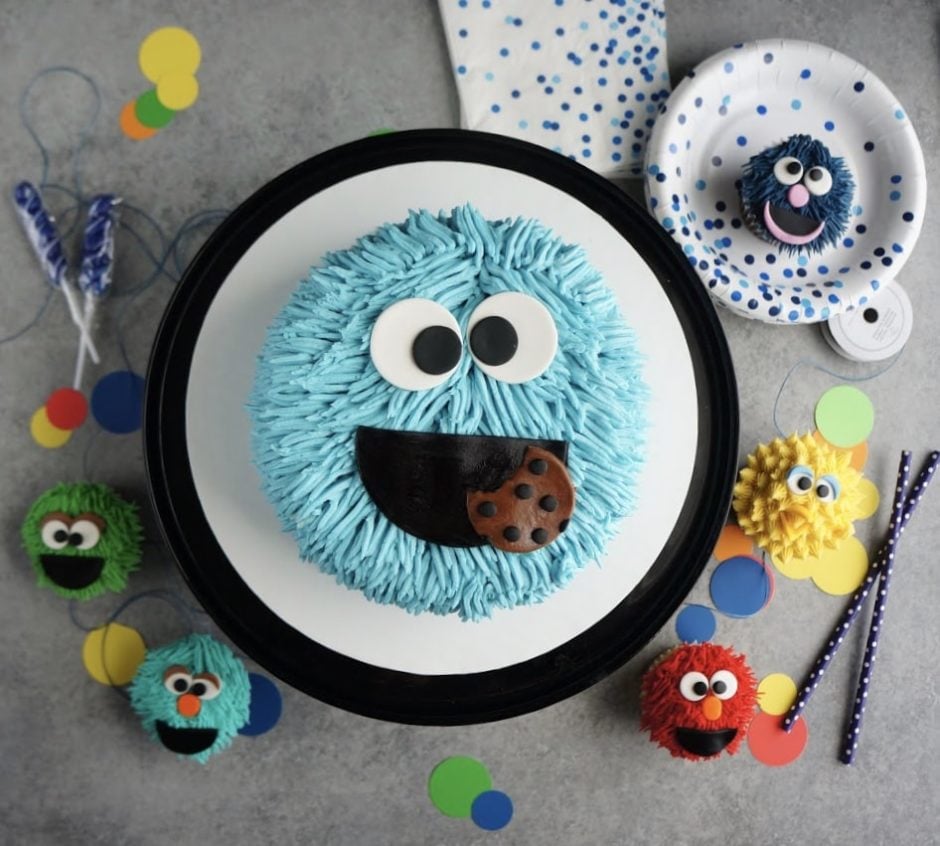
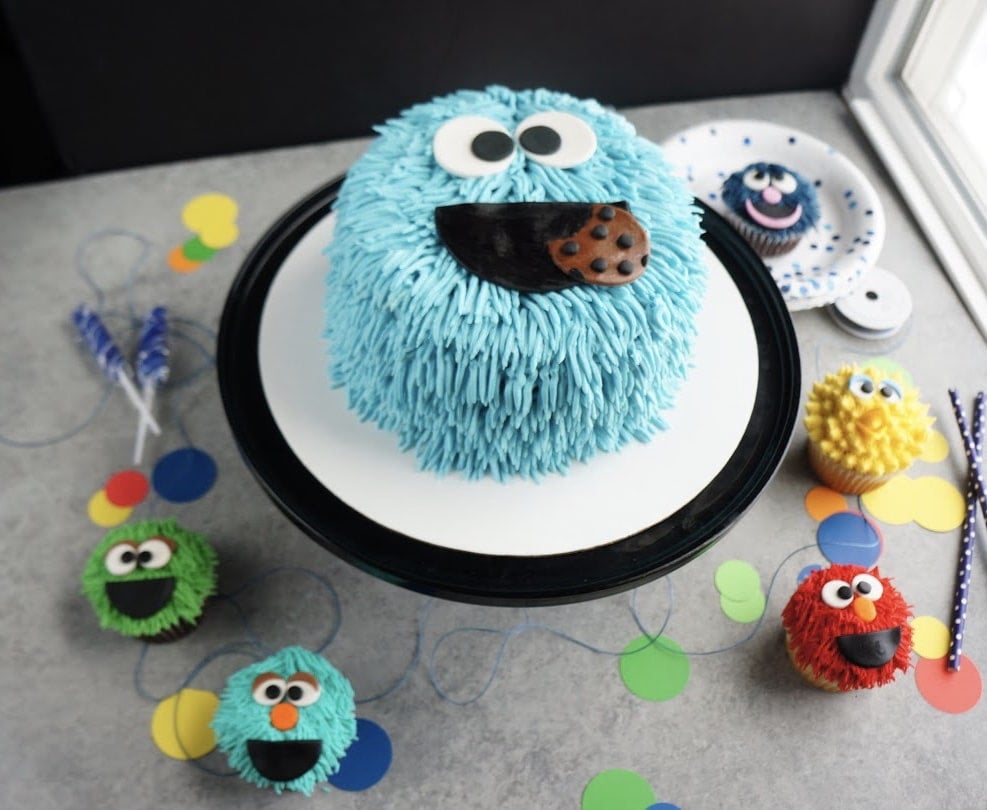
Celebrate your child’s next birthday with your favorite character from Sesame Street! I’m here to show you how to make a super cute Cookie Monster cake for your little one!
I’ve been making cakes for about 6 years professionally now. I still remember the first order of Sesame Street cupcakes I got, and it sparked so much joy in me, I knew that I had found something I was meant to do. I choose to do less cakes these days, but I never say no to an order with these adorable faces! This Cookie monster cake was a favorite for a first birthday celebration!
All you need is the right frosting tip and some delicious buttercream and you can have your own Cookie Monster cake (or Elmo for that matter) that will spark a little joy in you!
How do I decorate a Cookie Monster cake?
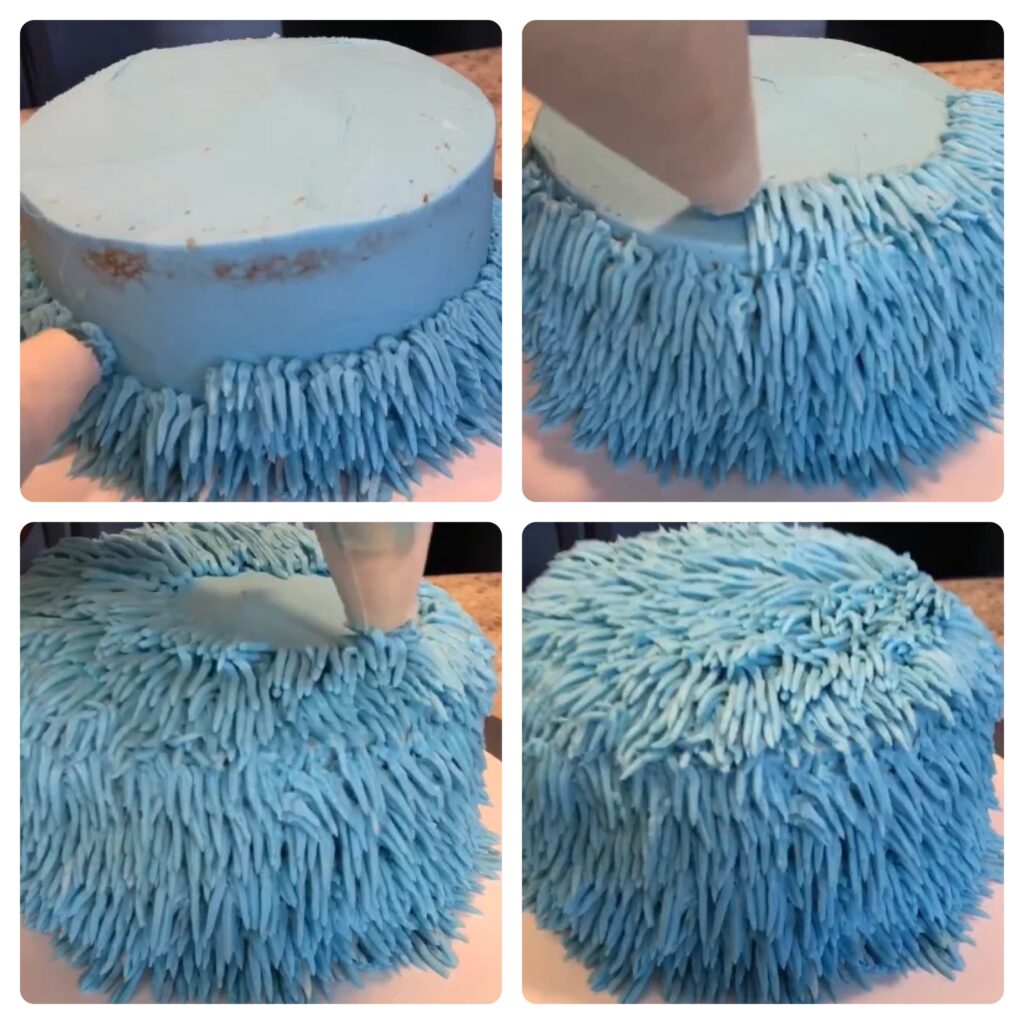
To decorate a cookie monster cake, you just need to use one special frosting tip. For this cake, we’ll be using the Wilton 234 tip or grass tip. Start by putting a very thin crumb coat on a layer cake, and then place the tip in a piping bag and fill it with blue frosting or buttercream.
Place the cake on a rotating cake stand. Starting about 1/2″ above the bottom of the cake, pipe in rows of “fur” with the piping bag, rotating the cake as you go, until you’ve piped all around the cake. When you start piping the next row, you want it to be right above the last, rows being the same thickness as the top of the Wilton Tip (about 1/3 inch). Each row on top of the last will hang over the row below it, so there’s no empty spaces without”fur” on your Cookie Monster cake.
Once you get to the top of the cake, start by piping the outside circle. You want to do it close enough to the edge so that the “fur” icing hangs over the side of the cake and covers the crumb coat you have underneath. Pipe from outer circle to inner, until there is no crumb coat showing underneath.
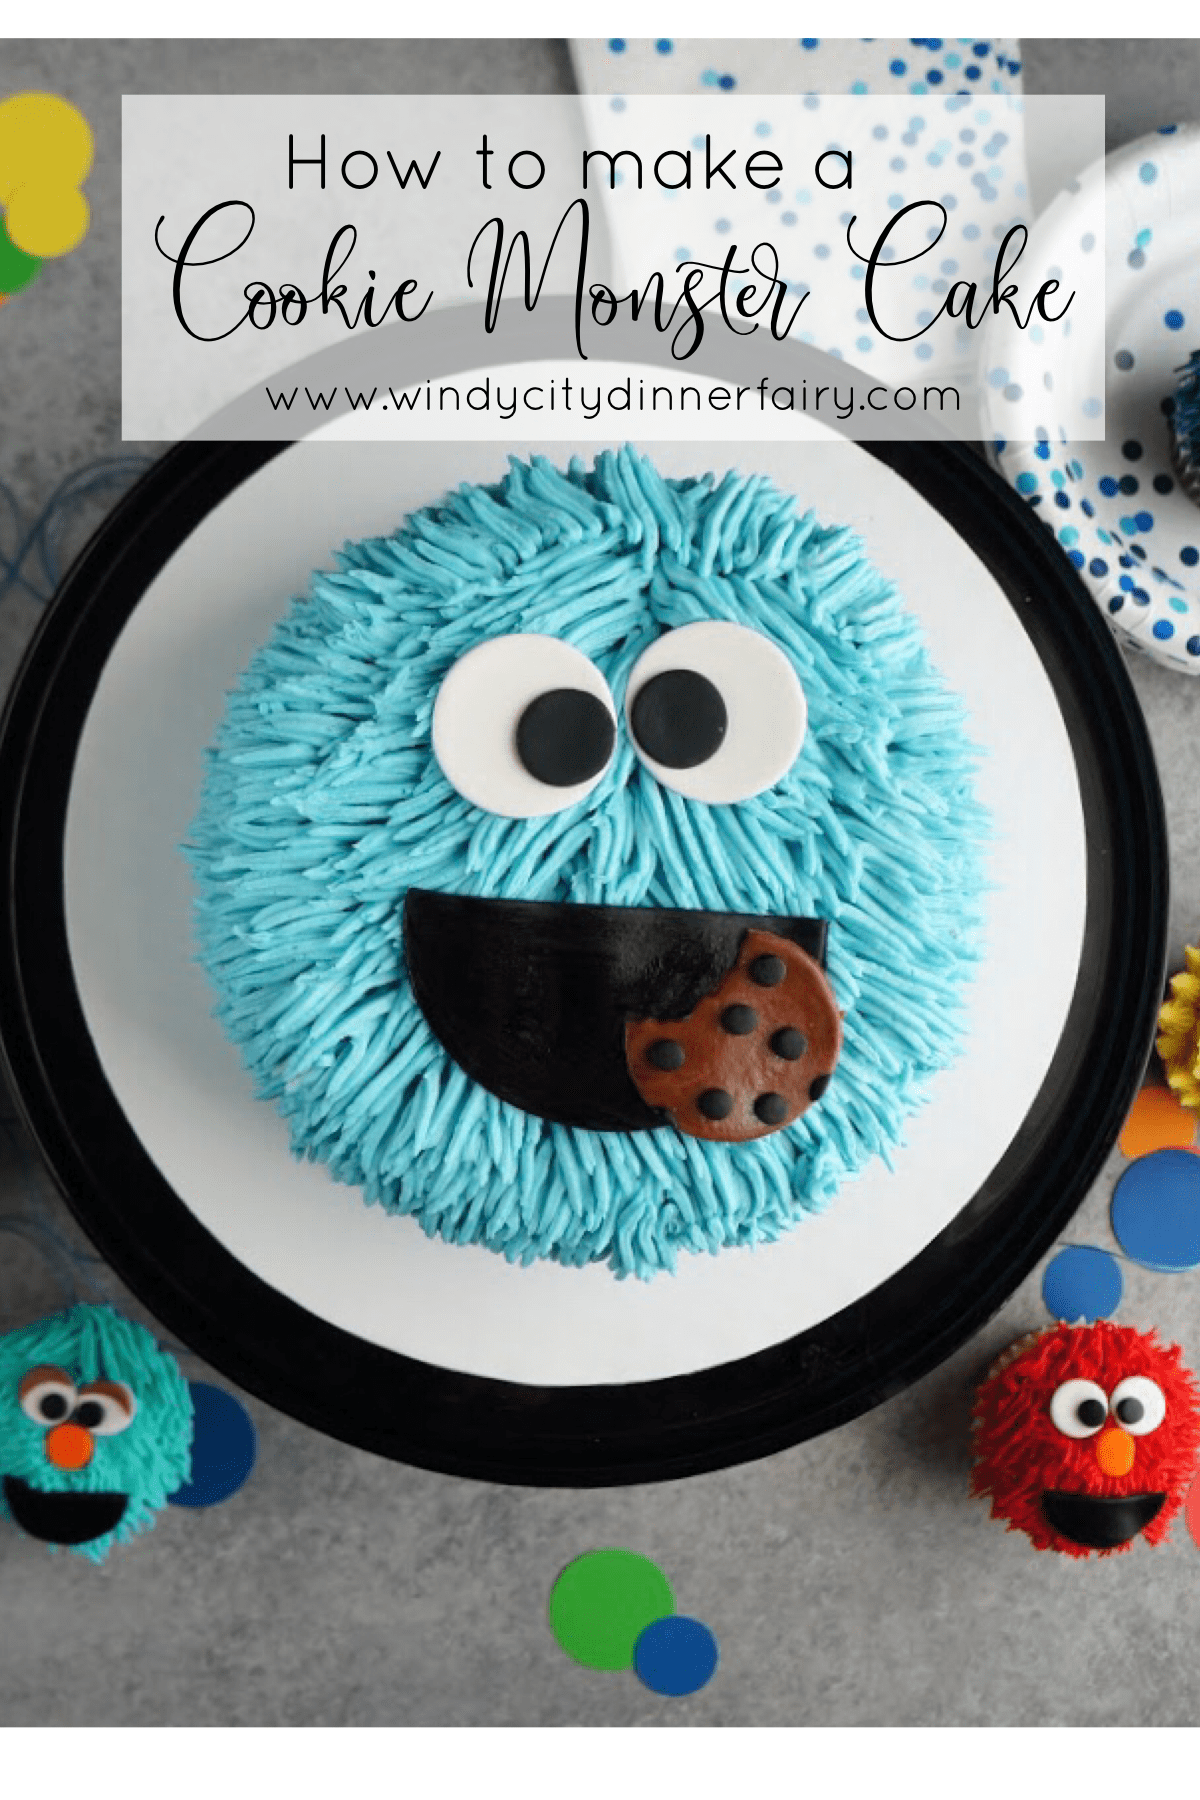
How do I make Cookie Monster’s mouth, eyes and cookie?
Next we’ll make the cookie for Cookie Monster’s mouth. We’ll be making this out of brown and black fondant. Roll out the brown fondant with a fondant or non-stick rolling pin until it’s 1/4 inch thick. Using a round cutter, cut out a cookie shape from the brown fondant. ( I chose a cookie about 2″ in diameter). Roll out the black fondant and cut out the chips. I used the top of a round piping tip to make the chips.
I used vodka as a “glue” and brushed it on the cookie with a paint brush to adhere the chocolate chips to the cookie. You can use any clear alcohol. Press the chips down gently to make sure they stick to the cookie.
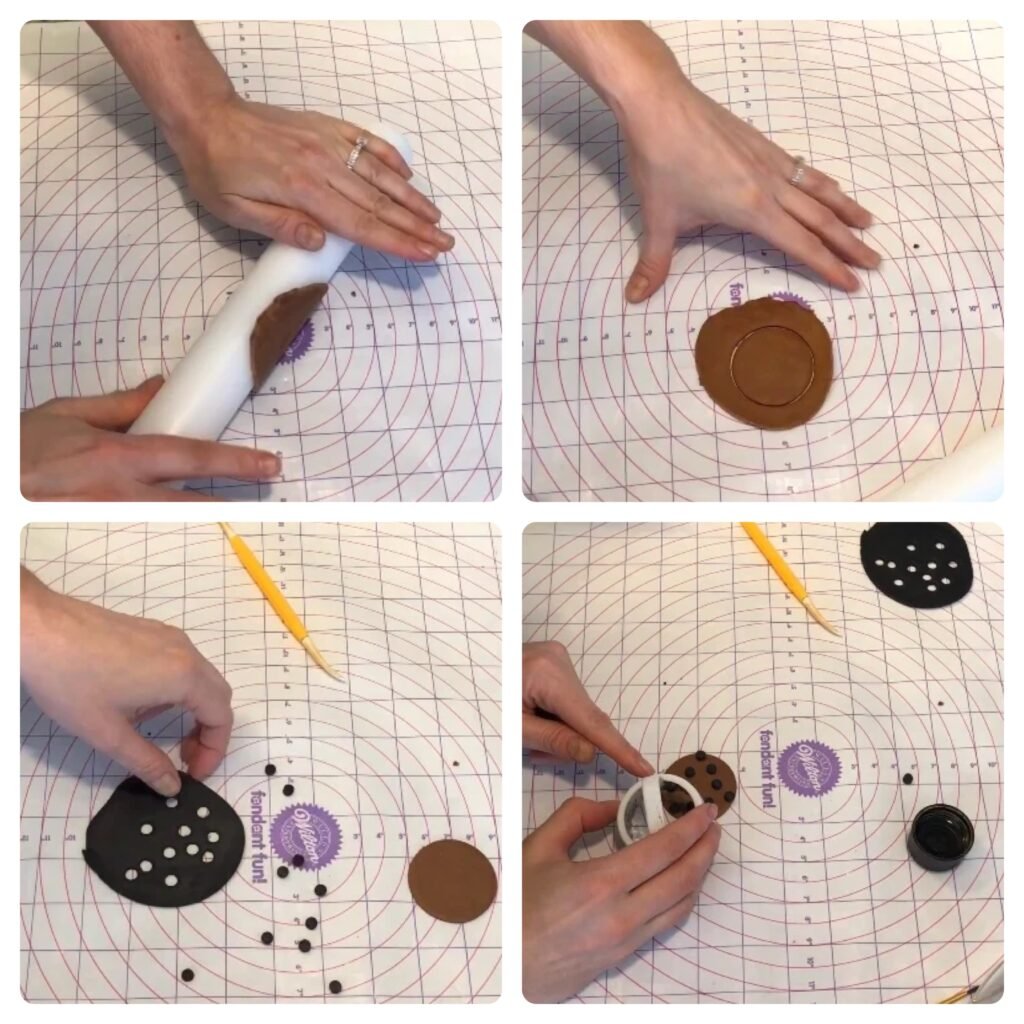
Using a scalloped biscuit or fondant cutter, cut out a “bite” of the cookie for Cookie Monster’s mouth.
To make the cookie monster’s eyes, use white and black fondant with two different size circle cutters. Adhere the pupil to the white with clear alcohol.
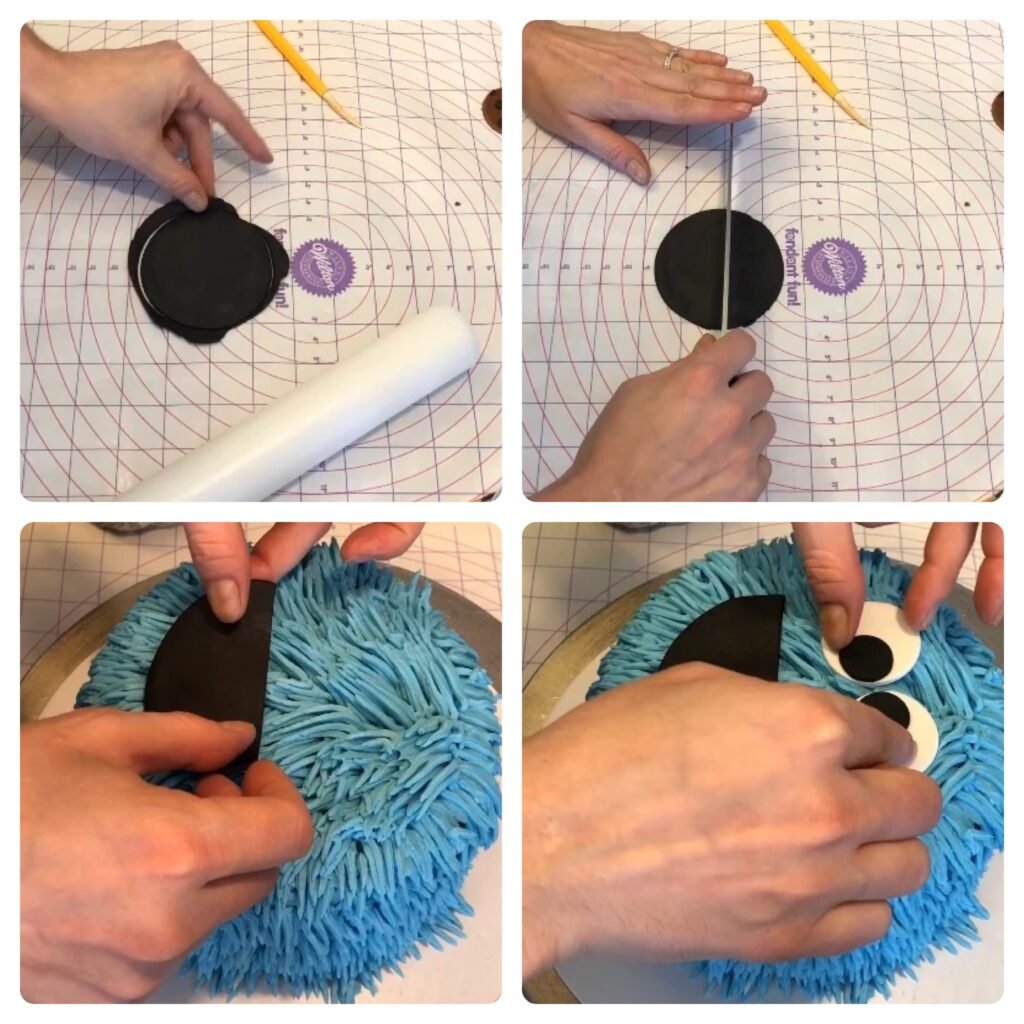
Roll out black fondant to 1/4 inch and cut a larger circle for the mouth. Using a knife, cut the circle in half.
Place the mouth on the cake and brush the clear alcohol on the mouth to adhere the cookie. Place the cookie on top of the fondant brushed with alcohol.
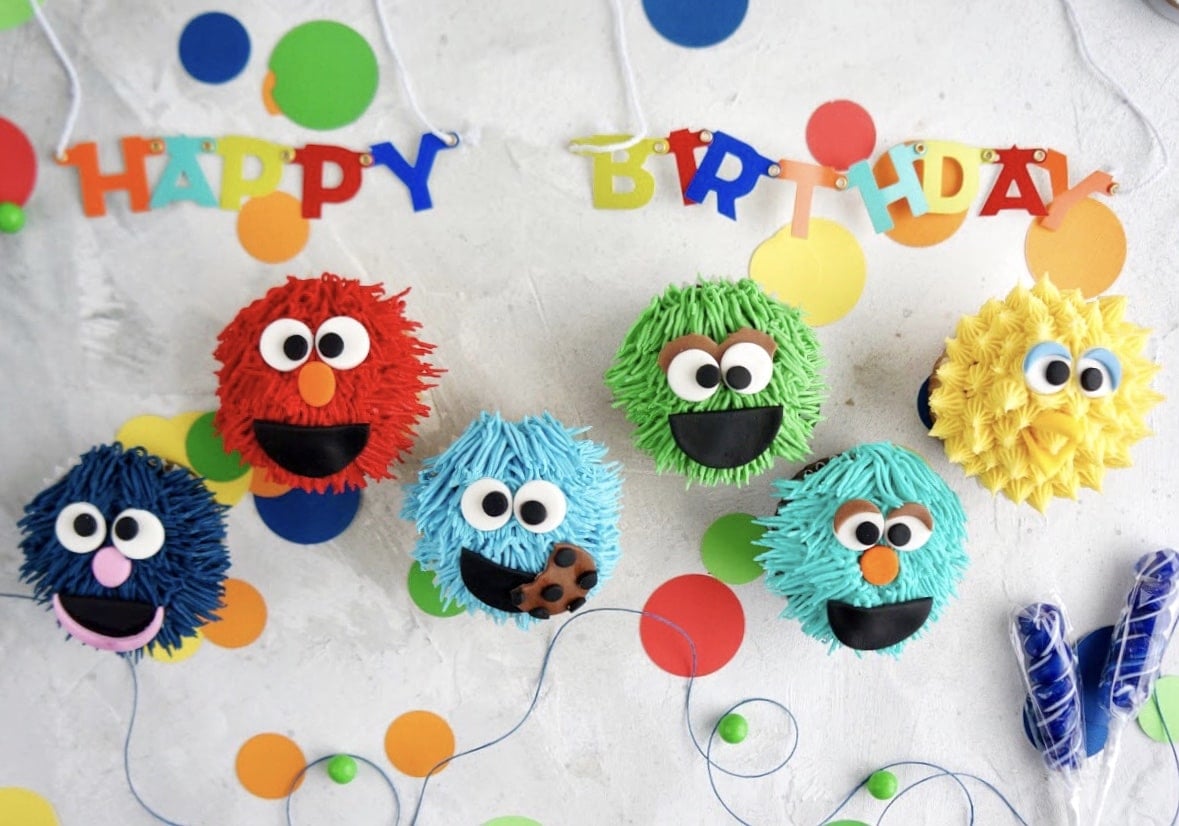
You can make these mini Sesame Street Characters using the same technique but with the Wilton 233 tip. Big Bird was made using the Wilton 32 tip working from the outside of the cupcake around and in.
Hope you enjoyed this Cookie Monster Cake tutorial! See the whole video below!
If you loved this post, be sure to check out my Reindeer cupcake tutorial!
Want to pin this for later? Click on the image below!


1 Comment
Thanks for the video! I loved watching it and maybe some day ill be daring enough to try these out 🙂 I hope you do more behind the scenes videos!