


This shop has been compensated by Collective Bias, Inc. and its advertiser. All opinions are mine alone. #PrepSealSave #CollectiveBias
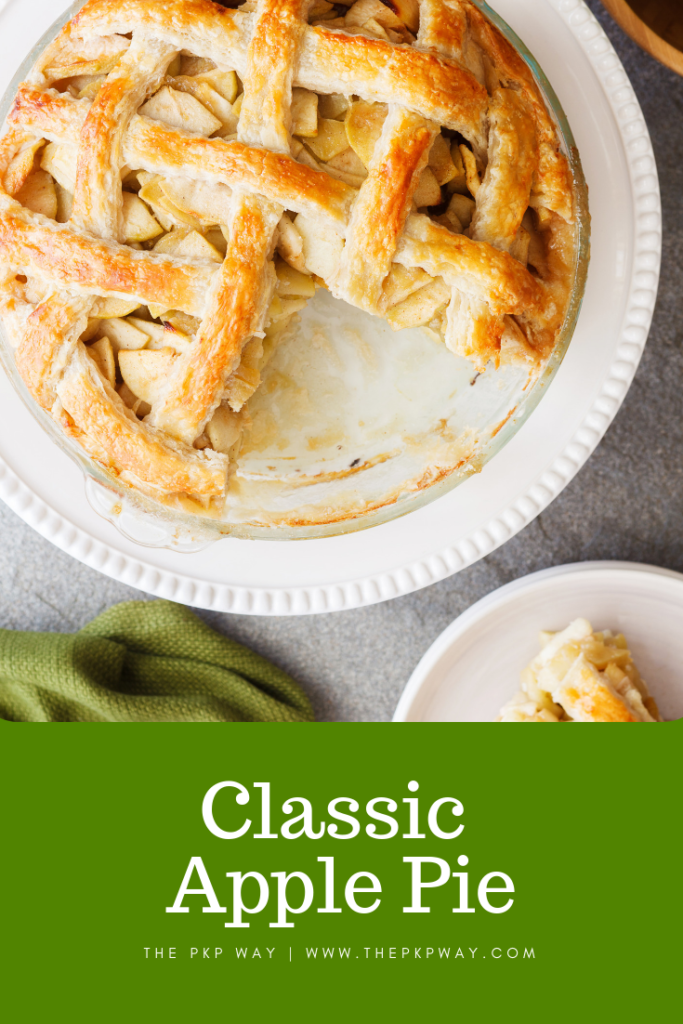
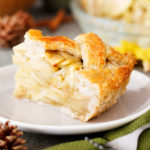
With an all-butter, flaky crust and a hefty tart filling spiked with cinnamon and sugar, this Classic Apple Pie will make its way to your holiday table again and again.
A classic apple pie is a staple during the holidays. Over the years I’ve made countless apple pies, learning something new each time. As a result I’ve accumulated a stockpile of techniques to achieve the ultimate version of the classic dessert, one that’s worthy to be on your Thanksgiving and Christmas table.

How to Make Classic Apple Pie
What Kind of Pie Dough Should I use for Apple Pie?
The beginning of a great apple pie starts with a great crust. The crust should be flaky, lightly crisp, and golden brown.
Some pie dough recipes call for only butter, while some include a combination of butter and shortening. I am partial to my all-butter pie crust and use it for all of my pies that don’t require a graham cracker crust. Make sure to read it through for tips on getting the flakiest pie crust ever.

If you already have a favorite tried and true pie dough recipe, use it. Just make sure that the recipe is enough for both the bottom crust and the top crust, usually referred to as a double-crust recipe.
How to Make Apple Pie Filling
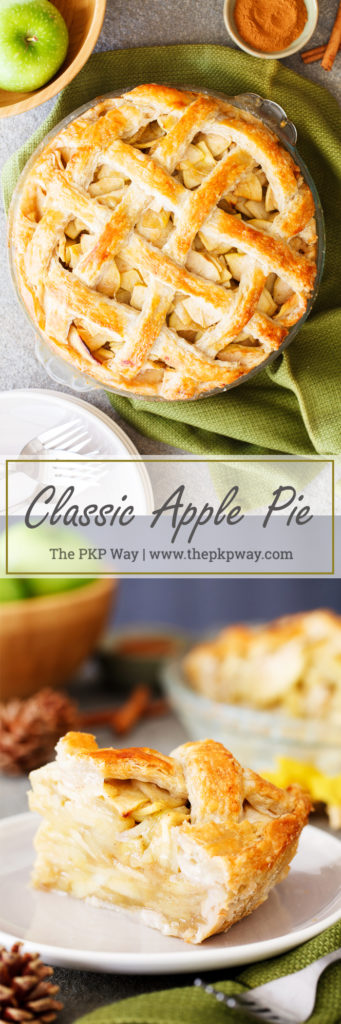
After the pie dough is taken care of, it’s time to tackle the filling. My favorite apples to use are Granny Smith apples because of the tartness they bring. If you like a slightly sweeter pie, feel free to add a sweeter variety of apples to the mix. Perhaps Granny Smith and Honey Crisp or Granny Smith and Pink Ladies. Just don’t skip the Granny Smith apples entirely.

You will need 5 pounds of apples for this classic apple pie. Whichever varieties you choose, make sure you have 5 pounds worth of apples.
For years, I made apple pie with thick apple slices and wondered why the pie slices were often missing chunks of filling. That all changed when I started slicing the apples thinner, about ¼-inch thick. To see exactly how I do this, make sure to check out my How to Slice Apples for Pie tutorial.

To avoid a gap between the crust and the filling and to make sure that the height of the pie comes out exactly the same as when placed in the oven, I also pre-cook the apple filling. Pre-cooking the filling releases the juices in advance so that they don’t lose volume while baking. It’s a game changer!
Once the filling is cooked, make sure to allow it to cool completely before filling the pie. Placing warm filling in the pie crust will melt the butter and prevent the crust from reaching its flaky potential.
Should I Use a Metal Pie Dish or a Glass Pie Dish?
You can use either, just with slight modifications. I personally prefer glass because you can easily monitor how the bottom crust is baking along.

To bake with a glass pie dish, set a baking sheet in the oven while it is preheating. Placing the pie on top of the hot baking dish transfers extra heat to the bottom of the crust and will help prevent a soggy crust.
If using a metal pie dish, a preheated baking sheet is not necessary.
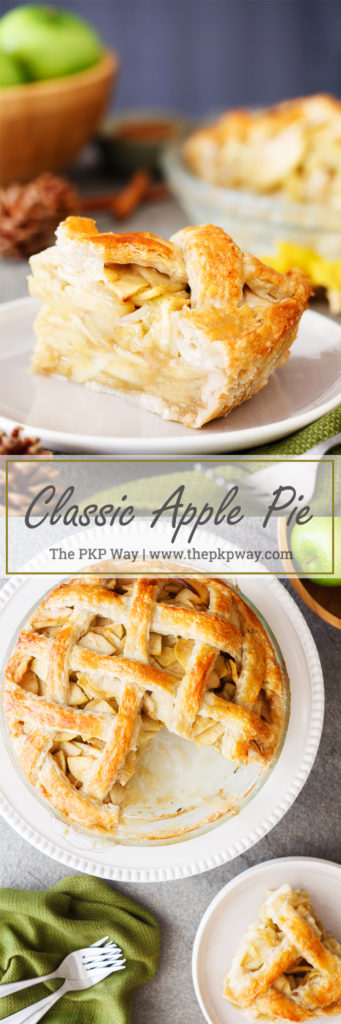
How to Top a Classic Apple Pie
You can be as ambitious or simplistic as you’d like when covering your pie filling. Feel free to cover the pie with a simple disc of pie dough. Or, wow everyone with braided pie dough or pie dough cut outs using cookie cutters.
In my mind, a classic apple pie deserves a classic lattice. If you feel the same way, take a look at my How to Make a Lattice Crust post for a step-by-step tutorial.

No matter how you design the pie top, don’t forget to brush on an egg wash. The egg wash gives the crust a beautiful golden sheen.
Can I Make a Classic Apple Pie in Advance?
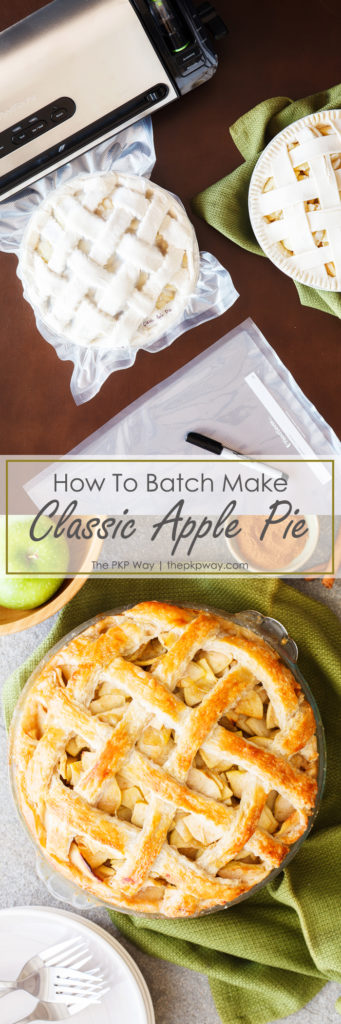
YES! I dedicate a weekend to batch making apple pies before the busy holiday season begins. I make the pie dough using the first half of a day and the filling with the second of half. On the second day, I assemble the pies.
When I’m batch making apple pies, I’ll opt for a disposable pie tins. I try to find sturdy and heavy duty pie tins, if possible. If I can’t find any, I’ll use two layers of the flimsy aluminum tins.

To keep the pies fresh up to 5x longer than traditional storage methods like plastic wrap or foil, I freeze the unbaked pies and then vacuum seal them using the FoodSaver® FM3941 Vacuum Sealing System. By removing the air, my pies are ready for long-term freezer storage and are protected against freezer burn.

Whenever there’s a holiday event, I don’t have to worry about baking a pie from scratch. I simply remove it from the FoodSaver® Bags and pop it into the oven. Out comes a freshly baked pie, as if I made it the same day (what a time saver)!

My ultimate retailer for the holidays (or any other time in the year) is Costco. I can pick up ingredients for holiday entertaining and gifts all in one place!
This November, Costco members can pick up the FoodSaver® FM3941 for $40 off.
The FoodSaver® FM3941 includes vacuum seal bags, vacuum zipper bags and containers designed to work together with vacuum sealers for optimal performance. The built-in, easy to use Fresh Handheld Sealer makes refrigerator preservation fast and easy in addition to keeping food fresh in the freezer with airtight vacuum seal bags and rolls.

A 9-inch pie fits nicely in one of the pre-made bags, but if you need larger bags, say for a full rack of ribs, making and cutting bags is easy with dedicated roll storage and a built-in cutter.
The FoodSaver® Bags and Rolls Value Pack will also be $10 off this November for Costco members. The multi-layer, BPA-free vacuum-seal bags are flexible enough to hug food and seal effectively without gaps.

With just these two items, you’ll be set for saving time and money through the holidays and then some. Make sure to stock up!
Classic Apple Pie
Ingredients
- 5 pounds Granny Smith apples, peeled, cored, and sliced 1/4 inch thick
- 1 cup granulated sugar
- 1/4 cup brown sugar, packed
- 1/2 teaspoon lemon zest
- 1/4 teaspoon salt
- 1 teaspoon ground cinnamon
- 2 tablespoons corn starch
- 1 recipe flakiest all-butter pie crust (recipe link in notes below)
- 1 egg beaten
Instructions
- In a large pot, combine the apples, sugars, zest, salt, and cinnamon. Set the pot over medium-low heat and heat for 3-5 minutes, stirring frequently, just until the apples are tender.
- Off the heat and scoop the apples into a sieve set over a bowl. Continue scooping until 2 tablespoons of juices are collected in the bowl. Return the apples to the pot.
- Use a fork to mix the collected juices with the corn starch until no lumps remain.
- Resume the heat to medium-low and add the corn starch slurry to the pot. Continue to stir until thickened, as indicated by a thick and shiny glaze on the apple slices.
- Transfer the apples to a large baking sheet and spread into an even layer. Allow to cool completely, about 30 minutes.
- While the apples are cooling, place a large baking sheet on the middle rack of the oven and preheat the oven to 500°F.
- Roll half of the flakiest all-butter pie crust dough into a 12-inch circle. Transfer to a 9-inch glass* pie dish, allowing the excess dough to hang over the sides.
- Fill the crust with the cooled apple filling**, mounding the filling in the center. Roll the second half of the pie crust dough into a 12-inch circle. To make a lattice crust, cut the dough into 1-inch strips using a sharp knife or pastry wheel. Use the strips to assemble a lattice top (or follow the step-by-step photos from How to Make a Lattice Top).
- Trim off the excess dough along the rim of the pie dish and seal the edges by pressing together the top and bottom crusts. Brush the pie top with the egg.
- Place the pie on the hot baking sheet and reduce the heat to 400°F. Bake for 75 - 85 minutes, until apple filling is bubbling and the bottom crust is golden brown. Begin checking the lattice top at 60 minutes, about every 5 minutes, for overbrowning. If the top is darkening too quickly, loosely cover with foil***.
- Transfer the pie dish to a cooling rack and allow to cool completely or until slightly warm (your preference).
Notes
I love your tip on precooking the apples! Otherwise the pie is always too wet and the crust is not full. And your freezer tip has encouraged me to make my Thanksgiving pies this week!
It’s a wonderful feeling when you know dessert is already taken care of on Thanksgiving day :) Happy baking!