Apricot Jam
28 July 2018 by Natanja
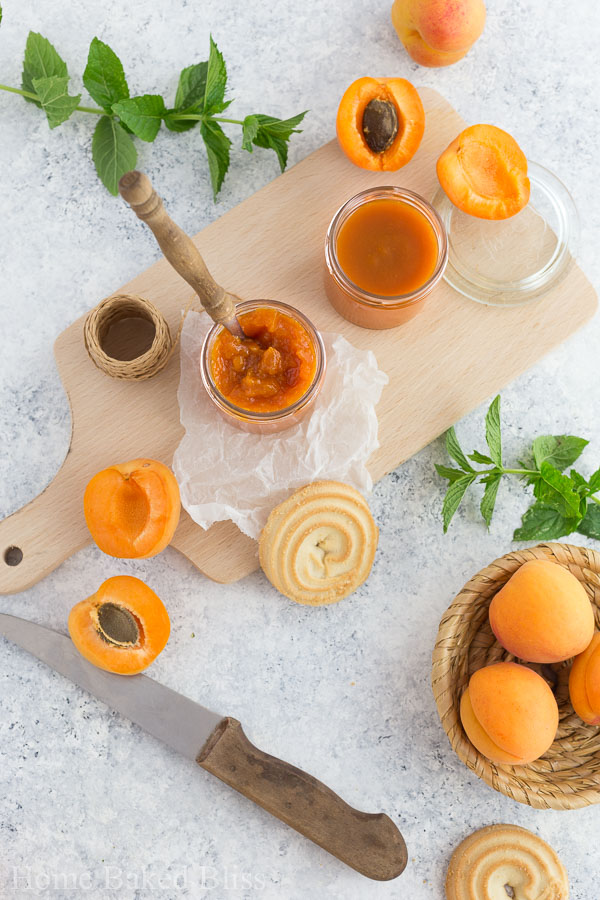
A flavourful homemade jam packed with apricots and just the right amount of sweetness.
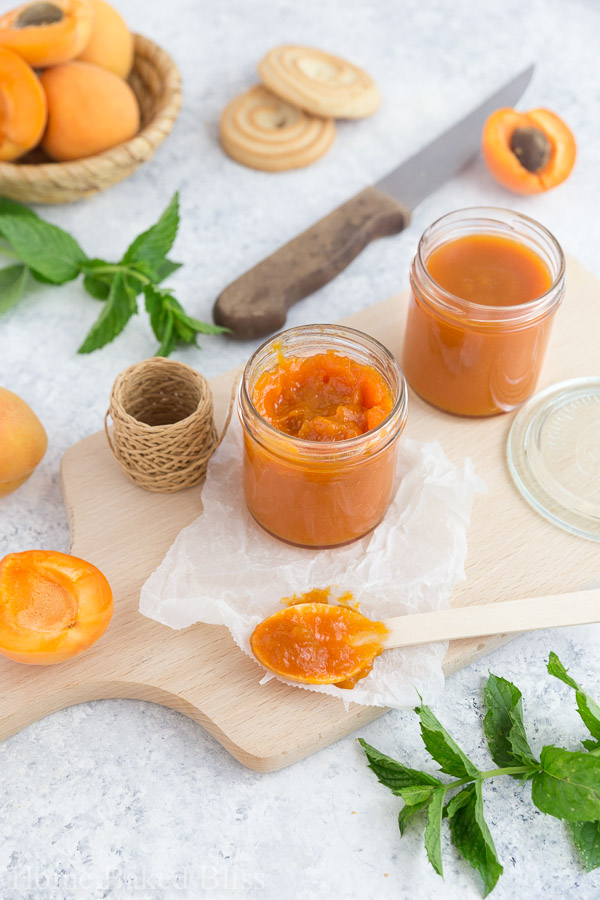
Don’t you just love it when apricots are in season? The ripe, and ultra sweet taste of fresh apricots is incomparable. Now that this tasty stone fruit is at its peak, it’s time to make some apricot jam! Jam is a great way of preserving summer fruit so you can enjoy them all year round. In fact, winter is probably my favourite time to enjoy jam because it brings back the beloved summer flavours on dark and rainy days. Forget everything you have heard about jam being complicated. With these step by step instructions we are mastering the art of jam today!
Sugar
Homemade jam is a thousand times better than store-bought. Store-bought jams are usually one part fruit to one part sugar which means that to every 100g of fruit, there is 100g of sugar. That is A LOT of sugar! I find store-bought versions way to sweet for my taste, I can barely taste the fruit because all I taste is sweet! Whenever I make homemade jam I always do 3 parts fruit to 1 part sugar. The jam is still sweet but not tooth-achingly and the flavours of the fruit really shine through! Trust me, 3:1 is the best way to make jam.
Pectin
Pectin is a natural occurring substance found in fruit, especially in citrus fruits. Because it is sourced from fruit, it is vegan friendly. It is most often used as a gelling agent for jams and jellies. It does a wonderful job at thickening fruit that are naturally low in pectin and turning them into a gel-like consistency. Since jam can be made either 1:1, 2:1 or 3:1 it is important to buy the right kind of pectin. For this recipe you will need 3:1 pectin.
Now that we discussed the theoretical part of yam making, let’s move on to the practical part.
Here we go!
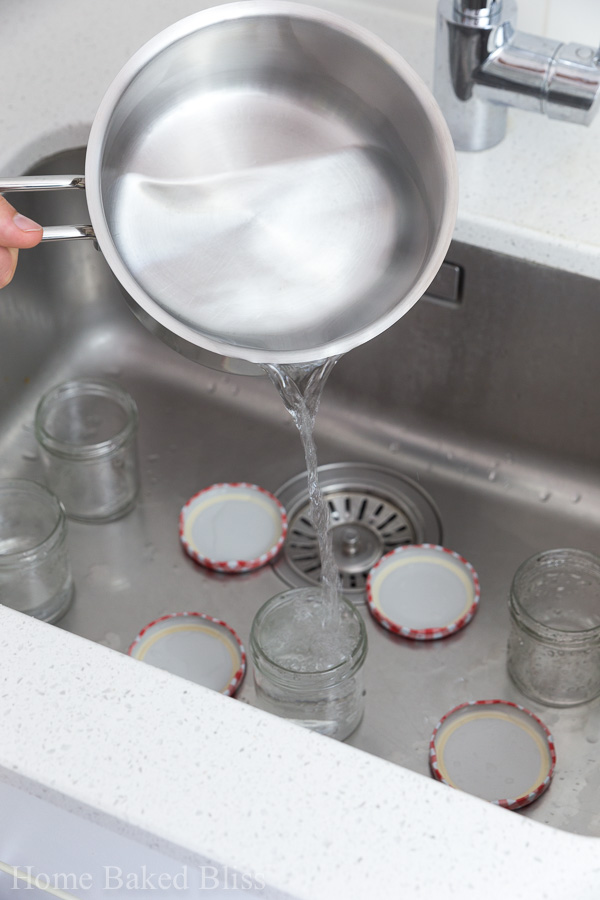
First off, sterilize your glass jars by cooking up a pot of hot water and pouring the boiling water into the jars and over the lids. This will kill off any bacteria that could cause your jam to spoil. Let the water cool a bit and then carefully, using oven mitts, empty the water and shake off any excess from the jars and lids. Make sure to only touch the glasses on the bottom and not get your fingers anywhere near the rim.
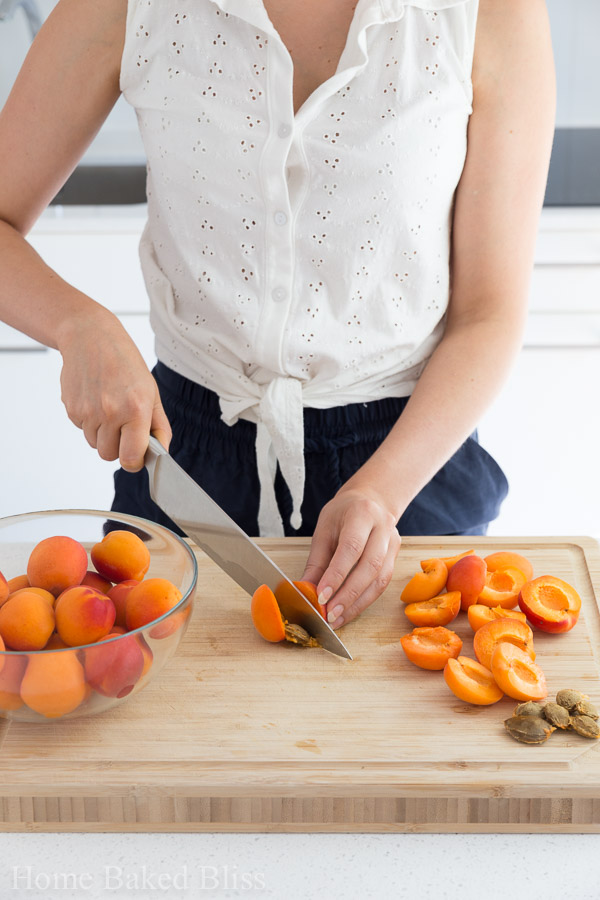
Wash your apricots and cut them into halves and remove the pit.
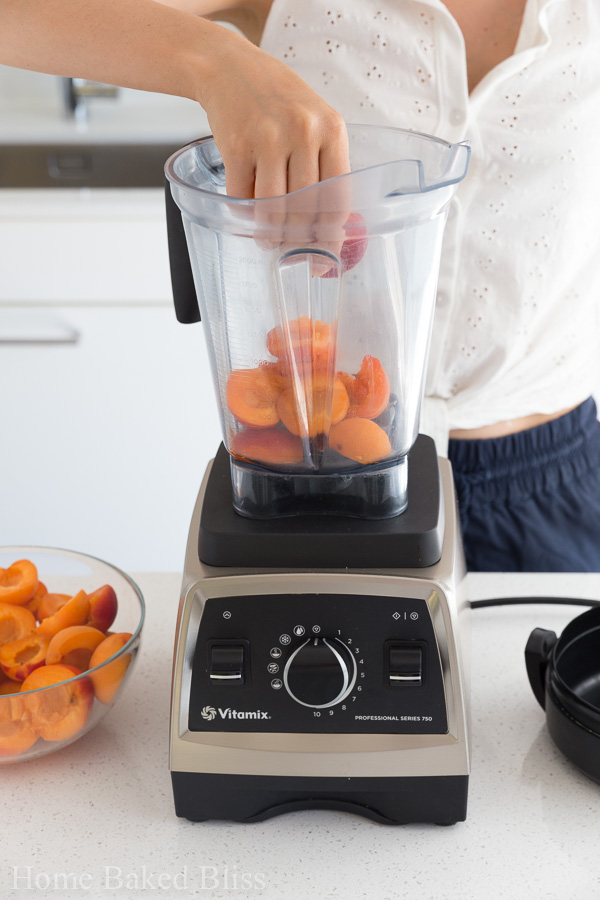
Puree them in a blender until smooth and no chunks remain. (I am using my Vitamix here.)
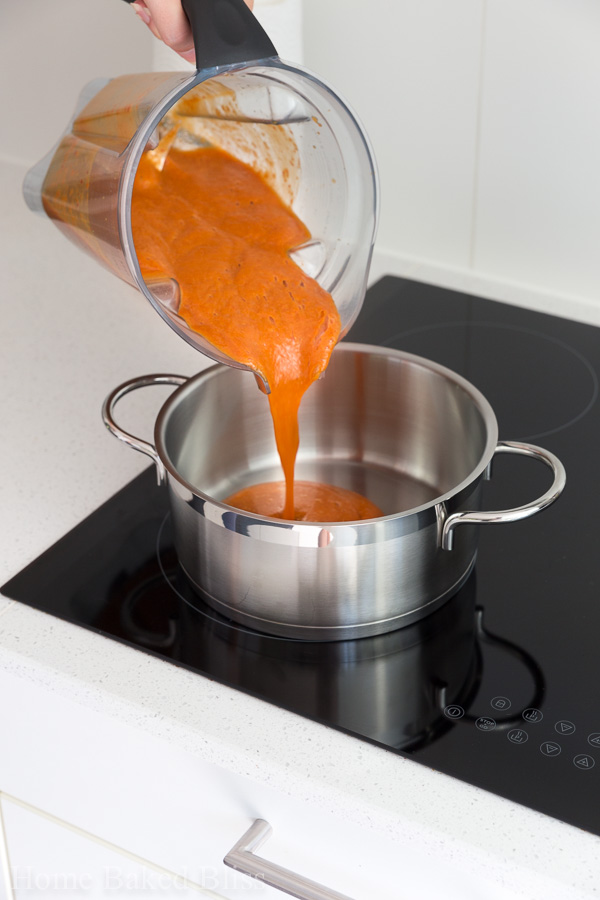
Add the pureed apricots, along with the white granulated sugar and pectin, to a large pot. Bring the temperature to a boil, stirring occasionally.
Let the jam boil for 10 straight minutes, keeping an eye on it and stirring occasionally so it doesn’t burn. How do you know if your jam has thickened and is done? This is a little trick my mom taught me: Test the jam by placing a little amount of it on a plate and letting it sit for a minute or two. If the jam has visibly thickened and doesn’t run down the side of the plate when you tilt it, it’s ready. If it is still runny, cook it for a few more minutes.
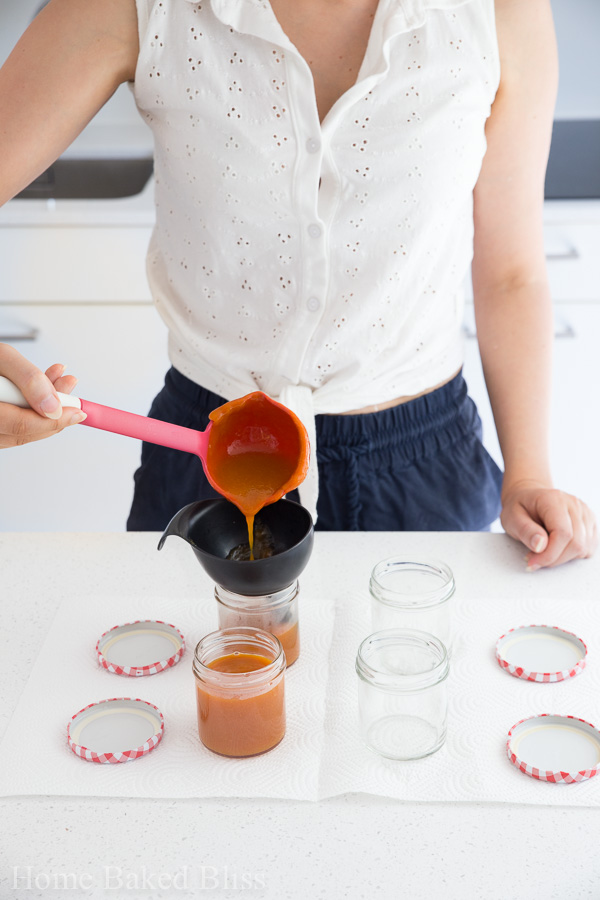
Now pour your jam into your prepared glass jars using a funnel. (Careful it’s going to be very hot!) Work quickly to prevent your jam from becoming too thick to pour. Make sure to not spill any jam on the rim of the jars as this could shorten the shelf life of your jam. Close the jars immediately as tightly as you can. Leave them to cool on your kitchen counter.
Viola you just made jam! Good feeling isn’t it? All that’s left to do is label your jars with the name and date and store them in a cool and dry place such as your basement.
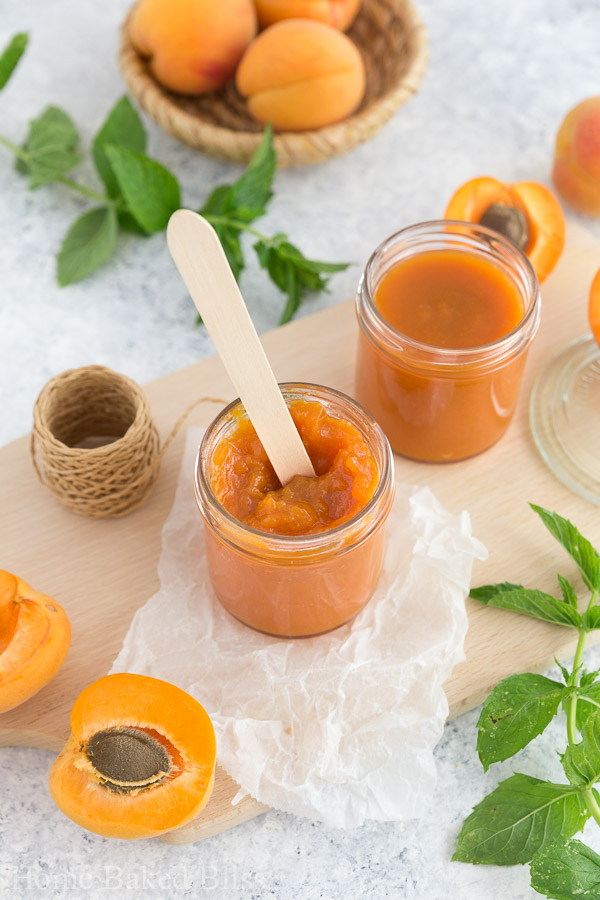
If sterilized correctly, homemade jam lasts at least 1 year but more often up to 4 years. If you notice a slight discoloration, don’t be alarmed. This is totally normal and the jam can still be consumed safely. When opening a new jar, always take a good look to see if you notice any mold or if it has a funky smell. If that’s the case, throw it out.
Happy jam making!
Print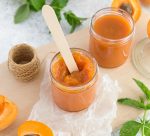
Apricot Jam
- Prep Time: 15 minutes
- Cook Time: 15 minutes
- Total Time: 30 minutes
- Yield: 6x 150ml glass jars (5 oz) 1x
Description
A flavourful homemade jam packed with fresh apricots and just the right amount of sugar.
Ingredients
- 1kg ripe apricots (2.2 lbs)
- 300g white granulated sugar (1 1/2 cups)
- 1 pkg 3:1 pectin
- glass jars
Instructions
- Sterilize the glass jars by bringing a pot of water to a boil and pouring it into the glass jars and over the lids. Let the water cool a bit and then carefully, using oven mitts, remove the water and shake off any excess from the lids.
- Wash and cut the apricots and remove the pits. Puree them in a blender and transfer them to a big pot.
- Add the sugar and pectin and bring everything to a boil, stirring occasionally to prevent the jam from burning.
- Boil the jam for 10 minutes, or until it has gelled. (Test this by placing a small amount on a plate and letting it sit for 1-2 minutes. Tilt the plate and see if the jam runs down the side of the plate. If it stays put, it’s ready. If it is still runny, cook the jam for a few more minutes)
- Use a funnel to pour the jam into your prepared glass jars. Close the jars immediately as tightly as possible.
- Let the jam cool completely before storing.
Notes
Store in a cool and dark place.
MORE FROM MY SITE
Disclosure: This post may contain affiliate links, but these are all products I highly recommend. I won’t put anything on this page that I haven’t verified and/or personally used.
Tagged With: apricot, apricot jam, breakfast, fruit, fruit spread, jam, spread
Filed Under: Brunch, No Bake: Sweet