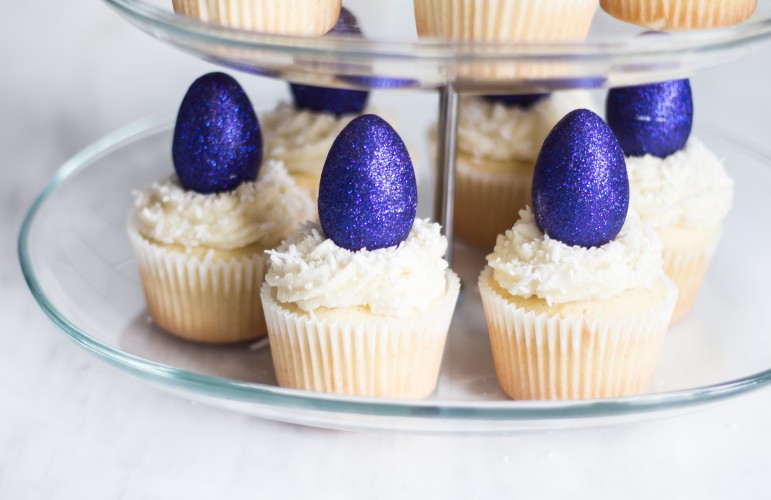
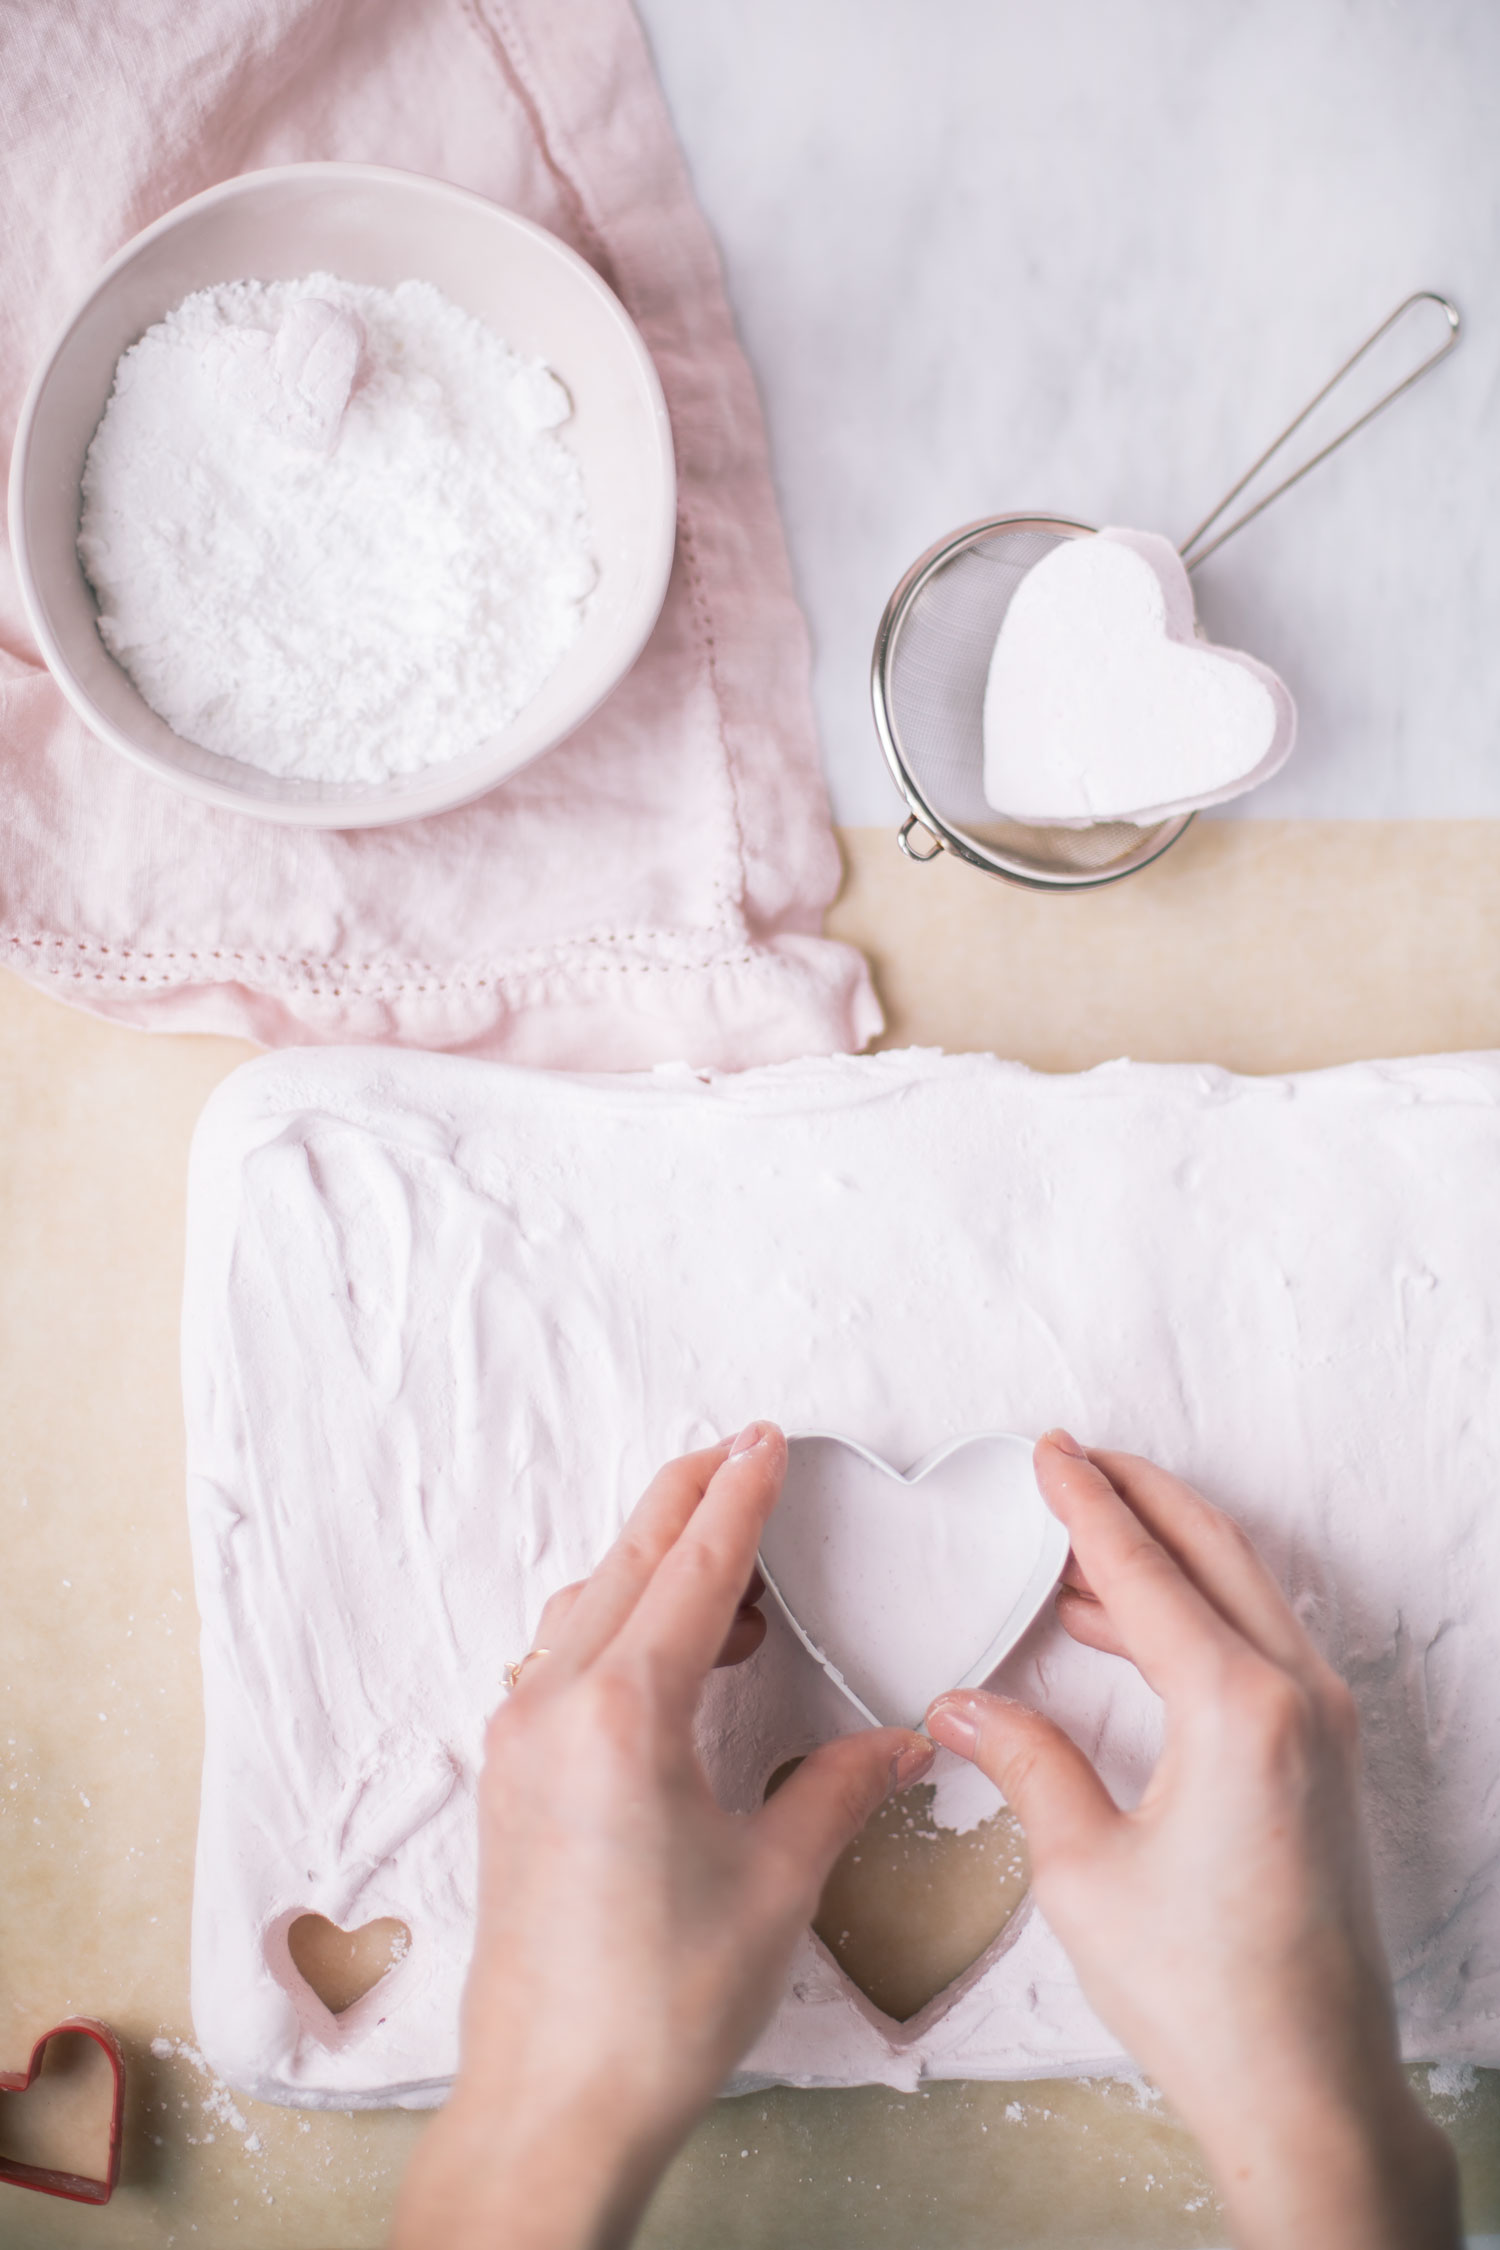
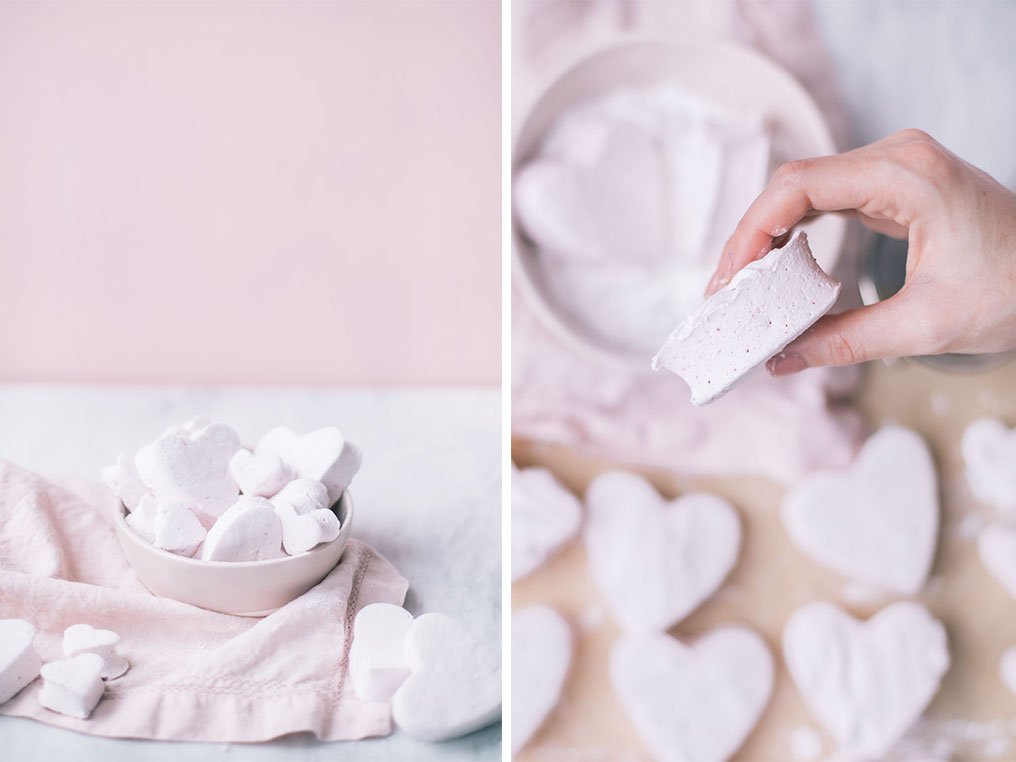
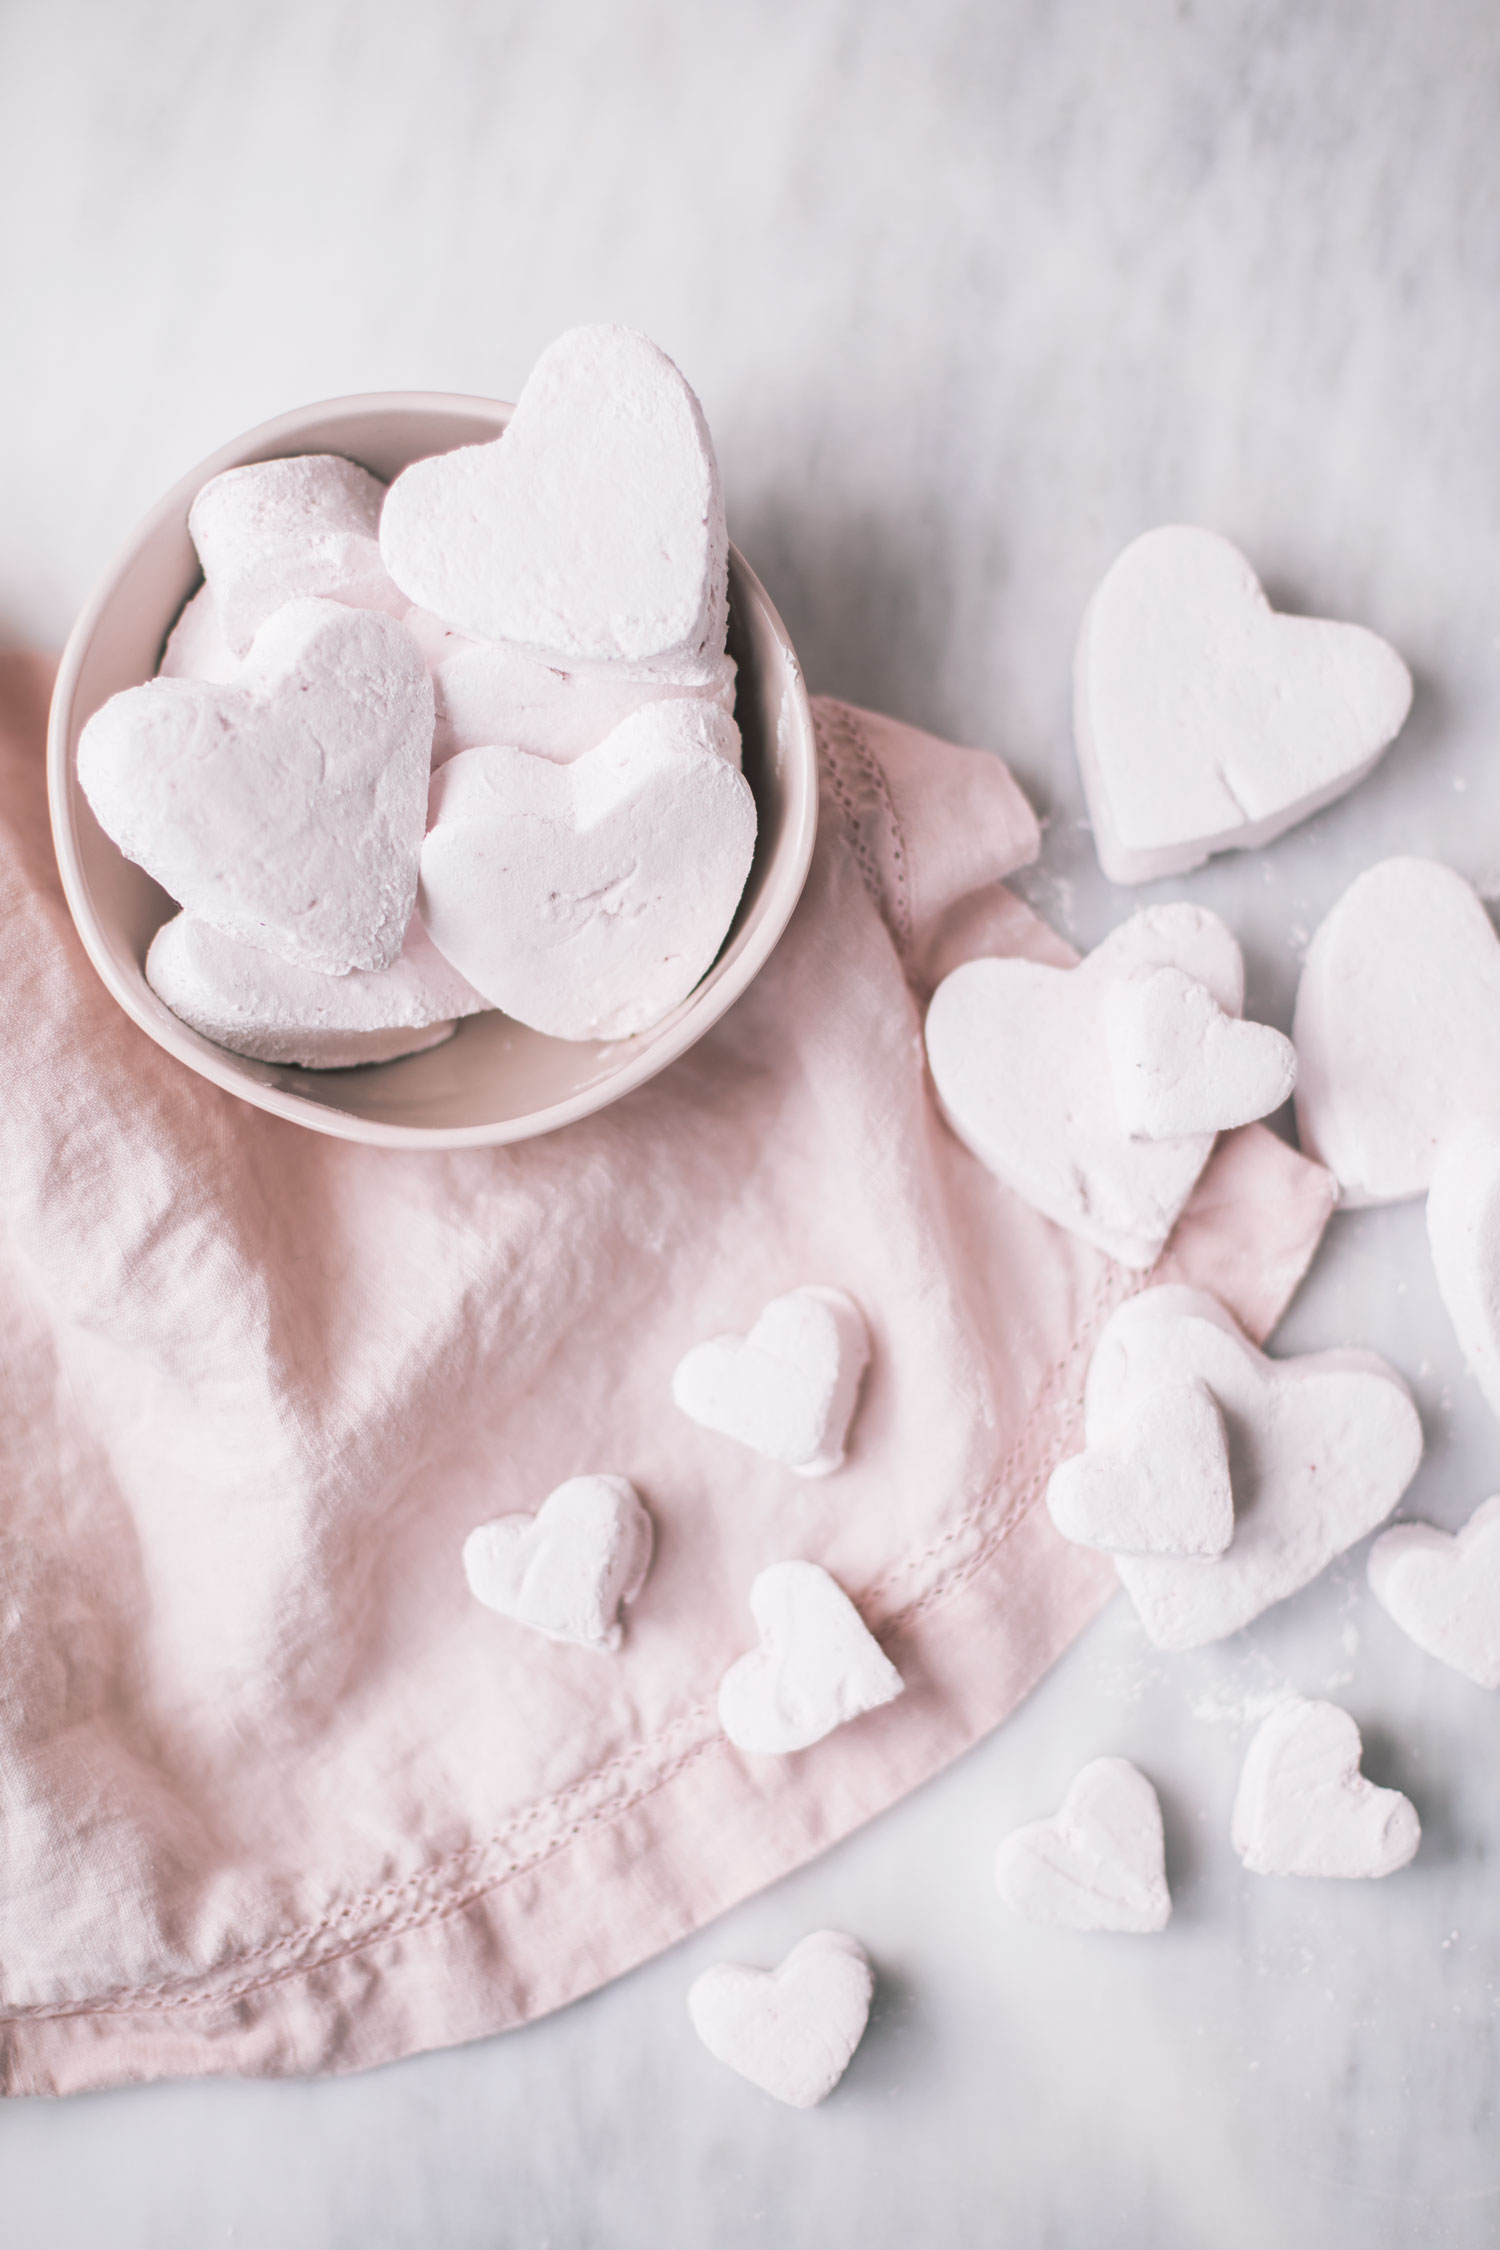
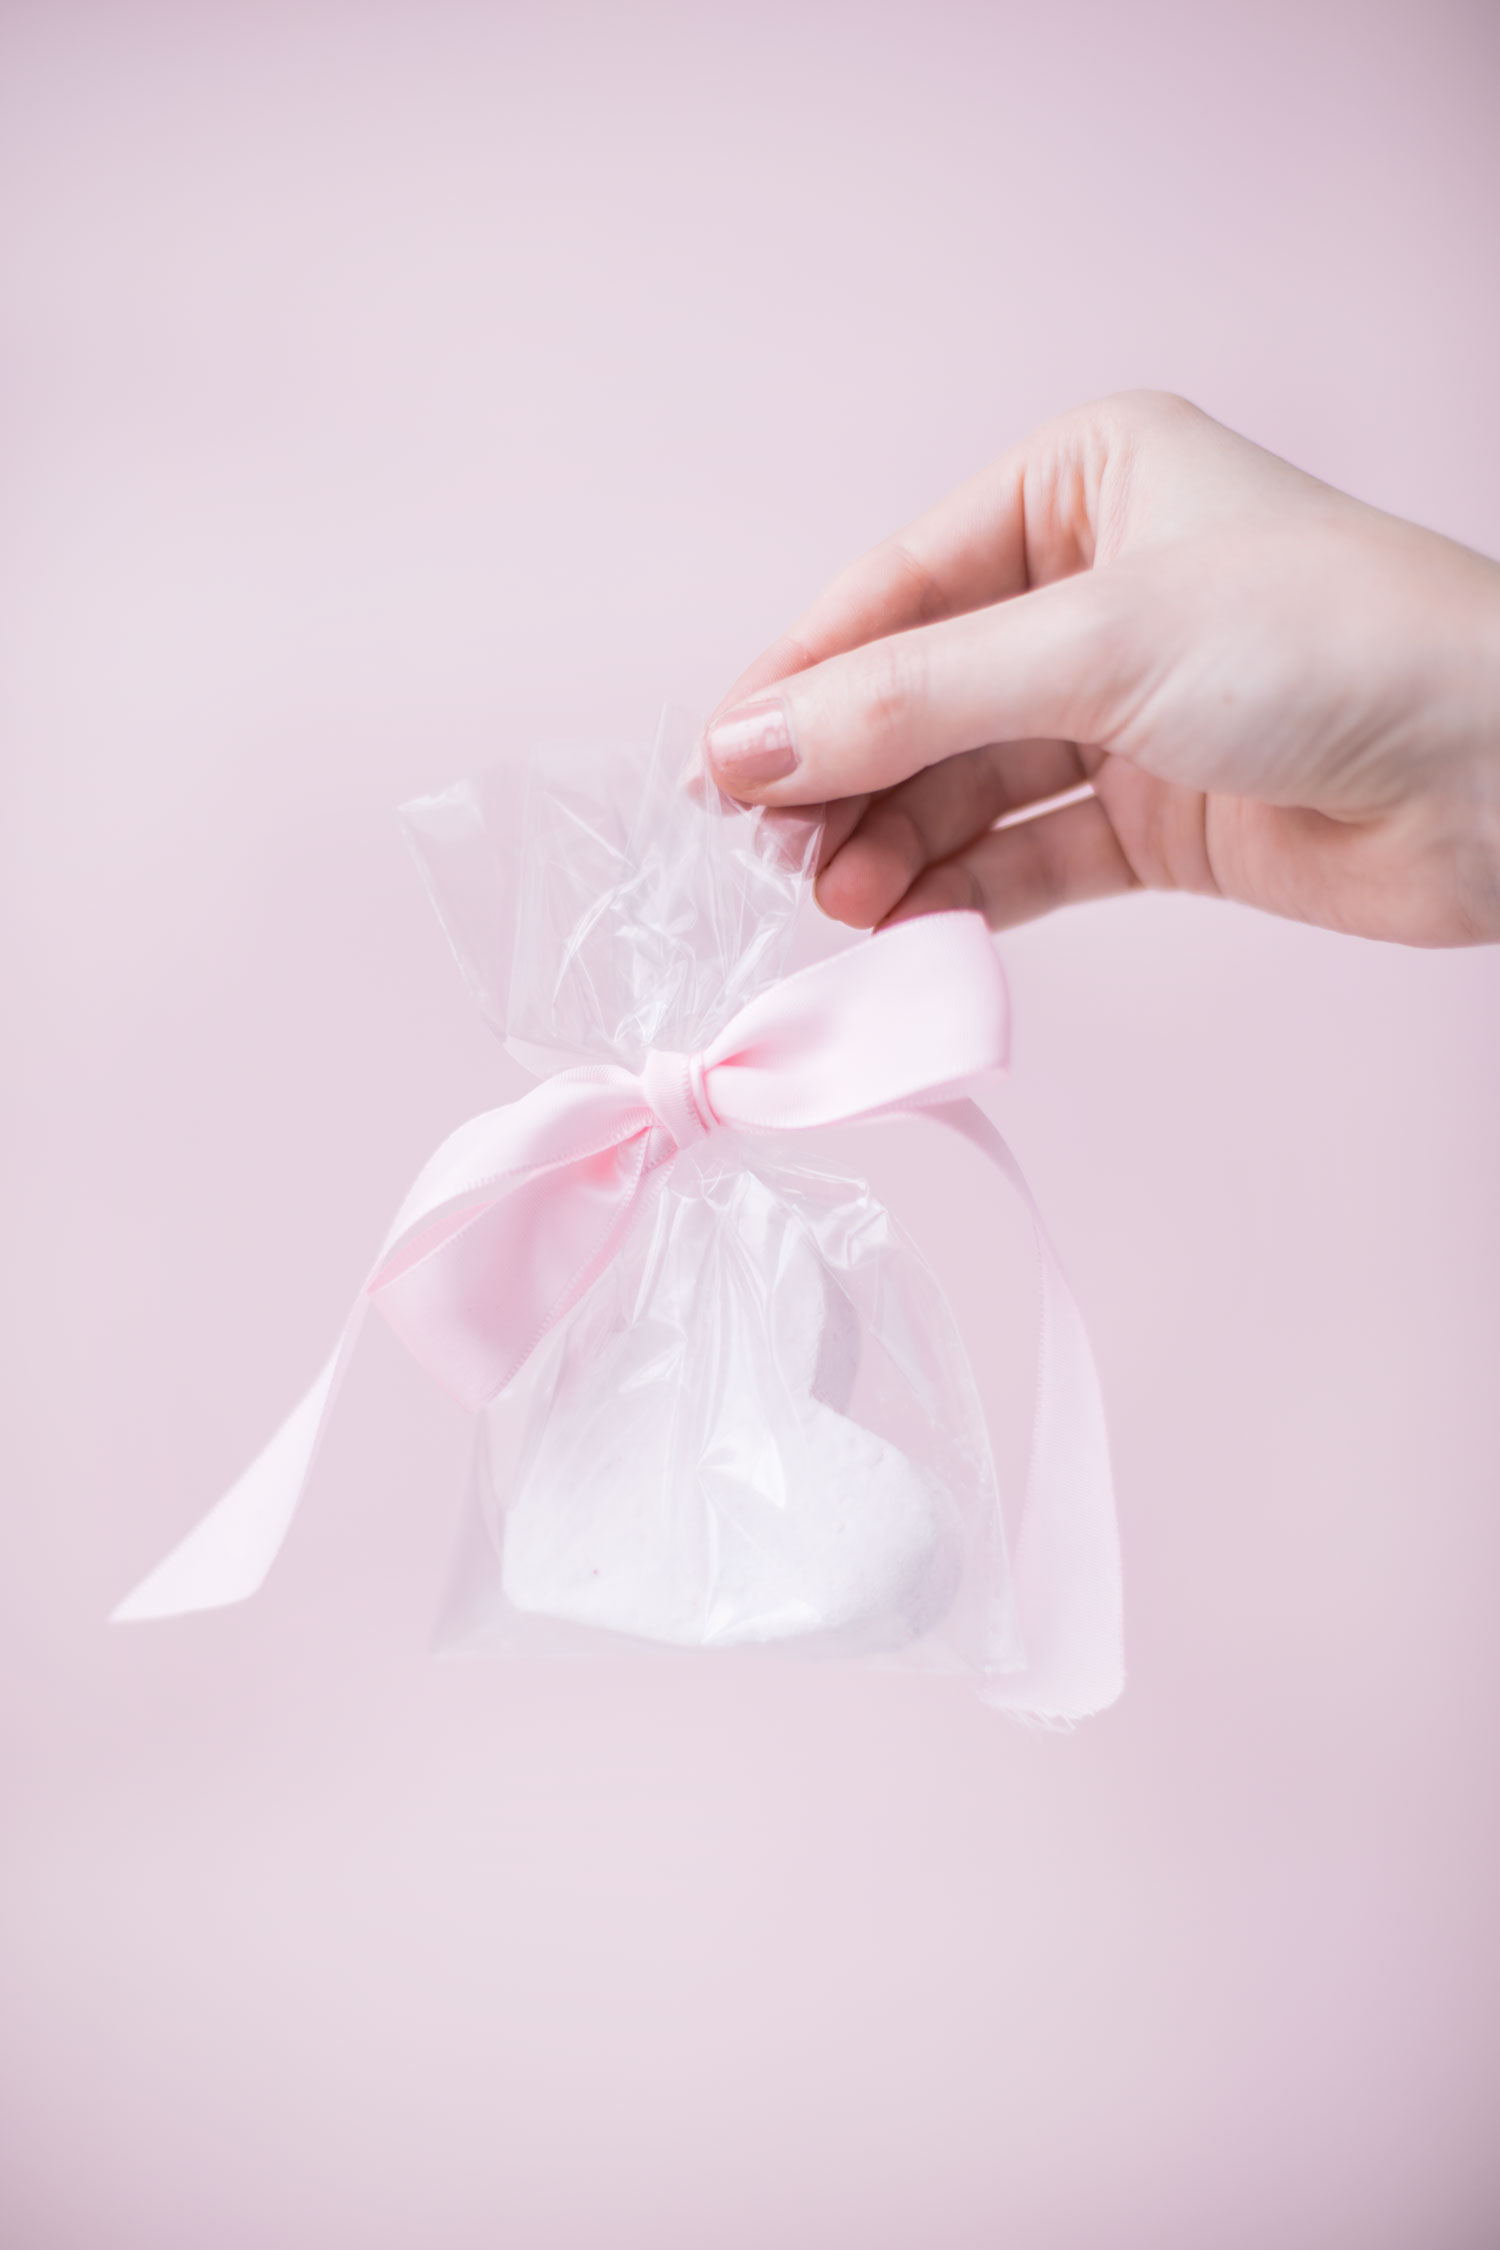
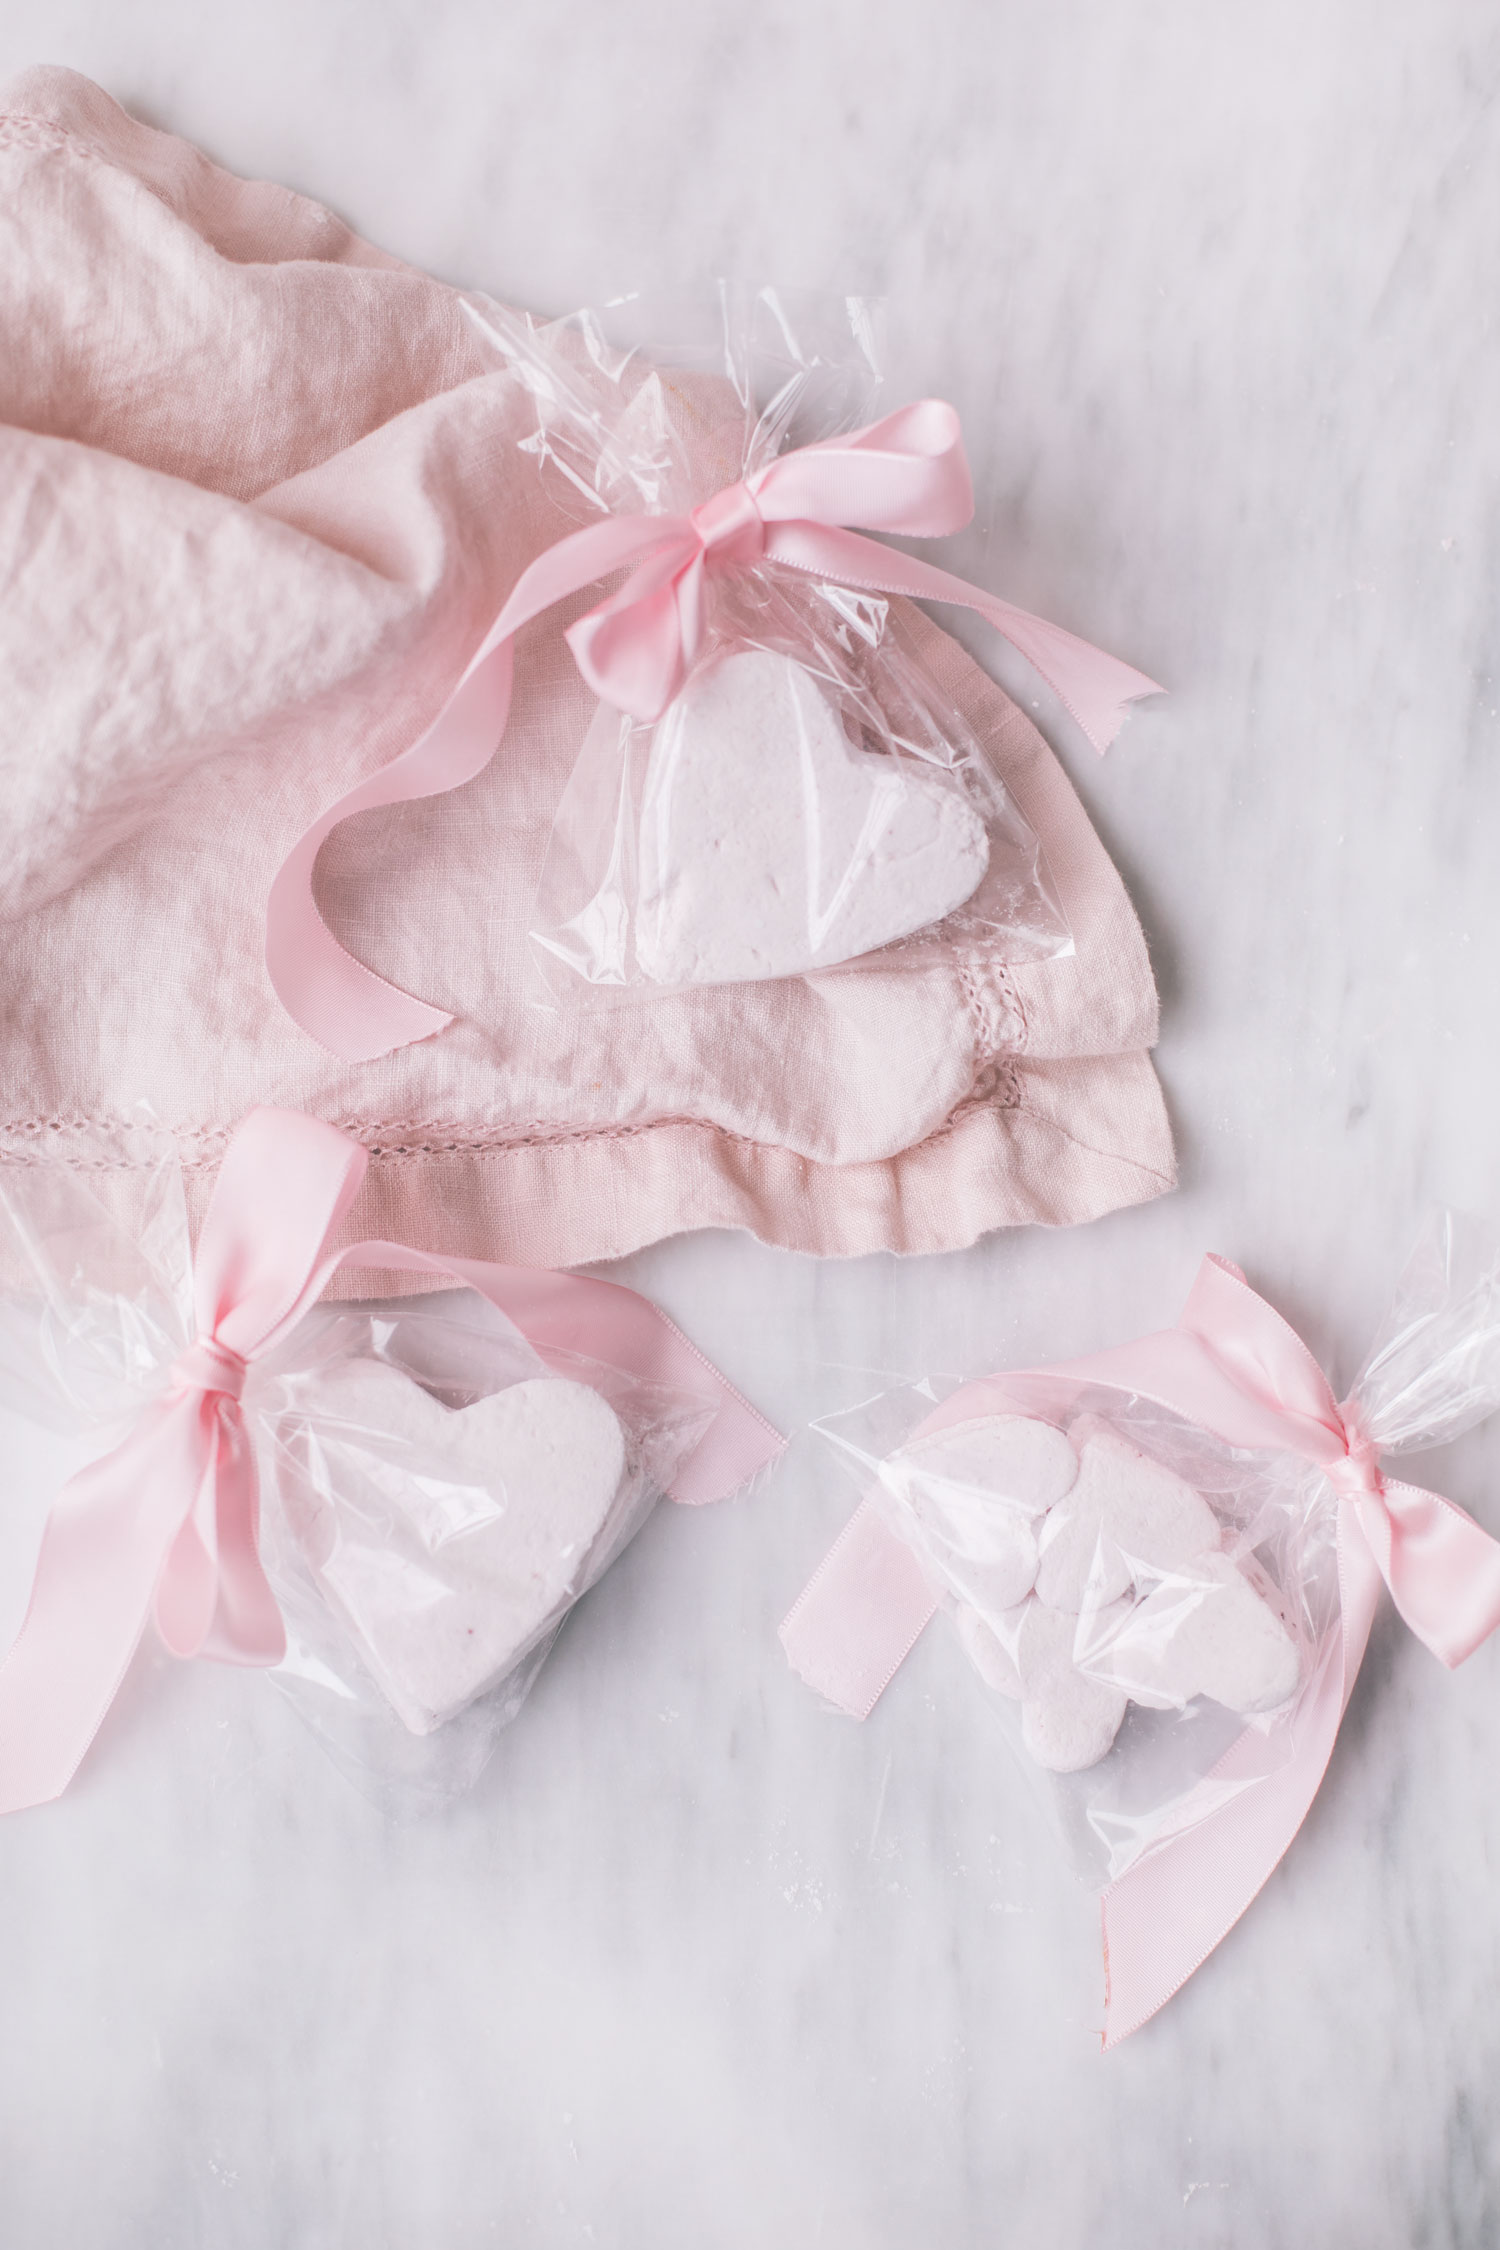
Who knew that marshmallows were actually a thing you could make!? I’ve always eaten marshmallows that were straight from the bag, but after making this homemade version and discovering how easy it actually is to make a batch of fluffy, delicious marshmallows, I’m never going back! I noticed heart shaped marshmallows last year at Starbucks and thought they were soooo cute that I wanted to try my hand at making them myself. These were such a fun project that I think everyone should try at least once. They make the perfect Valentine’s Day gift when wrapped up in a goodie bag and tied with a pretty pink bow, don’t you think? Most marshmallow recipes share similar ingredients and steps and the most important thing is making sure that your gelatin blooms and that your candy thermometer reads 245 degrees F. The freeze-dried raspberry was an addition I decided to add myself and oh my goodness was I ever happy I did. Not only did it turn the marshmallows the prettiest shade of pink, but the sour raspberry flavor makes these marshmallows taste out of this world delicious! You must make these for Valentine’s Day and if you do, please tag me on social media so I can see!

- 3 tablespoons unflavored gelatin powder
- 1/2 cup cold water
- 2 teaspoons vanilla extract
- 2 tbsp vegetable oil
- 3/4 cup water
- 1 1/2 cups granulated sugar
- 1 1/4 cups sugar cane syrup or corn syrup
- Pinch kosher salt
- 3 tbsp freeze dried raspberry powder
- Candy thermometer
- Stand mixer with a wire whisk attachment
- Heart shaped cookie cutters of any size you like
- Using a pastry brush, brush your 9x13 or flat baking pan with vegetable oil. Use a paper towel to wipe the pan and make sure there’s a thin film on every surface, corner, and side.
- In a small bowl, combine gelatin, 1/2 cup cold water and vanilla. Whisk with a fork until the gelatin reaches the consistency of apple sauce and there are no more large lumps. pour gelatin into your stand mixer with the whisk setting attached. Leave the gelatin to sit.
- Pour 3/4 cup water into a saucepan. Pour the sugar, corn syrup, and salt on top. Do not stir.
- Place the pan over medium-high heat and bring it to a full, rapid boil — all of the liquid should be boiling. As it is coming to a bowl, occasionally dip a pastry brush in water and brush down the sides of the pot. This prevents sugar crystals from falling into the liquid, which can cause the syrup to crystallize. If you don’t have a pastry brush, cover the pan for 2 minutes once the mixture is at a boil so the steam can wash the sides. Don't stir the sugar
- Clip a candy thermometer to the side of the sauce pan and continue boiling until the sugar mixture reaches 245°F Take the pan off the heat and remove the thermometer.
- Turn on your mixer to medium speed. Carefully pour the hot sugar syrup down the side of the bowl into the gelatin. The mixture may foam up — just go slowly and carefully.
- When all the syrup has been added, cover the bowl with a clean kitchen towel and increase the speed to high (the cloth protects from splatters — the cloth can be removed after the marshmallows have started to thicken).
- Whip for about 8 minutes. At first, the liquid will be very clear and frothy. Around 3 minutes, the liquid will start looking opaque, white, and creamy, and the bowl will be very warm to the touch. Around 5 minutes, when the marshmallow will start to increase in volume you will want to add your raspberry powder. There will be thin, sticky strands between the whisk and the side of the bowl, these strands will start to thicken into ropes over the next few minutes. Continue beating for the full 8 minutes. When you finish beating and stop the mixer, it will resemble soft-serve vanilla ice cream.
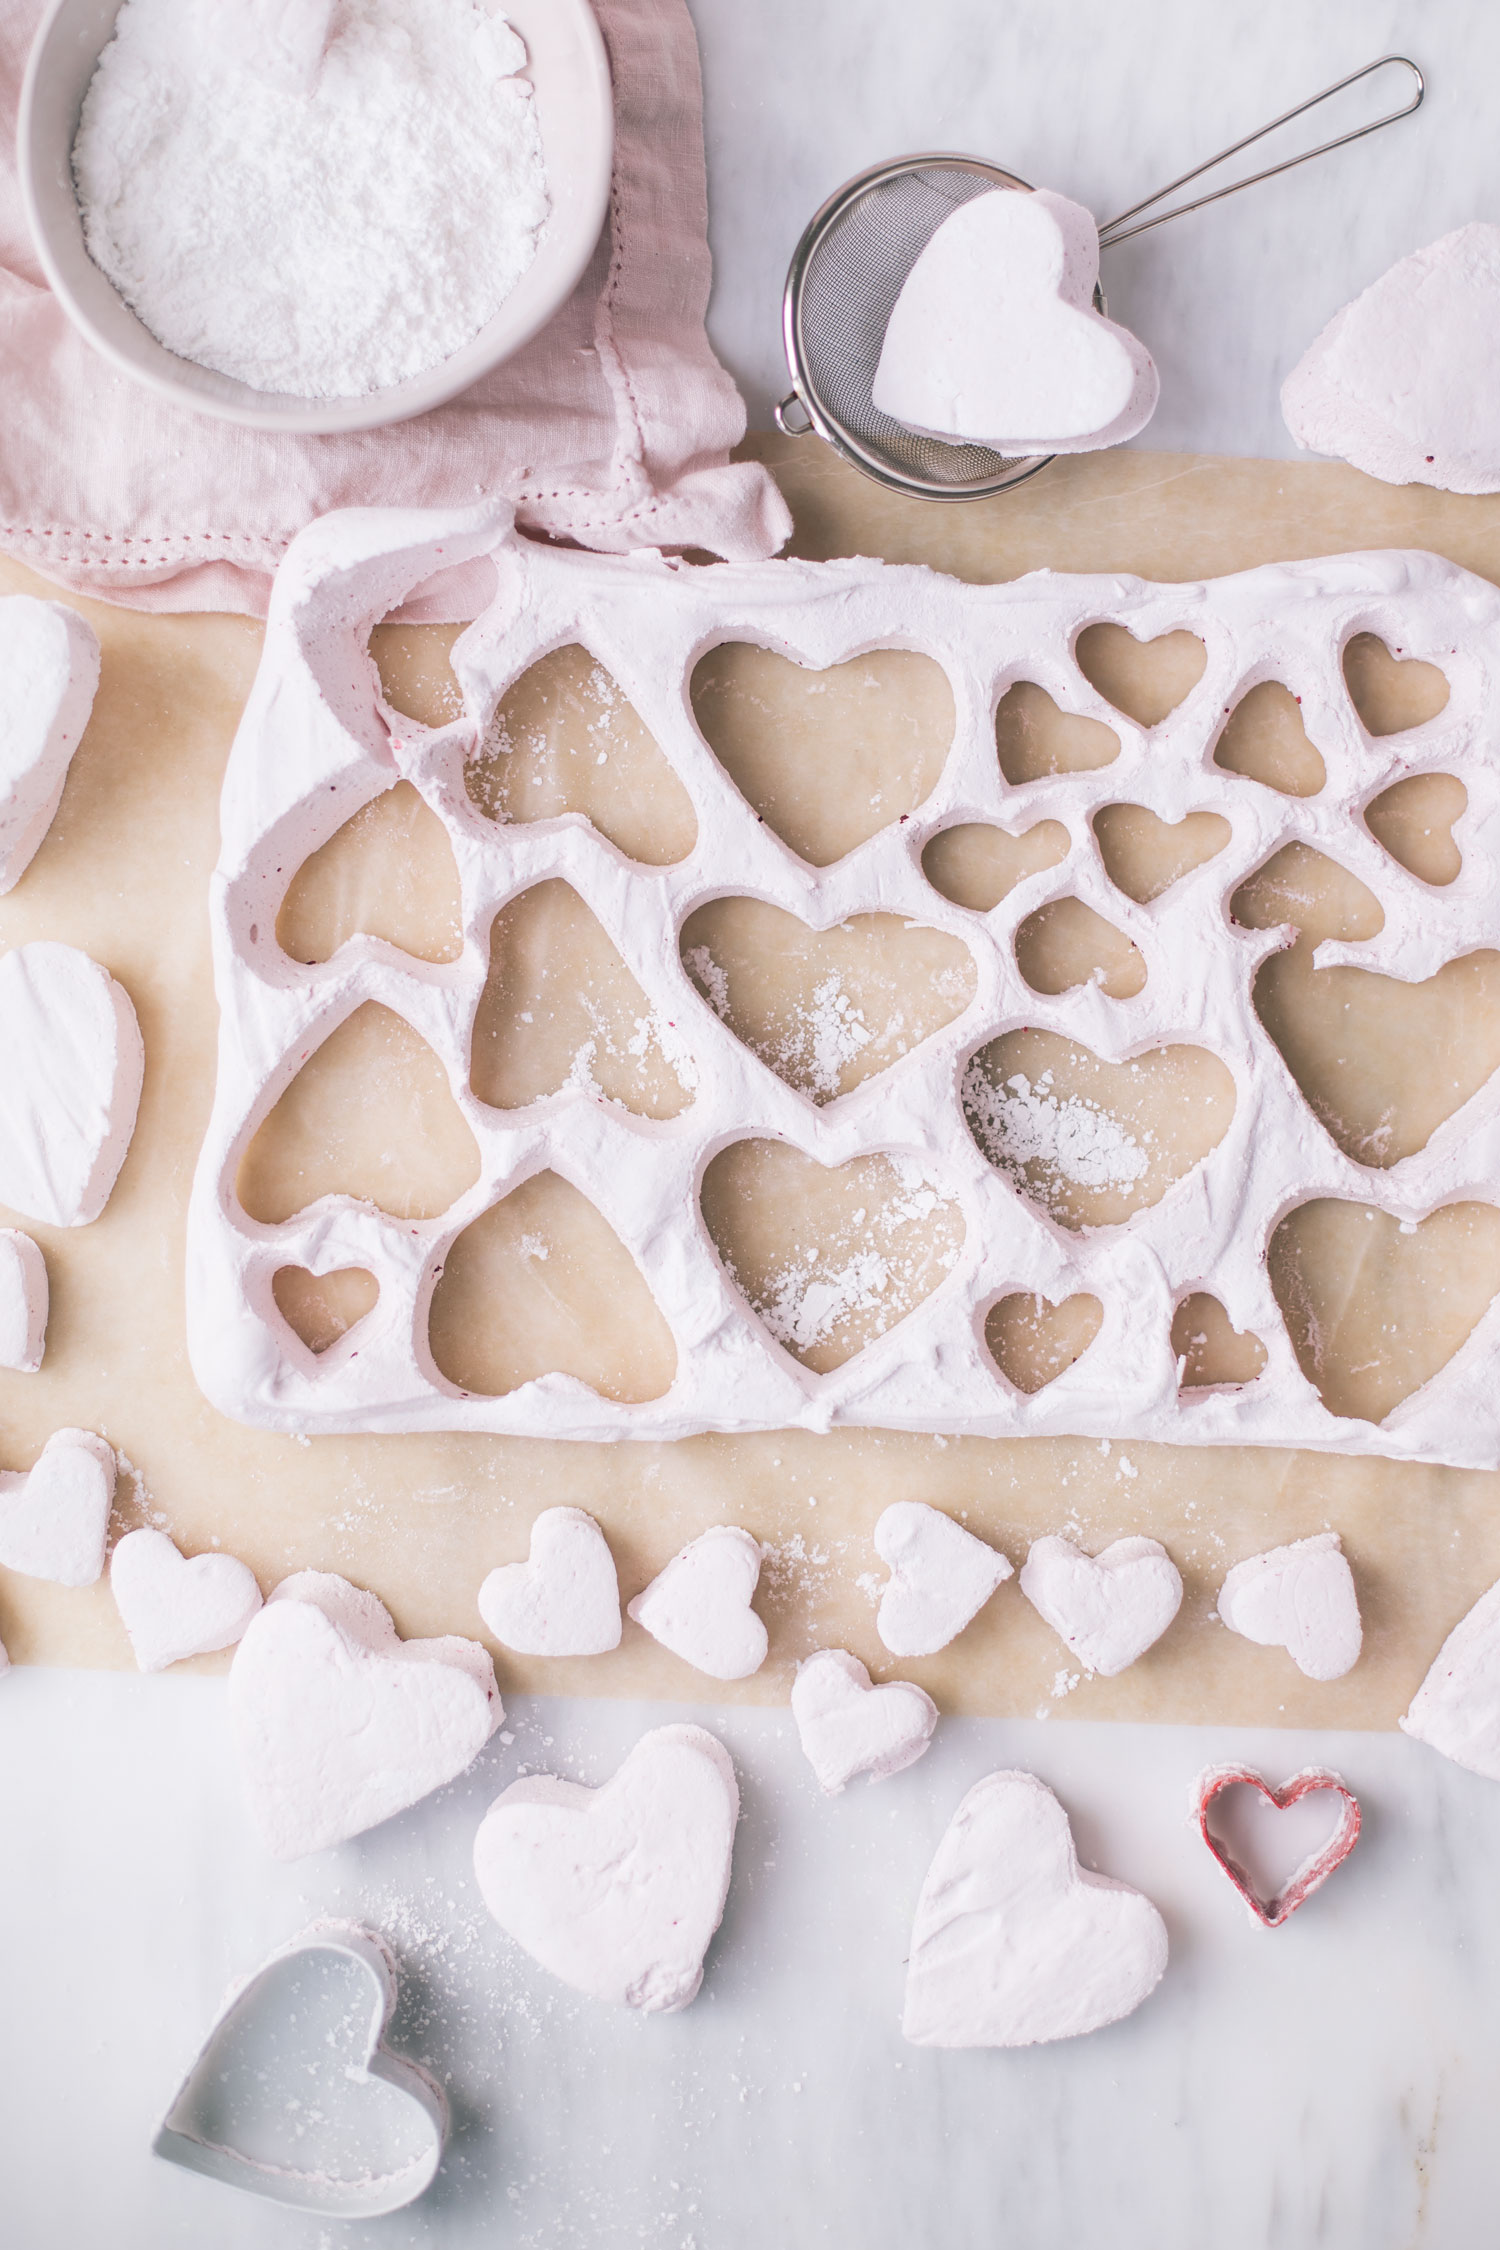
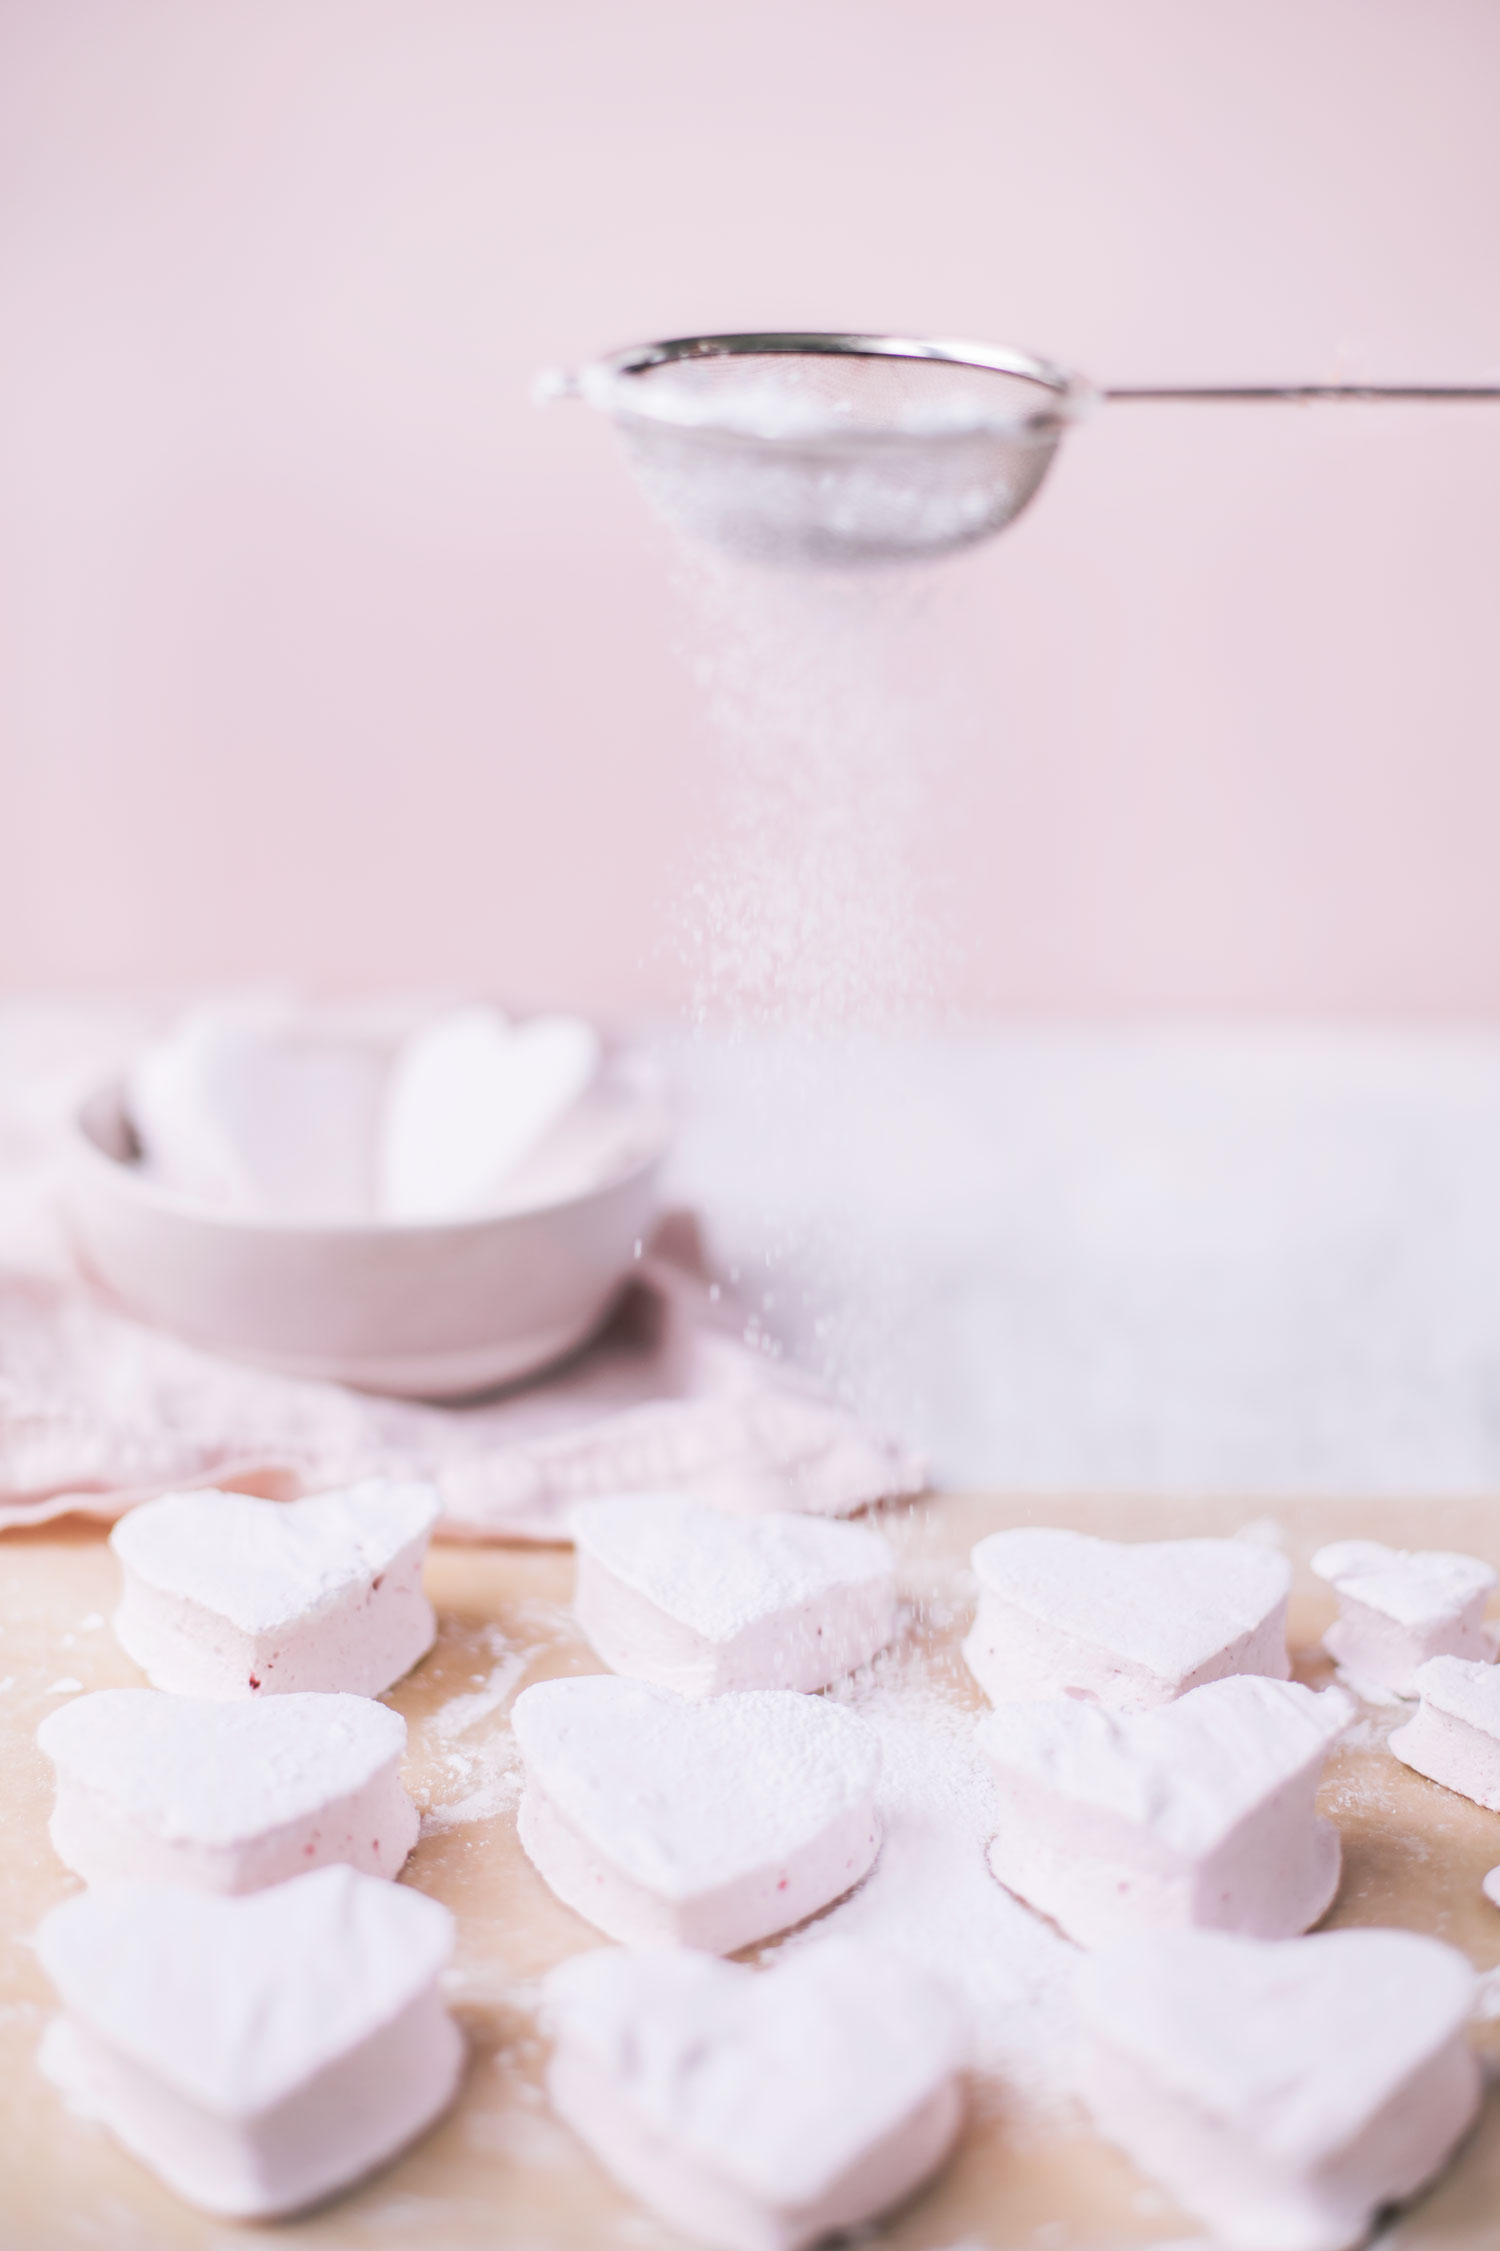
- With the mixer running on medium, slowly lift (or lower, depending on your model) the whisk out of the bowl so it spins off as much marshmallow as possible. Using your stiff spatula, scrape the marshmallow mixture into the pan. This stuff is very thick and sticky, so don’t worry about getting every last bit out of the bowl. Just get as much as you can. Spray your hands lightly with vegetable oil and smooth the top of the marshmallow to make it as even as possible. Sprinkle with powdered sugar and Let the mixture sit uncovered and at room temperature for 6 to 24 hours to set and "cure."
- Sprinkle the top of the cured marshmallows with some of the powdered sugar and smooth it with your hand. Flip the block of marshmallows out onto your work surface. Use a spatula to pry them out of the pan if necessary. Sprinkle more powdered sugar mixture over the top of the marshmallow block.
- Cut the hearts: Using a heart shaped cookie cutter, cut the marshmallows out. It helps to dip your cutter in water every few cuts.
- Coat each square with powdered sugar mix: Toss each square powdered sugar so all the sides are evenly coated.
- Store the marshmallows: Marshmallows will keep in an airtight container at room temperature for several weeks. Leftover marshmallow coating can be stored in a sealed container indefinitely.