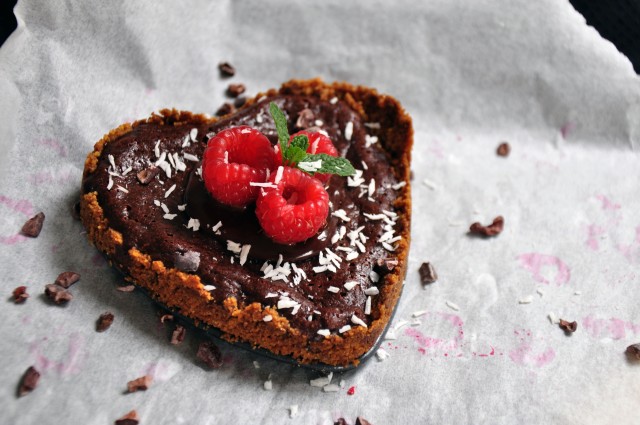
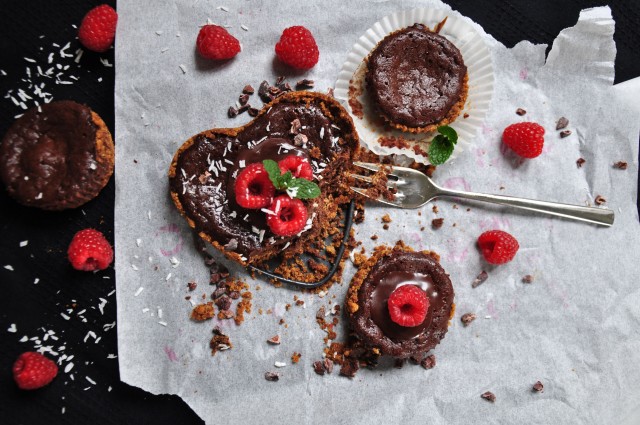
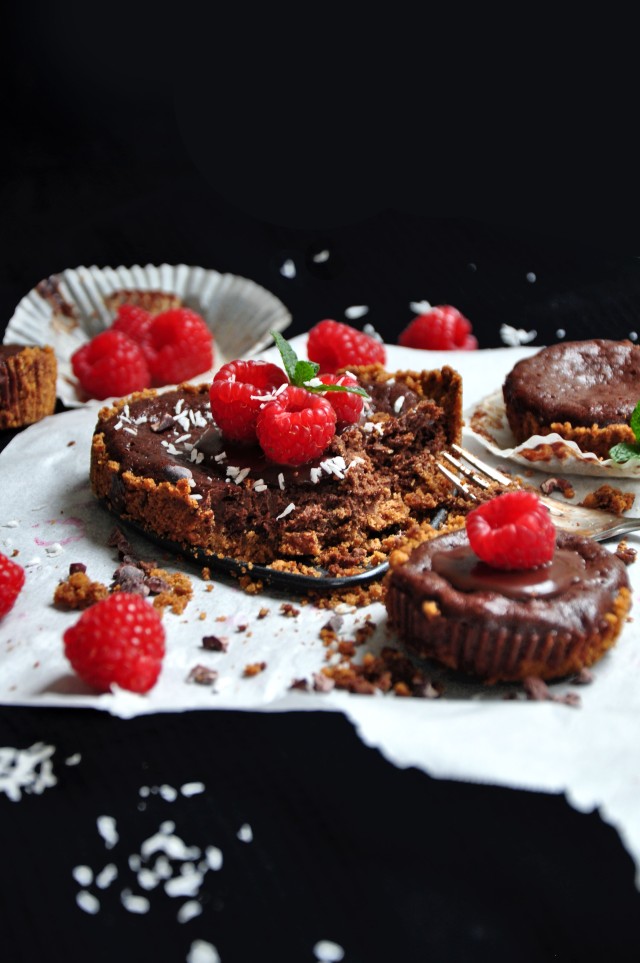
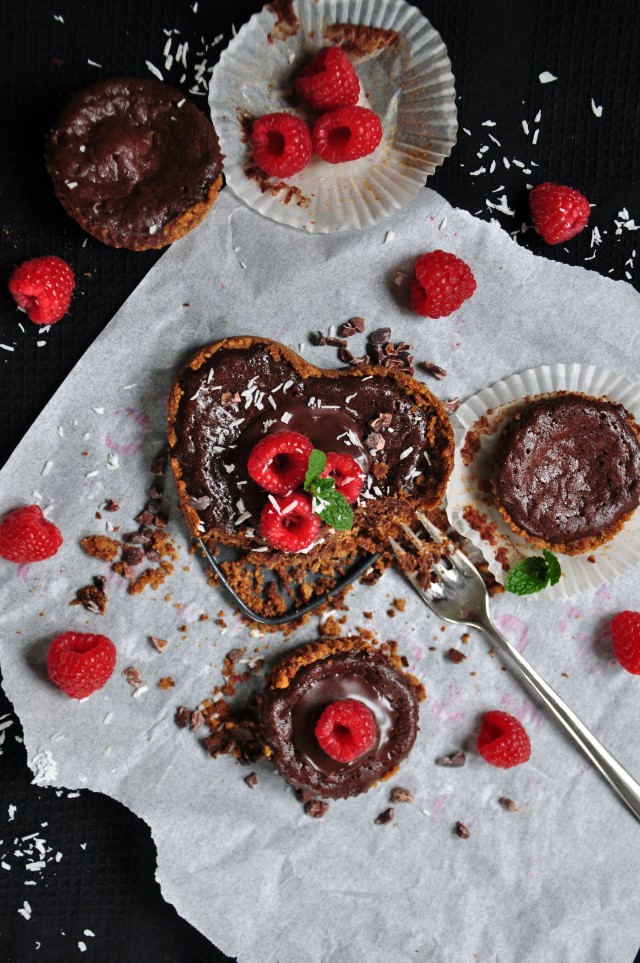
This is probably the most photogenic thing I’ve ever baked.
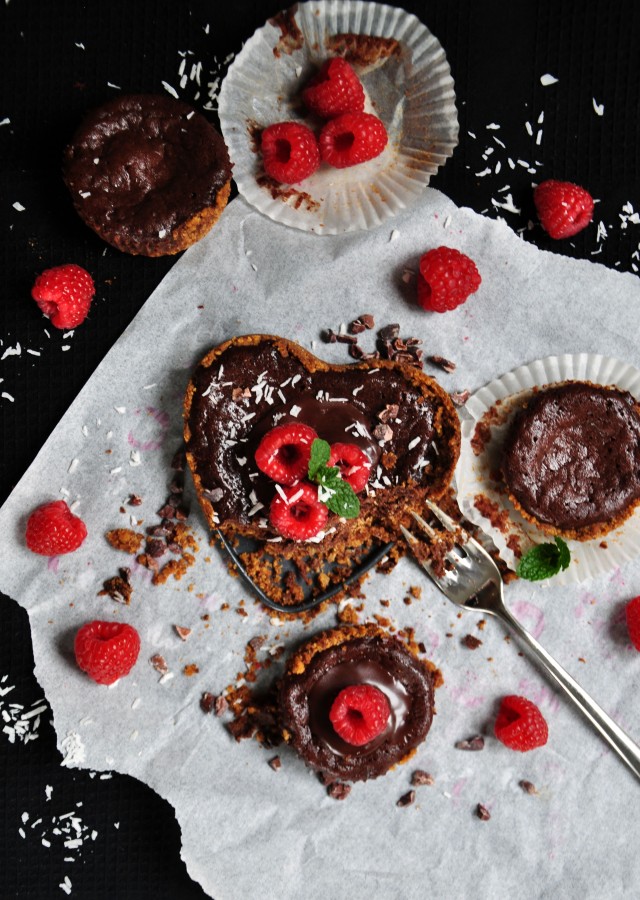
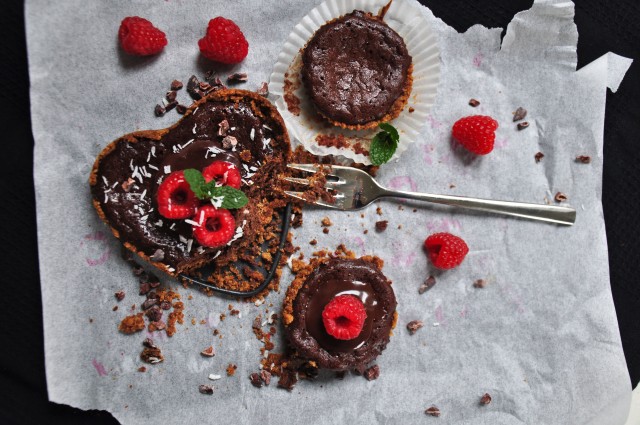
So yeah…lots of photos in this post. Enjoy.
I went to a Simple Plan concert on Sunday! It’s the third SP concert that I’ve been to and it was incredible, just as it always was. The only downside is that 90 minutes speeds by when you’re singing at the top of your lungs and getting lost in the lyrics and music of the band that means the world to you.
My whole weekend, in fact, was pretty great. On Saturday, I finished my Extended Essay draft in the morning and finished off decorating a layer cake for my brother and his friend’s birthday dinner. One of my favourite things to do is making layer cakes (alongside decorating cupcakes, of course).
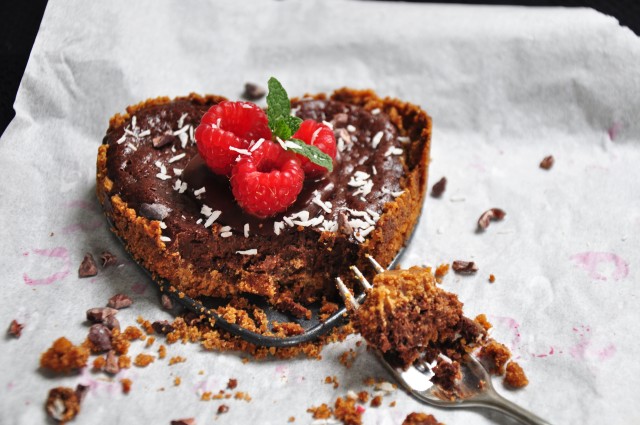
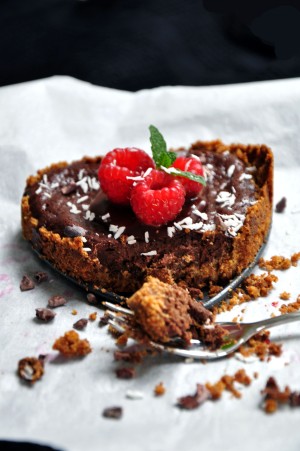
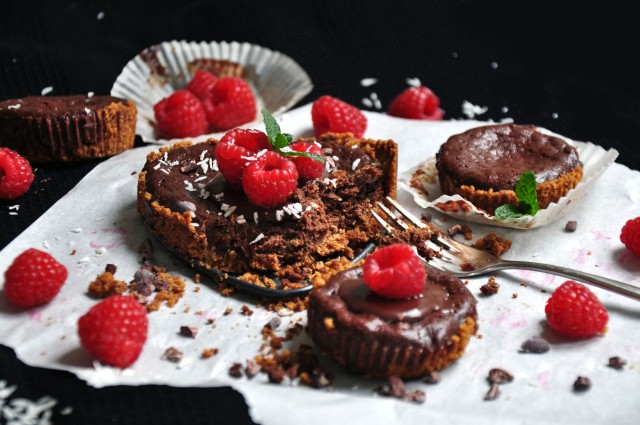
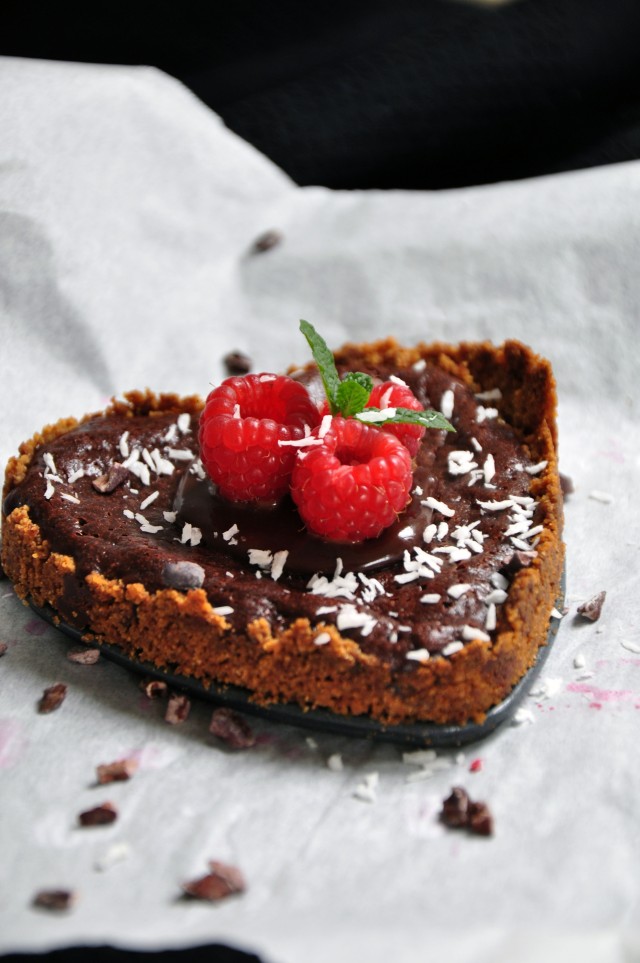
But anyways, these tarts were seriously one of the best things I’ve ever made. They have a perfect flavour balance and are wonderfully decadent. They start off with a classic biscuit base – and who doesn’t love a good biscuit base??
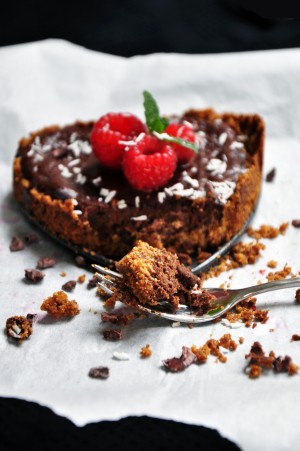
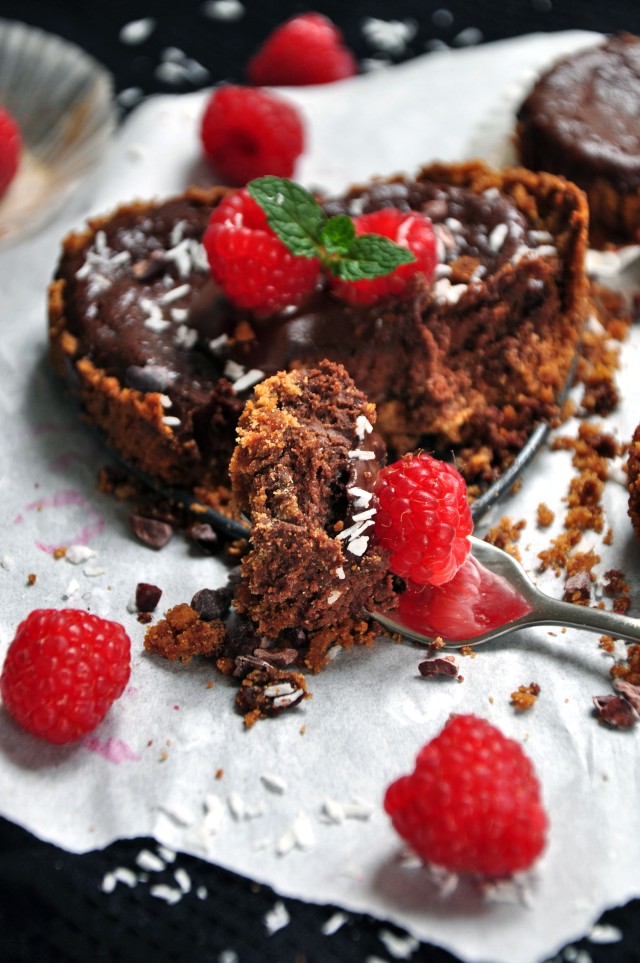
Then they’re filled with this gorgeously smooth chocolate filling and baked, giving them a texture like no other tart or cake or pie that you’ve ever had before. They’re truly quite unique.
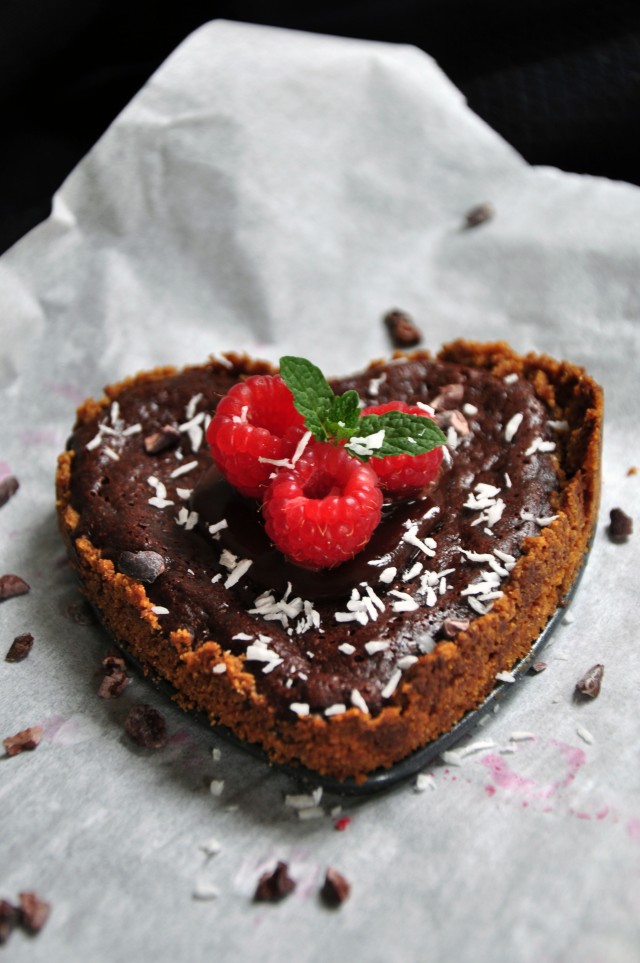
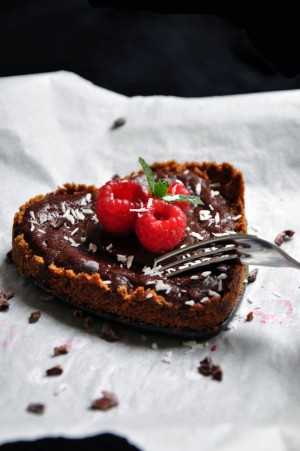
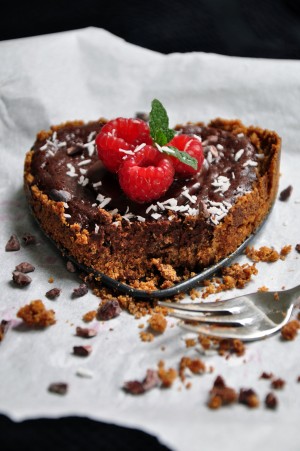
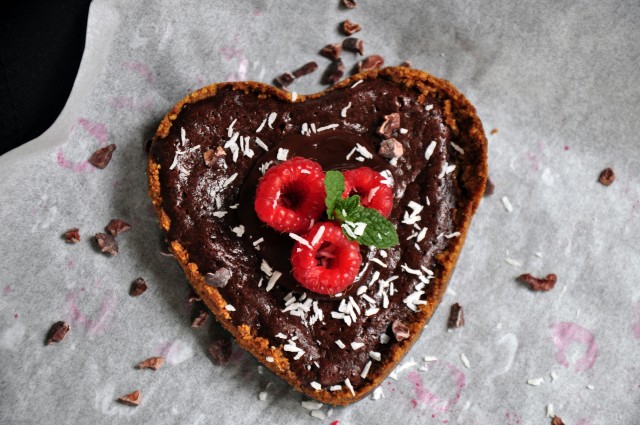
And then, they’re topped off with a silky chocolate ganache and fresh, fruity raspberries.
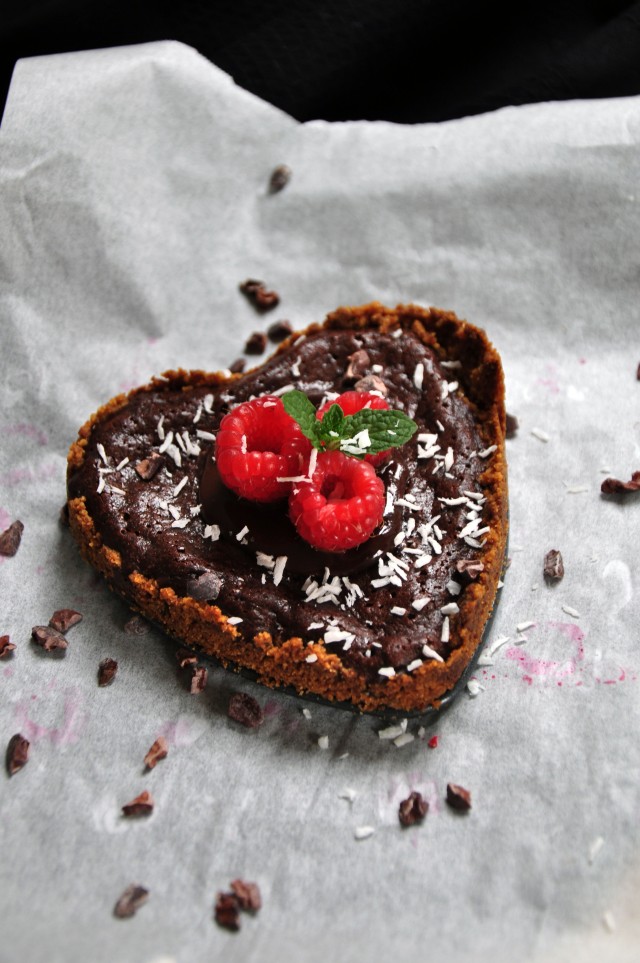
This, my friends, is what I call perfection.
Raspberry Chocolate Truffle Tart
Ingredients:
Crust:
- 1 1/2 cup digestive biscuit crumbs
- 6 tablespoons butter, melted
Filling:
- 350ml whipping cream
- 250g dark chocolate (70%)
- 5ml pure vanilla extract
- 2 large eggs
- 1 tablespoon powdered sugar
Ganache:
- 100g dark chocolate
- 1/4 cup whipping cream
- Fresh raspberries
- Shredded coconut (optional)
Method
- For the base, mix the biscuit crumbs and melted butter together until fully combined. Press into mini cake tins and/or a lined muffin tray
- Bake at 180 degrees Celsius or 355 degrees Fahrenheit for 10 minutes. Allow to cool before filling.
- For the filling, break the chocolate into pieces in a bowl.
- In a saucepan, bring the cream to a simmer and pour over the chocolate. Allow to sit for 5 minutes before stirring until the chocolate is completely melted.
- Add in the vanilla extract, icing sugar, and eggs until fully combined
- Pour the filling into the baked tarts and bake for 10 minutes, until the edges are set but the centre is still slightly wobbly
- Remove from the oven and allow to cool
- For the ganache, break the chocolate into pieces in a bowl
- In a saucepan, bring the cream to a simmer and pour over the chocolate. Allow to sit for 5 minutes before stirring until the chocolate is completely melted
- Spread the ganache over the cooled tarts and top with fresh raspberries and shredded coconut

Pingback: Raspberry Chocolate Truffle Tart - Yum Goggle
Hey Cathy! I hope you read this quick – it’s about this very recipe post too! We are happy to tell you that Huffpost has asked to feature your photo! Below is a canned response that will help you understand just what to do!
Hi this is Kelli from Yum Goggle. First, let me say Congratulations!
As you know we promote your posts on many social media platforms and one of those is Instagram. What you may not know is that several large media outlets follow YG and look to us to supply them with beautiful food photography that has been vetted for originality and authenticity. Just a few minutes ago, Huffington Post commented on YOUR photo and asked to feature it!
Here at YG, we want you to get all the traffic so it is our practice to contact you right away with 2 things: Directions on what to do next and a request to tell all your bloggy friends that your photo was discovered because you posted with us, Yum Goggle, and they should too! We also ask that you put a little blurb about Yum Goggle out to your viewers telling them that’s where they can find many, many recipes! Thank you in advance for that. Now on what to do now!
First, go to YG’s Instagram account (we hope you already follow us) and scroll down – this may take a while because there is no rhyme or reason for how the editors determine what photo they want to feature and when – and find your photo. You will see your photo. You can use this response or make one up of your own:
Hi @huffpost, @Yumgoggle promotes our posts for us on Instagram and #yeshuffpost. Please put a link back to either my Instagram account @yayforme! and/or my original blog post (insert original blog post address here) Thank you so much! (your name here)
P.S. – Please let us know you got this email. We’ll be on pins and needles until we hear from you! Kelli at YG.
LikeLike
Hi Kelli,
Oh my goodness!! This is so exciting and I couldn’t thank you and Yum Goggle enough for giving me this incredible opportunity. I’ve already replied to the comment and I’ll definitely leave a kind word about you and YG to my Instagram followers. Again, thanks so much. I appreciate you guiding me through this and being so supportive xx
Best,
Cathy ❤
LikeLiked by 1 person