

This post may contain affiliate links. Where I make a small commission on purchased items, at no extra cost to you. See my disclosure for details.
(This post has been updated from the original October 2018 version to provide a better experience for you)
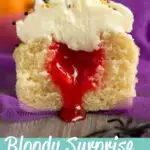
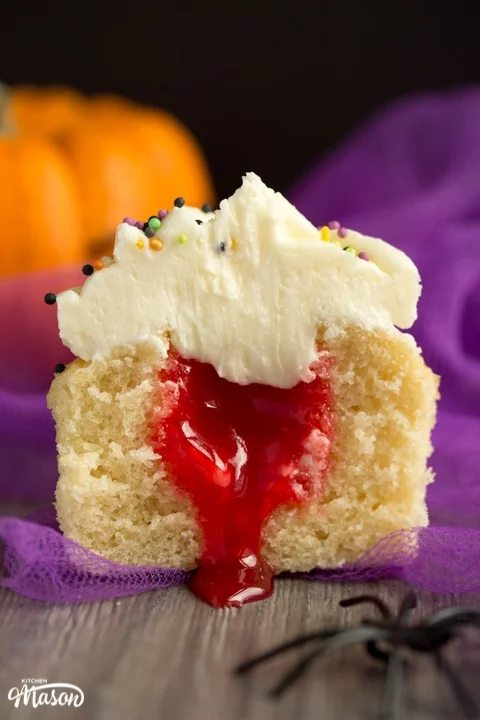
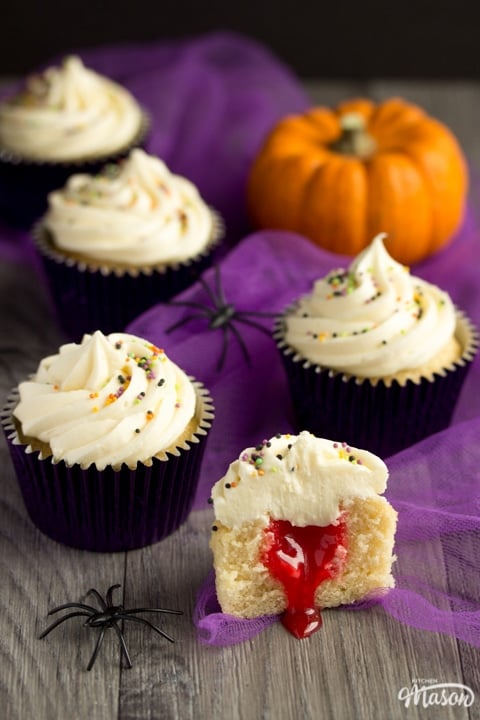
This CRAZY delicious Halloween cupcakes recipe has a gory surprise twist – they’re filled with BLOOD!! Haha, not really, it just looks like blood. Which is kinda cool and delicious too!
There’s tons of over complicated Halloween cupcake recipes out there but this one has a singular purpose – that they can be easily made and still spook the bejesus out of your unsuspecting guests! Exactly like my spider web tart Halloween dessert.

Interested? Great! In this post I’m going to let you in on my trade secrets on how you can make amazing tasting Halloween cupcakes the easy way AND how to decorate them with minimal fuss but maximum impact. If you’ve seen my rice krispie Halloween treats, you’ll know this is a recurring theme with me!
Think it looks too complicated for you to make yourself? Think again…
Skills you do NOT need to make Halloween Cupcakes
- Being a brilliant baker
- Have great sugar crafting skills
- Have the patience of a Saint
- This is depressing and unachievable…
- Are we still on this list??
Skills you DO need to make Halloween Cupcakes
- This recipe
- The ability to read
Catch my drift? I promise, they’re nowhere near as complicated as they look to make. Anyone can do it! There’s no tricky sugar decorations to make, no fancy ‘baked in’ fillings to create – just easy baking made very effective with a few CRAZY simple tricks. If you like the sound of that you’ll love my ginger-dead men Halloween biscuits too!
And even if you’re not a confident baker, you can always boost your skills with this baking for beginners guide.

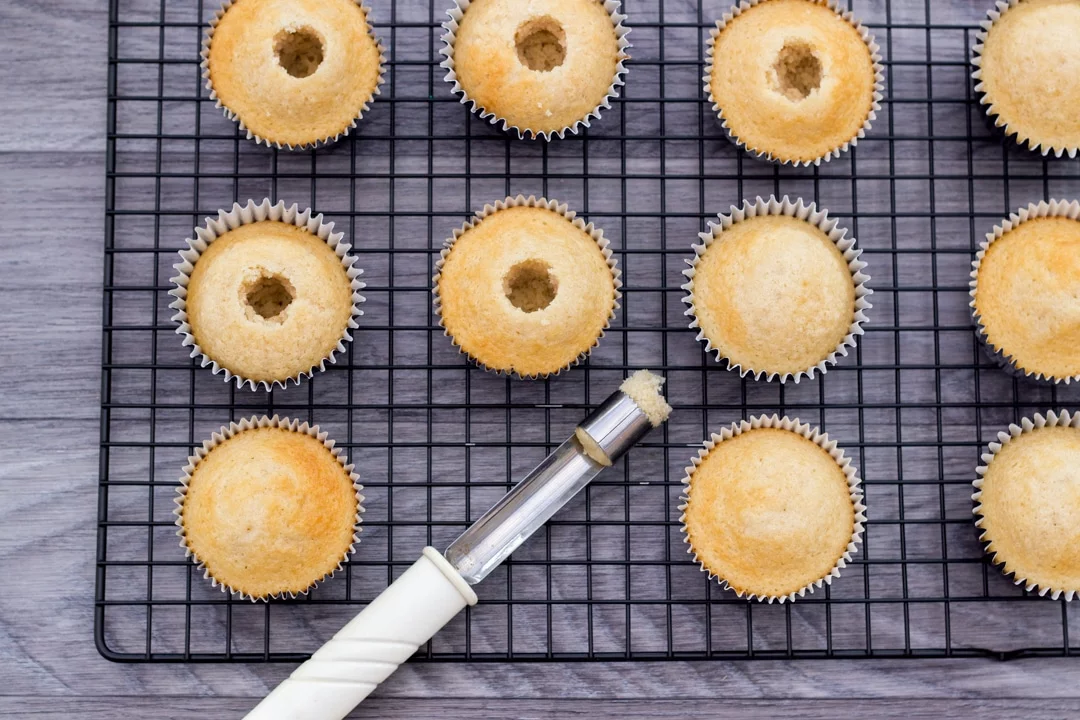
How to fill cupcakes the easy way
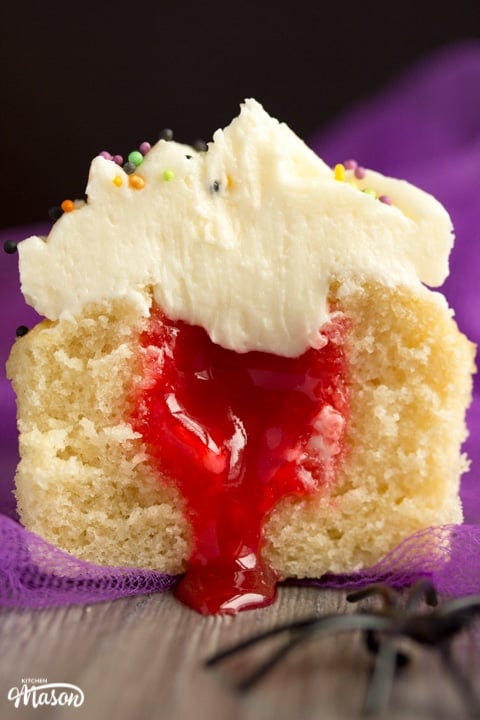
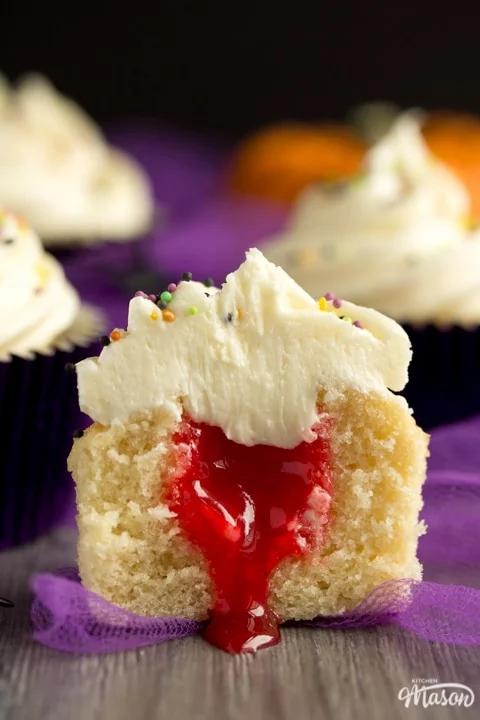
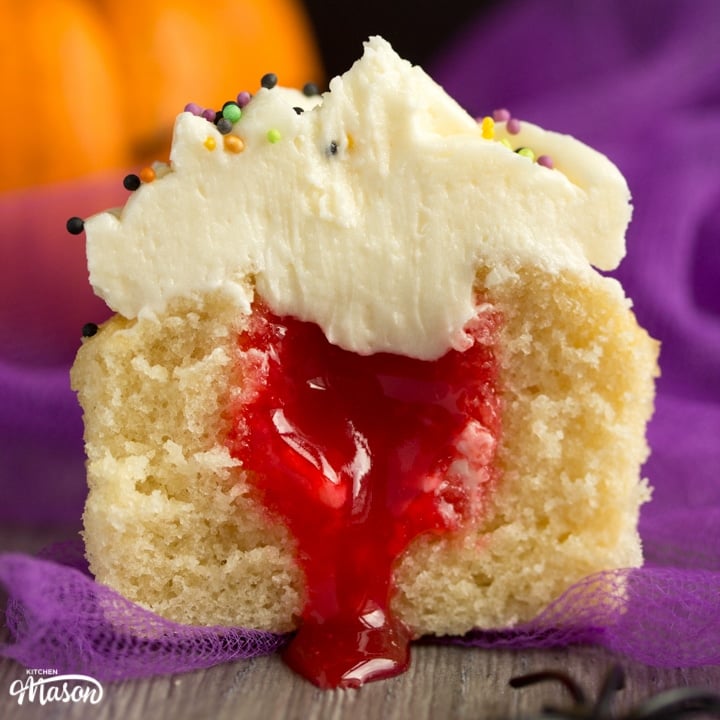
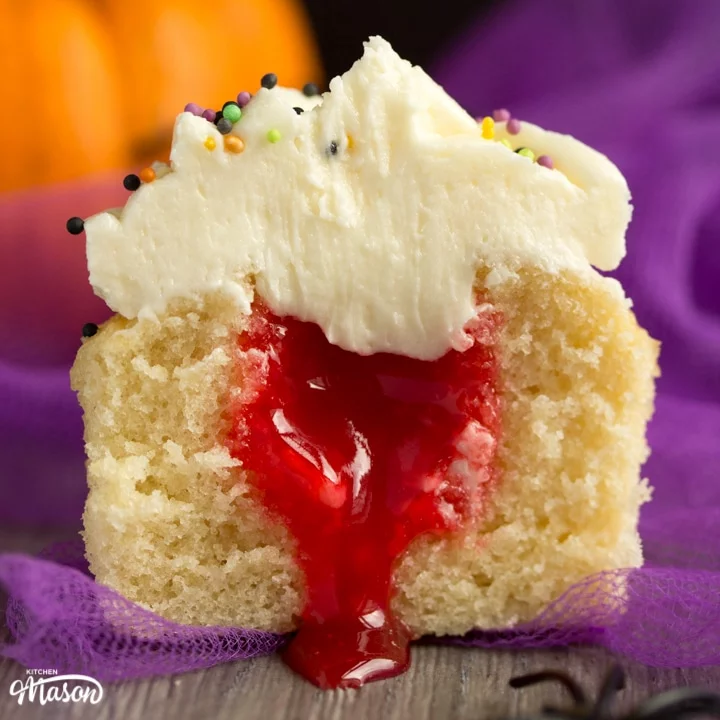
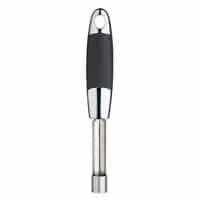
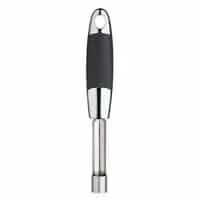
Want to know my secret? I use an apple corer. Wait, what? Yep! An apple corer. Simply core your cakes, pipe in some ‘lemon curd blood’ and cover it with icing. No one will ever know mwahahaha…
Want some more tips to help you make your Halloween cupcakes? I’m sure I’ve a few more up my sleeve that I can share with you…

Halloween cupcakes recipe tips
- Bring the refrigerated ingredients to room temperature before you bake (leave them on the kitchen side for 1 hour). I can’t begin to tell you how much of a difference this will make to your cakes!
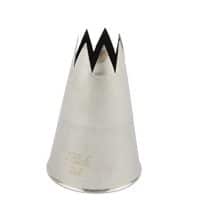
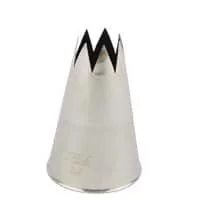
- Want your Halloween cupcakes to have that perfect swirl? Use the right nozzle. Skip the rubbish plastic ones and go straight for a metal 2M or 3M open star nozzle.
- Use foil cases instead of paper ones. Yes, the paper ones might have a pretty pattern on them but they’ll also seep grease. Foil cases won’t.
- Remember that everyone’s oven is different so keep a close eye on your cakes in the last 5 mins or so.
- To check for doneness, poke 1 or 2 cupcakes with a skewer in the centre. If it comes out clean, they’re cooked. If it has any batter on it, they need another couple of minutes or so.
- Don’t overfill your cupcake cases! Never fill more than half way, this will keep them light and allow them the proper room to rise. Instead, just make more cakes!
- Halloween coloured/themed sprinkles etc are readily and cheaply available from most supermarkets and online shops like eBay.


Easy ‘Bloody Surprise’ Halloween Cupcakes – Step by Step Picture Recipe
(For a printer friendly version, see the recipe card at the end of this post)
Ingredients
Here is what you will need to make 16 – 20 cupcakes.
For the sponge
- 80g (1/3 Cup) Unsalted Butter, room temp
- 280g (1 + 1/3 Cup) Golden Caster Sugar
- 240g (2 Cups) Plain Flour
- 1 tbsp Baking Powder
- 1/4 tsp Salt
- 240ml (1 Cup) Milk, room temp
- 1 tsp Vanilla Extract
- 2 Eggs, room temp
For the frosting/decoration
- 500g (4 Cups) Icing Sugar
- 250g (1 + 1/8 Cup) Unsalted Butter, room temp
- 2-3 tbsp Milk
- 1 tsp Vanilla Extract
- Halloween Themes Sugar Sprinkles
For the filling
- 300g (1 + 1/4 Cups) Lemon Curd
- Red Food Colouring Gel
Essential equipment
- 12 Hole Cupcake Tin
- 16-20 Foil Cupcake Cases
- Apple Corer
- 2 x Piping Bags
- Open Star Piping Nozzle
Sponge instructions
First up – preheat your oven to 170°C/Fan 160°C/338ºF and line your cupcake tin with cases.
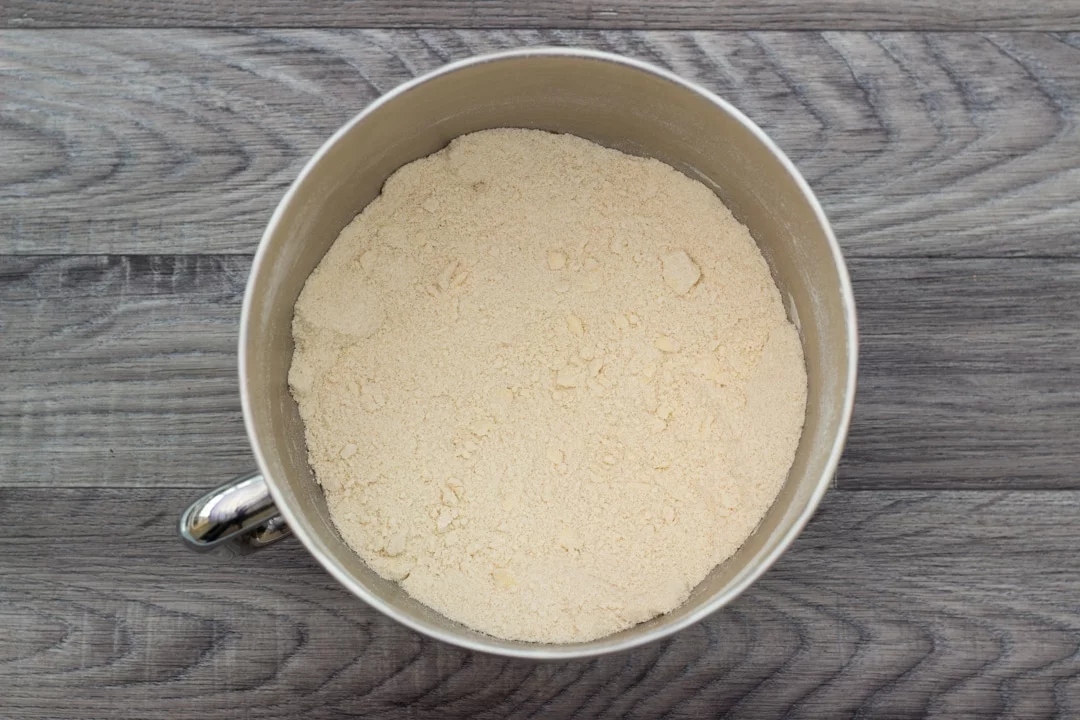
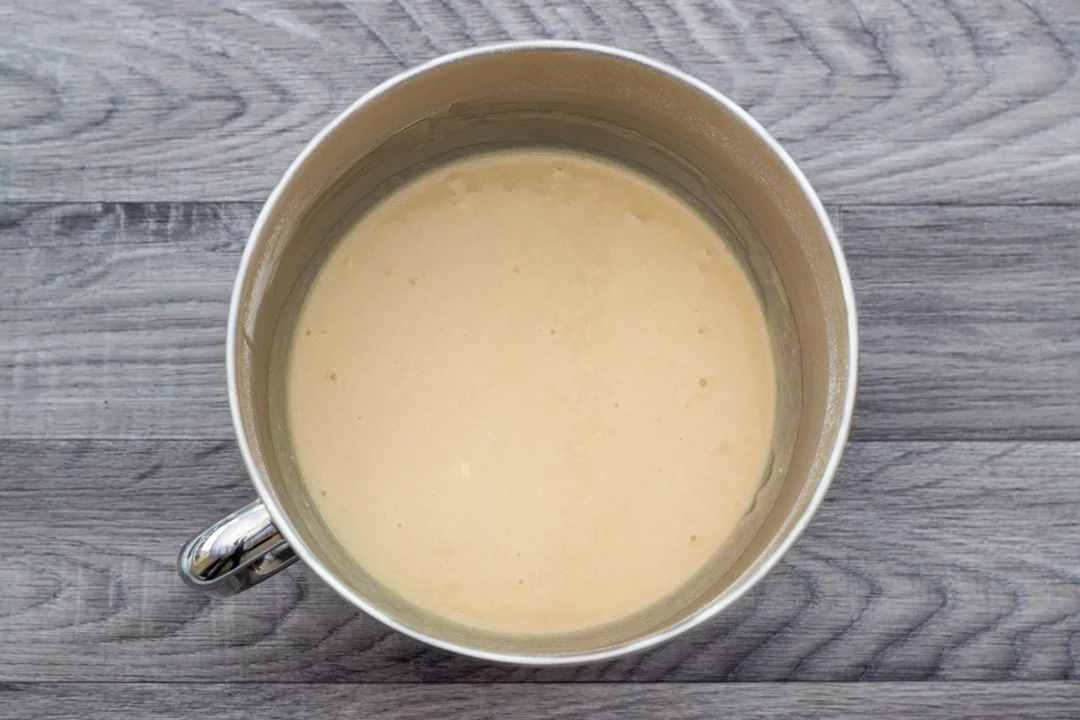
To make the sponge beat together the butter (80g |1/3 Cup), caster sugar (280g | 1 + 1/3 Cup), flour (240g | 2 Cups), baking powder (1 tbsp) and salt (1/4 tsp) in either an electric stand mixer or a large bowl with an electric hand whisk. Keep going until it’s sandy in texture but don’t worry too much if there’s a couple of lumps of butter.

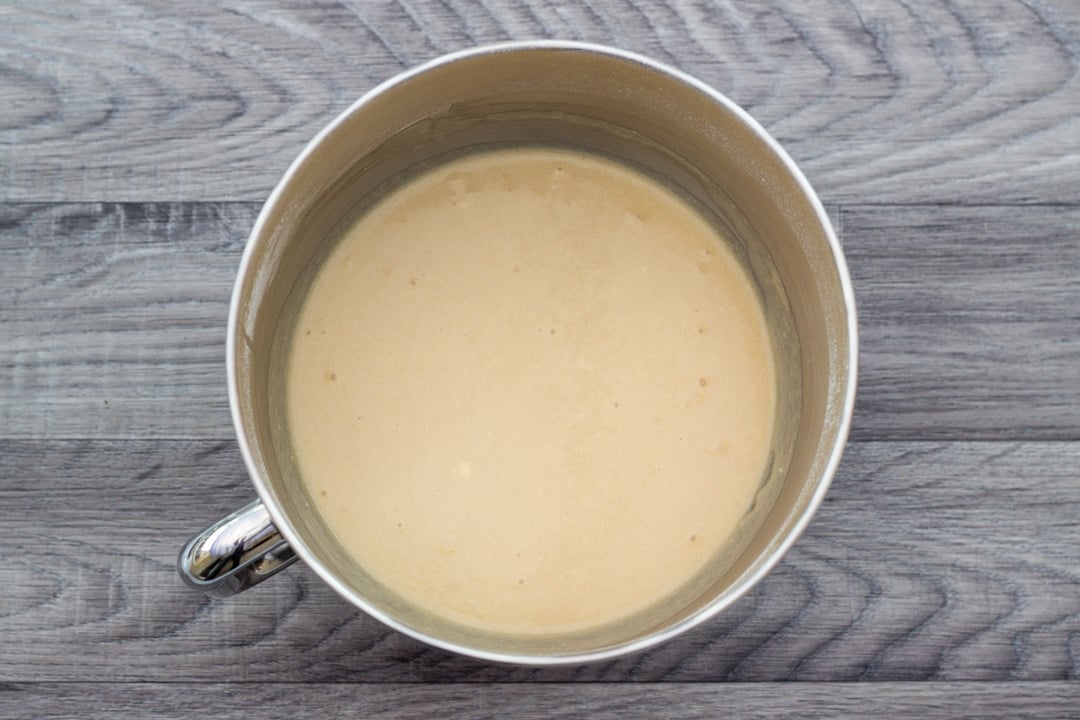
Next, measure out the milk (240ml |1 Cup) into a jug. Then beat in the vanilla (1 tsp) and the eggs (x 2) with a fork until blended. Pour half this mixture into the dry ingredients and beat until it becomes smooth, then pour in the remaining mixture and beat until it’s smooth once again.
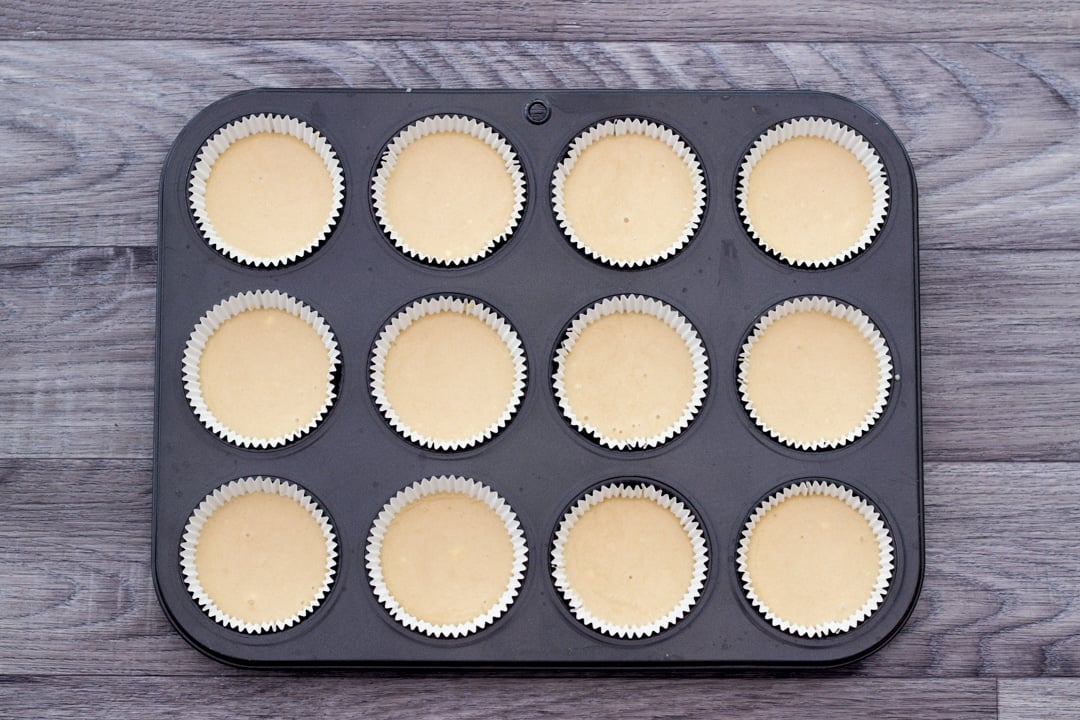
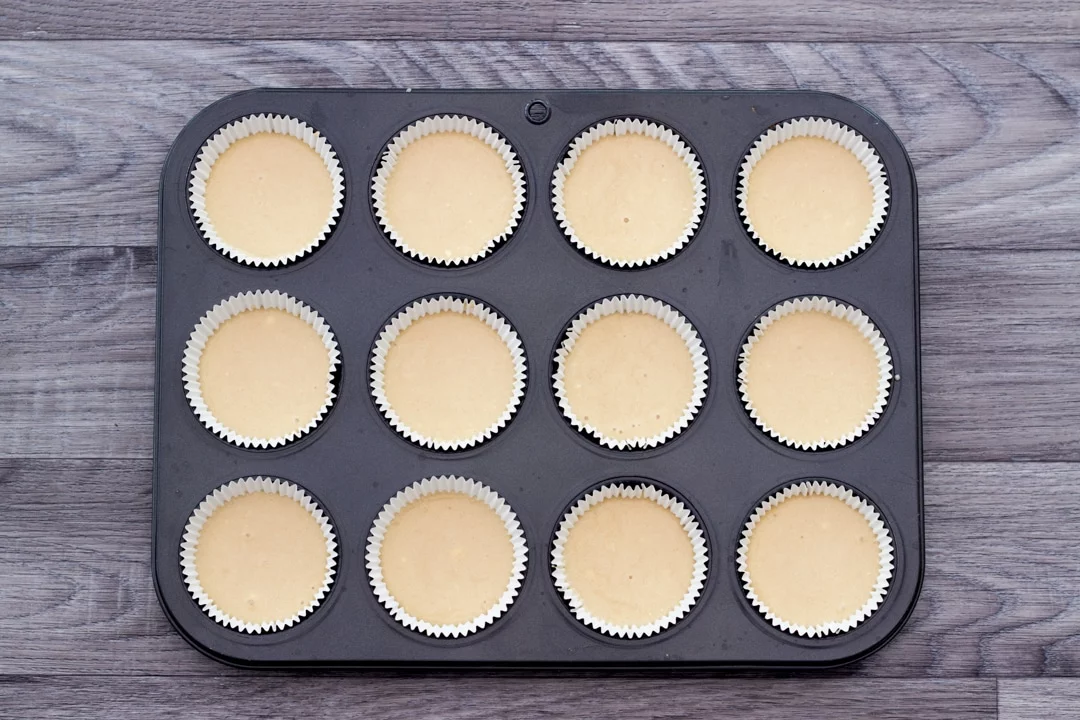
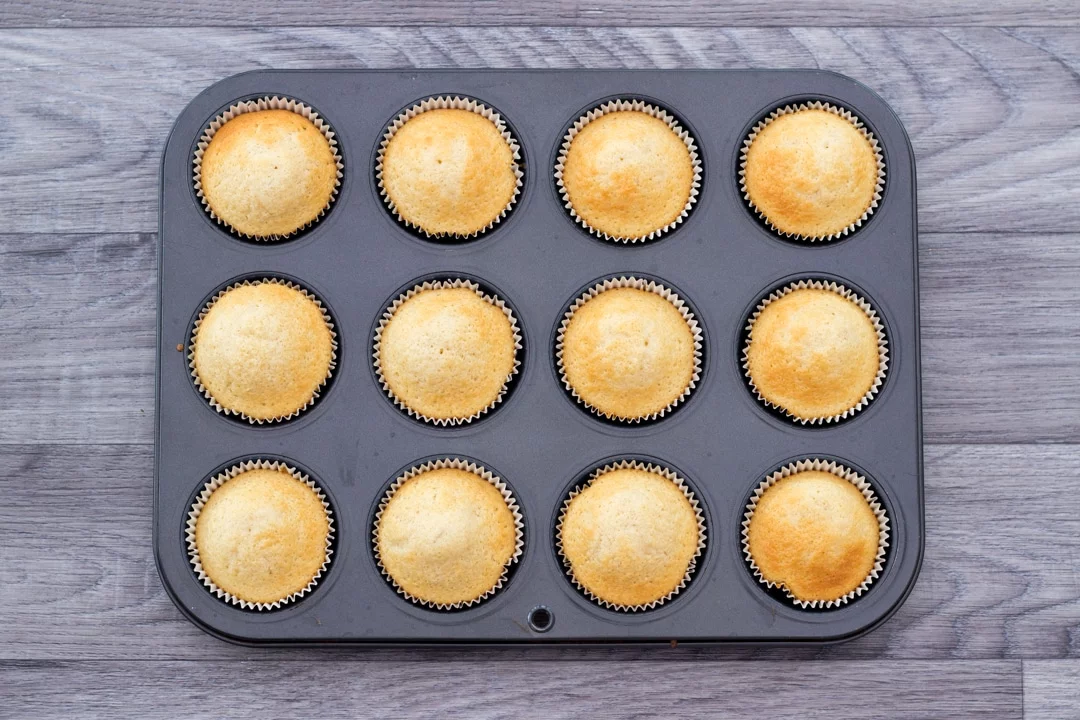
See how easy that was?! Now half fill each cupcake case with the batter. If you have leftover batter, don’t top up those ones just make more cakes! Use a second 12 hole cupcake tin if you need to or simply wait until the first batch is cooked and repeat.
Bake on the bottom shelf in the preheated (170°C/Fan 160°C) oven for 12-14 minutes until a skewer inserted into the middle of 2 or 3 of them comes out clean. (If it still has cake batter on it when you pull it out, pop them back in for another couple of minutes then check again.)
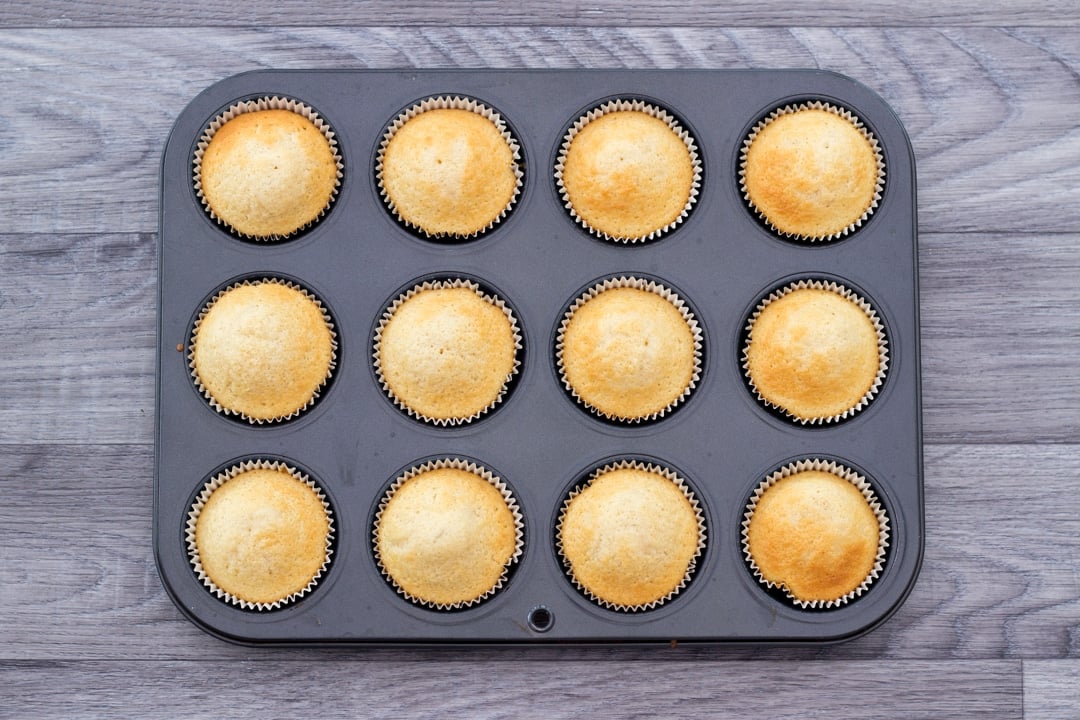
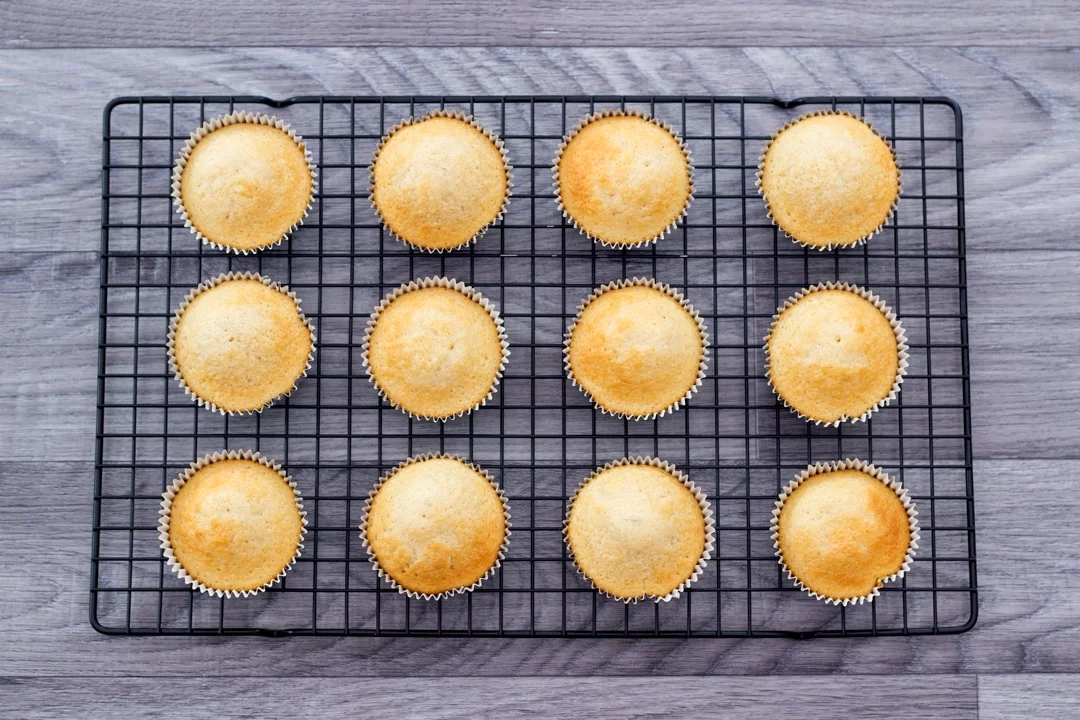
When you can handle the heat, remove them from the tin and put them straight onto a cooling rack to cool completely before attempting to decorate.

Frosting instructions
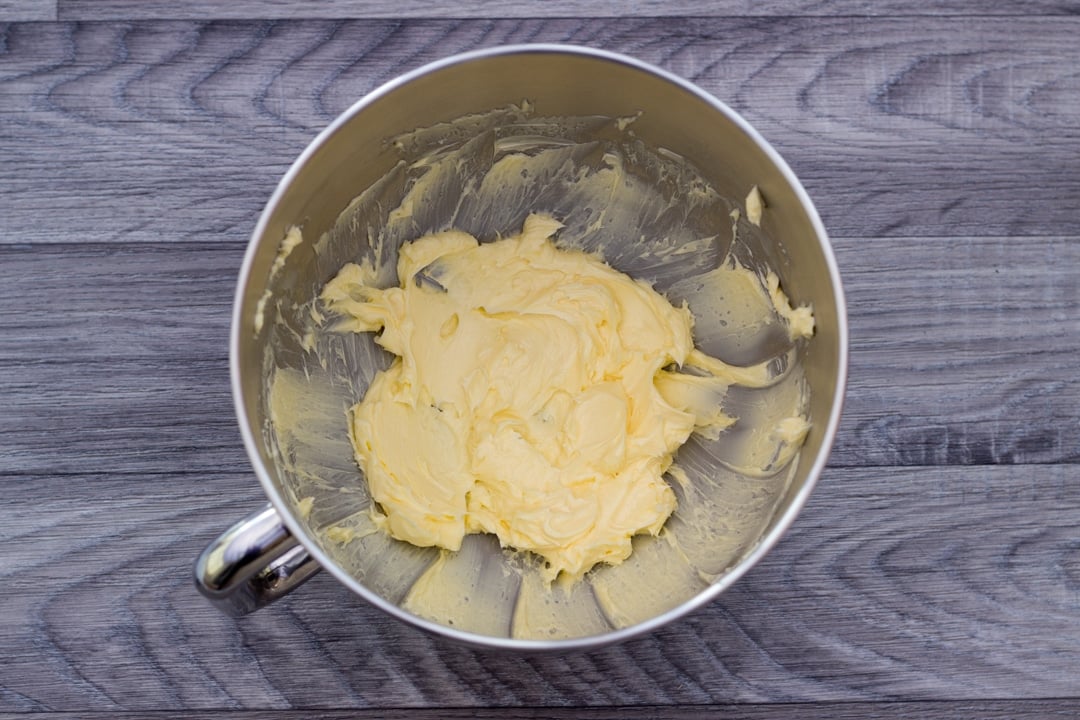
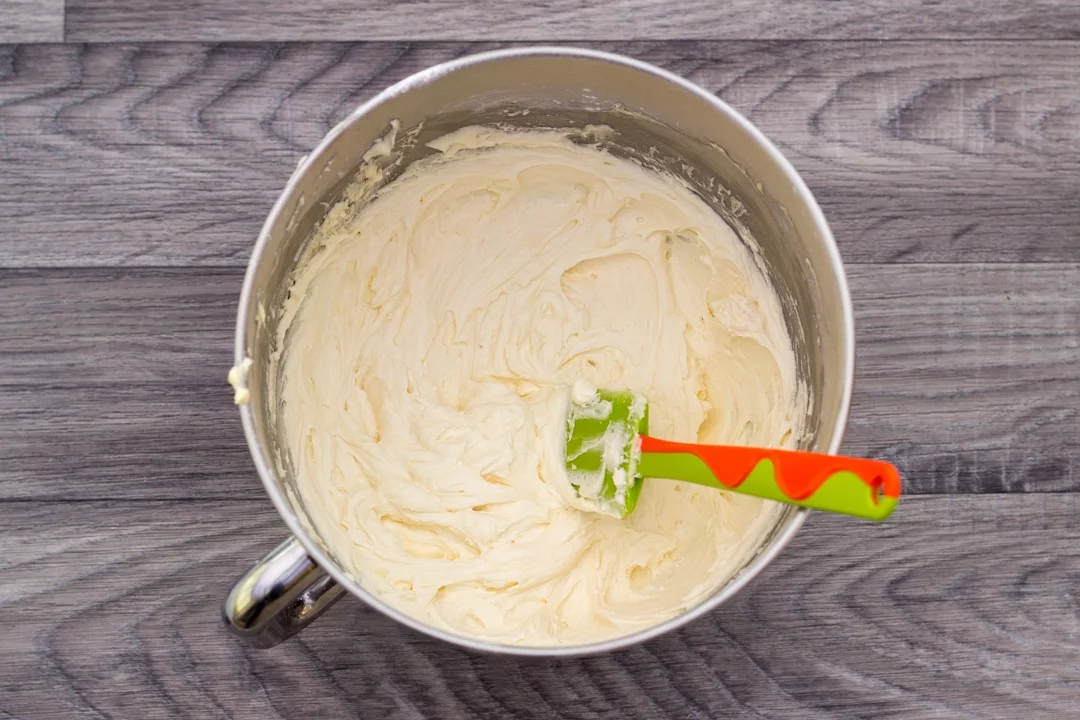
To make your buttercream frosting, sift the icing sugar (500g | 4 Cups) into a bowl. Next, beat the butter (250g |1 + 1/8 Cup) in an electric stand mixer or a large bowl with an electric hand whisk until it’s really soft.
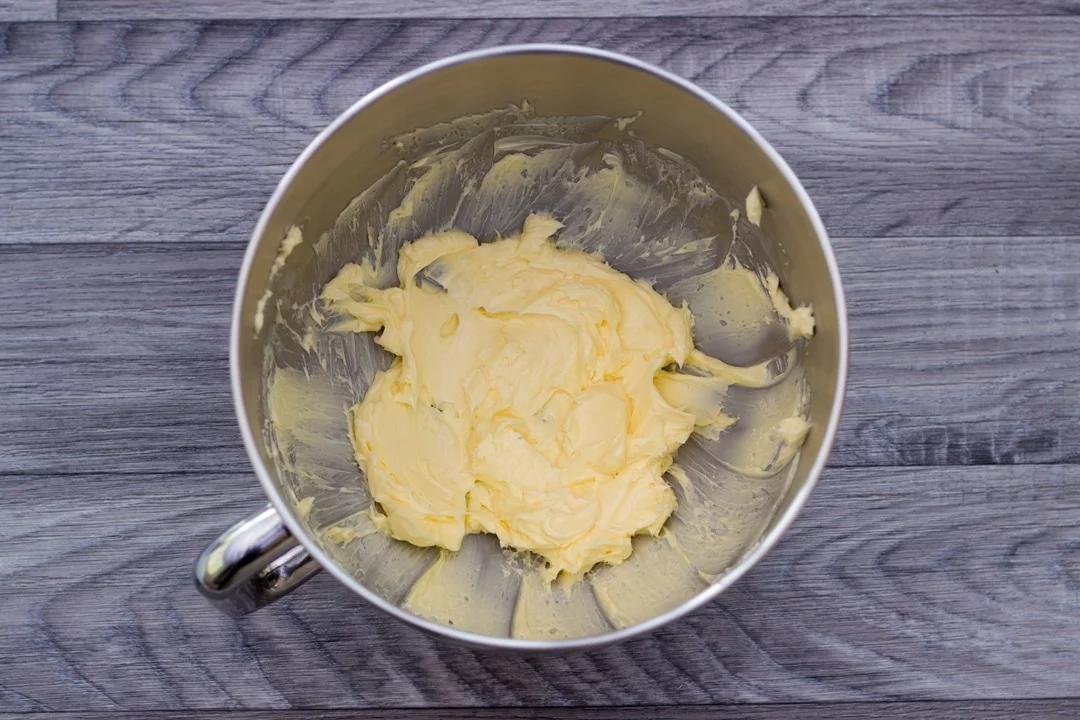
Then add half the sifted icing sugar and start to mix on a slow speed. (Just trust me here or you will end up in a mushroom cloud of icing sugar!) Once it’s come together, gradually add the remaining icing sugar until it’s all used up and the mixture has blended together.


Now you need to add in a little milk (2-3 tbsp) and the vanilla extract. Beat the buttercream on a medium/high speed until it’s really soft and smooth. Remember that you can always add more milk but you can’t take it out so go easy! It should be a nice ‘pipeable’ consistency.

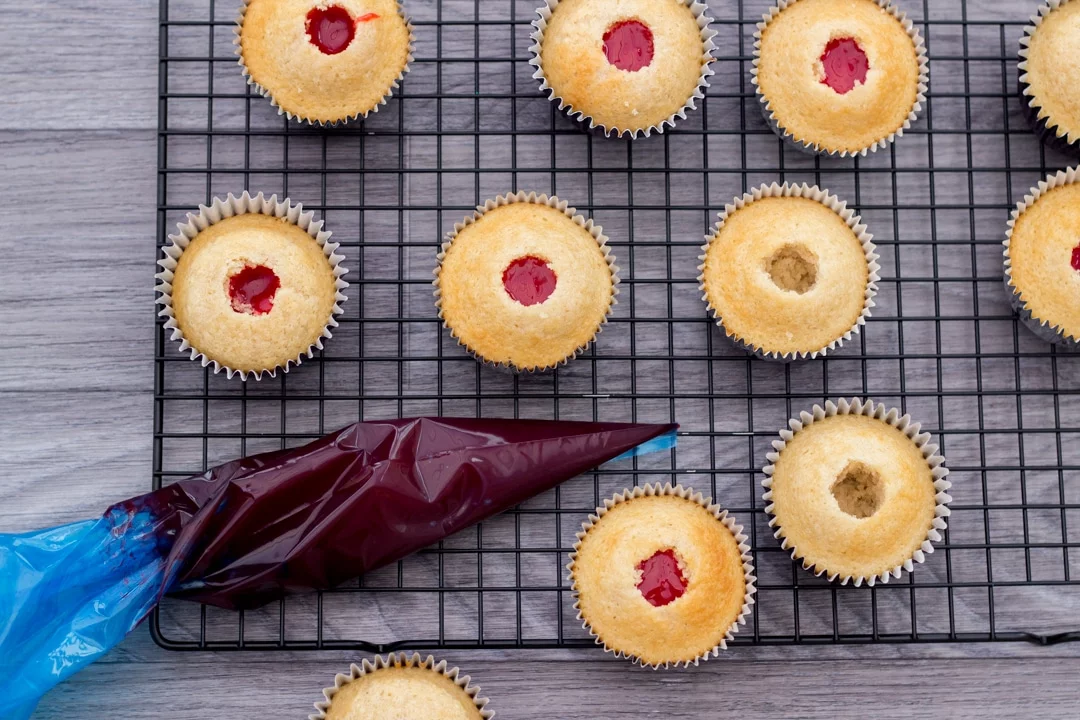
Filling instructions
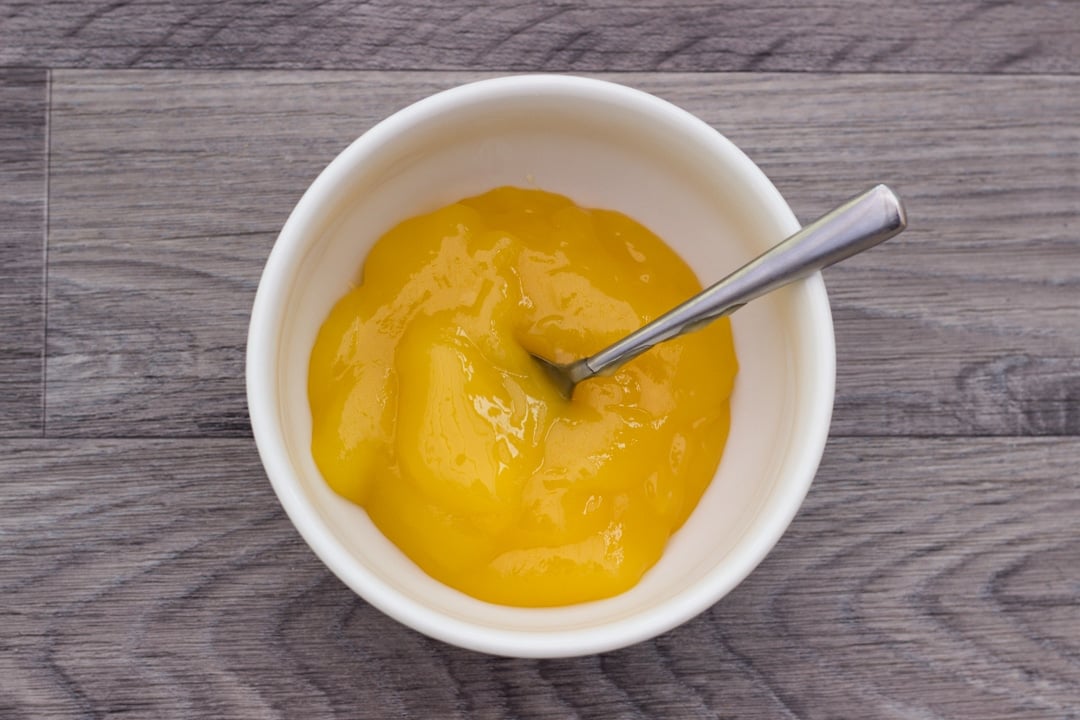
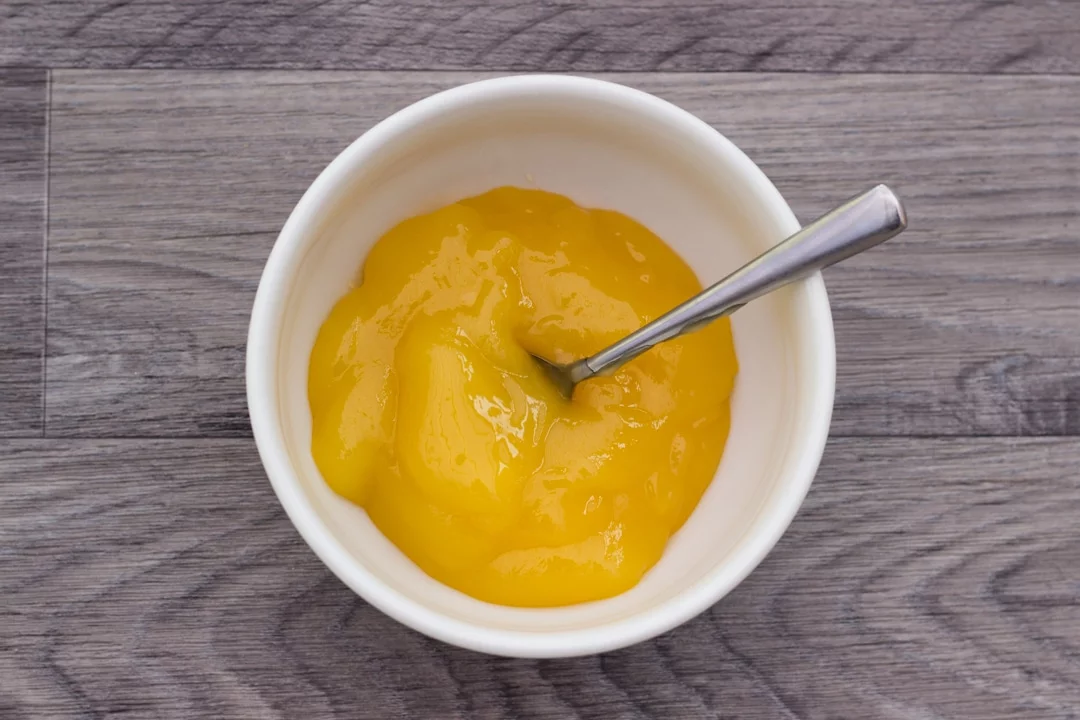
Pour the lemon curd (300g | 1 + 1/4 Cups) into a small bowl.
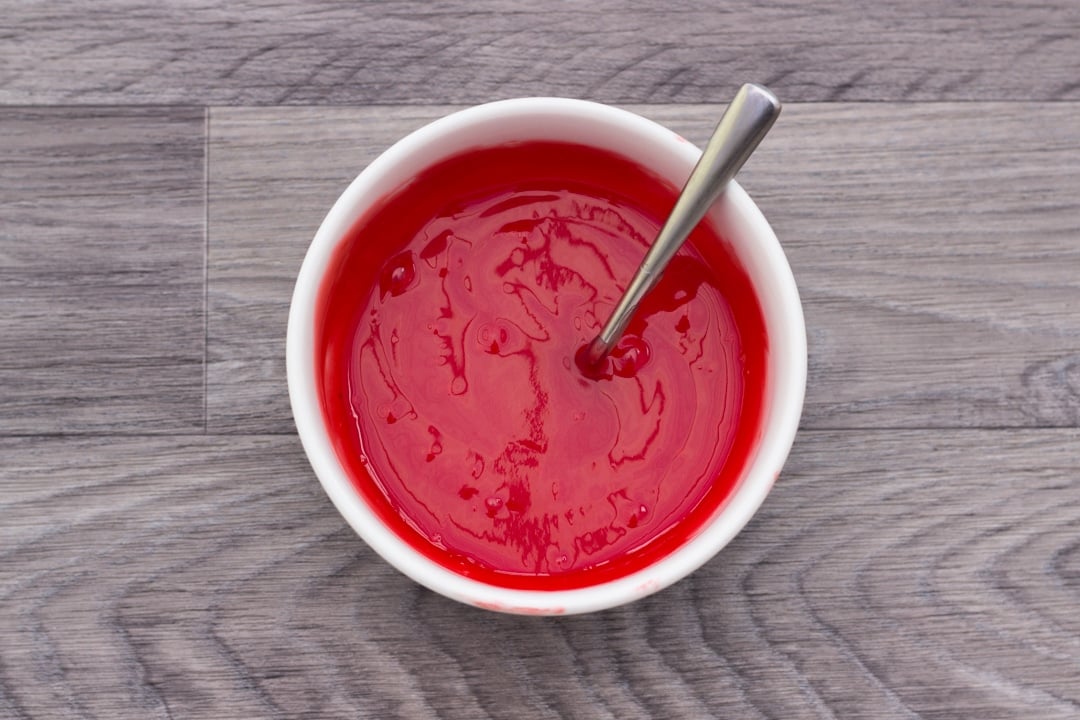
Now, a little at a time, add red food colouring gel and mix until it’s the colour that you want.

Assembly instructions
Oooh that looks great doesn’t it?!
Now for the fun bit – assembly. Take an apple corer and carefully ‘core’ the middle of each cupcake. Don’t go all the way to the bottom or your filling will literally ooze out. We want it to stay a surprise not become a nasty clean up haha!

Now pour your lemon curd into a piping bag and snip the end. Fill each hole with your delicious ‘blood’ whilst having a secret dark and evil laugh to yourself…

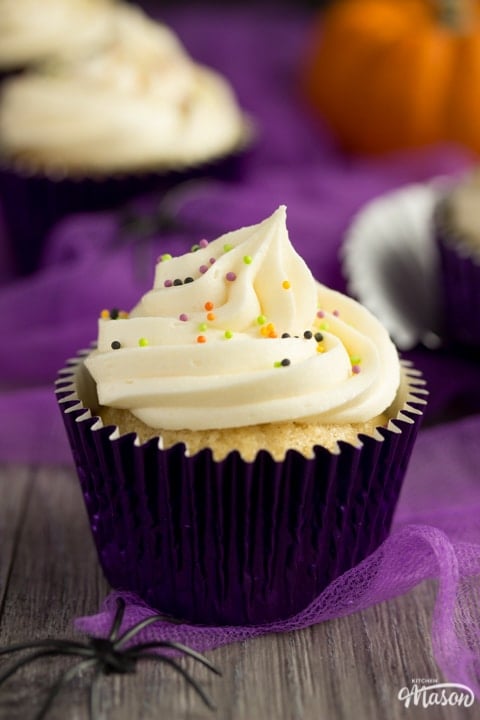
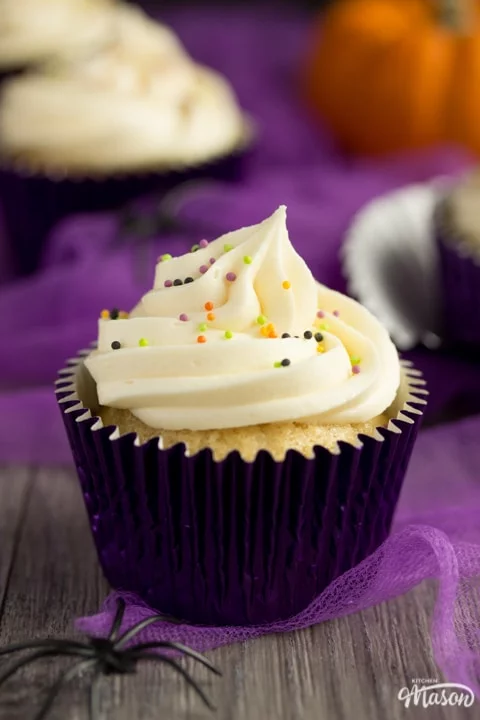
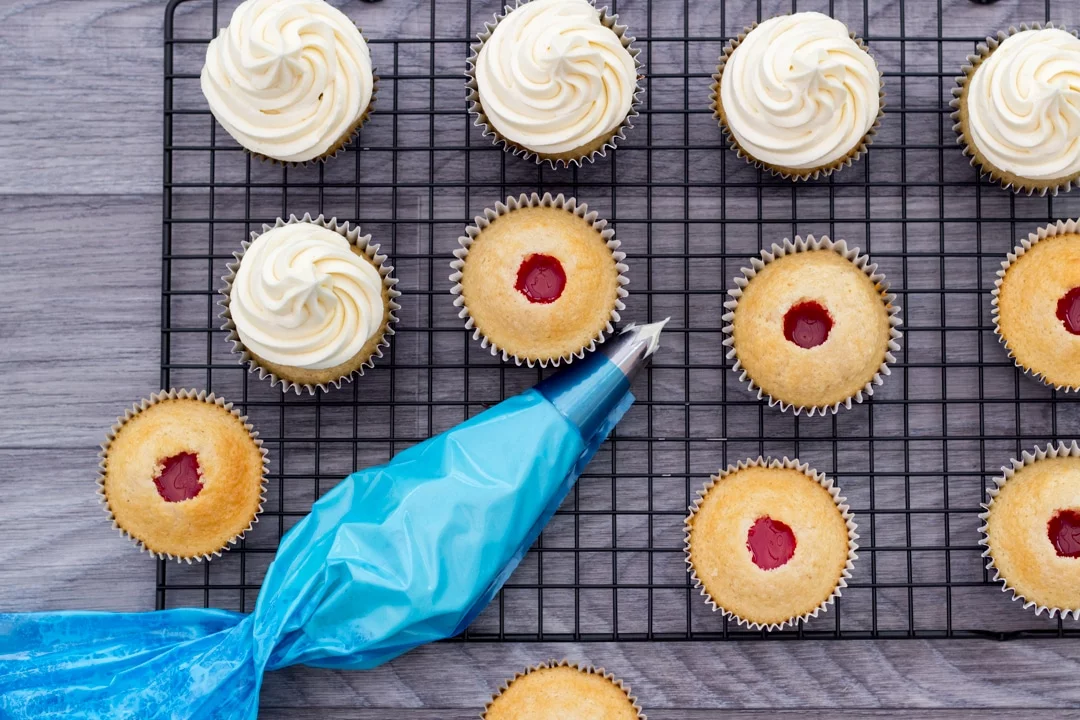
Now we’ve sorted the surprise element, let’s hide it! Load another piping bag with your favourite piping nozzle (I used a 2M open star nozzle) and fill it with your beautiful vanilla buttercream frosting.
Working from the outside in – pipe swirls over the top of each cupcake, making sure you cover the blood filled holes.

Finally, sprinkle over some Halloween coloured/themed sprinkles, strands or decorations to finish.
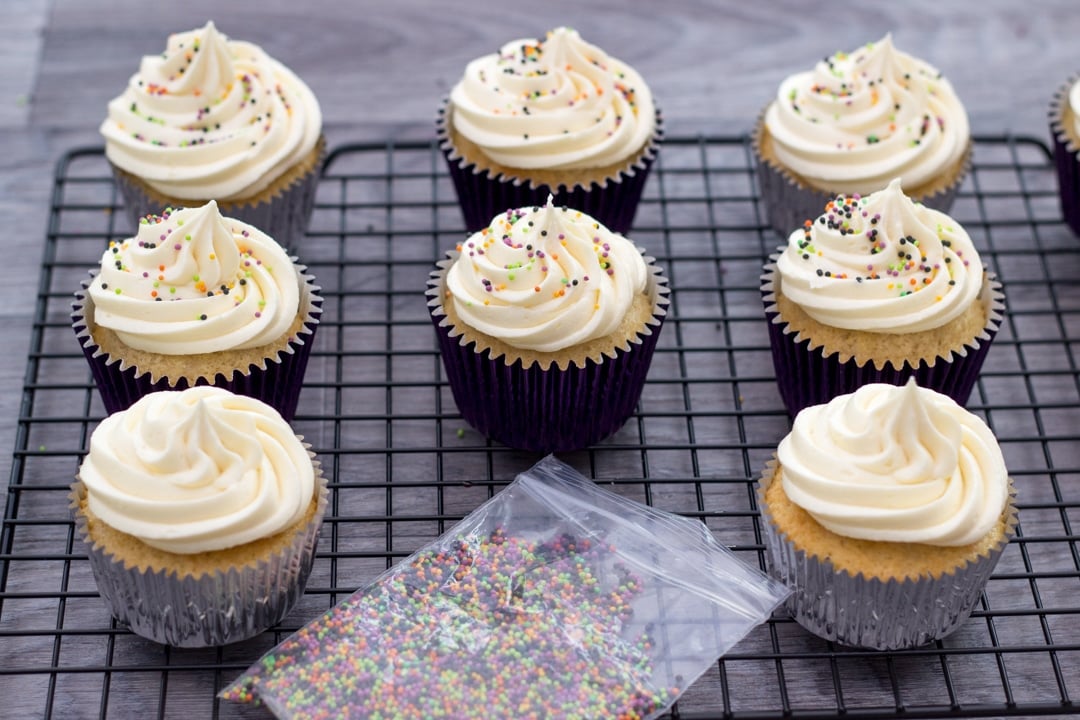
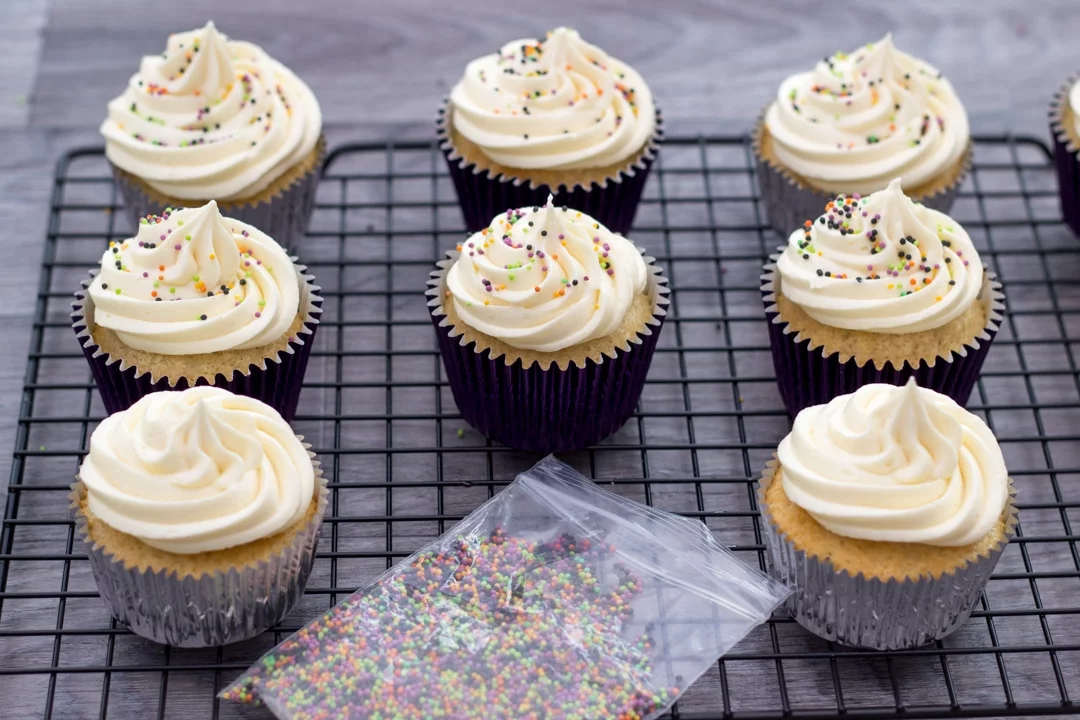
And there you have it! Your bloody surprise Halloween cupcakes are all ready to spook your friends and family. YUM!

How to store your Halloween cupcakes
If you’re not going to inhale them immediately, I recommend storing your finished cupcakes in a metal container. Plastic tubs tend to make sugar sweat which never really ends well so I always stick with metal. Alternatively, you can find cardboard cupcake boxes in lots of high street shops now which also work very well. Consume your cakes within 3-4 days.
Have you made this recipe?
I LOVE it when you share what you’ve made! You can let me know by leaving a comment below, tagging me on social media or sending me an email. I don’t mind how, I just love hearing from you!
Loved This Recipe? Pin It!


Easy 'Bloody Surprise' Halloween Cupcakes - Printable Recipe
A brilliantly spooky yet simple Halloween cupcake recipe that will surprise your unsuspecting guests! Minimal effort with maximum effect.
Ingredients
For the sponge
- 80g (1/3 Cup) Unsalted Butter, room temp
- 280g (1 + 1/3 Cup) Golden Caster Sugar
- 240g (2 Cups) Plain Flour
- 1 tbsp Baking Powder
- 1/4 tsp Salt
- 240ml (1 Cup) Milk, room temp
- 1 tsp Vanilla Extract
- 2 Eggs, room temp
For the frosting/decoration
- 500g (4 Cups) Icing Sugar
- 250g (1 + 1/8 Cup) Unsalted Butter, room temp
- 2-3 tbsp Milk
- 1 tsp Vanilla Extract
- Halloween Themed Sugar Sprinkles
For the filling
- 300g (1 + 1/4 Cups) Lemon Curd
- Red Food Colouring Gel
Essential equipment
- 12 Hole Cupcake Tin
- 16-20 Foil Cupcake Cases
- Apple Corer
- 2 Piping Bags
- Open Star Piping Nozzle
Instructions
For the Sponge
- Line cupcake tin with cases and preheat oven to 170°C/Fan 160°C/338ºF. Beat the butter, sugar, flour baking powder and salt until sandy.
- Add milk to a jug and beat in vanilla and eggs. Pour half into the flour and mix until blended. Add remainder and mix again until smooth.
- Half fill cupcake cases with the mixture then bake in the preheated oven on the bottom shelf for 12-14 mins.
- Cool on a wire rack.
For the Icing/Decoration
- Beat butter in a stand mixer/using an electric hand whisk in a large bowl until very soft.
- Gradually add the sifted icing sugar then beat until it comes together. (Start on a slow speed then increase to medium/high.)
- Add 2-3 tbsp of milk (1 tbsp at a time) and the vanilla. Continue to beat until it's soft and smooth.
For the Filling
- Mix a little red food colouring gel into the lemon curd in a small bowl to make the 'blood'.
To Assemble
- Core the middles of each cake with an apple corer. Fill a piping bag with the 'blood' lemon curd then fill the holes with it.
- Fit another piping bag with an open star nozzle and fill with the buttercream frosting. Cover the filled holes by piping swirls over the top.
- Scatter over Halloween sprinkles or decorations to finish.
Notes
Store in a metal container/cardboard cake box and consume within 3-4 days.
See the main post for a more detailed, step by step picture recipe.
Be sure to read the Recipe Tips section for lots of helpful information before you begin making this recipe.
Recommended Products
As an Amazon Associate and member of other affiliate programs, I earn from qualifying purchases at no extra cost to you.
Nutrition Information:
Yield: 20 Serving Size: 1Amount Per Serving: Calories: 850Total Fat: 41gSaturated Fat: 17gTrans Fat: 2gUnsaturated Fat: 20gCholesterol: 102mgSodium: 566mgCarbohydrates: 121gFiber: 3gSugar: 94gProtein: 7g
Nutritional information on kitchenmason.com should only be used as a general guideline, I am not a certified nutritionist. Please always check labels for allergens where applicable.